
1. Introduction
This manual provides detailed instructions for the installation, operation, and maintenance of your STMKB 200W Car Megaphone System. This integrated multi-function alarm system is designed for 12V vehicles, offering powerful sound output and multiple alarm tones for various applications, including emergency services, engineering operations, and public safety. Please read this manual thoroughly before use to ensure proper function and safety.
2. Safety Information
- Ensure the system is installed by a qualified professional to prevent electrical damage or injury.
- Connect the system only to a 12V DC power source. Incorrect voltage can damage the unit.
- Avoid exposing the control unit or speaker to water or extreme temperatures.
- Do not operate the system at maximum volume for extended periods in enclosed spaces to prevent hearing damage.
- Verify all wiring connections are secure and properly insulated to prevent short circuits. The system includes short circuit and reverse polarity protection.
- Use the system responsibly and in accordance with local laws and regulations regarding vehicle sound devices.
3. Package Contents
Please check the package for the following items:
- 1x 200W Host Control Unit
- 1x Square Speaker
- 1x Handheld Microphone with coiled cord
- Mounting Brackets and Hardware
- Wiring Harness
4. Product Overview
4.1 Control Unit and Microphone
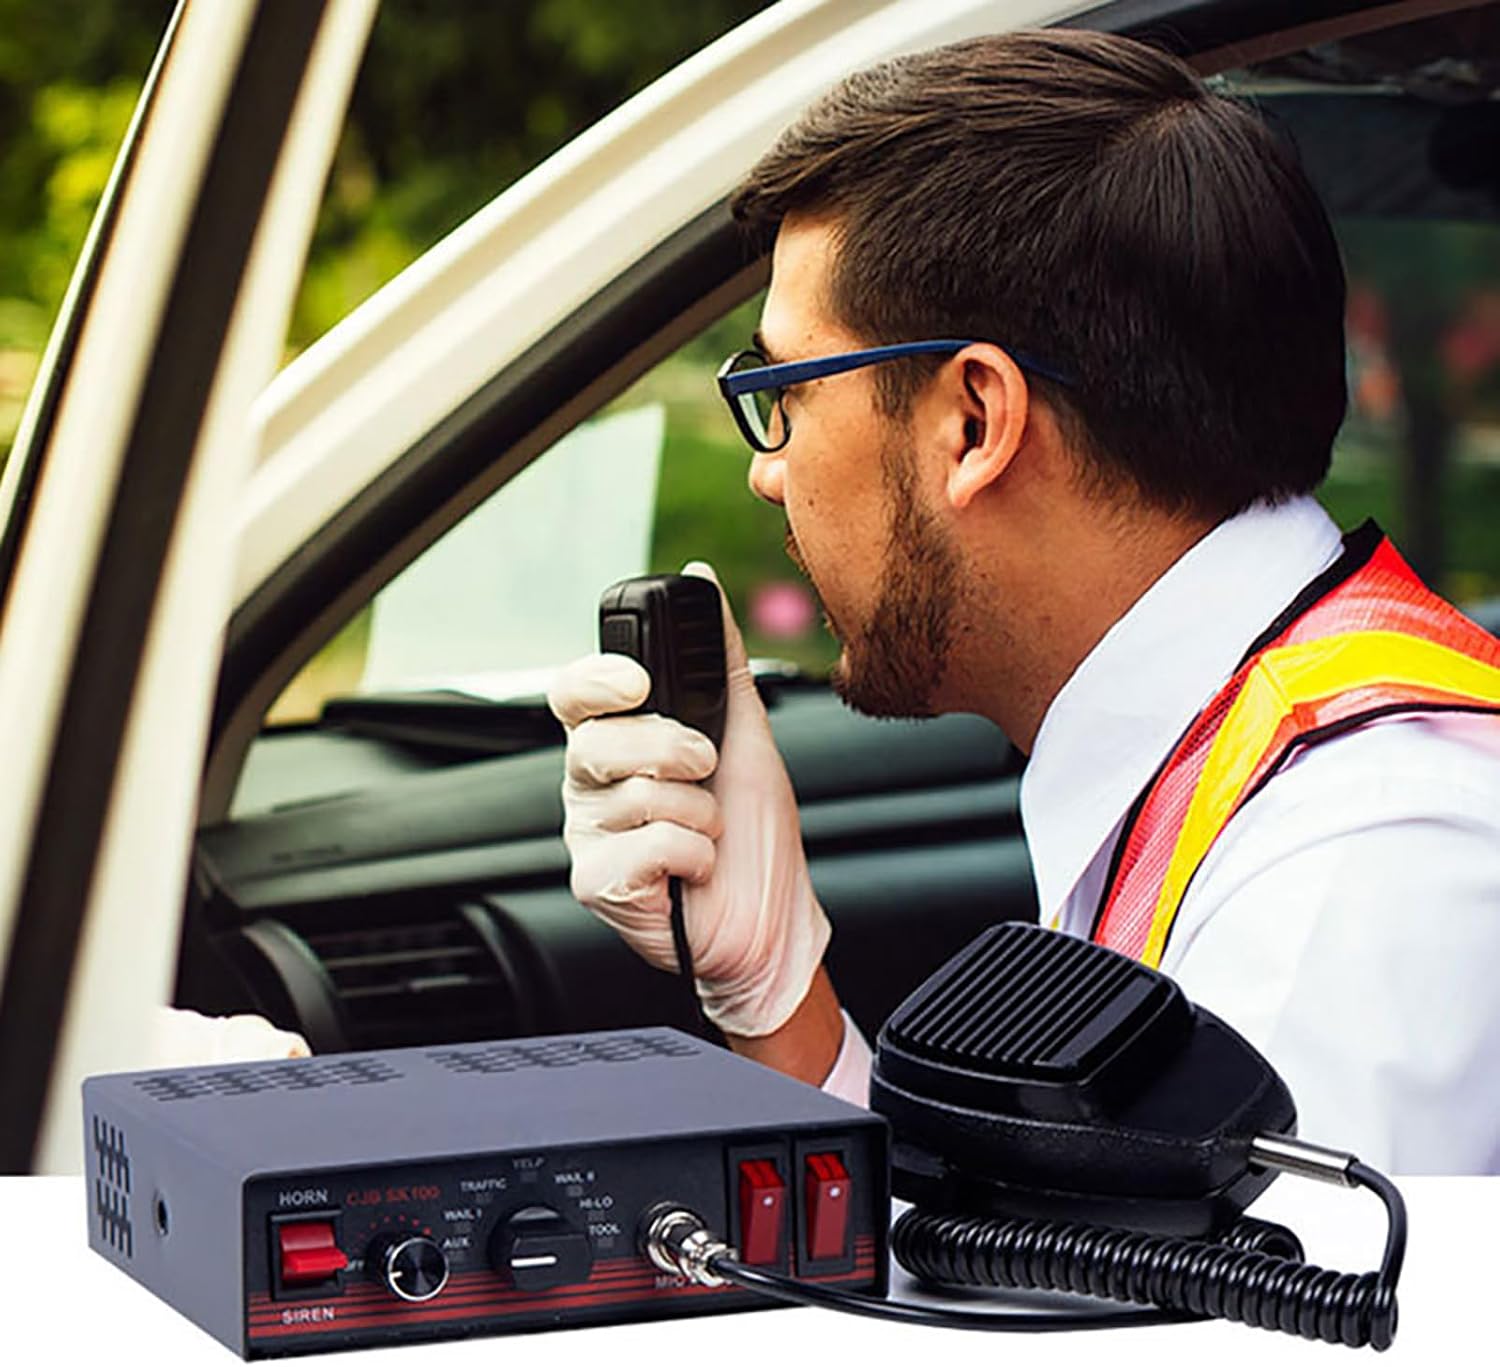
Image: The main control unit with its various switches and knobs, connected to a handheld microphone. This unit serves as the central interface for operating the megaphone system.
The control unit is the central interface for the megaphone system. It features various controls for sound selection, volume adjustment, and power. The handheld microphone allows for live voice amplification.
4.2 Speaker

Image: The square speaker component of the system, illustrating its robust design and highlighting its sound output capabilities with a decibel comparison chart.
The robust square speaker is designed for high-volume output, rated at 97-105dB, with a peak sound level of 160dB. It is constructed from ABS resin material for durability.
4.3 Control Panel Layout

Image: A close-up view of the control unit's front panel, clearly labeling each switch, knob, and port, including the Horn/Siren switch, On/Off volume, Sound Selector, Microphone input, and additional accessory switches.
- Horn/Siren Switch: Toggles between horn and siren functions.
- On/Off Volume Knob: Controls power and adjusts the overall volume level.
- Sound Selector: Rotary switch to choose between various pre-programmed tones (Siren 1, Siren 2, Engineering, Traffic, Public Security, Yelp, Wail I, Wail II, Tool).
- MIC Input: Port for connecting the handheld microphone.
- AUX Input: Auxiliary input for external audio sources (if applicable).
- Additional Accessory Switches: Two optional switches for controlling external accessories (e.g., lights).
5. Specifications

Image: A table displaying the technical specifications of the megaphone system, including voltage, power, impedance, and dimensions.
| Feature | Specification |
|---|---|
| Model | 200W Host + Square Speaker + Megaphone |
| Applicable Models | 12V Vehicles |
| Power Supply Voltage | DC12V |
| Rated Power | 200W |
| Impedance | 8Ω |
| Sound Level (Speaker) | 97-105dB (Rated), up to 160dB (Peak) |
| Current | 10A |
| Tones | 8 (Siren 1, Siren 2, Engineering, Traffic, Public Security, Yelp, Wail I, Wail II, Tool) |
| Control Unit Dimensions (L x W x H) | 147 x 147 x 42 mm |
| Speaker Dimensions (L x W) | 205 x 132 mm |

Image: Visual representation of the dimensions for the control unit, speaker, and microphone, aiding in installation planning.
6. Installation
Proper installation is crucial for the performance and safety of the system. It is recommended that installation be performed by a professional automotive technician.
6.1 Mounting the Control Unit
- Choose a secure and accessible location inside the vehicle, such as under the dashboard or in the center console.
- Use the provided mounting brackets and hardware to firmly secure the control unit. Ensure it does not obstruct airbags or driver visibility.
6.2 Mounting the Speaker
- Select an external location on the vehicle that allows for maximum sound projection and is protected from direct impact, such as behind the grille or under the bumper.
- Ensure the speaker is mounted securely using the provided brackets and hardware. The speaker should be oriented to project sound forward.
6.3 Wiring Connections
- Power Connection: Connect the red wire from the control unit to the vehicle's 12V positive (+) terminal (preferably through a fused circuit). Connect the black wire to a reliable ground point on the vehicle chassis.
- Speaker Connection: Connect the speaker wires to the designated speaker output terminals on the control unit. Observe polarity if indicated.
- Microphone Connection: Plug the handheld microphone into the "MIC" input port on the front panel of the control unit.
- Optional Accessory Connections: If using the additional accessory switches, connect your external devices (e.g., warning lights) to the corresponding output terminals on the control unit, ensuring proper power ratings.
- Test: After all connections are made, briefly test the system to ensure proper operation before securing all wiring.
7. Operation
Once installed, operating the STMKB Car Megaphone System is straightforward.
- Power On/Off and Volume: Turn the "On/Off Volume" knob clockwise to power on the unit and increase the volume. Turn counter-clockwise to decrease volume and power off.
- Selecting Tones: Use the "Sound Selector" rotary knob to cycle through the available alarm tones: Siren 1, Siren 2, Engineering, Traffic, Public Security, Yelp, Wail I, Wail II, and Tool.
- Horn/Siren Function: Use the "Horn/Siren" switch to activate the selected siren tone or a standard horn sound.
- Microphone Usage: To use the megaphone function, ensure the microphone is plugged in. Press and hold the talk button on the microphone and speak clearly into it. Adjust the volume using the main volume knob.
- Accessory Switches: If external accessories are connected, use the two additional switches on the control panel to activate or deactivate them.

Image: The control unit and microphone positioned within a vehicle's interior, demonstrating a typical installation scenario for operational use.

Image: Examples of vehicles such as trucks and police cars, illustrating the wide applicability of the megaphone system in various operational contexts.
8. Maintenance
- Cleaning: Wipe the control unit and microphone with a soft, dry cloth. Do not use abrasive cleaners or solvents.
- Inspection: Periodically check all wiring connections for signs of wear, corrosion, or looseness. Ensure the speaker and control unit remain securely mounted.
- Storage: If the vehicle is to be stored for an extended period, consider disconnecting the system from the power source.
9. Troubleshooting
| Problem | Possible Cause | Solution |
|---|---|---|
| No sound output | No power; loose connections; volume too low; speaker fault. | Check power connection and fuse; ensure all wires are securely connected; increase volume; test with another speaker if available. |
| Distorted sound | Volume too high; faulty wiring; damaged speaker. | Reduce volume; inspect wiring for damage; replace speaker if necessary. |
| Microphone not working | Microphone not plugged in; faulty microphone. | Ensure microphone is fully inserted into the MIC port; test with another microphone if available. |
| System powers off unexpectedly | Loose power connection; insufficient power supply; overheating. | Check power wiring; ensure vehicle battery is adequately charged; allow unit to cool down if operating in extreme conditions. |
10. Warranty and Support
The STMKB 200W Car Megaphone System comes with a standard manufacturer's warranty against defects in materials and workmanship. For specific warranty details, duration, and terms, please refer to the documentation provided with your purchase or contact STMKB customer support.
For technical support, troubleshooting assistance, or inquiries regarding parts and service, please contact your retailer or the manufacturer directly. Keep your purchase receipt as proof of purchase for warranty claims.
Manufacturer: STMKB