
1. Introduction
The Sinocare Safe AQ UG Multifunctional Monitor is a comprehensive 2-in-1 system designed for convenient and accurate self-testing of both blood glucose and uric acid levels. This kit provides essential tools for individuals managing diabetes and gout, enabling regular monitoring from the comfort of their home.
The device features a user-friendly design, quick test times, and requires minimal blood samples. It is engineered for precision and ease of use, making it a reliable choice for personal health management.
Kit Contents:
- 1 x Sinocare Safe AQ UG Blood Glucose & Uric Acid Monitor
- 1 x Painless Lancing Pen
- 50 x Sterile Lancing Devices
- 25 x Blood Glucose Test Strips
- 25 x Uric Acid Test Strips
- 1 x User Manual (this document)
- 1 x Carrying Case

2. Setup
2.1 Unpacking and Inspection
Carefully unpack all components from the kit. Verify that all items listed in the "Kit Contents" section are present and undamaged. If any items are missing or damaged, please contact Sinocare customer service immediately.
2.2 Battery Installation
The Sinocare Safe AQ UG monitor requires batteries for operation. Ensure you have two AAA alkaline batteries (included in some kits, or purchase separately if not). Locate the battery compartment on the back of the monitor, open the cover, insert the batteries according to the polarity indicators (+/-), and close the cover securely.
2.3 Meter Components Overview
Familiarize yourself with the different parts of your Sinocare Safe AQ UG monitor:

- Uric Acid Test Strip Slot (U): For inserting uric acid test strips.
- Blood Glucose Test Strip Slot (G): For inserting blood glucose test strips.
- Date Display: Shows the current date.
- Time Display: Shows the current time.
- Uric Acid Data Display (UA): Displays uric acid test results.
- Blood Glucose Data Display (GLU): Displays blood glucose test results.
- On/Off Button: Powers the device on or off.
- Turn Up Query Button: Used to navigate through stored results or settings.
- Down Query Button: Used to navigate through stored results or settings.
2.4 Coding the Uric Acid Test Strips
The uric acid test strips require coding for accurate results. Each new vial of uric acid test strips comes with a corresponding code chip. It is crucial to insert this code chip into the meter every time you open a new vial of uric acid test strips. Blood glucose test strips do not require coding.
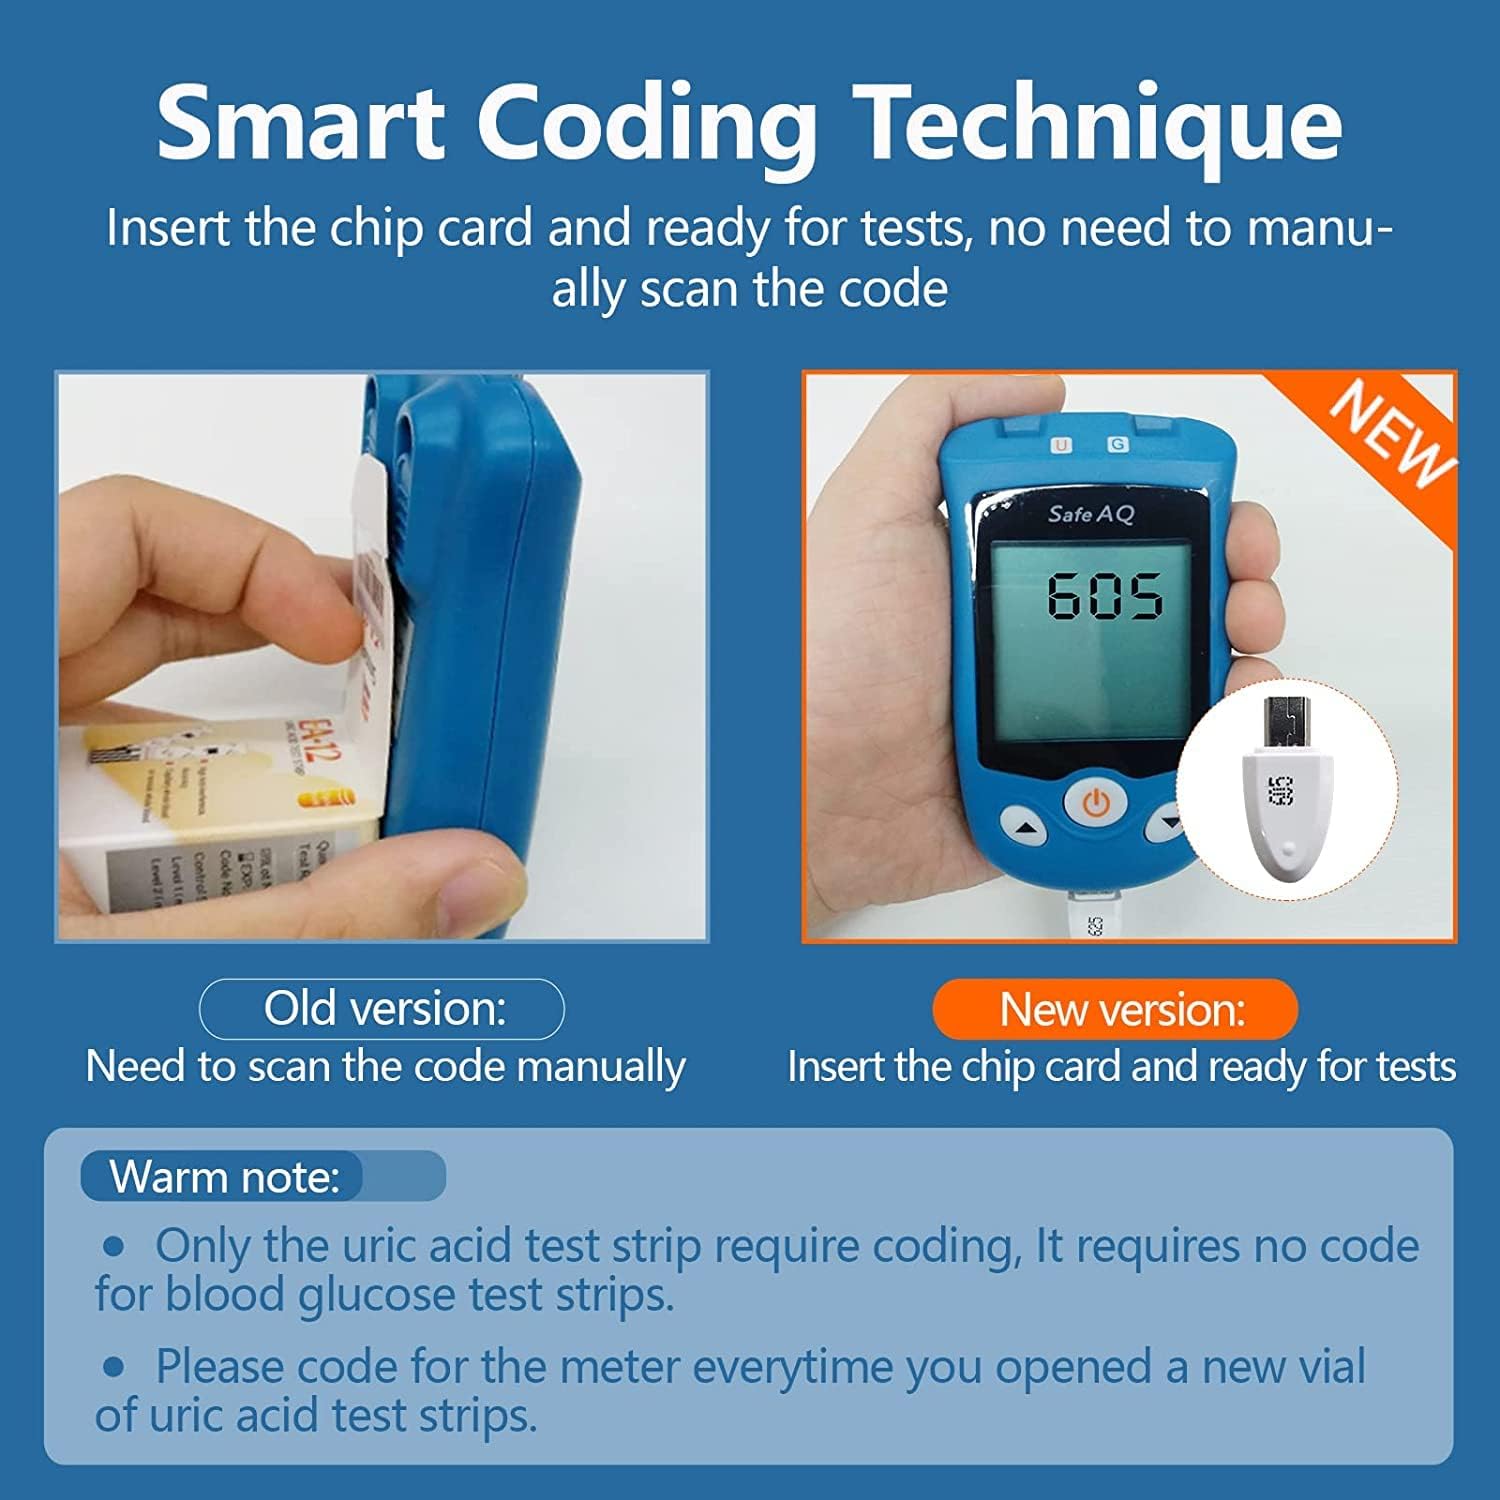
- Locate the code chip provided with your new vial of uric acid test strips.
- With the meter off, insert the code chip into the designated slot on the side of the meter.
- The meter will automatically recognize the code. Once the code is set, you can remove the chip.
- Important Note: Always ensure the meter is coded correctly for the uric acid strips you are using. Incorrect coding can lead to inaccurate results.
3. Operating Instructions
3.1 Preparing for a Test
- Wash your hands thoroughly with soap and warm water. Dry them completely.
- Prepare the lancing device: Insert a new sterile lancing device into the lancing pen. Adjust the depth setting to a comfortable level (start with a shallower setting and increase if needed).
- Ensure you have the correct test strip (blood glucose or uric acid) for the test you intend to perform.
3.2 Performing a Blood Glucose Test

- Insert a blood glucose test strip into the blood glucose test strip slot (G) of the meter. The meter will turn on automatically and display a blood drop symbol, indicating it's ready for a blood sample.
- Use the lancing pen to prick the side of your fingertip to obtain a blood drop.
- Gently touch the tip of the blood glucose test strip to the blood drop. The strip will draw the blood sample into the reaction area. Do not apply blood to the top of the strip.
- The meter will begin counting down. Your blood glucose result will appear on the display in approximately 5 seconds.
- Record your result and dispose of the used test strip and lancing device safely.
3.3 Performing a Uric Acid Test

- Ensure the meter has been correctly coded for the uric acid test strips you are using (refer to Section 2.4).
- Insert a uric acid test strip into the uric acid test strip slot (U) of the meter. The meter will turn on automatically and display a blood drop symbol.
- Use the lancing pen to prick the side of your fingertip to obtain a blood drop.
- Gently touch the side suction port of the uric acid test strip to the blood drop. The strip will draw the blood sample into the reaction area.
- The meter will begin counting down. Your uric acid result will appear on the display in approximately 25 seconds.
- Record your result and dispose of the used test strip and lancing device safely.
3.4 Important Notes for Accurate Results
- It is recommended to complete the test within 3 minutes after the strip is taken out of its vial.
- Test strips are valid for 6 months after opening the bottle for the first time. Mark the opening date on the vial.
- After taking out a test strip, immediately close the bottle cap tightly to prevent the remaining strips from being damp or oxidized, which can affect accuracy.
- Only use Sinocare Safe AQ UG Blood Glucose Test Strips and Sinocare Safe AQ UG Uric Acid Test Strips with this monitor. Other brands or types of strips are not compatible.
4. Maintenance and Storage
4.1 Cleaning the Meter
Clean the exterior of the meter regularly with a soft, damp cloth. Do not use harsh chemicals, abrasive cleaners, or immerse the meter in water. Ensure no liquid enters the test strip slots or battery compartment.
4.2 Proper Storage
- Store the meter and test strips in a cool, dry place, away from direct sunlight and extreme temperatures.
- Keep test strip vials tightly closed when not in use.
- Store the lancing device and sterile lancets in a clean, dry environment.
- Keep all components out of reach of children.
4.3 Battery Replacement
When the battery indicator appears on the display, replace the batteries promptly to ensure continued accurate operation. Follow the instructions in Section 2.2 for battery installation.
5. Troubleshooting
If you encounter issues with your Sinocare Safe AQ UG monitor, please refer to the following common problems and solutions:
| Problem | Possible Cause | Solution |
|---|---|---|
| Meter does not turn on. | Dead or incorrectly installed batteries. | Check battery polarity. Replace batteries if needed. |
| Inaccurate Uric Acid readings. | Incorrect code chip inserted; expired or damaged strips; insufficient blood sample; improper blood application (not side suction). | Ensure the correct code chip for the current vial is inserted. Check strip expiry date. Ensure sufficient blood is applied to the side suction port. Refer to Section 3.3. |
| Error message on display. | Refer to the specific error code in the full user manual (if available) or contact customer service. Common errors relate to strip insertion or sample application. | Re-read instructions for strip insertion and blood application. Try a new strip. |
| No blood drawn by strip. | Insufficient blood sample; strip not correctly inserted; strip damaged. | Ensure a sufficient blood drop is formed. Re-insert strip firmly. Use a new strip. |
If the problem persists after attempting these solutions, please contact Sinocare customer service for further assistance.
6. Specifications
| Feature | Detail |
|---|---|
| Product Name | Sinocare Safe AQ UG Multifunctional Monitor |
| Model Number | Safe AQ UG 50 kit |
| Measurement Type | Blood Glucose & Uric Acid |
| Blood Glucose Test Time | Approx. 5 seconds |
| Uric Acid Test Time | Approx. 25 seconds |
| Blood Glucose Sample Volume | 0.6 micro liters |
| Uric Acid Sample Volume | 3 micro liters |
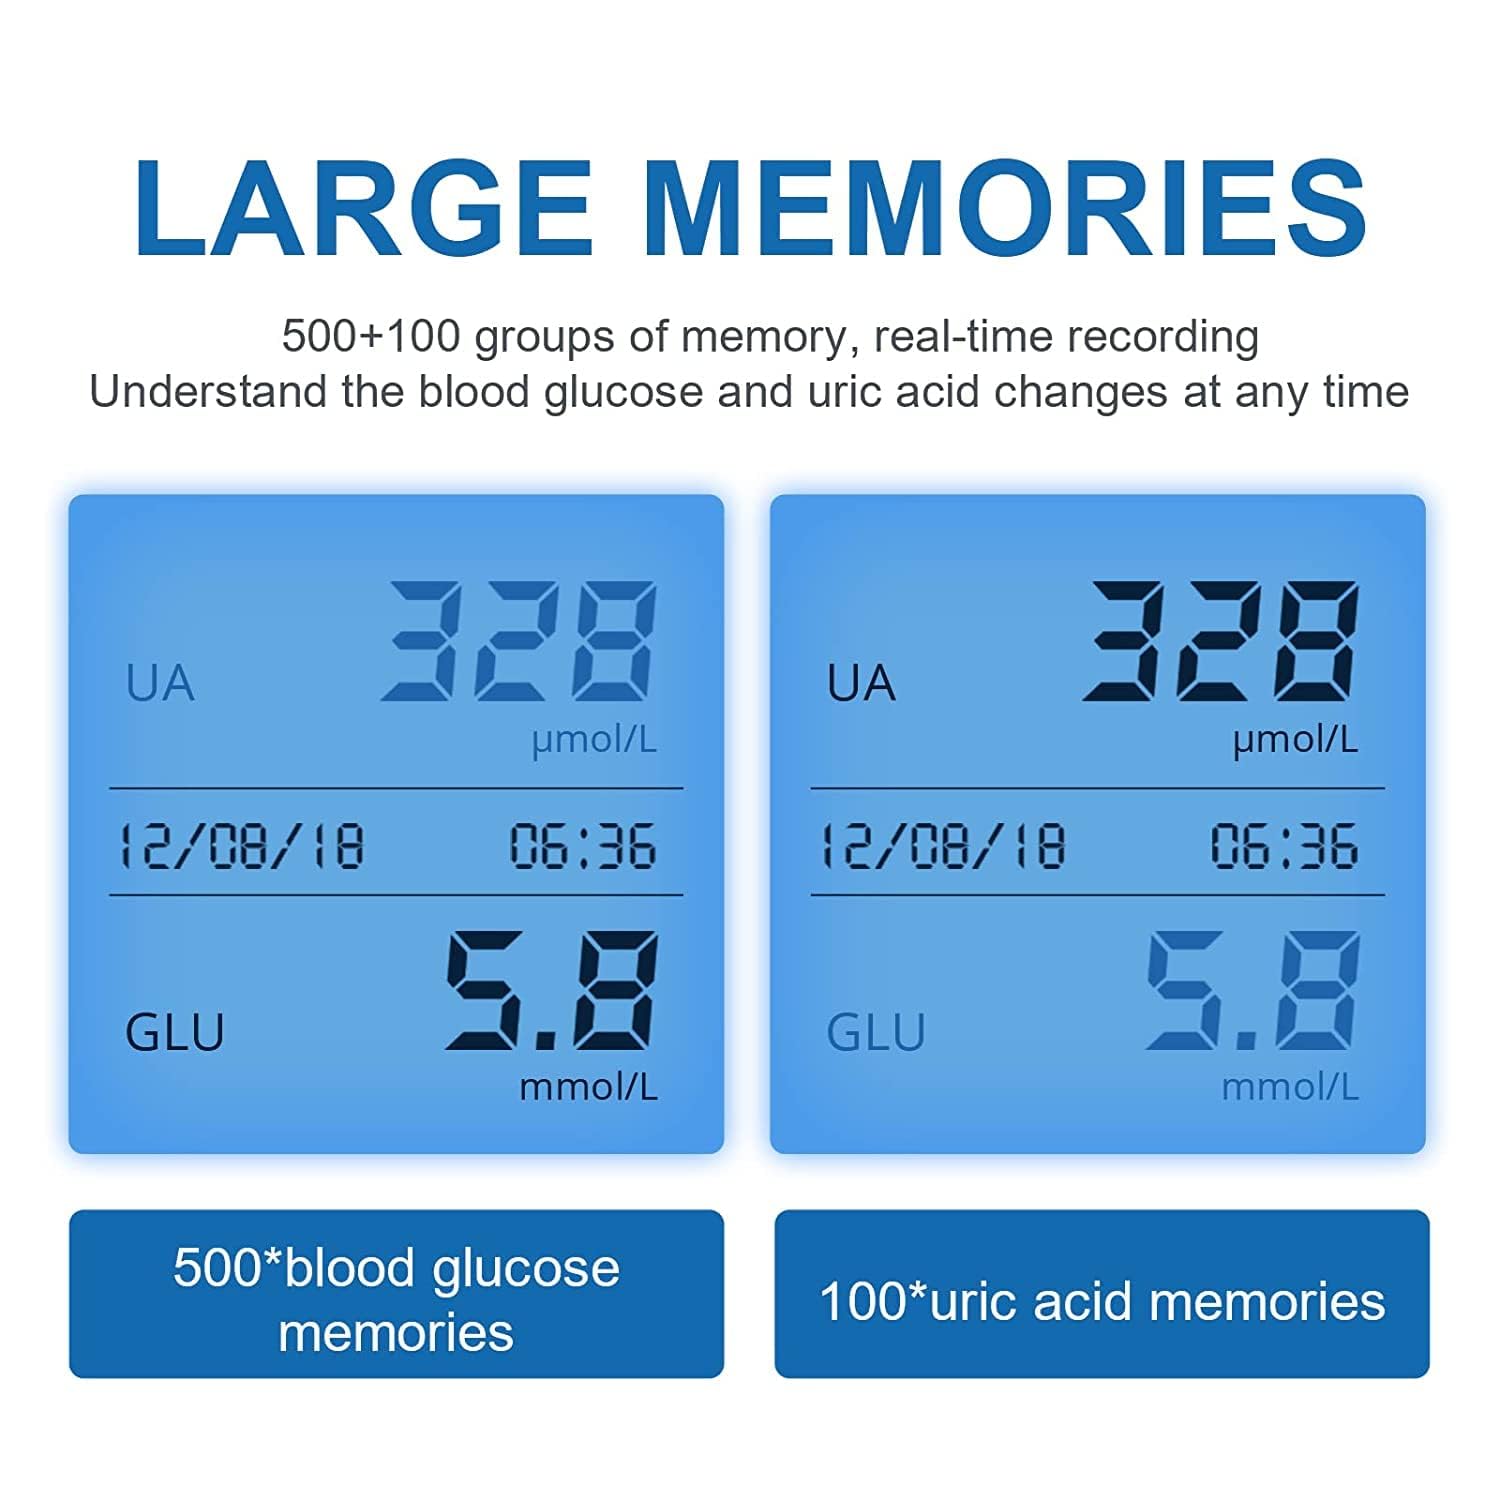
| Memory Capacity | 500 Blood Glucose results, 100 Uric Acid results |
| Power Source | Alkaline Batteries (Type not specified, usually AAA) |
| Unit of Measurement | mmol/L (UK standard) |
| Weight | 330 g (approx.) |
| Manufacturer | sinocare |
7. Warranty and Support
7.1 Warranty Information
Sinocare products are manufactured to high-quality standards. For specific warranty terms and conditions, please refer to the warranty card included with your product or visit the official Sinocare website. Keep your purchase receipt as proof of purchase.
7.2 Customer Support
If you have any questions, require technical assistance, or encounter any issues not covered in this manual, please contact Sinocare customer service. You can typically find contact information on the product packaging, the official Sinocare website, or through your point of purchase.
When contacting support, please have your product model number (Safe AQ UG 50 kit) and purchase details ready to facilitate quicker service.