1. Introduction
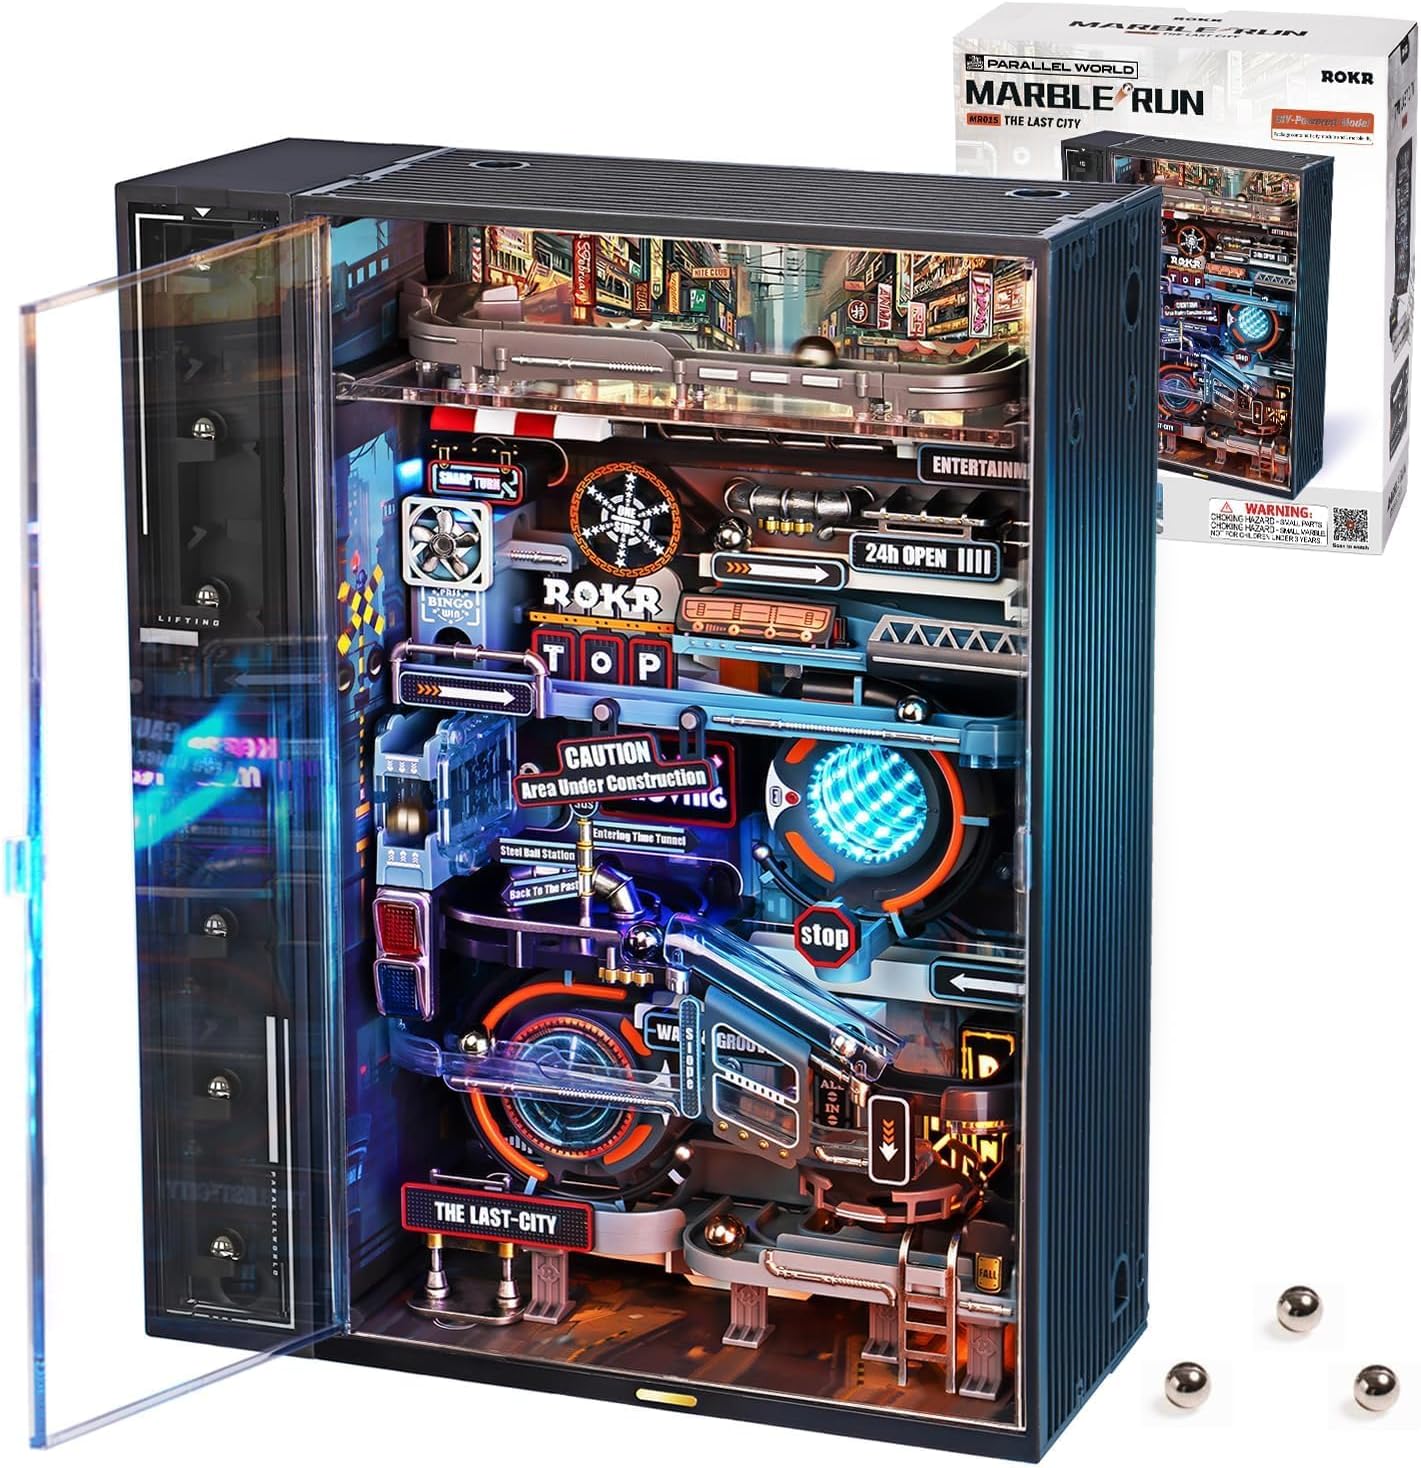
This manual provides detailed instructions for the assembly, operation, and maintenance of your ROKR Marble Run Model Building Kit, model JP-MR. This cyberpunk-inspired DIY miniature kit features a fully automated marble lift and offers both marble running and lighting display modes. Please read this manual thoroughly before beginning assembly or operation to ensure proper function and longevity of your model.
2. Safety Information
- Small Parts Warning: This kit contains small parts which may pose a choking hazard. Keep out of reach of small children.
- Sharp Edges: Exercise caution when handling parts, as some edges may be sharp. Use the provided tools carefully.
- Electrical Components: Ensure all electrical connections are made correctly as per the instructions. Do not expose the model to water or excessive moisture.
- Power Source: Use only a compatible Type-C power source.
3. Package Contents
Your ROKR Marble Run Model Building Kit includes all necessary components for assembly, along with spare parts to account for any potential damage or loss during the building process. The kit comprises approximately 130 pieces made from high-quality ABS, PC, and metal materials.
Please verify that all parts are present and undamaged upon opening the package. Refer to the included parts list in your kit for a complete inventory.
4. Assembly Instructions
Assembly of the ROKR Marble Run Model Building Kit typically takes between 1.5 to 3 hours, depending on individual experience. The kit is designed with interlocking modules for straightforward assembly and offers a medium difficulty level.
4.1 General Assembly Tips
- Follow the included detailed instruction booklet step-by-step. The instructions are designed to guide you through each stage of the build.
- All parts are provided in clearly marked plastic bags with easy-to-remove perforations. Organize your parts before starting.
- Use the included angled nail cutter or wire snips to cleanly remove parts from their frames, preventing damage to connection points and ensuring smooth edges.

4.2 Marble Elevator Assembly
The marble elevator is a critical component. Pay close attention to its specific instructions, which may be provided in a separate pamphlet or section.
- Alignment is Key: Ensure the setting pins remain inserted until the main lift arms are securely in place, guided by the grooves. Removing these pins prematurely can lead to misalignment of the elevator gears and bars, affecting marble lifting functionality.
- Verify that the marks on each side of the lift align with the marks on the center of the tower and each lift component, as indicated in the instructions (e.g., Step 3{2} and Step 3{3}).
4.3 Finishing Touches
The model features a spray coating process and pad printing for miniature aesthetics. Handle finished parts carefully to preserve their appearance.

5. Operating Instructions
Once assembled, your ROKR Marble Run is ready for operation. It is powered via a Type-C connection and features a touch switch for control.
5.1 Power Connection
Connect the model to a compatible Type-C power source using the provided USB-C cable. The power input port is located on the back of the unit.
5.2 Operating Modes
The model offers two primary operating modes, controlled by a touch switch on the front of the unit:
- Rolling Mode: Touch the switch once to activate the marble movement and lighting. The motor will operate, and lights will illuminate. The motor automatically stops after 10 minutes of continuous operation.
- Flashing Mode: Touch the switch a second time to switch to flashing light display mode. The lights will remain on in a dynamic pattern, but the motor will stop, pausing marble movement.

5.3 Marble Path Overview
The marble run features an intricate 74-inch city track with various elements:
- Elevated Expressway: Marbles are lifted to the top and enter a high-speed zone.
- Diverging Tracks: Marbles enter diverging paths, leading to random journey outcomes.
- Infrared Sensor: Marbles pass an infrared sensor, triggering gradual illumination of lights.
- Spinning Track: The journey concludes as marbles enter a spinning track before returning to the lift.

6. Maintenance
Regular maintenance ensures the smooth operation and longevity of your ROKR Marble Run.
- Cleaning: Use a soft, dry cloth to gently clean the exterior and interior surfaces. Avoid abrasive cleaners or solvents.
- Marble Retrieval: In case marbles get stuck or go off-track, the front ABS case window panel and the elevator panel are removable for internal servicing. A small magnet-tipped wand is provided for easy marble retrieval.
- Check Connections: Periodically inspect all electrical connections and mechanical linkages to ensure they are secure.
7. Troubleshooting
If you encounter issues with your ROKR Marble Run, refer to the following troubleshooting guide:
7.1 Marbles Not Lifting or Jamming in Elevator
- Check Alignment: The most common cause is misalignment of the marble elevator components. Re-check the assembly steps for the elevator, ensuring all parts are correctly aligned and setting pins were removed at the appropriate stage.
- Obstructions: Inspect the elevator mechanism for any small debris or misaligned parts that might be obstructing marble movement.
7.2 Marbles Jamming on Tracks
- Level Surface: Ensure the marble run is placed on a completely level surface. If the unit leans, marbles may pile up or get stuck in the feeder or on tracks.
- Track Obstructions: Check for any foreign objects or misaligned track pieces.
- Part E4: If marbles jump over part E4, a small piece of plastic can be added to the right side of the part (when looking at the finished slide-in assembly) to prevent this.
7.3 Lights Not Functioning / Unit Not Powering On
- Power Connection: Verify that the Type-C cable is securely connected to both the unit and a functional power source.
- Touch Switch: Ensure the touch switch is being activated correctly.
- Internal Wiring: If the issue persists, carefully check the internal wiring connections, especially to the motherboard and LED strings, to ensure they are all properly seated.
8. Specifications
| Feature | Specification |
|---|---|
| Product Dimensions | 11.02 x 9.45 x 0.04 inches |
| Item Weight | 3.12 pounds |
| Model Number | JP-MR |
| Materials | ABS, PC, Metal |
| Assembly Time | 1.5 - 3 hours |
| Number of Pieces | 130 PCS |
| Power Source | USB Type-C |

9. Warranty and Support
ROKR is committed to customer satisfaction. We provide after-sales service for broken or missing parts. If you have any questions, concerns, or require assistance with your product, please do not hesitate to contact our support team. We aim to respond and offer solutions within 12 hours.
For support, please refer to the contact information provided in your product packaging or visit the official ROKR website.


