1. Introduction
This manual provides detailed instructions for the safe and efficient operation of your ROTOPATA Electric Portable Tire Inflator. Please read this manual thoroughly before using the device and retain it for future reference. This device is designed for inflating various items such as car tires, motorcycle tires, bicycle tires, and sports balls.
2. Package Contents
Verify that all items listed below are included in your package:
- 1 x ROTOPATA Electric Portable Tire Inflator Main Body
- 1 x Air Tube (Trachea)
- 1 x Small Interface Nozzle
- 1 x Large Interface Nozzle
- 1 x Ball Needle
- 1 x Car Charging Cable (12V DC)
- 1 x Type-C Charging Cable
- 1 x Charging Adapter
- 1 x DC Access Fuse
- 1 x Storage Bag
- 1 x User Manual

3. Product Overview
3.1 Key Features
- Efficient and Fast Inflation: Equipped with a 25mm cylinder, providing 35L/MIN inflation volume and up to 150PSI pressure. Can inflate a 195/65/R15 car tire (28-36PSI) in approximately 1 minute.
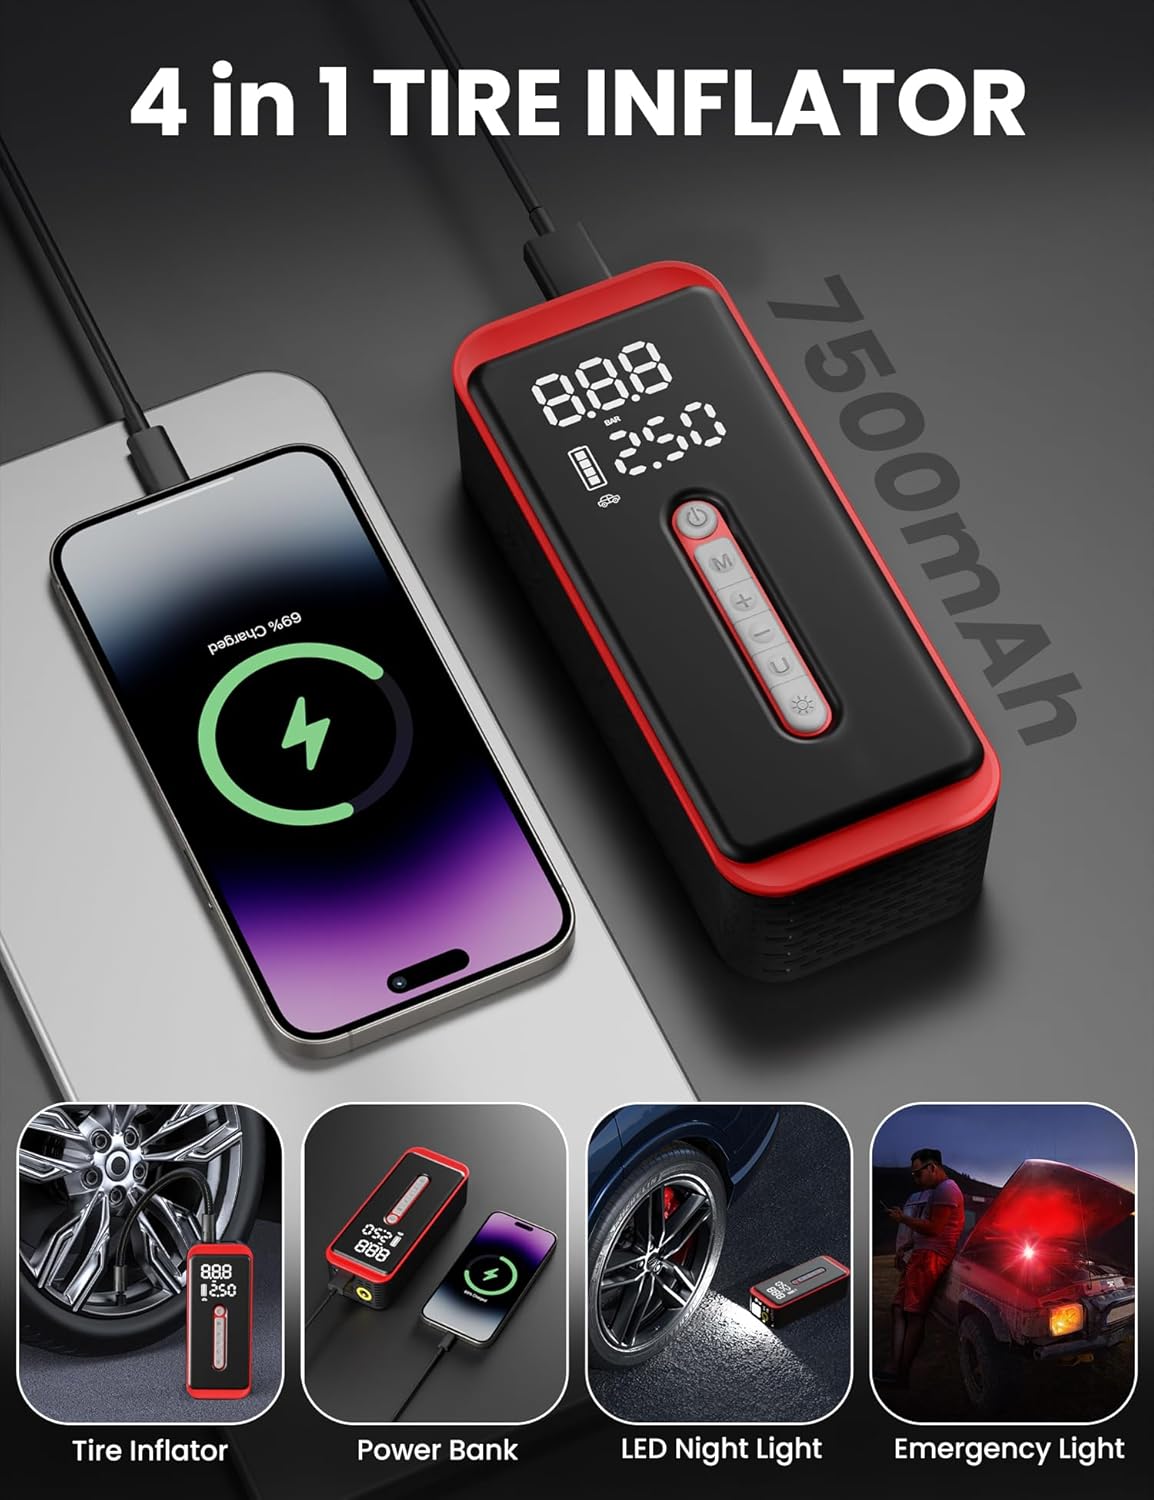
- Dual Power Supply: Features a 7500mAh rechargeable battery for cordless operation and a 9.8ft 12V DC car power cord for direct vehicle power.
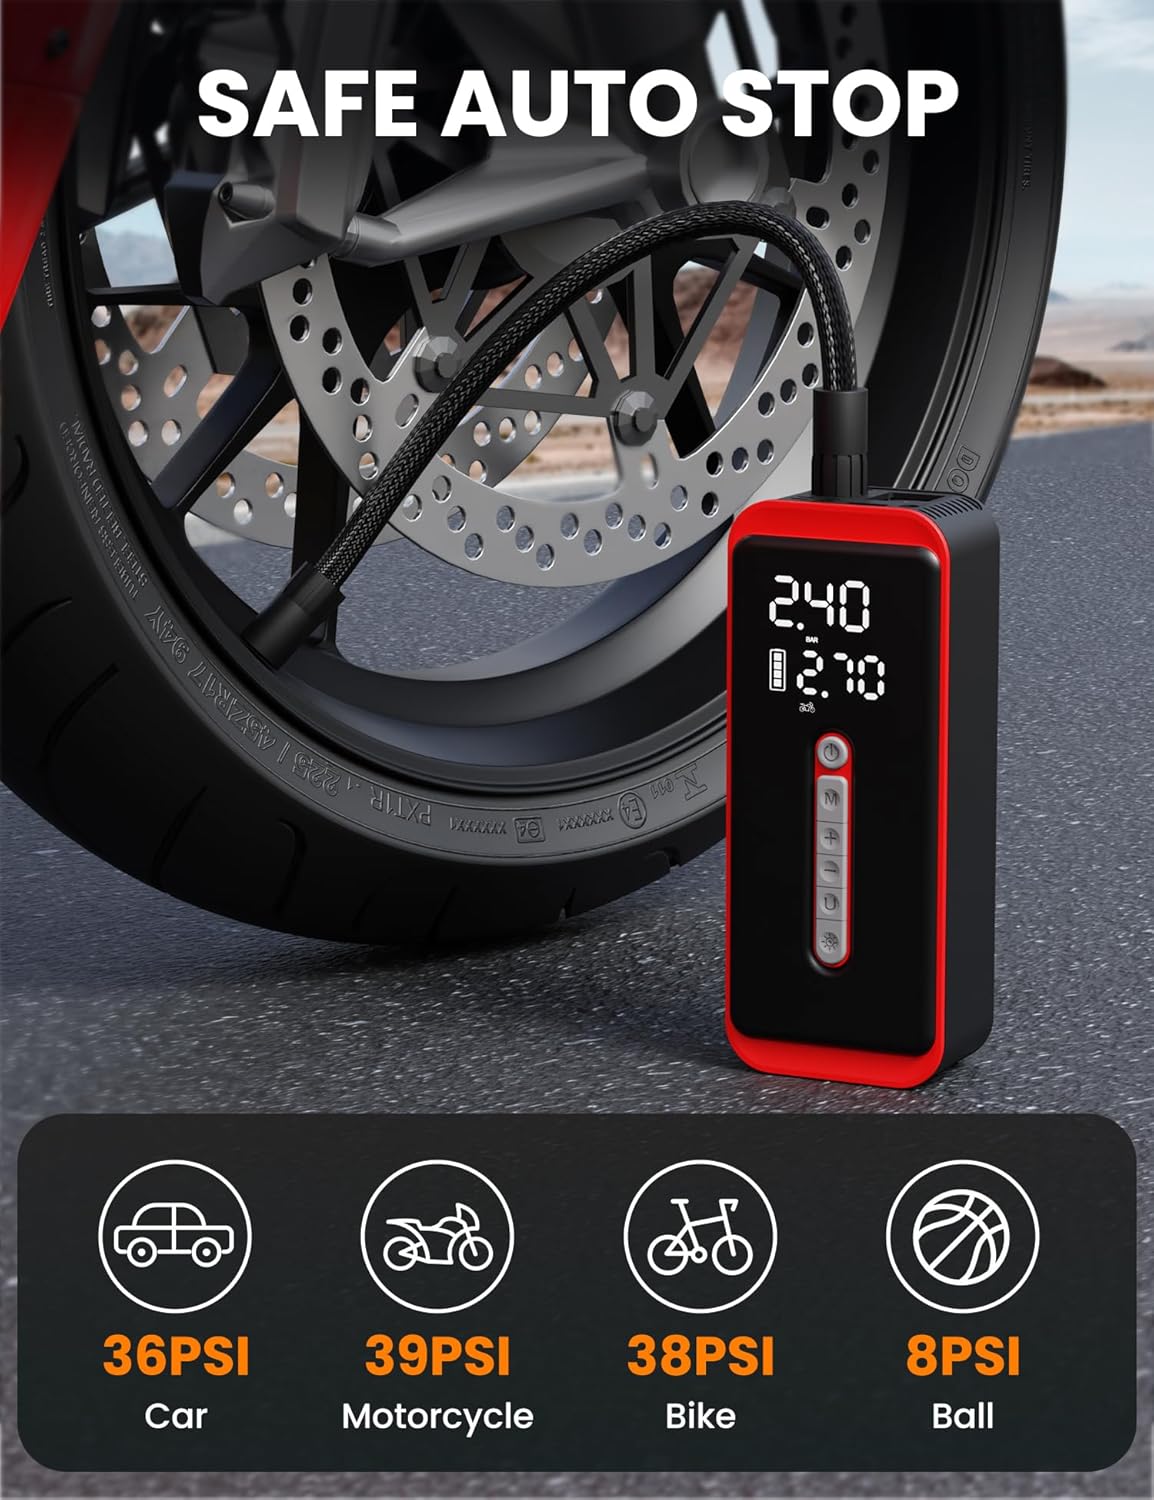
- Smart Auto-Stop Function: Automatically stops inflation once the preset pressure value is reached, preventing over-inflation.
- Digital Display & Multiple Modes: 6.1-inch LED screen displays real-time pressure, preset values, and modes. Offers 5 inflation modes (Car, Motorcycle, Bike, Ball, Custom) and 4 pressure units (PSI, KPA, BAR, KG/CM²).
- Multi-functional Design: Acts as a tire inflator, a 10W output power bank, an LED night light, and an emergency flashing red light.
3.2 Controls and Display
The device features an intuitive control panel and a clear LED display:
- Power Button: Long press to turn on/off. Quick press to start/stop inflation.
- Mode Switch (M): Cycles through preset inflation modes (Car, Motorcycle, Bike, Ball, Custom).
- Preset +/- Buttons: Adjusts the target pressure value.
- Unit Switch (U): Toggles between pressure units (PSI, KPA, BAR, KG/CM²).
- LED Light Button: Activates the LED light, cycles through modes (steady, flashing red), and turns off.

4. Setup
4.1 Charging the Device
Before first use, fully charge the device. The 7500mAh battery provides extended cordless operation.
- Using Type-C Cable: Connect the provided Type-C charging cable to the device and a compatible USB power adapter (included).
- Using 12V DC Car Power Cord: For charging on the go or when the battery is depleted, connect the 12V DC car charging cable to your vehicle's cigarette lighter socket and the device.
A full charge typically takes about 3 hours. The battery indicator on the LED screen will show the charging status.

4.2 Attaching the Air Hose
- Align the air tube with the air pipe connector on the top of the smart air pump.
- Turn the air tube clockwise to securely tighten it.
- For car or motorcycle tires, directly connect the other end of the air tube to the tire's valve stem by screwing it on.
- For bicycles, balls, or other inflatables, select the appropriate nozzle from the accessories and attach it to the air tube before connecting to the item.
5. Operating Instructions
5.1 Powering On and Setting Pressure
- Long press the Power button (U) to turn on the device. The LED screen will display the real-time tire pressure and a preset value.
- Press the Mode Switch (M) to cycle through the 5 preset inflation modes: Car, Motorcycle, Bicycle, Ball, and Custom. Each mode has a default preset pressure.
- To adjust the preset pressure, use the Preset Plus (+) and Preset Minus (-) buttons.
- To change the pressure unit, press the Unit Switch (U) button to cycle between PSI, KPA, BAR, and KG/CM².
5.2 Inflation Process
- Ensure the air tube is securely connected to both the inflator and the item to be inflated.
- Once the desired pressure is set, quick press the Power button (U) to begin inflation.
- The device will display the real-time pressure as it inflates.
- The inflator will automatically stop once the real-time pressure reaches the preset value.
- Carefully disconnect the air tube from the item. Be quick when unscrewing from tire valves to minimize air loss.

5.3 Using as Power Bank and Flashlight
- Power Bank: The device can act as a 10W power bank. Connect your electronic device (e.g., smartphone) to the USB-A or USB-C output port using a compatible cable to charge it.
- LED Light: Quick press the LED Light button (sun icon) to turn on the steady LED light. Press again to activate the flashing red emergency light. Press a third time to turn off the light.
6. Maintenance
- Cleaning: Wipe the device with a soft, damp cloth. Do not use harsh chemicals or abrasive cleaners.
- Storage: Store the inflator and its accessories in the provided storage bag in a cool, dry place, away from direct sunlight and extreme temperatures.
- Air Tube: The inflation tube is equipped with an insulated silicone sleeve. If continuous use exceeds 15 minutes, stop operation to allow the device to cool down.
- Battery Care: To prolong battery life, avoid fully discharging the battery frequently. Charge the device regularly, even if not in use.
7. Troubleshooting
- Device not turning on: Ensure the battery is charged. If using the 12V DC car power cord, check the vehicle's power outlet and the DC access fuse.
- No inflation or slow inflation: Check that the air tube is securely connected to both the inflator and the item. Ensure the correct nozzle is used and properly attached. Verify the preset pressure is higher than the current pressure.
- Inaccurate pressure reading: Ensure the air tube is tightly screwed onto the valve stem to prevent air leakage during measurement.
- Device overheating: If the device becomes excessively hot, stop operation immediately and allow it to cool down for at least 15-20 minutes before resuming use. Avoid continuous operation for extended periods.
8. Specifications
| Feature | Specification |
|---|---|
| Brand | ROTOPATA |
| Model Name | AP-S6 (Smart Air Pump) |
| Maximum Operating Pressure | 150 PSI |
| Air Flow Capacity | 35 Liters Per Minute |
| Battery Capacity | 7500 mAh (Lithium Ion) |
| Power Source | Battery Powered, 12V DC Car Power Cord |
| Voltage | 5 Volts |
| Maximum Power | 10 Watts |
| Noise Level | 85 Decibels |
| Product Dimensions | 6.95"L x 2.85"W x 1.97"H |
| Item Weight | 1.68 pounds (760 Grams) |
| Hose Length | 30 Centimeters |
| Special Features | Automatic Shut-Off, Cordless, LCD Display, LED Light, Quick Inflation, Power Bank Function |
| UPC | 797434940988 |
9. Warranty and Support
This ROTOPATA product comes with a 1-Year Warranty from the date of purchase. For warranty claims, technical support, or any inquiries regarding your device, please contact ROTOPATA customer service through the retailer where the product was purchased or visit the official ROTOPATA website for contact information.
Please have your model number (AP-S6) and proof of purchase ready when contacting support.