Introduction
Thank you for choosing the Oster 3-in-1 Kitchen System 700 Watt Blender. This appliance is designed to provide versatile blending, chopping, and personal blending capabilities for your kitchen needs. To ensure safe and efficient operation, please read this instruction manual thoroughly before first use and retain it for future reference.
Important Safeguards
When using electrical appliances, basic safety precautions should always be followed to reduce the risk of fire, electric shock, and/or injury to persons, including the following:
- Read all instructions before operating the appliance.
- To protect against electrical shock, do not immerse cord, plugs, or appliance in water or other liquid.
- Close supervision is necessary when any appliance is used by or near children.
- Unplug from outlet when not in use, before putting on or taking off parts, and before cleaning.
- Avoid contact with moving parts.
- Do not operate any appliance with a damaged cord or plug or after the appliance malfunctions or has been dropped or damaged in any manner. Return appliance to the nearest authorized service facility for examination, repair, or electrical or mechanical adjustment.
- The use of attachments not recommended or sold by the manufacturer may cause fire, electric shock, or injury.
- Do not use outdoors.
- Do not let cord hang over edge of table or counter or touch hot surfaces.
- Keep hands and utensils out of container while blending to prevent the possibility of severe injury to persons or damage to the blender. A scraper may be used but must be used only when the blender is not running.
- Blades are sharp. Handle carefully.
- Always operate blender with lid in place.
- When blending hot liquids, use caution as steam can build up and cause burns.
- Do not use appliance for other than intended use.
Parts and Features
Familiarize yourself with the components of your Oster 3-in-1 Kitchen System:
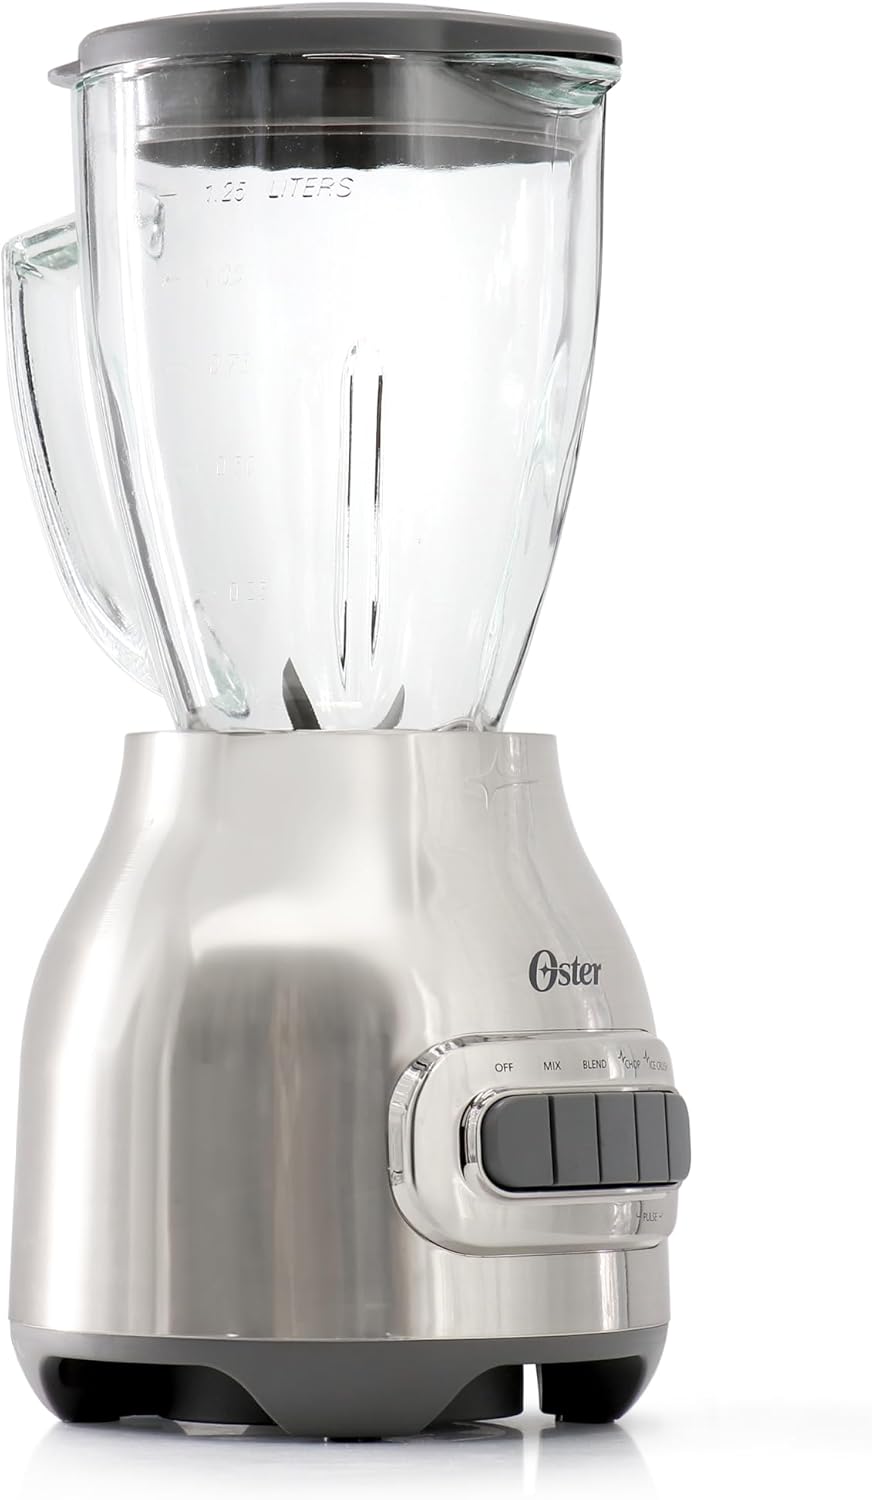
- Blender Base: Contains the motor and control panel.
- Glass Blending Jar: 1.25-liter capacity for larger blending tasks.
- Blender Blade Assembly: Detachable blade for the glass jar.
- Blender Jar Lid: With removable filler cap.
- Blend-N-Go Cup: Personal blending cup for single servings.
- Blend-N-Go Blade Assembly: Specific blade for the Blend-N-Go cup.
- Food Processor Attachment: Bowl, lid, and chopping blade for food processing tasks.
- Control Panel: Buttons for OFF, MIX, BLEND, CHOP, ICE CRUSH, and PULSE.


Setup
Before First Use
- Unpack all components and remove any packaging materials.
- Wash the glass blending jar, blender blade assembly, jar lid, Blend-N-Go cup, Blend-N-Go blade assembly, food processor bowl, lid, and chopping blade in warm, soapy water. Rinse thoroughly and dry.
- Wipe the blender base with a damp cloth. Do not immerse the base in water.
Assembling the Blender Jar
- Place the sealing ring onto the blender blade assembly.
- Insert the blade assembly into the bottom opening of the glass jar.
- Screw the threaded base onto the bottom of the jar until secure.
- Place the assembled jar onto the blender base, ensuring it is seated firmly.
- Place the lid onto the jar.
Assembling the Blend-N-Go Cup
- Fill the Blend-N-Go cup with ingredients. Do not overfill past the MAX line.
- Screw the Blend-N-Go blade assembly onto the open end of the cup until secure.
- Invert the cup and place it onto the blender base, aligning the tabs.
Assembling the Food Processor Attachment
- Place the food processor bowl onto the blender base, aligning the tabs and twisting to lock.
- Carefully place the chopping blade onto the central spindle inside the bowl.
- Add ingredients to the bowl.
- Place the food processor lid onto the bowl, aligning and twisting to lock.
Operating Instructions
Always ensure the appliance is unplugged before assembling or disassembling parts.
General Blending Tips
- For best results, always add liquids first, then soft ingredients, then hard ingredients, and finally ice.
- Do not overfill the blending jar or cup.
- If ingredients are not circulating, turn off the blender, remove the lid, and use a spatula to push ingredients towards the blades. Replace lid and continue blending.
Using the Blender Jar
- Ensure the blender jar is properly assembled and seated on the base.
- Add ingredients to the jar. Do not exceed the maximum fill line.
- Secure the lid firmly onto the jar.
- Plug the blender into a standard electrical outlet.
- Select the desired speed setting (MIX, BLEND, CHOP, ICE CRUSH) by pressing the corresponding button. For short bursts of power, press and hold the PULSE button. Release to stop.
- To stop blending, press the OFF button.
- Unplug the blender before removing the jar.
Using the Blend-N-Go Cup
- Prepare the Blend-N-Go cup with ingredients and attach the blade assembly as described in the Setup section.
- Invert the cup and place it onto the blender base, ensuring it locks into place.
- Plug the blender into an electrical outlet.
- Press the BLEND or PULSE button to start blending.
- Once blending is complete, press the OFF button.
- Unplug the blender, then remove the Blend-N-Go cup from the base.
- Carefully unscrew the blade assembly and replace it with the travel lid (if included).
Using the Food Processor Attachment
- Assemble the food processor attachment on the blender base as described in the Setup section.
- Add ingredients to the food processor bowl.
- Secure the lid.
- Plug the blender into an electrical outlet.
- Use the CHOP or PULSE setting for processing. Do not continuously run the food processor for extended periods; use short pulses for better control.
- To stop, press the OFF button.
- Unplug the blender before removing the food processor lid and bowl.

Care and Cleaning
Proper cleaning ensures the longevity and hygiene of your appliance.
Cleaning the Blender Base
- Always unplug the blender before cleaning.
- Wipe the blender base with a damp cloth. Do not immerse the base in water or any other liquid.
- Do not use abrasive cleaners or scouring pads, as they may scratch the surface.
Cleaning the Blending Jar, Blend-N-Go Cup, and Food Processor Parts
- Disassemble all removable parts: glass jar, blade assembly, lid, Blend-N-Go cup, Blend-N-Go blade assembly, food processor bowl, lid, and chopping blade.
- Wash these parts in warm, soapy water. Rinse thoroughly and dry.
- The glass blending jar, Blend-N-Go cup, and food processor bowl are generally dishwasher-safe (top rack recommended). Refer to the product packaging or manufacturer's website for specific dishwasher compatibility.
- Exercise caution when handling the blades, as they are sharp.
Troubleshooting
If you encounter issues with your blender, refer to the following common problems and solutions:
| Problem | Possible Cause | Solution |
|---|---|---|
| Blender does not turn on. | Not plugged in; power outlet not working; appliance not assembled correctly. | Ensure the power cord is securely plugged into a working outlet. Check if the jar/cup/food processor is correctly seated and locked onto the base. |
| Motor struggles or stops. | Too many ingredients; ingredients are too thick; motor overheating. | Reduce the amount of ingredients. Add more liquid. Use the PULSE function or a lower speed. If overheated, unplug and let cool for 15-20 minutes before restarting. |
| Contents leak from bottom of jar/cup. | Blade assembly not tightened; sealing ring missing or improperly placed. | Ensure the blade assembly is securely tightened onto the jar/cup. Check that the sealing ring is correctly positioned on the blade assembly. |
| Ingredients not blending smoothly. | Not enough liquid; ingredients stuck; incorrect speed setting. | Add more liquid. Turn off the blender, remove the lid, and use a spatula to redistribute ingredients. Select a higher speed or use the PULSE function. |
Specifications
- Brand: Oster
- Model: 3-in-1 Kitchen System 700 Watt Blender
- Power: 700 Watts
- Blender Jar Capacity: 1.25 Liters
- Product Dimensions: 7.2"D x 6.5"W x 6.5"H
- Item Weight: 7 pounds
- Control Type: Manual Push Button
- Container Material: Glass (Blender Jar), Plastic (Blend-N-Go Cup, Food Processor)
- Blade Material: Plastic (likely referring to the blade housing, actual blades are metal)
- Special Feature: 3-in-1 Kitchen System (Blender, Blend-N-Go, Food Processor)
Warranty
This Oster appliance comes with a limited warranty. For detailed information regarding warranty coverage, terms, and conditions, please refer to the warranty card included with your product or visit the official Oster website. Keep your purchase receipt as proof of purchase for warranty claims.
Customer Support
If you have any questions, require assistance, or need to report an issue with your Oster 3-in-1 Kitchen System, please contact Oster customer service. You can typically find contact information on the manufacturer's website or in the product packaging.
For more information, visit the Oster Store on Amazon.


