1. Introduction
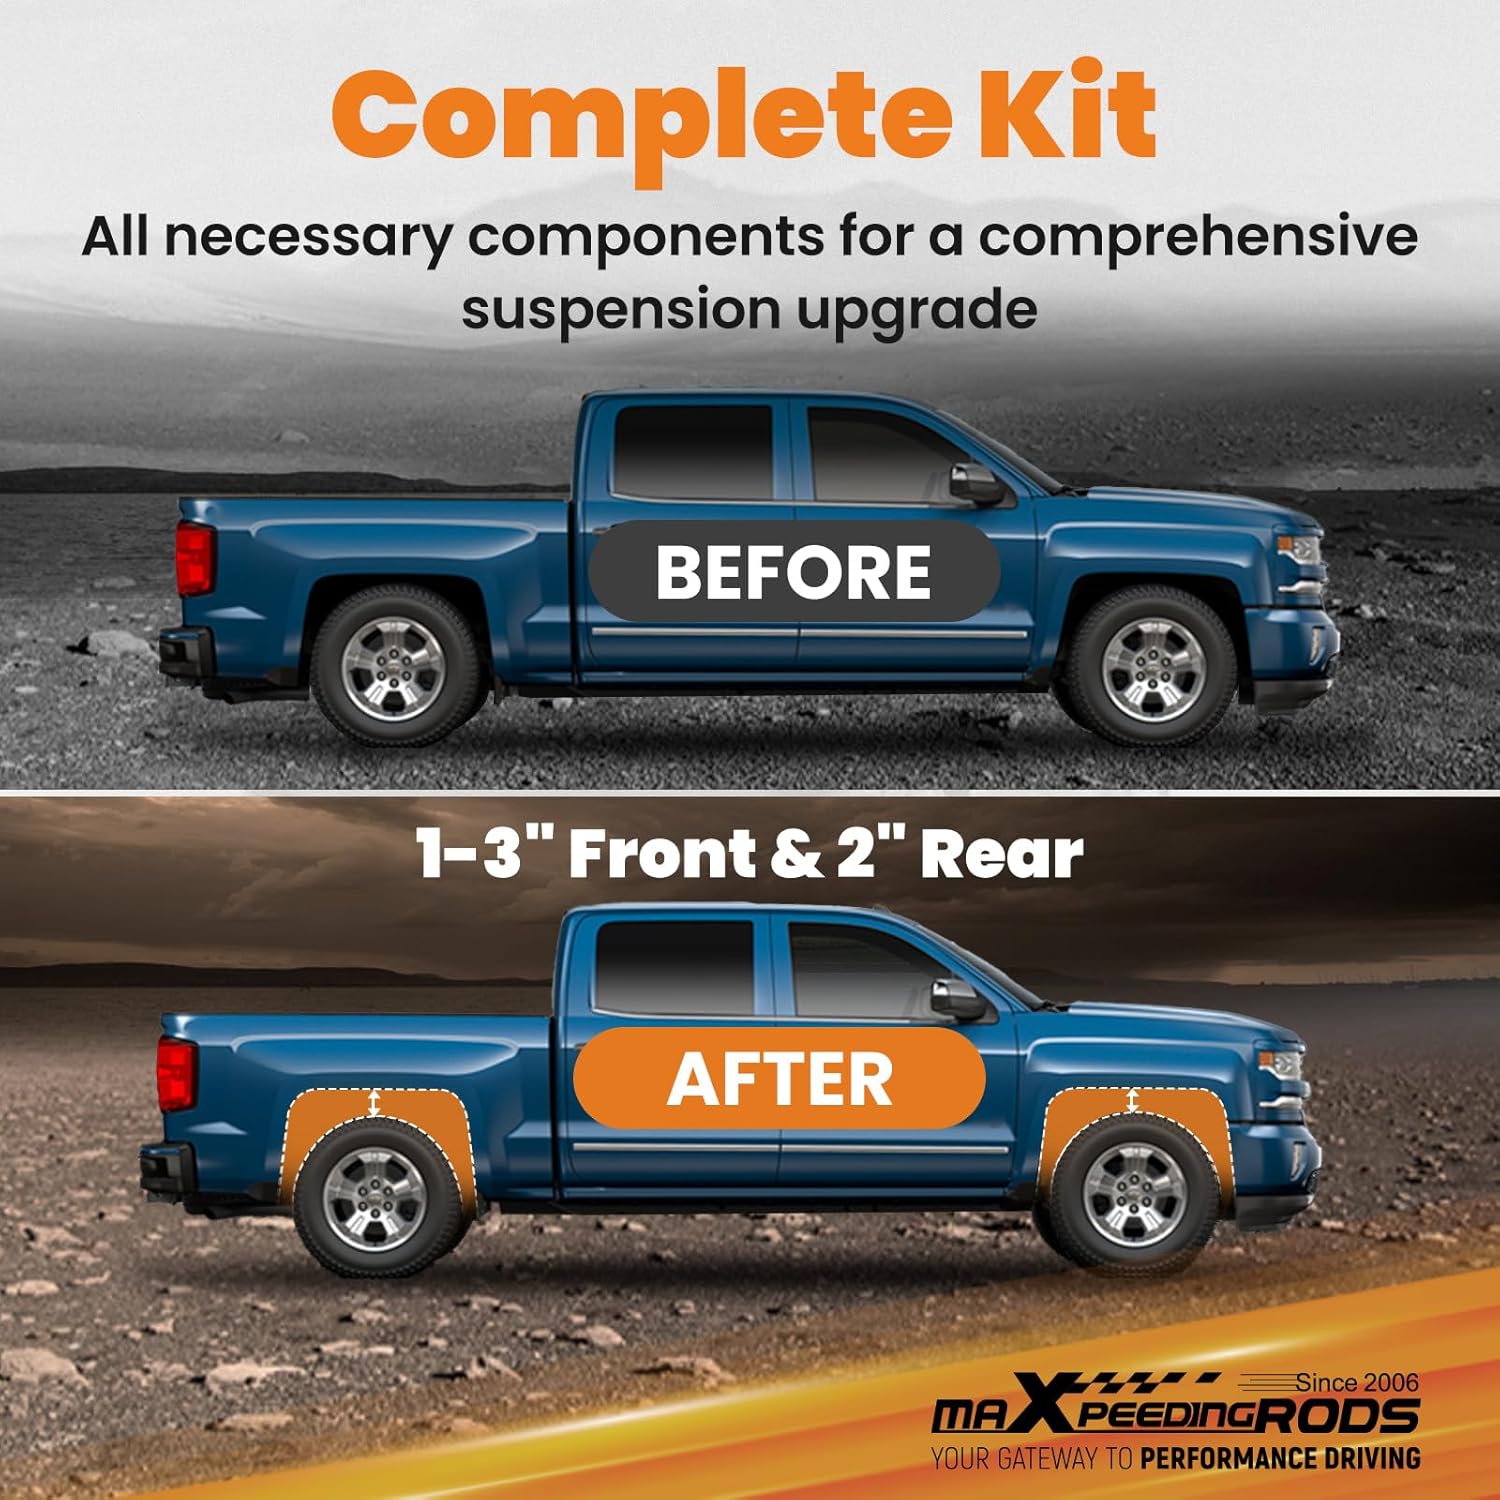
This manual provides detailed instructions for the proper installation, operation, and maintenance of your maXpeedingrods 1-3" Front & 2" Rear Leveling Lift Kit. This kit is designed to balance the front and rear of your truck, providing a more leveled stance and allowing for larger tires up to 33 inches. Please read all instructions thoroughly before beginning installation.
Note: This kit is not compatible with vehicles equipped with air or bag suspensions.
2. Safety Information
Installation of this leveling lift kit requires mechanical knowledge and specialized tools. It is recommended that installation be performed by a certified professional. If you choose to install it yourself, ensure you have the necessary tools, safety equipment, and expertise.
- Always use appropriate personal protective equipment, including safety glasses and gloves.
- Ensure the vehicle is on a stable, level surface and properly supported with jack stands before beginning any work.
- Never work under a vehicle supported only by a jack.
- Follow all torque specifications provided in your vehicle's service manual.
- After installation, a professional wheel alignment is highly recommended to ensure proper vehicle handling and tire wear.
- Regularly inspect all suspension components for wear or damage.
3. Parts List
Verify that all components are present and undamaged before beginning installation.
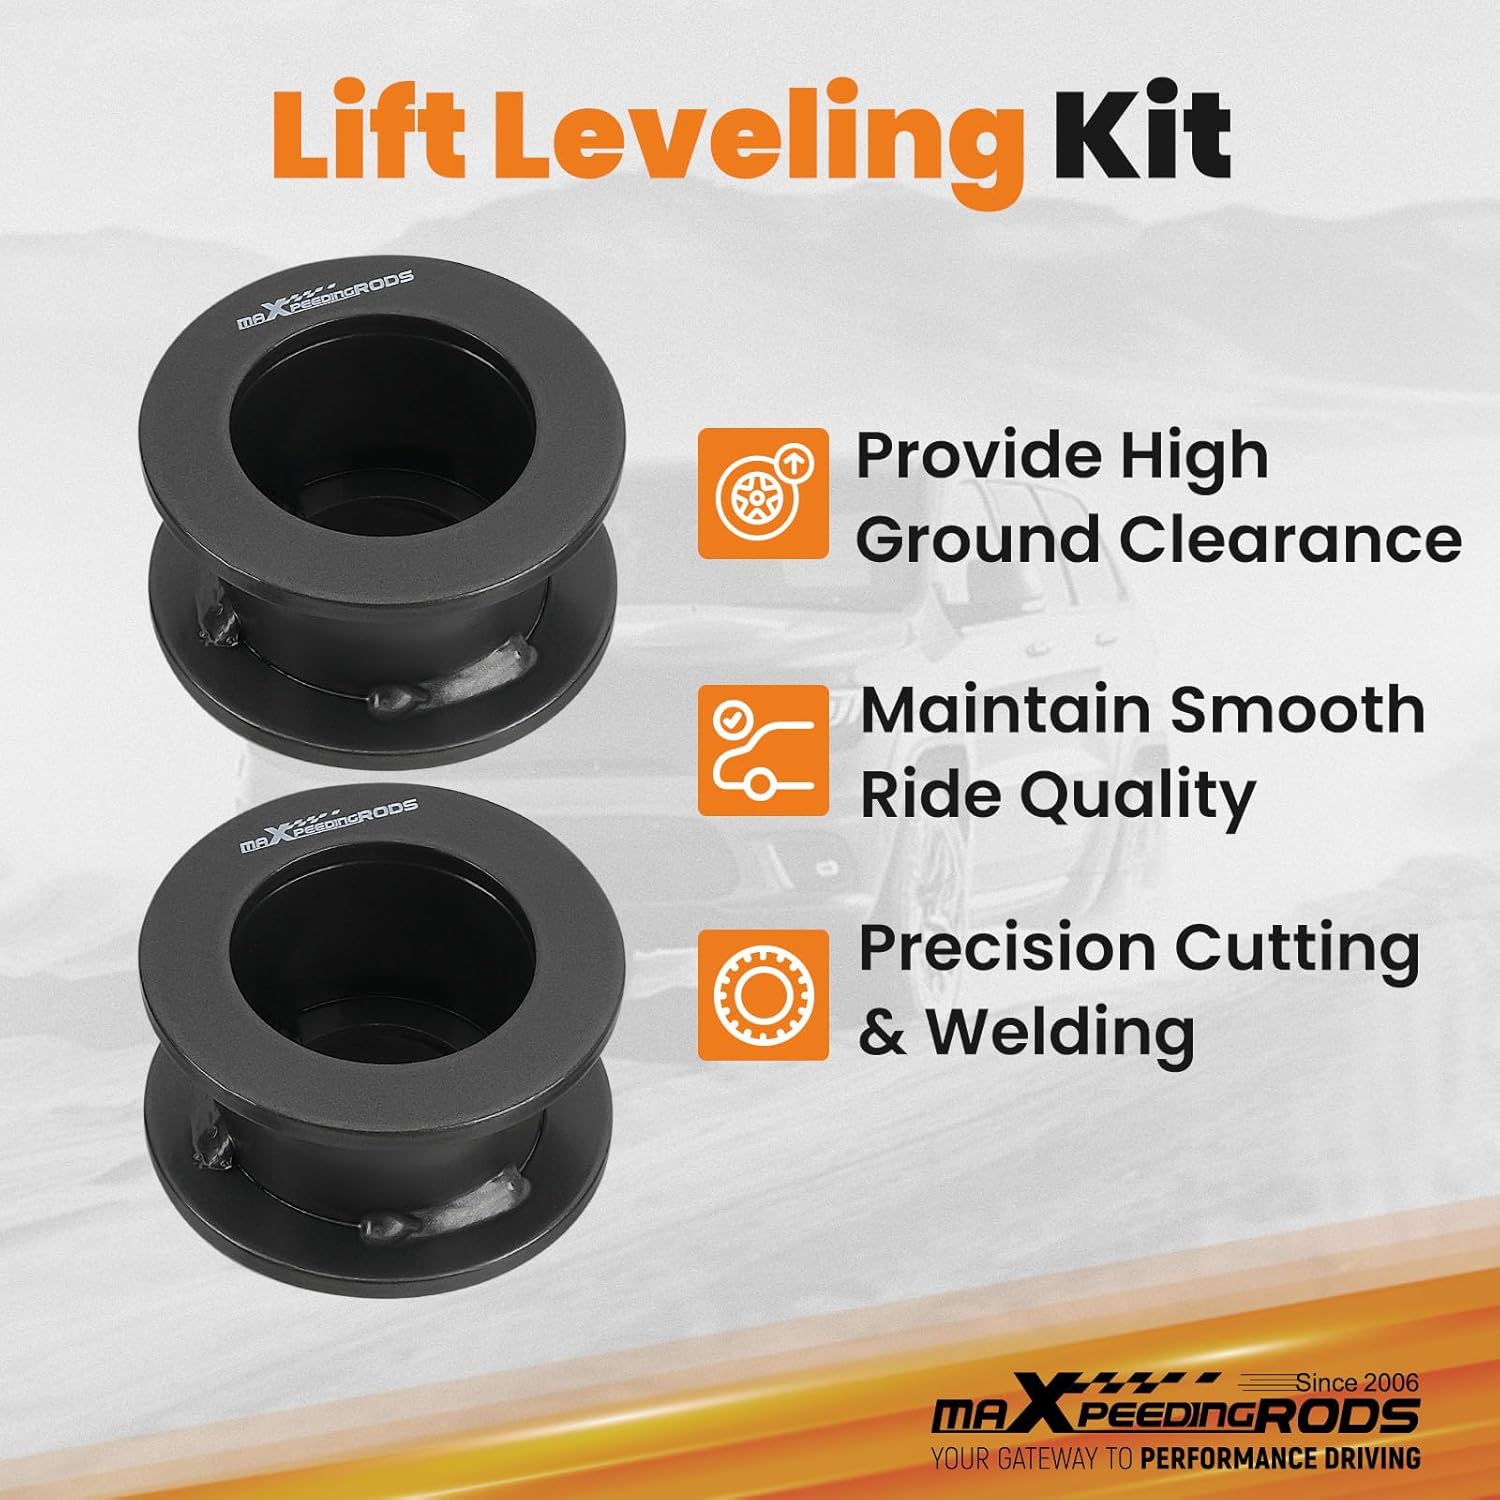
- 2 x Front Torsion Bar Keys (Adjustable 1-3" lift)
- 2 x Front Shock Extenders
- 2 x Rear Lift Spacers (2" lift)
- 2 x Rear Shock Extenders
- Necessary hardware (bolts, washers, nuts)

4. Setup and Pre-Installation
Before starting, gather all necessary tools and ensure a safe working environment.
4.1. Required Tools
- Vehicle jack and jack stands
- Wheel chocks
- Socket wrench set
- Torque wrench
- Pry bar (optional, for leverage)
- Coil spring compressor (for rear spring removal/installation, if needed)
- Torsion bar unloading tool (for front torsion key adjustment)
4.2. Vehicle Preparation
- Park the vehicle on a flat, level surface.
- Engage the parking brake and place wheel chocks behind the rear wheels (for front work) or front wheels (for rear work).
- Loosen the lug nuts on the wheels to be removed.
- Jack up the vehicle and support it securely with jack stands on the frame.
- Remove the wheels.
5. Installation Instructions
5.1. Front Lift Installation (Torsion Bar Keys & Shock Extenders)
- Unload Torsion Bars: Use a torsion bar unloading tool to relieve tension on the factory torsion bar keys.
- Remove Factory Torsion Keys: Once tension is relieved, remove the factory torsion keys.
- Install New Torsion Keys: Install the maXpeedingrods torsion bar keys. These keys are reinforced for durability and allow for 1-3 inches of adjustable lift.
- Adjust Torsion Bars: Use the torsion bar unloading tool to apply tension to the new keys, adjusting to your desired lift height. Ensure both sides are set evenly.
- Install Front Shock Extenders: Attach the front shock extenders to the lower mounting point of the front shocks. This prevents over-extension of the shock absorbers due to the increased ride height.

5.2. Rear Lift Installation (Lift Spacers & Shock Extenders)
- Support Rear Axle: Place a jack under the rear axle to support its weight.
- Disconnect Lower Shock Mounts: Unbolt the lower mounts of the rear shock absorbers.
- Lower Axle: Slowly lower the rear axle with the jack until the coil springs are loose enough to be removed. Be cautious not to over-extend brake lines or ABS wires.
- Remove Factory Coil Springs: Carefully remove the factory coil springs.
- Install Rear Lift Spacers: Place the 2-inch rear lift spacers on top of the factory coil spring mounts on the axle. Ensure they are seated correctly.
- Reinstall Coil Springs: Place the factory coil springs back into position, ensuring they sit properly on the new spacers.
- Raise Axle & Reconnect Shocks: Slowly raise the rear axle with the jack, guiding the coil springs into their upper mounts. Reconnect the lower shock mounts using the provided rear shock extenders.

5.3. Final Steps
- Reinstall the wheels and torque the lug nuts to factory specifications.
- Lower the vehicle completely off the jack stands.
- Bounce the vehicle a few times to settle the suspension.
- Re-check all bolts and nuts to ensure they are properly tightened.
- Drive the vehicle a short distance and re-check all fasteners.
- Schedule a professional wheel alignment immediately after installation to prevent premature tire wear and ensure proper handling.
6. Operating Considerations
After installing the leveling lift kit, your vehicle will have an altered stance and potentially different handling characteristics. The increased ground clearance allows for larger tires and can improve the vehicle's aesthetic. Be aware of the new vehicle height, especially when entering garages or low-clearance areas.
7. Maintenance
Regular maintenance is crucial for the longevity and safety of your lifted vehicle.
- Initial Check: After the first 500 miles, re-torque all nuts and bolts associated with the lift kit installation.
- Routine Inspection: Periodically inspect all suspension components, including the lift kit parts, for any signs of wear, damage, or looseness.
- Alignment: Maintain proper wheel alignment as recommended by a professional.
- Cleaning: Keep suspension components clean from dirt and debris, especially after off-road use.
8. Troubleshooting
8.1. Uneven Vehicle Stance
- Cause: Incorrect torsion bar adjustment or improper seating of spacers.
- Solution: Re-check torsion bar adjustments to ensure both sides are equal. Verify that all spacers and springs are correctly seated.
8.2. Unusual Noises (Squeaks, Clunks)
- Cause: Loose fasteners, components rubbing, or improper installation of rubber isolators.
- Solution: Inspect all fasteners for proper torque. Check for any contact between suspension components and the vehicle frame or body. Ensure rubber isolators are correctly in place.
8.3. Poor Handling or Steering Issues
- Cause: Incorrect wheel alignment.
- Solution: Have a professional wheel alignment performed immediately.
If you encounter any issues not covered here, or if troubleshooting steps do not resolve the problem, contact maXpeedingrods customer support or consult a qualified automotive technician.
9. Specifications
| Brand | maXpeedingrods |
| Model Number | HL45MX |
| Front Lift Height | 1-3 Inches (Adjustable) |
| Rear Lift Height | 2 Inches |
| Item Weight | 17.31 pounds |
| Product Dimensions | 12.95 x 8.9 x 6.06 inches |
| Automotive Fit Type | Vehicle Specific Fit |
10. Warranty and Support
This maXpeedingrods leveling lift kit comes with a 1-year limited warranty for quality issues from the date of purchase. Additionally, lifetime technical support is provided.
For warranty claims, technical assistance, or any product-related inquiries, please contact maXpeedingrods customer service through their official channels or the retailer where the product was purchased.