1. Introduction
This instruction manual provides essential information for the proper installation, operation, and maintenance of your Putogesafe Hardwired & Wireless Interconnected Smoke and Carbon Monoxide Alarm Combo. This device is designed to detect both smoke and carbon monoxide, offering comprehensive protection for your home. Please read this manual thoroughly before installation and retain it for future reference.

Figure 1: Five Putogesafe Hardwired & Wireless Interconnected Smoke and Carbon Monoxide Alarms. This image displays five interconnected Putogesafe smoke and carbon monoxide alarms, illustrating their ability to form a synchronized safety network.
2. Safety Information
Adherence to the following safety guidelines is crucial for effective operation and to prevent damage or injury:
- Do not paint the alarm. Paint can clog the sensing chambers and prevent the alarm from functioning correctly.
- Do not install in areas with high humidity, extreme temperatures, or excessive dust.
- Test the alarm weekly to ensure proper functionality.
- Never ignore an alarm. Investigate the cause immediately.
- Ensure all household members are familiar with the alarm sounds and emergency procedures.
3. Package Contents
Verify that all items are present in your package:
- Putogesafe Hardwired & Wireless Interconnected Smoke and Carbon Monoxide Alarm Units (quantity as purchased, e.g., 5 packs)
- Mounting Brackets
- Mounting Screws and Anchors
- AA Batteries (pre-installed or included for backup)
- Instruction Manual
4. Product Features
The Putogesafe Hardwired & Wireless Interconnected Smoke and Carbon Monoxide Alarm Combo offers advanced features for enhanced home safety:
- Dual Smoke & Carbon Monoxide Detection: Provides comprehensive protection against two major household hazards in a single device.
- Advanced 360° Detection: Detects fire threats from any angle, triggering early alerts.
- Flexible Hardwired or Wireless Interconnection: Supports both hardwired and wireless setups, allowing connection of up to 18 units for a synchronized safety network.
- AC Powered with Replaceable Battery Backup: Operates on 120V AC power with 2 durable AA battery backup for continuous protection during power outages.
- Durable & Flame-Retardant: Constructed from high-quality flame-retardant materials for a 10-year lifespan.
- Accurate, Low-False Alarms: Utilizes dual-wavelength technology to differentiate between hazardous smoke and harmless particles, minimizing false alarms.
- Smart Voice Alerts: Provides clear voice alerts in both English and French.
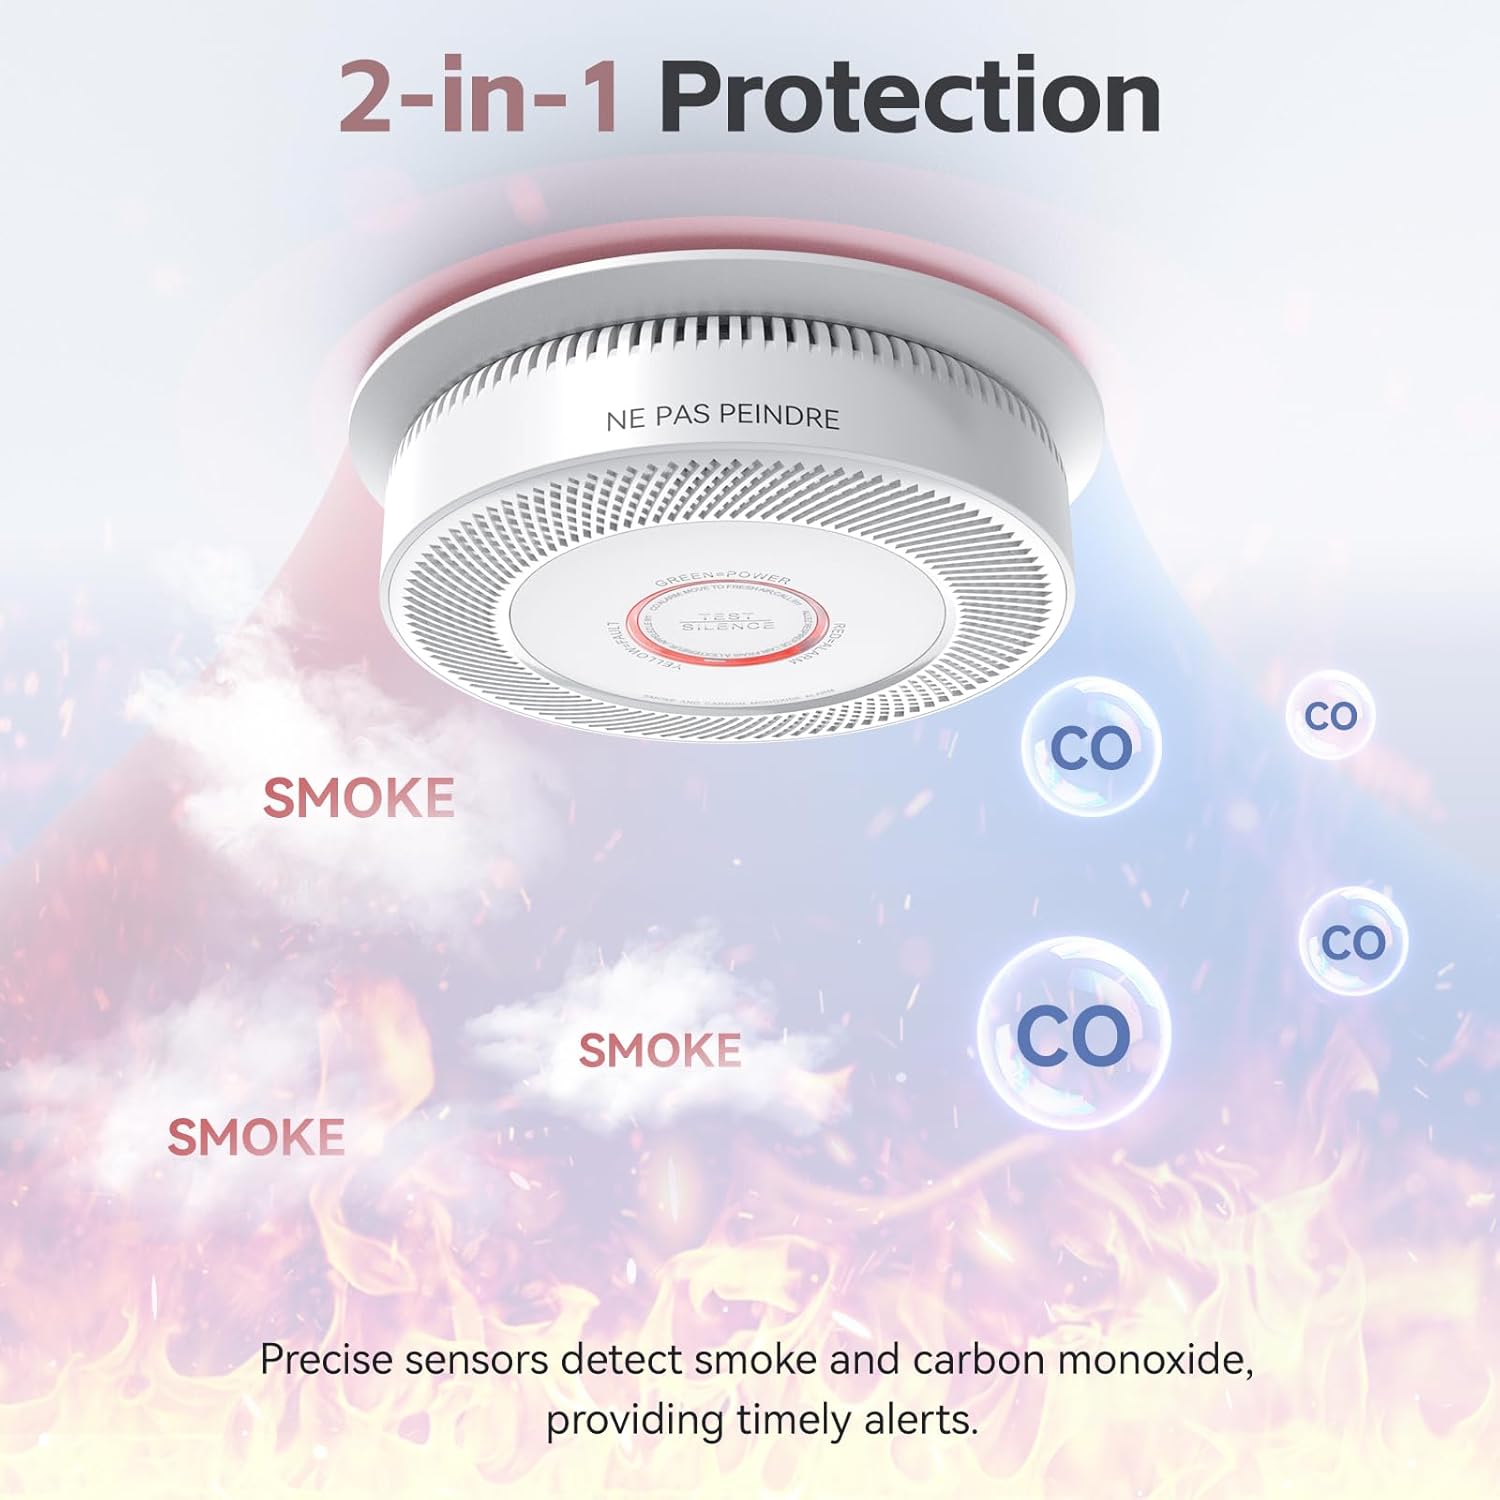
Figure 2: 2-in-1 Protection. An illustration demonstrating the alarm's dual functionality, detecting both smoke and carbon monoxide for comprehensive protection.
5. Setup and Installation
5.1 Choosing a Location
Install smoke and carbon monoxide alarms on every level of your home, inside each sleeping area, and in the hallway outside each sleeping area. For best results, follow local codes and standards.
5.2 Battery Installation
- Open the battery compartment on the back of the alarm.
- Insert the two AA batteries, ensuring correct polarity (+ and -).
- Close the battery compartment securely.

Figure 3: AC Powered with Replaceable Battery. This image shows the internal components, including the AC power connection and the compartment for the replaceable AA battery backup.
5.3 Mounting the Alarm
- Attach the mounting bracket to the ceiling or wall using the provided screws and anchors. Ensure the bracket is firmly secured.
- For hardwired installations, connect the alarm's wiring harness to your household electrical wiring according to local electrical codes. Typically, this involves connecting the black wire to live, white to neutral, and red/orange to the interconnect wire.
- Align the alarm with the mounting bracket and twist clockwise until it locks into place.

Figure 4: Compatible with Most Junction Box Sizes. This diagram illustrates the alarm's backplate design, which is compatible with a wide range of standard junction box sizes for flexible installation.
5.4 Interconnection
This alarm supports both hardwired and wireless interconnection. Up to 18 units can be interconnected.
Hardwired Interconnection:
Connect the red/orange interconnect wire from each alarm to the corresponding interconnect wire in your household wiring. When one hardwired alarm detects a hazard, all interconnected hardwired alarms will sound.
Wireless Interconnection:
For wireless interconnection, follow the pairing instructions provided with your specific units. Typically, this involves pressing a button on one unit to designate it as the 'master' and then pairing other units to it. Once paired, if one wireless alarm detects a hazard, all interconnected wireless alarms will sound.
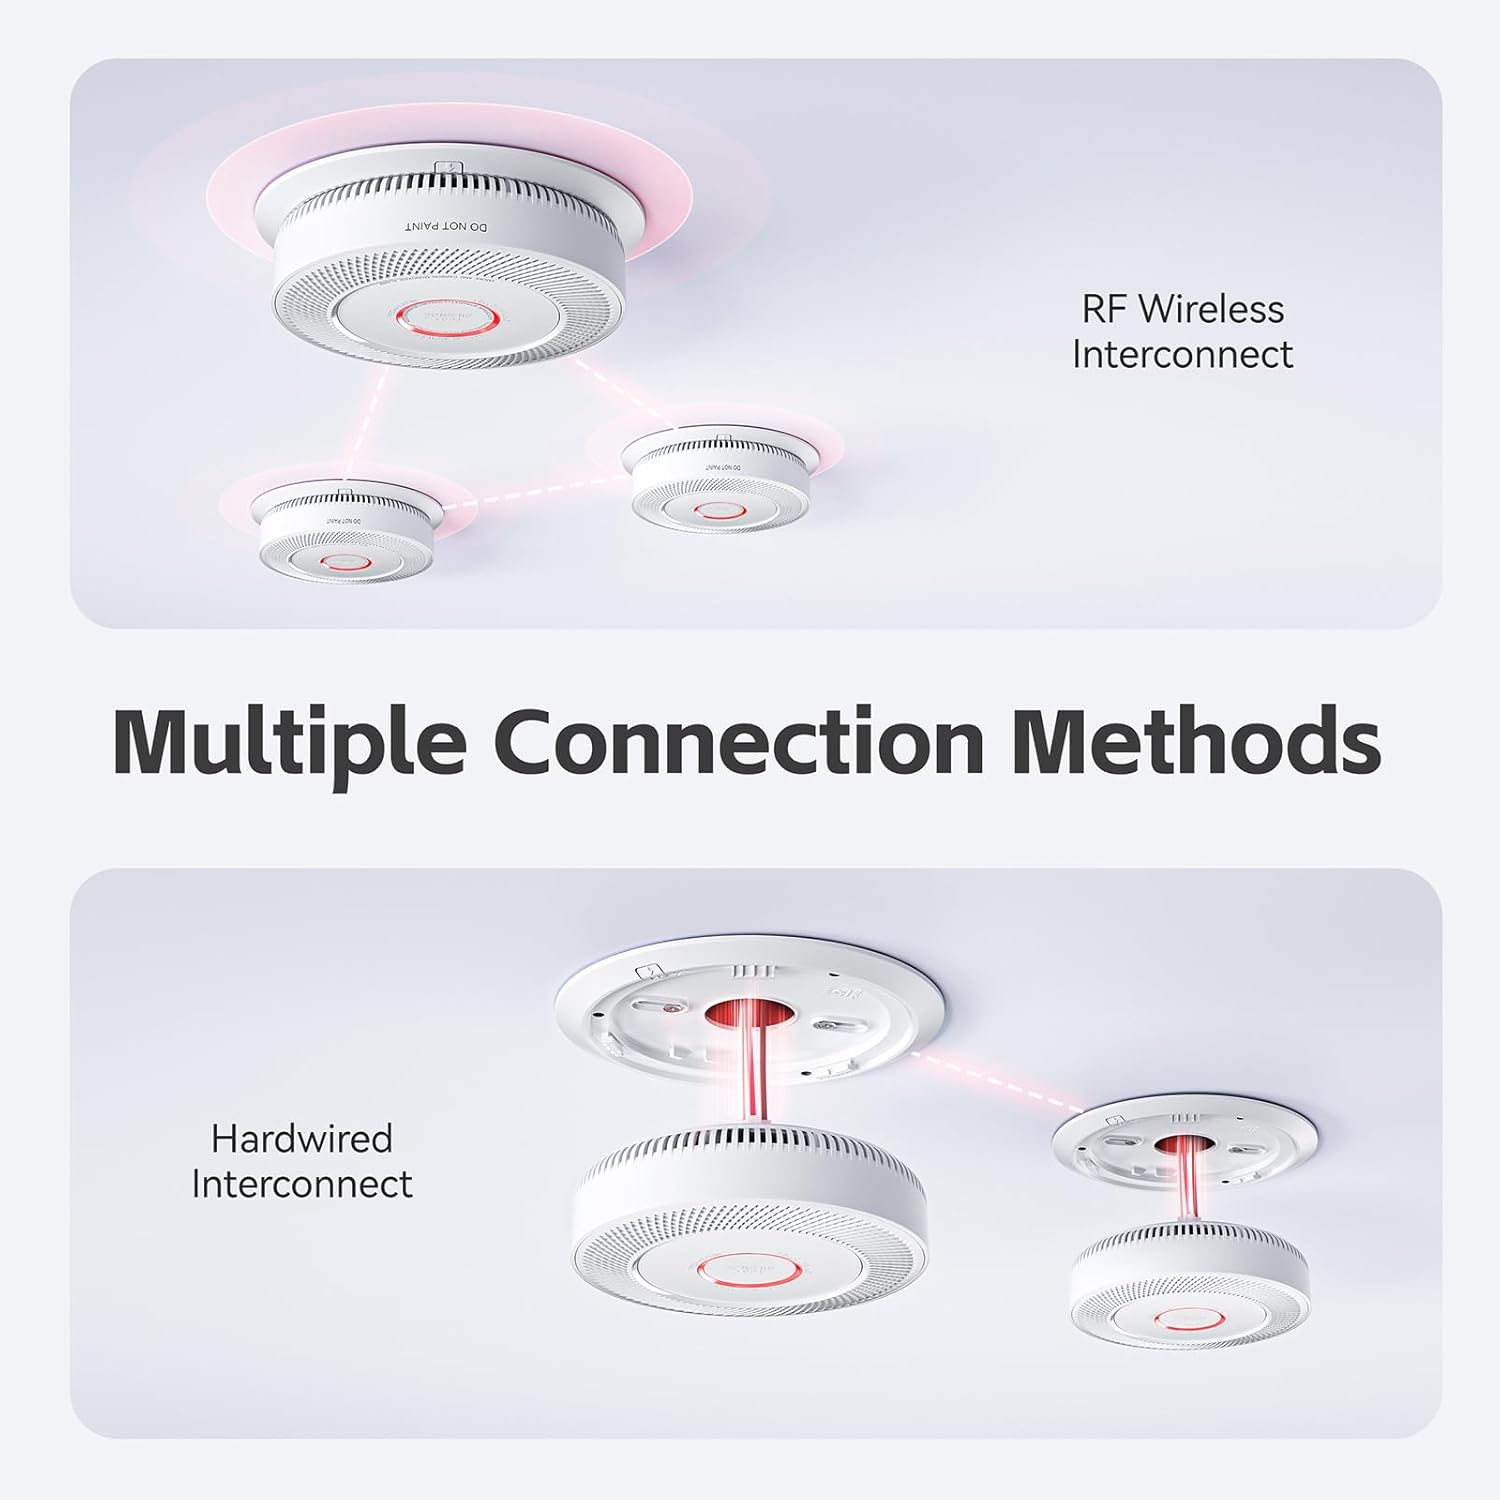
Figure 5: Multiple Connection Methods. A visual guide explaining the two connection methods: RF wireless for easy pairing and hardwired for direct electrical integration.

Figure 6: House Diagram with Interconnected Alarms. A diagram illustrating how multiple Putogesafe alarms can be interconnected throughout a home, ensuring comprehensive coverage.
6. Operating Instructions
6.1 Testing the Alarm
Press and hold the 'Test/Silence' button on the alarm for a few seconds. The alarm should sound, and the voice alert should announce the detected hazard (e.g., "Fire!" or "Warning, carbon monoxide"). Test all alarms weekly.
6.2 Silence Function
In case of a non-emergency alarm (e.g., from cooking fumes), press the 'Test/Silence' button to temporarily silence the alarm for approximately 10 minutes. The alarm will automatically reset after this period if the hazard has cleared.

Figure 7: Test/Silence Button. A close-up view of the alarm's central button used for testing and silencing the unit.
6.3 Voice Alerts
The alarm provides clear voice alerts in English and French to specify the type of hazard detected. For example, it may announce "Fire!" or "Warning, carbon monoxide."

Figure 8: Smart Voice Alerts. This image illustrates the smart voice alert feature, providing clear warnings in both English and French for enhanced safety.
6.4 Distinguishing Master and Slave Alarms
When an alarm event occurs in an interconnected system:
- Master (Host) Alarm: The alarm that initially detected the danger will sound and its red LED will flash.
- Slave Alarms: Other interconnected alarms will sound but their red LEDs will not flash.
After the alarm stops:
- Master (Host) Alarm: Enters alarm memory state, with the red LED blinking once every 40 ± 5 seconds for 72 hours.
- Slave Alarms: Enter interconnection alarm memory state, with the red LED blinking every 1 second for 3 minutes.

Figure 9: Interconnected Alarm Activation. This image highlights the interconnected feature, showing that if one alarm detects danger, all connected units will activate simultaneously.
7. Maintenance
7.1 Battery Replacement
The alarm is equipped with a replaceable AA battery backup. When the batteries are low, the alarm will emit a chirp and/or a voice alert indicating "low battery." Replace both AA batteries immediately with new ones, ensuring correct polarity.
7.2 Cleaning Your Alarm
Clean your alarm at least once a month. Use a soft brush or a vacuum cleaner with a soft brush attachment to remove dust and debris from the alarm's vents and openings. Do not use water, cleaning solutions, or solvents, as these can damage the unit.
7.3 Regular Testing
Test your alarm weekly by pressing the 'Test/Silence' button. This ensures the alarm is functioning correctly.
8. Troubleshooting
| Problem | Possible Cause | Solution |
|---|---|---|
| Alarm chirps periodically | Low battery | Replace AA batteries immediately. |
| False alarms during cooking | Steam or cooking fumes | Press the 'Test/Silence' button to temporarily silence. Ensure proper ventilation in cooking areas. Relocate alarm if false alarms persist. |
| Alarm does not sound during test | No power, dead batteries, or unit malfunction | Check AC power connection. Replace batteries. If still unresponsive, replace the unit. |
| Interconnected alarms do not all sound | Interconnection issue | Verify hardwired connections or wireless pairing. Ensure all units are within range for wireless interconnection. |
| Fault warning (specific voice alert or LED pattern) | Internal sensor or circuit fault | Consult the full product manual for specific fault codes. If the fault persists, replace the unit. |
9. Specifications
| Specification | Detail |
|---|---|
| Brand | Putogesafe |
| Model Number | GS886A-3WCAR |
| Power Source | 120V AC with 2x AA Battery Backup |
| Sensor Type | Photoelectric (Smoke), Electrochemical (CO) |
| Alarm Type | Audible (85 dB at 10 feet) and Voice Alerts |
| Interconnection | Hardwired and Wireless (up to 18 units) |
| Product Dimensions | 5.51"D x 5.51"W x 1.7"H |
| Color | White |
| Material | ABS (Flame-Retardant) |
| Operating Humidity | Up to 95% RH non-condensing |
| Item Weight | 5.06 pounds (for 5 packs) |
| Lifespan | 10 Years |
10. Warranty and Support
For warranty information and technical support, please refer to the contact details provided on the product packaging or visit the official Putogesafe website. Keep your purchase receipt as proof of purchase.