Introduction
This instruction manual provides detailed guidance for installing and operating your BrickBling LED Light Kit, Classic Version, designed specifically for the Lego Technic NASA Apollo Lunar Roving Vehicle (Lego 42182). This kit enhances your model with illumination, making it a more dynamic display piece. Please note: The Lego model itself is not included with this light kit.
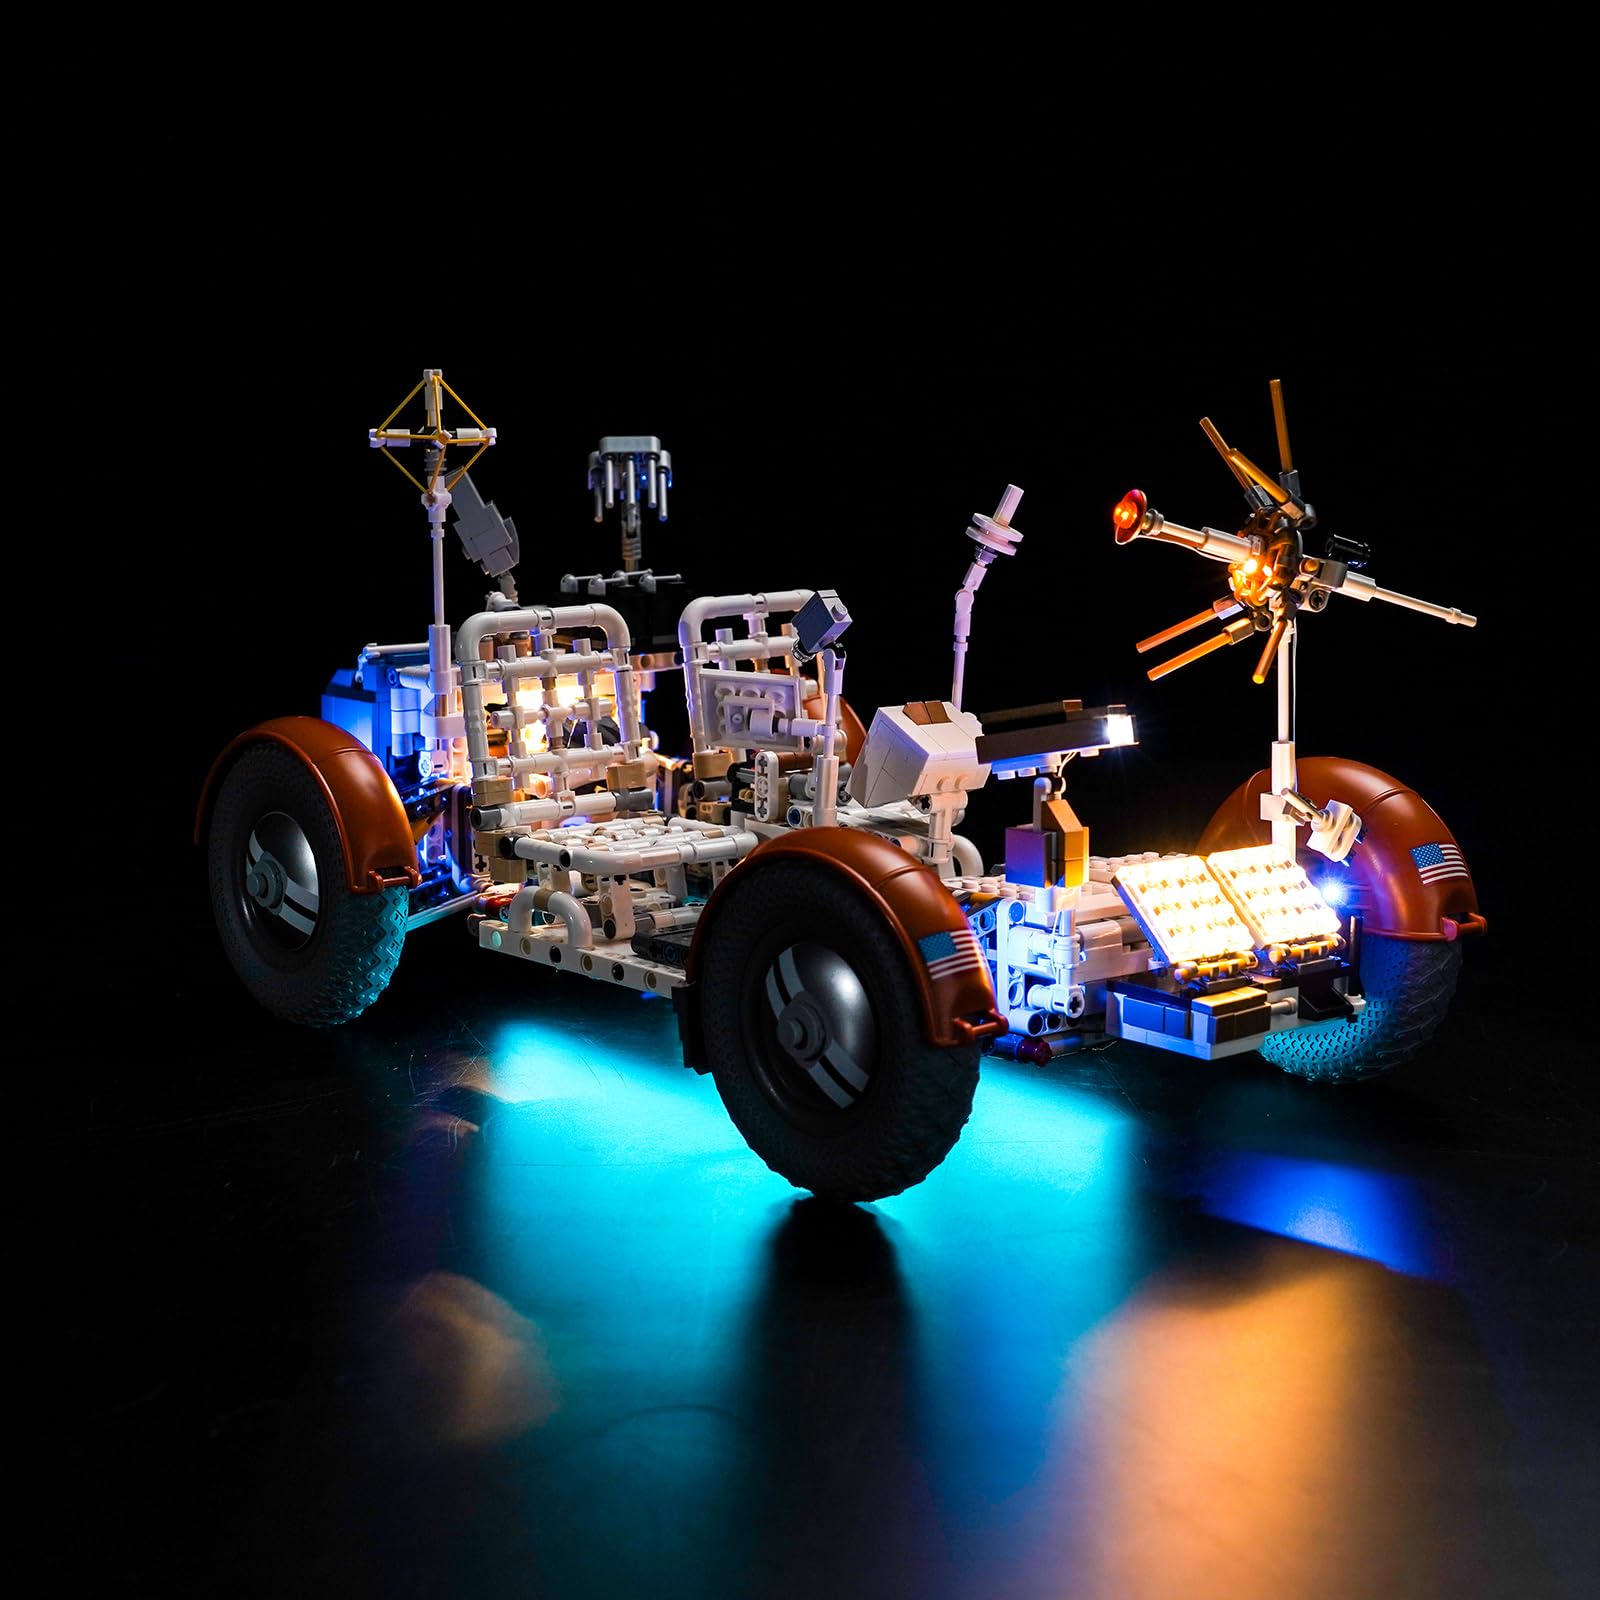
Image: BrickBling LED Light Kit packaging and the Lego Technic NASA Apollo Lunar Roving Vehicle model illuminated by the light kit.
What's in the Box
Your BrickBling LED Light Kit package should contain the following components:
- LED Light Kits
- Instruction Guide
- Connecting Cables (various lengths)
- Expansion Boards
- Power Supply (USB cable included)

Image: A visual representation of the various components included in the BrickBling LED Light Kit, such as LED strips, connecting cables, expansion boards, and the USB power supply.
Setup Instructions
Installation of the BrickBling LED Light Kit requires careful handling of small components and integration with your Lego Technic NASA Apollo Lunar Roving Vehicle (Lego 42182). For detailed, step-by-step installation guidance, please refer to the dedicated instruction manual included in your product package. This manual provides specific diagrams and instructions tailored to your model.
The light kit is powered via USB. A USB cable is included in the package. An external USB power source (such as a USB wall adapter or power bank) is required and is not included with this kit.

Image: The Lego Technic NASA Apollo Lunar Roving Vehicle model with the BrickBling LED lights integrated, illustrating the final appearance after installation.
Operating Instructions
Once the BrickBling LED Light Kit is fully installed into your Lego model and all connections are secure, connect the provided USB cable to a compatible USB power source. The lights will illuminate automatically. This Classic Version Light kit operates as a simple on/off system, controlled by connecting or disconnecting the USB power supply.

Image: A side-by-side comparison showing the Lego Lunar Roving Vehicle model both unlit and illuminated by the BrickBling LED light kit, highlighting the visual enhancement.
Maintenance
To ensure the longevity and optimal performance of your BrickBling LED Light Kit, follow these maintenance guidelines:
- Cleaning: Keep the light kit and your Lego model clean and free from dust. Use a soft, dry cloth for cleaning. Avoid using liquids, solvents, or abrasive cleaners, as these can damage the components.
- Connections: Periodically check all wire connections to ensure they remain secure and undamaged.
- Storage: If storing the model for an extended period, disconnect the power supply.
Troubleshooting
If you encounter issues with your BrickBling LED Light Kit, please refer to the following troubleshooting steps:
- Lights Not Turning On:
- Ensure the USB cable is securely connected to both the light kit and the power source.
- Verify that the USB power source (e.g., wall adapter, power bank) is functioning correctly. Try a different power source if available.
- Check all individual light connections and expansion board connections within the Lego model for any loose wires.
- Flickering Lights:
- Inspect all connections for looseness.
- Ensure the power source provides stable power.
- Damaged Components: If any components appear physically damaged, discontinue use and contact customer support.
If these steps do not resolve the issue, please contact BrickBling customer support for further assistance.
Specifications
| Model Name | Classic Version Light |
| Brand | BrickBling |
| Material | Acrylonitrile Butadiene Styrene (ABS) |
| Light Source Type | Light Emitting Diode (LED) |
| Power Source | Corded Electric (USB powered, external source required) |
| Number of Light Sources | 2 (as per product specifications) |
| Color (Kit Components) | Black |
Safety Information
WARNING: This product contains small parts which may pose a choking hazard. Not suitable for children under 3 years of age. Adult supervision is recommended during installation and use.
Warranty and Support
Specific warranty information for this product is not provided in the available data. For details regarding product warranty, returns, or technical support, please refer to the documentation included with your purchase or visit the official BrickBling website. You may also contact BrickBling customer service directly for assistance.