
1. Important Safety Instructions
Please read all instructions carefully before using this treadmill. Keep this manual for future reference.
- Always place the treadmill on a flat, stable surface.
- Ensure adequate clearance around the treadmill (at least 2 meters behind and 0.6 meters on each side).
- Keep children and pets away from the treadmill during operation.
- Use the safety key at all times. Attach the clip to your clothing before starting.
- Do not operate the treadmill if it has a damaged cord or plug, or if it is not working properly.
- Consult a physician before starting any exercise program.
- Wear appropriate athletic footwear and clothing.
- Do not use the treadmill outdoors or in damp areas.
- Maximum user weight capacity: 350 lbs (158 kg).
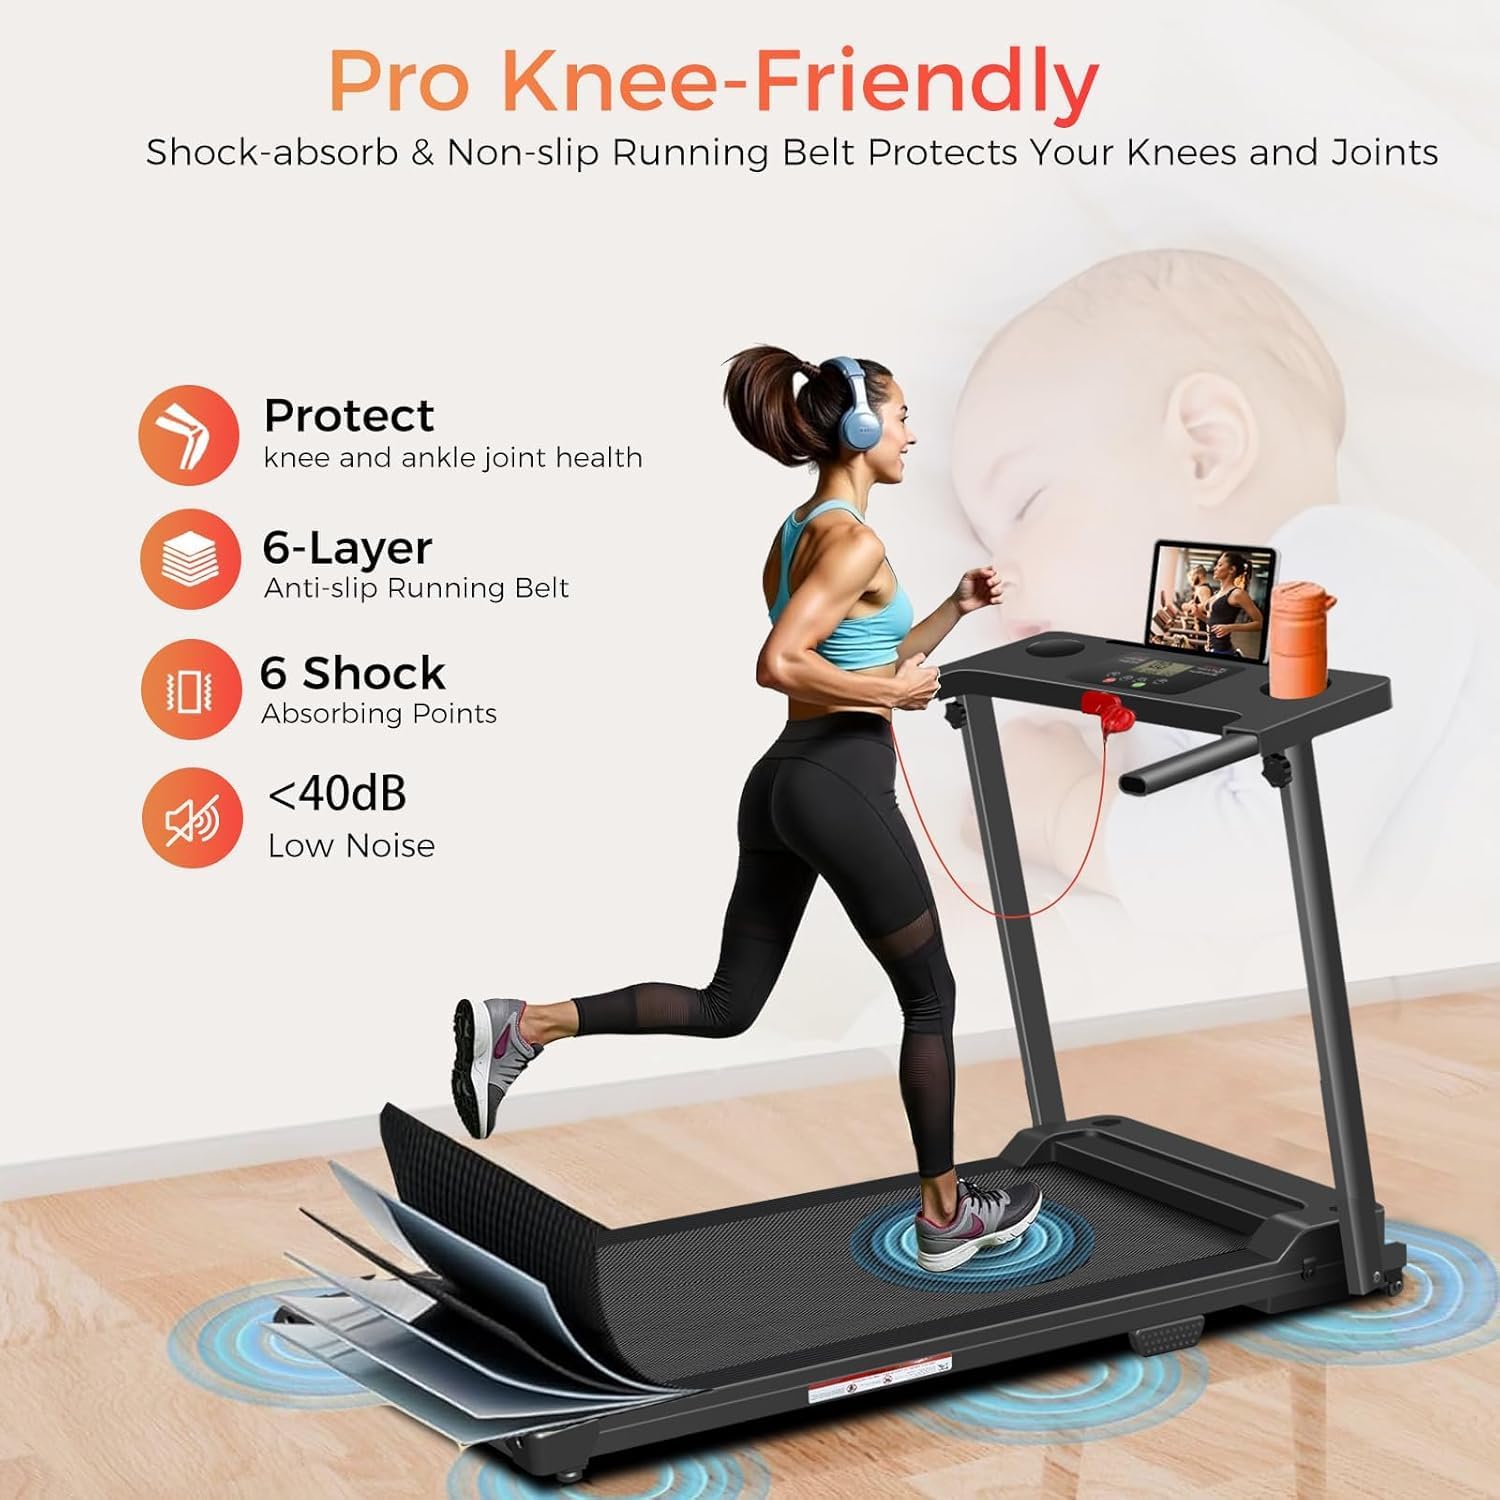
Image: The treadmill features a 7-layer anti-slip and shock-absorbing running belt with 6 buffering pivot points designed to protect knees and joints during exercise. It operates at a low noise level of under 40dB.
2. Product Components and Assembly
2.1 Package Contents
Verify that all components are present in the package:
- ApexNexus Portable Foldable Treadmill
- User Manual
- Power Cord
- Safety Key
- Lubricant
- Tool Kit (5mm Wrench x 1, 6mm Wrench x 1, Screwdriver x 1, Knobs x 4)
- Table Holder x 1

Image: A visual representation of the items included in the product package, such as wrenches, user manual, safety key, table holder, lubricant, knobs, and a screwdriver.
2.2 Setup and Unfolding
- Remove the treadmill from its packaging and place it on a clear, level surface.
- Gently unfold the handle bar from its folded position until it locks securely into place.
- Ensure all locking mechanisms are engaged before use.
- Connect the power cord to the treadmill and then to a grounded electrical outlet.

Image: This image illustrates the treadmill's foldable design, showing its dimensions when upright (47.6 inches high, 22.8 inches wide) and when folded flat (5.5 inches high). It also demonstrates how the treadmill can be easily moved using transport wheels and stored under a bed or sofa.
3. Operating Instructions
3.1 Control Panel and Display
The treadmill features an LED display and control buttons for easy operation.
- LED Display: Shows Speed, Time, Distance, and Calories burned.
- Buttons: Start, Pause, Speed Up (+), Speed Down (-), Program (P), Mode (M).

Image: A detailed view of the treadmill's LED display, showing current speed (6.2 MPH), time, and other metrics. The control panel includes buttons for start, pause, speed adjustment, program selection, and mode, along with an iPad stand and water cup holders.
3.2 Starting Your Workout
- Ensure the safety key is properly inserted into the console and the clip is attached to your clothing.
- Step onto the treadmill belt.
- Press the 'Start' button. The treadmill will begin at a low speed.
- Use the '+' and '-' buttons to adjust the speed to your desired level (0.6-6.2 MPH).
- To stop, press the 'Pause' button or pull the safety key.
3.3 Exercise Modes and Programs
The treadmill offers various exercise options:
- Manual Mode: Adjust speed manually using '+' and '-' buttons.
- Pre-set Programs (P1-P12): Press the 'Program' button to cycle through 12 pre-set workout programs. Each program has varying speed and incline profiles.
- Speed Ranges:
- Walking Speed: 0.6-2 MPH
- Jogging Speed: 2-4 MPH
- Running Speed: 5-6.2 MPH

Image: This graphic illustrates the different speed ranges for walking (0.6-2 MPH), jogging (2-4 MPH), and running (5-6.2 MPH) on the treadmill, showing individuals performing each activity.

Image: A visual representation of the 12 pre-set running programs (P1-P12) available on the treadmill, designed to help users burn calories effectively. The image also highlights features like shock absorption, knee protection, and easy folding.
4. Maintenance
Regular maintenance ensures the longevity and optimal performance of your treadmill.
4.1 Lubrication
The running belt requires periodic lubrication to reduce friction and wear. Use the provided lubricant.
| Usage Frequency | Maintenance Frequency |
|---|---|
| <3 Hours/Week | Every 60 days |
| 4-5 Hours/Week | Every 45 days |
| >5 Hours/Week | Every 30 days |
- Unplug the treadmill from the power outlet.
- Lift the edge of the running belt.
- Apply a small amount of lubricant evenly under the center of the belt.
- Plug in the treadmill and run it at a slow speed for 1-2 minutes to distribute the lubricant.

Image: A person's hands are shown applying lubricant to the underside of the treadmill belt, next to a table detailing the recommended lubrication schedule based on usage frequency.
4.2 Belt Adjustment
If the running belt becomes off-center or slips, it may need adjustment.
- Unplug the treadmill.
- Use the provided tool (wrench) to adjust the tension bolts at the rear of the treadmill.
- Turn the bolts in small increments (quarter turns) to center the belt or increase tension.
- Plug in and run the treadmill at a slow speed to check the adjustment. Repeat if necessary.

Image: A close-up view of a hand using a wrench to adjust the tension bolt at the rear of the treadmill, indicating how the belt can be easily adjusted with the provided tool.
5. Troubleshooting
Refer to this section for common issues and their solutions.
- Treadmill does not start: Ensure the power cord is securely plugged in and the safety key is correctly inserted. Check the power switch.
- Belt stops or slips: The running belt may need lubrication or adjustment. Refer to Section 4.
- Unusual noise: Check for loose parts. Lubricate the belt if a squeaking sound is heard. If the noise persists, discontinue use and contact customer support.
- Display not working: Ensure all connections are secure. If the issue persists, contact customer support.
6. Specifications
Key technical specifications for the ApexNexus Portable Foldable Treadmill:
| Feature | Specification |
|---|---|
| Model | Athletic |
| Motor Horsepower | 3.0 HP |
| Speed Range | 0.6 - 6.2 MPH |
| Maximum Weight Capacity | 350 LBS (158 kg) |
| Running Belt Dimensions | 41'' L x 15.4'' W |
| Product Dimensions (Unfolded) | 120 x 55 x 94.5 cm (47.2 x 21.7 x 37.2 inches) |
| Product Dimensions (Folded) | 48L x 22W x 5.5H inches |
| Item Weight | 23 kg (50.7 lbs) |
| Noise Level | Below 55dB (typically <40dB) |
| Display Type | LED (Speed, Time, Distance, Calories) |
| Number of Programs | 12 Pre-set Programs |
| Frame Material | Carbon Steel |
| Special Features | Compact Design, Foldable, Portable, Wheeled, Handle Bar |

Image: This graphic details the treadmill's 3.0 HP powerful brushless motor, speed range of 0.6-6.2 MPH, 350 LBS weight capacity, and low noise level of under 40dB, with an illustration of the motor's internal components.
7. Warranty and Support
7.1 Warranty Information
The ApexNexus Portable Foldable Treadmill comes with a 1-Year Warranty Service from the date of purchase. This warranty covers manufacturing defects and malfunctions under normal use. Please retain your proof of purchase for warranty claims.
7.2 Customer Support
For any questions, technical assistance, or warranty claims, please contact ApexNexus customer support. Refer to the contact information provided on our official website or your purchase documentation.

Image: A smiling customer service representative wearing a headset, symbolizing the availability of support for product inquiries.