
Introduction
The SWTHM 3 In 1 Modular Bar Gauge is a versatile woodworking tool designed for precise measurements and marking. This tool combines the functions of a modular stick gauge, a bar clamping positioning tool, and a scribe circle drawing ruler. Its modular design allows for multiple configurations to suit various measuring needs, including inside corner measurements, outside measurements, and circular pattern drawing. Constructed from durable metal, it ensures long-lasting performance and consistent accuracy for both professional craftsmen and hobbyists.
Package Contents
Before assembly, ensure all components are present:
- Draw circle positioning post (1)
- Pencil (2)
- Diagonal positioning head (2)
- Side slot positioning head (2)
- Inner frame positioning head (2)
- Nut positioning head (2)
- 178mm stainless steel column (2)
- 135mm stainless steel column (2)
- Position ruler body (2)
- Hex wrench (1)
- 313mm stainless steel column (2)

Setup and Assembly
The Modular Bar Gauge is designed for flexible assembly to suit various tasks. Follow these steps to set up your tool:
- Select Rods: Choose the appropriate length of stainless steel columns (135mm, 178mm, or 313mm) based on your measurement requirements. Multiple rods can be connected for extended lengths.
- Attach Positioning Heads: Slide the desired positioning heads (e.g., inner frame, side slot, nut, or diagonal) onto the stainless steel columns. Secure them in place using the brass thumb screws.
- For Circle Drawing: Insert the 'Draw circle positioning post' into one end of the assembled rod and a pencil into the designated slot on one of the positioning heads. Use the hex wrench to tighten the pencil securely.

Operating Instructions
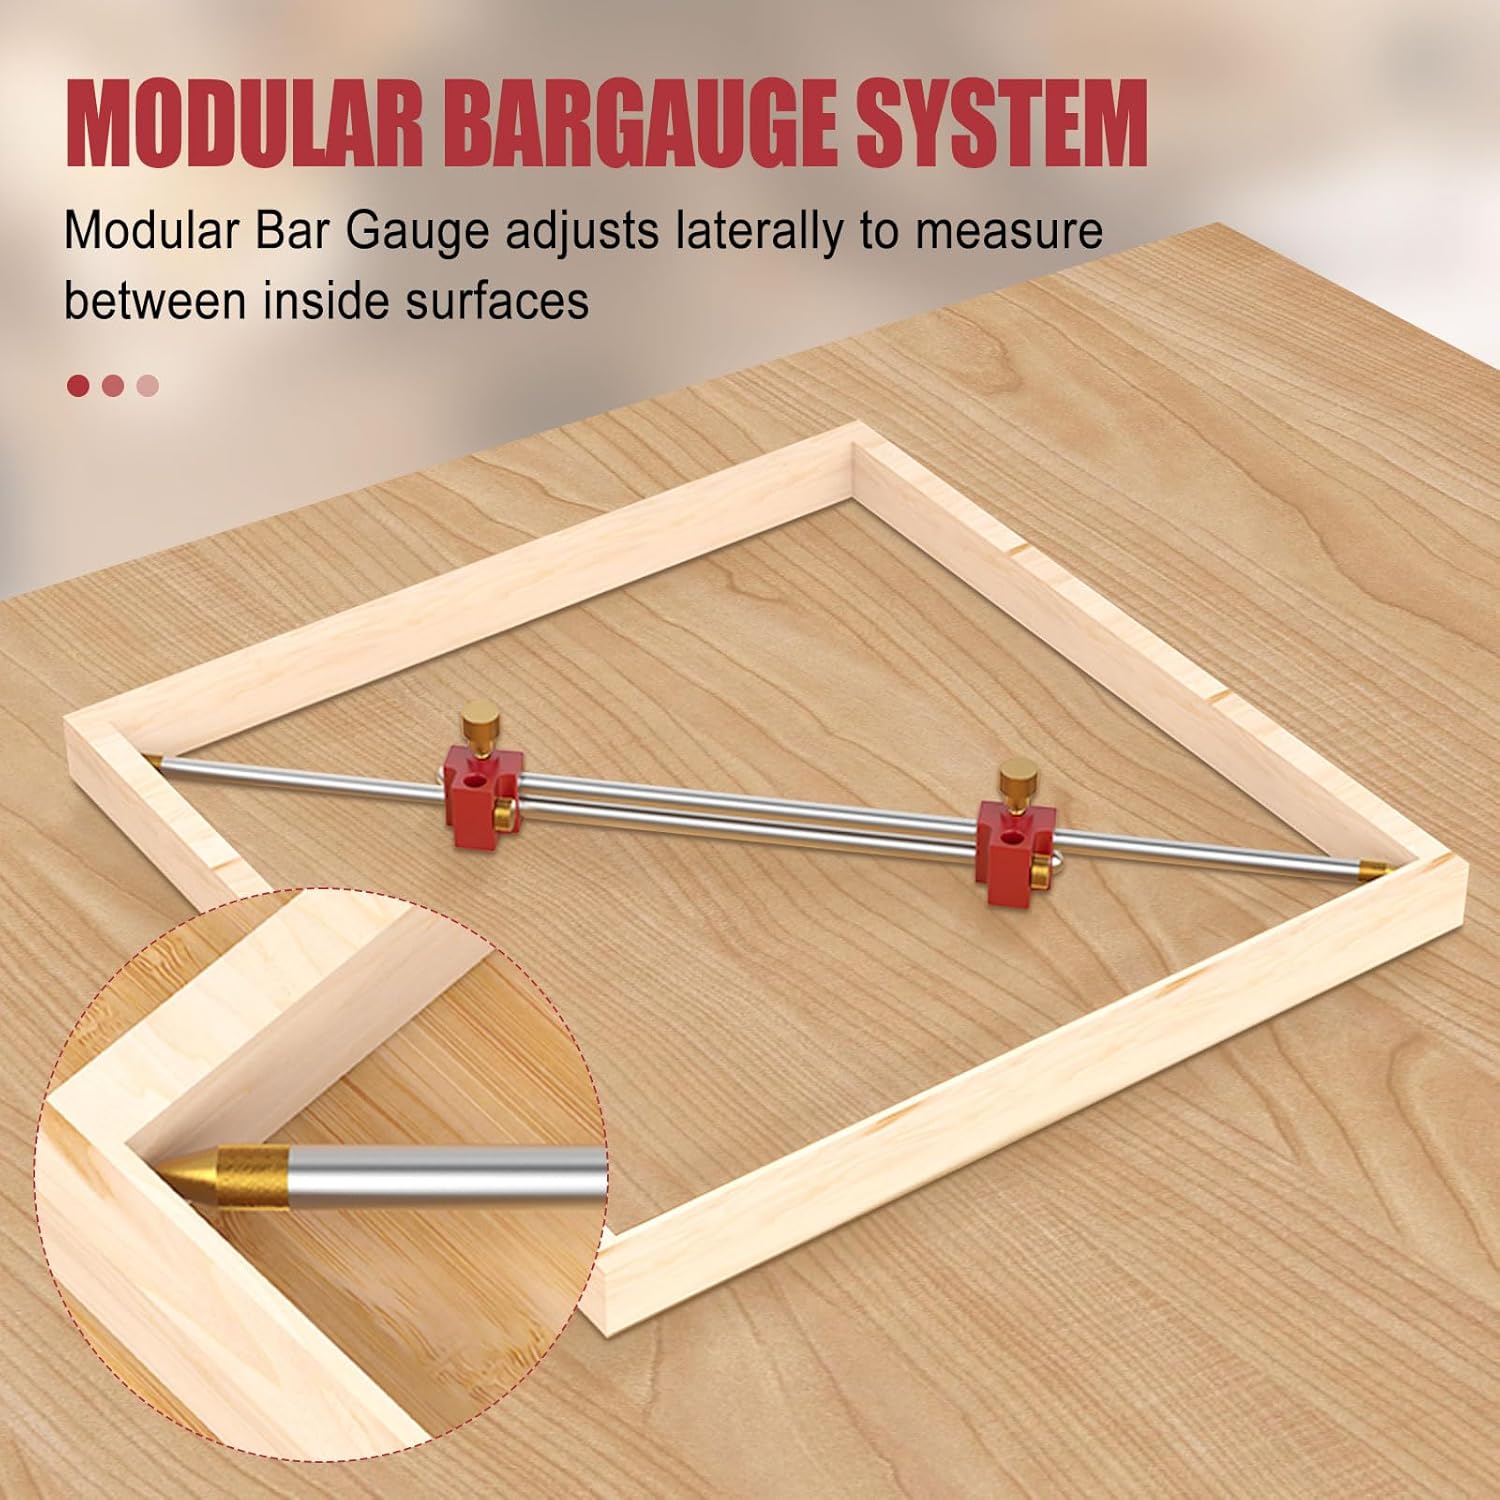
1. Measuring Inside Dimensions
To measure the inside dimensions of an object, such as a drawer or box:
- Assemble the bar gauge with the 'Inner frame positioning heads' or 'Nut positioning heads' (blunt tips) on both ends.
- Place the gauge inside the object and extend the rods until the blunt tips make firm contact with the opposing inner surfaces.
- Lock the positioning heads to maintain the measurement. The distance between the tips represents the precise internal dimension.


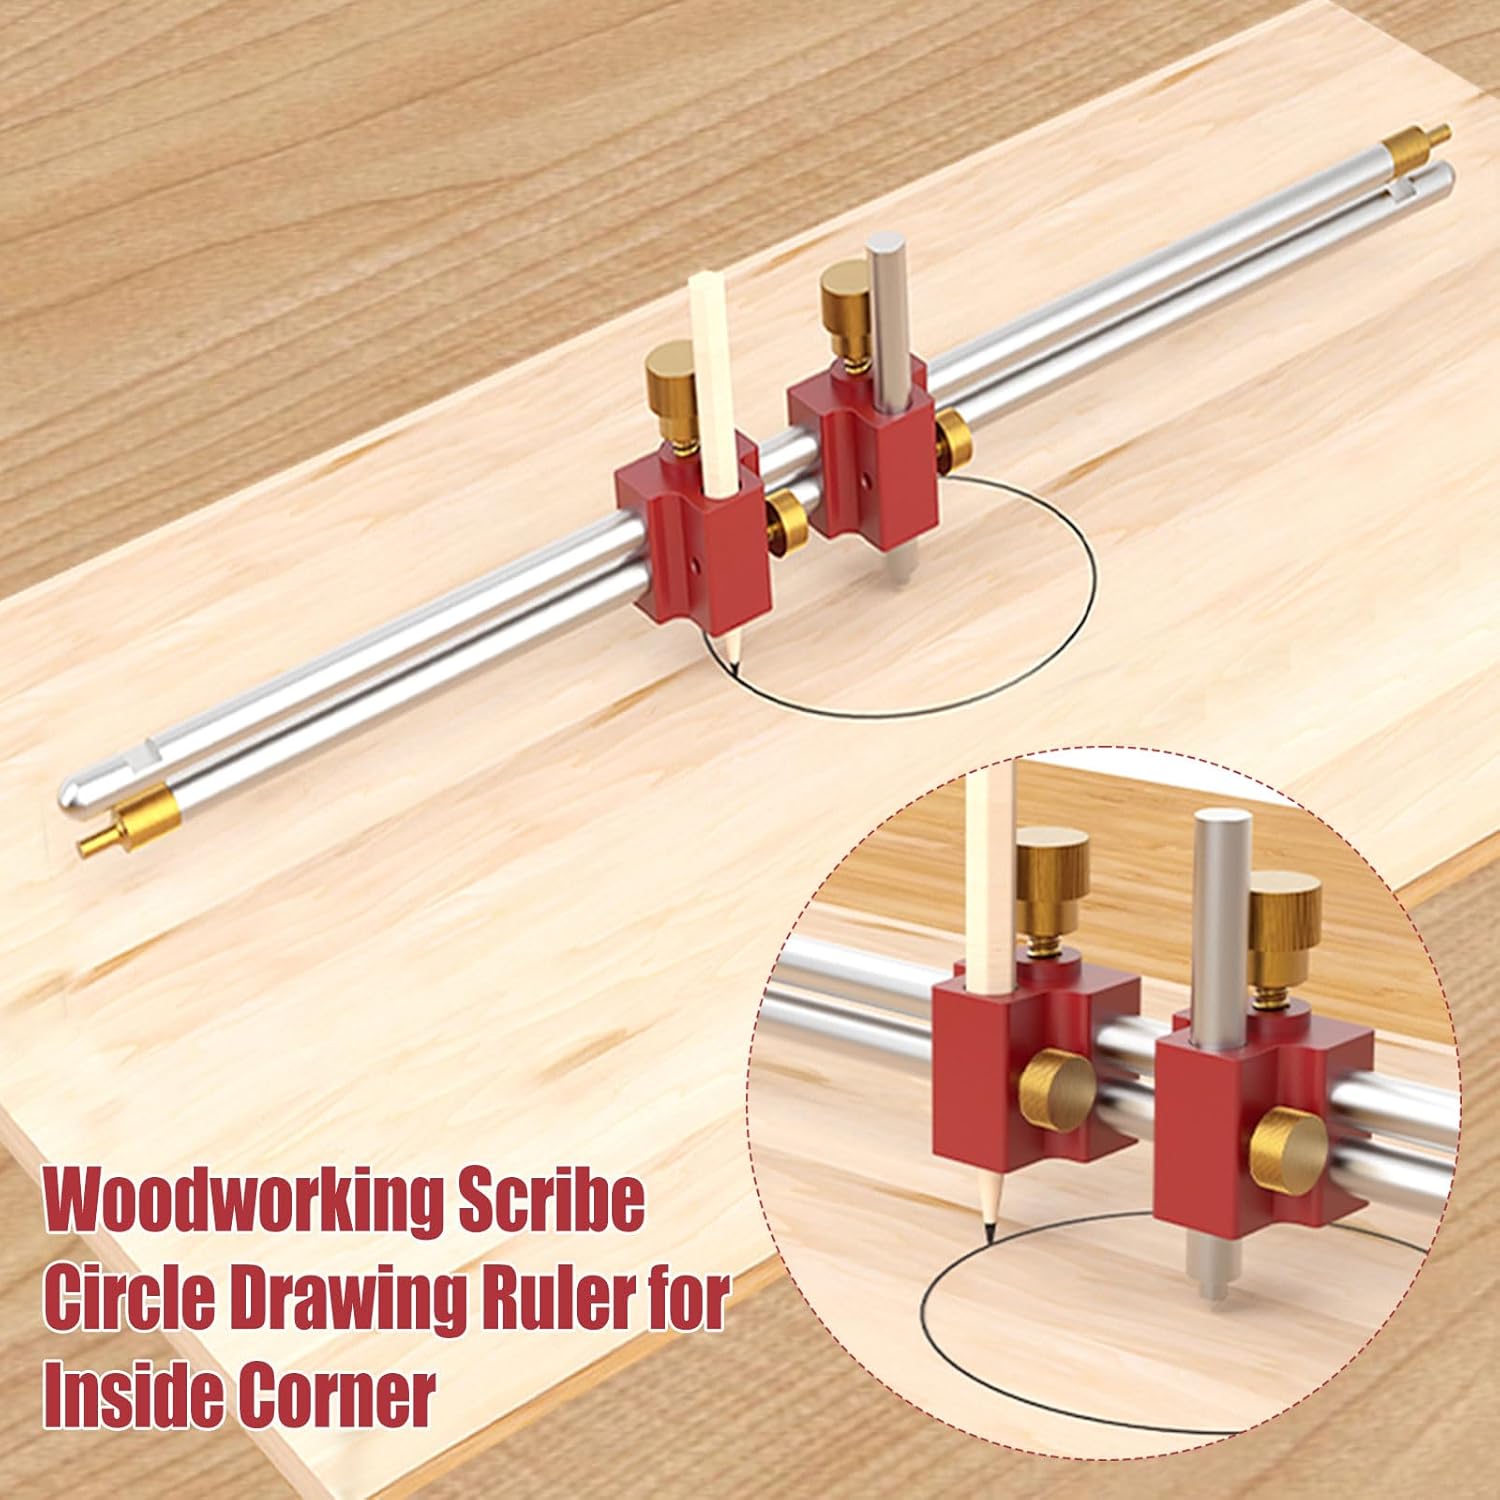
2. Drawing Circles and Arcs
The bar gauge can function as a large compass for drawing precise circles and arcs:
- Attach the 'Draw circle positioning post' to one end of the rod. This post acts as the pivot point.
- Insert a pencil into the designated slot on one of the positioning heads and secure it with the hex wrench.
- Adjust the distance between the pivot post and the pencil tip to achieve the desired radius.
- Place the pivot post at the center of your desired circle and rotate the gauge to draw the circle or arc.
3. Precise Positioning and Layout
Use the bar gauge for accurate positioning and layout tasks:
- Configure the gauge with the appropriate positioning heads (e.g., 'Side slot positioning head' or 'Diagonal positioning head') for your specific task.
- Adjust the length to match the required dimension for setting up machinery, marking joinery, or laying out intricate designs.
- The stable and rigid design ensures that your layout marks are consistent and accurate.

Video 1: This video demonstrates the assembly and various uses of the SWTHM Modular Bar Gauge, including circle drawing and internal measurements, showcasing its versatility in woodworking tasks.
Maintenance
Proper maintenance ensures the longevity and accuracy of your Modular Bar Gauge:
- Cleaning: After each use, wipe down all metal components with a clean, dry cloth to remove sawdust and debris. Avoid using harsh chemicals that may damage the finish.
- Storage: Store the bar gauge and its components in the provided case to protect them from dust, moisture, and physical damage.
- Inspection: Periodically check all connections and thumb screws to ensure they are tight. If any parts appear worn or damaged, consider replacing them to maintain accuracy.
Troubleshooting
If you encounter issues with your Modular Bar Gauge, consider the following:
- Inaccurate Measurements: Ensure all positioning heads are securely tightened and that the tips are making flush contact with the surfaces being measured. Check for any debris obstructing the movement of the rods.
- Difficulty Drawing Circles: Verify that the pencil is firmly secured in its holder and that the 'Draw circle positioning post' is stable. Ensure the surface is flat and suitable for marking.
- Stiff Movement: If the rods are difficult to adjust, check for any trapped sawdust or foreign objects. Clean the rods and internal mechanisms if necessary.
Specifications
| Model Number | 20240806175018 |
| Item Weight | 2 pounds |
| Package Dimensions | 10 x 3.5 x 1.5 inches |
| Material | Metal |
| Batteries Required | No |

Warranty Information
Specific warranty details are not provided with this product. Please refer to the retailer's return policy or contact the manufacturer for information regarding product warranty.
Support
For further assistance or inquiries, please contact the manufacturer, circulads, or the retailer from whom you purchased this product.