1. Important Safety Instructions
Please read all instructions carefully before using this appliance. Keep this manual for future reference.
- Always ensure the appliance is unplugged before cleaning or when not in use.
- Do not immerse the motor base in water or other liquids.
- Keep hands and utensils out of the bean hopper and ground coffee container during operation to prevent injury.
- This appliance is not intended for use by persons with reduced physical, sensory, or mental capabilities, or lack of experience and knowledge, unless they have been given supervision or instruction concerning use of the appliance by a person responsible for their safety.
- Children should be supervised to ensure that they do not play with the appliance.
- Do not operate any appliance with a damaged cord or plug, or after the appliance malfunctions or has been damaged in any manner.
- Use only attachments recommended or sold by the manufacturer.
- Ensure the bean hopper lid is securely in place before operating.
- The appliance features overheating protection. If the motor overheats, it will automatically shut off to prevent damage. Allow it to cool down before resuming use.
2. Product Overview
Familiarize yourself with the components of your Aigostar Electric Conical Burr Coffee Grinder.
Components:
- Bean Hopper: Transparent container for whole coffee beans (320g capacity) with a locking system.
- Upper Conical Burr: Removable for cleaning.
- Lower Conical Burr: Fixed grinding component.
- Grind Setting Collar: Adjustable ring with 52 precise settings for various brewing methods.
- Control Panel: Includes an LCD digital display, MODE button, '+' and '-' buttons, and Start/Stop button.
- Ground Coffee Container: Removable container for collecting ground coffee (130g capacity) with anti-static technology.
- Portafilter Holders: Two sizes included (51-54mm and 58mm) for direct grinding into a portafilter.
- Cleaning Brush: For maintaining the burrs and grinding chamber.

Image: Overview of the Aigostar Conical Burr Coffee Grinder, highlighting its features like anti-static, 52 grind settings, LCD display, durable conical burrs, 320g bean hopper, and two portafilter cradles.

Image: Detailed view of the stainless steel conical burr, emphasizing its design for even grinding at low speed to preserve coffee flavor.
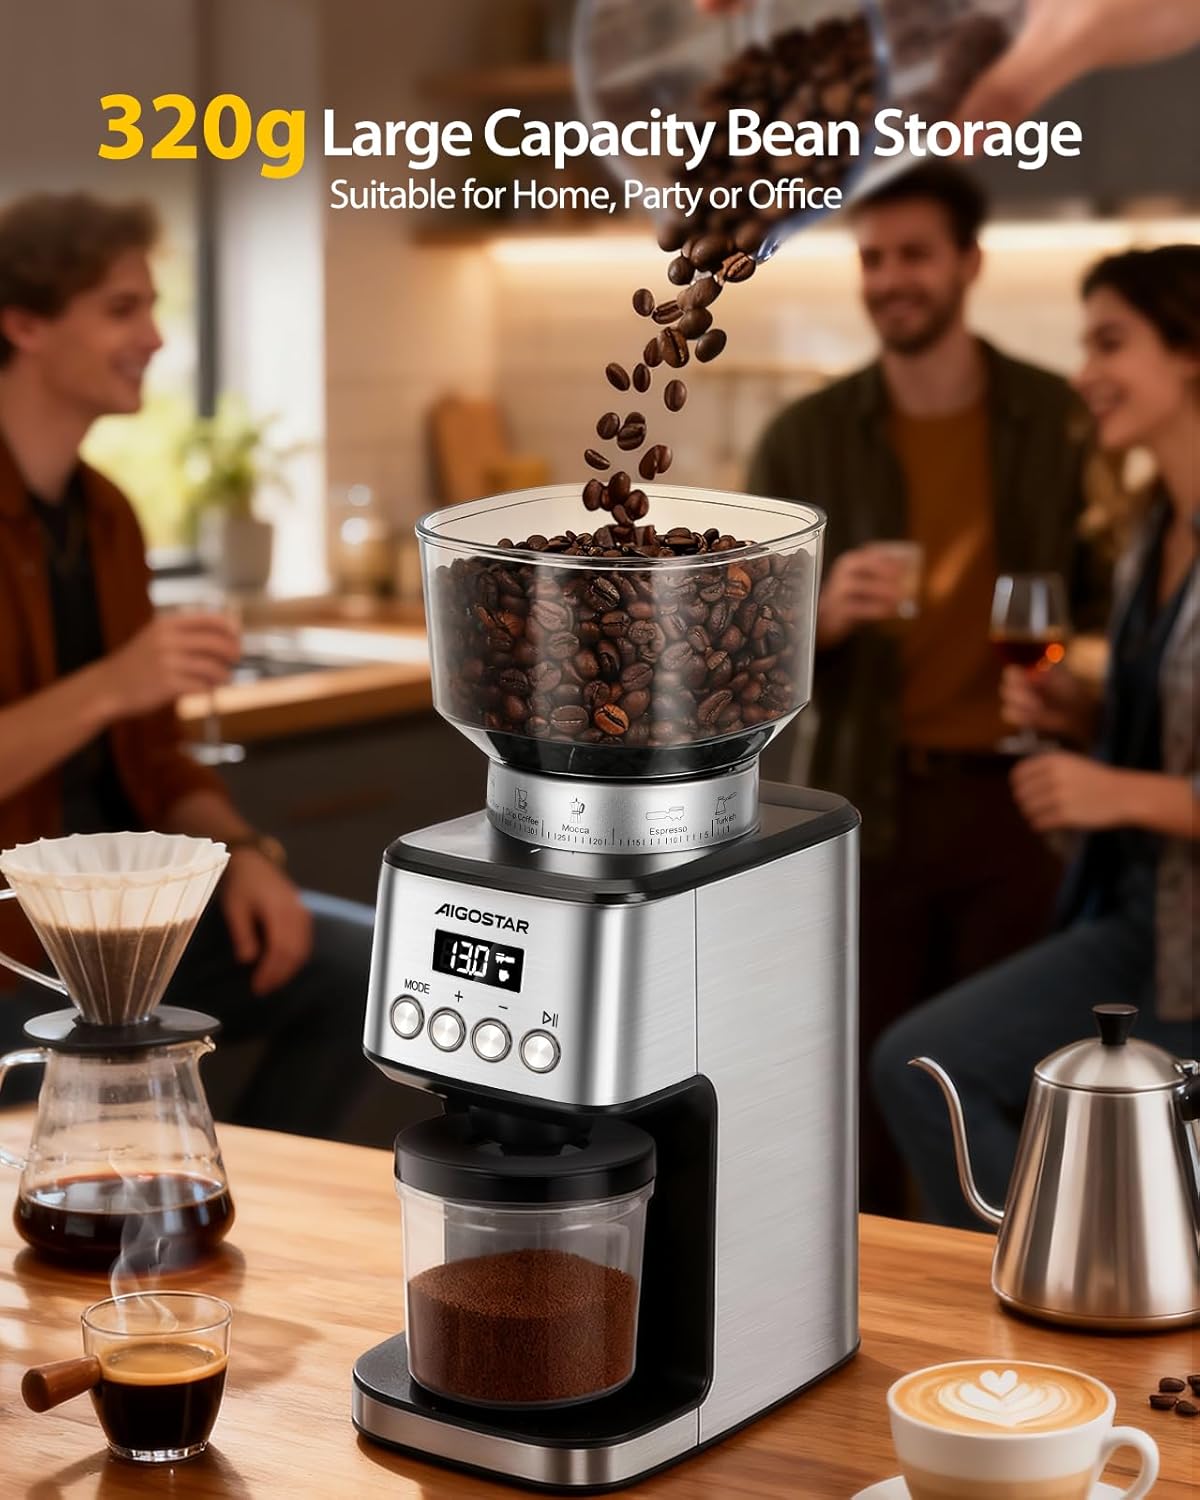
Image: The coffee grinder with its 320g large capacity bean storage, suitable for home, party, or office use.

Image: Demonstrates the locking system of the 320g bean hopper, designed for easy cleaning, storage, and bean changing.

Image: The 130g coffee powder container, highlighting its anti-static technology to keep it clean and reduce waste, compared to other containers.
3. Setup
Follow these steps to set up your coffee grinder for first use.
- Unpack: Carefully remove all components from the packaging. Check that all parts listed in the Product Overview are present and undamaged.
- Placement: Place the grinder on a stable, flat, and dry surface. Ensure there is enough space around the appliance for proper ventilation.
- Install Bean Hopper: Align the bean hopper with the base and twist it clockwise until it locks securely into place. Ensure the locking mechanism is engaged to prevent accidental removal during operation.
- Connect Power: Plug the power cord into a suitable electrical outlet.

Image: Visual guide showing steps to install the bean hopper, add coffee beans, swivel to choose fineness, set cups/timer, and collect ground coffee.
4. Operating Instructions
Learn how to use your Aigostar coffee grinder to achieve the perfect grind for your coffee.
4.1 Grinding Coffee Beans
- Add Beans: Pour whole coffee beans into the bean hopper. Do not overfill.
- Select Grind Setting: Rotate the grind setting collar to choose your desired fineness. The grinder offers 52 precise settings, ranging from very fine (for Espresso) to coarse (for French Press). Refer to the markings on the collar for guidance.
- Choose Grinding Mode: Press the "MODE" button on the control panel to switch between "Time Mode" (grinding duration in seconds) and "Cup Mode" (number of cups).
- Adjust Quantity: Use the '+' and '-' buttons to adjust the grinding time (1-50 seconds) or the number of cups (1-10 cups) according to your preference.
- Start Grinding: Press the Start/Stop button to begin grinding. The grinder will automatically stop once the set time or quantity is reached.
- Collect Ground Coffee: Remove the ground coffee container or portafilter to collect your freshly ground coffee.

Image: The grind setting dial on the Aigostar coffee grinder, illustrating the 52 precise grinding settings for various coffee types like French Press, Pour Over, Drip Coffee, Mocca, Espresso, and Turkish.
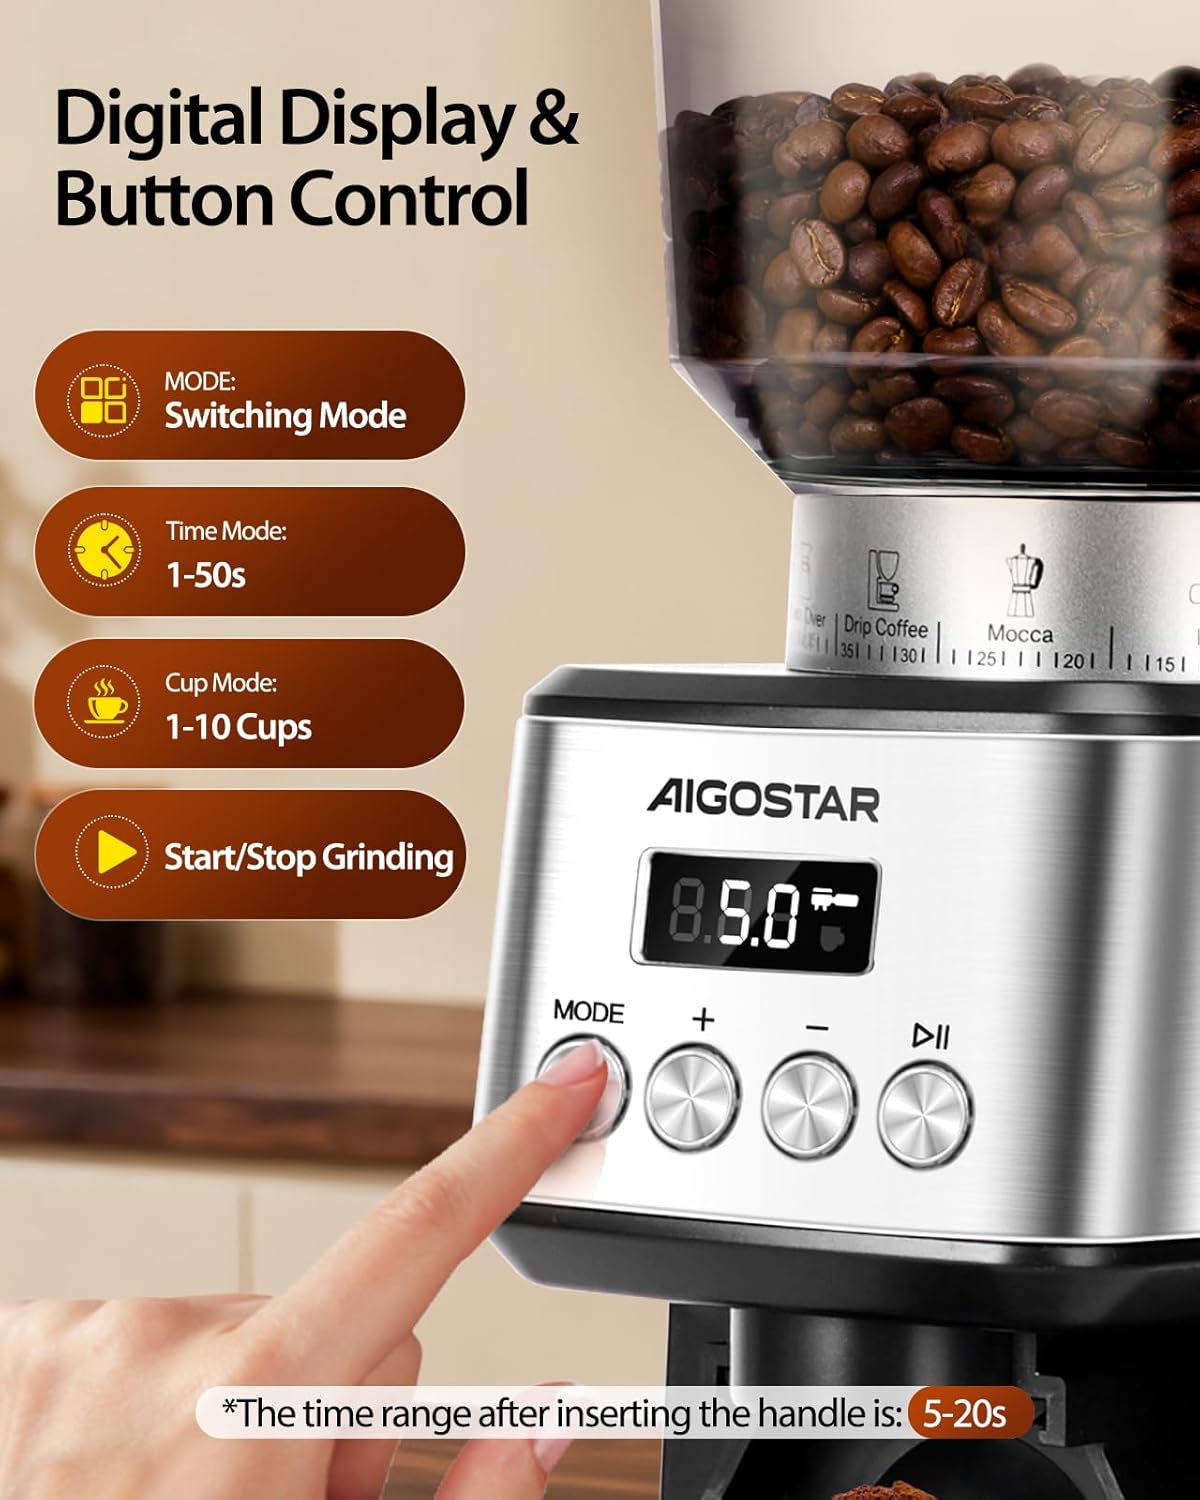
Image: The digital display and button controls, showing the MODE button for switching between time (1-50s) and cup (1-10 cups) modes, and the Start/Stop button. Note: For portafilter use, grinding duration is 5-20s.
4.2 Using Portafilter Holders
The grinder comes with two portafilter holders for direct grinding:
- Select the appropriate holder (51-54mm or 58mm) for your portafilter.
- Insert the portafilter holder into the designated slot on the grinder.
- Place your portafilter into the holder.
- Adjust the grind setting and quantity as desired (typically 5-20 seconds for portafilter grinding).
- Press Start/Stop to grind directly into your portafilter.

Image: The coffee grinder with a portafilter attached, showcasing the two included portafilter cradles (51-54mm and 58mm) for versatile use.
4.3 Product Video Demonstration
Video: An official product video demonstrating the setup, operation, and cleaning process of the Aigostar Electric Conical Burr Coffee Grinder. It shows how to add beans, select grind settings, use the control panel, and clean the burrs.
5. Maintenance and Cleaning
Regular cleaning ensures optimal performance and extends the lifespan of your grinder.
- Unplug: Always unplug the grinder from the power outlet before cleaning.
- Empty Containers: Remove and empty the bean hopper and ground coffee container.
- Remove Upper Burr: Twist the upper conical burr counter-clockwise to unlock and lift it out.
- Clean Burrs and Chamber: Use the provided cleaning brush to remove any residual coffee grounds from both the upper and lower burrs, as well as the grinding chamber.
- Clean Containers: Wash the bean hopper and ground coffee container with warm, soapy water. Rinse thoroughly and dry completely before reassembling. Do not wash the motor base.
- Wipe Exterior: Wipe the exterior of the grinder with a damp cloth. Do not use abrasive cleaners.
- Reassemble: Once all parts are dry, reinsert the upper conical burr and twist clockwise to lock it into place. Reattach the bean hopper and ground coffee container.
Tip: Tapping the bean hopper lid at the end of each grind can help reduce residual coffee powder. Clean the grinder after each use for best results.

Image: The coffee grinder with its removable parts (bean hopper, ground coffee container, upper burr) laid out, demonstrating the ease of cleaning with the included brush.

Image: Close-up view of a hand using the cleaning brush to effortlessly clean the removable upper burr, hopper, and chamber.
6. Troubleshooting
If you encounter any issues with your grinder, refer to the following common problems and solutions:
| Problem | Possible Cause | Solution |
|---|---|---|
| Grinder does not start. | Not plugged in, bean hopper not correctly installed, power outage, motor overheated. | Ensure power cord is securely plugged in. Check if the bean hopper is locked in place. Verify power supply. If motor overheated, allow it to cool down for 20-30 minutes. |
| Inconsistent grind. | Burrs are dirty or clogged, incorrect grind setting. | Clean the burrs and grinding chamber thoroughly. Adjust the grind setting to a finer or coarser option as needed. |
| Coffee grounds sticking to container. | Static electricity (common with dry coffee beans). | The grinder features anti-static technology to minimize this. Ensure the container is clean and dry. A small amount of static is normal. |
| Grinder stops unexpectedly during operation. | Overheating protection activated, burrs jammed by foreign object. | Unplug the unit and allow it to cool down. Check the bean hopper for any foreign objects and remove them. Clean the burrs. |
7. Specifications
Detailed technical specifications for your Aigostar coffee grinder.
- Brand: Aigostar
- Model: Conical Burr Coffee Grinder
- Color: Silver
- Material: Stainless Steel
- Power: 180 Watts
- Voltage: 120 Volts
- Bean Hopper Capacity: 320 Grams
- Ground Coffee Container Capacity: 130 Grams
- Grind Settings: 52 Precise Adjustments
- Product Dimensions (L x W x H): 20 cm x 13 cm x 34 cm
- Product Weight: 2.5 Kilograms
- Special Features: LCD Digital Display, Anti-static Technology, Overheating Protection, Low-speed Grinding
- Recommended Use: Grinding coffee beans for various brewing methods (Espresso, Drip, French Press, etc.)

Image: The Aigostar coffee grinder displayed in a kitchen, with its dimensions (13cm width, 34cm height, 20cm depth) clearly indicated.
8. Warranty and Support
Aigostar is committed to providing high-quality products and excellent customer service.
- Warranty: This product comes with a 2-year warranty from the date of purchase.
- Return Policy: Enjoy a 30-day return policy for any reason.
- Customer Support: For any inquiries or assistance, please contact Aigostar customer service. We offer lifetime support and aim for a 24-hour quick response via email.
For further assistance, please visit the official Aigostar store or contact their customer service channels.
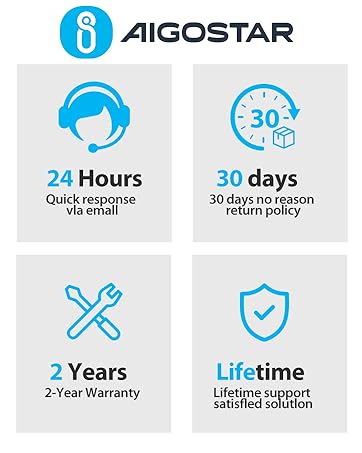
Image: Aigostar customer service details, including 24-hour quick email response, 30-day return policy, 2-year warranty, and lifetime support for satisfied solutions.