1. Introduction
Thank you for choosing the SINKVINE 18-Inch Stainless Steel Bar Sink. This manual provides essential information for the proper installation, use, and maintenance of your new sink. Please read these instructions carefully before beginning installation and retain them for future reference.
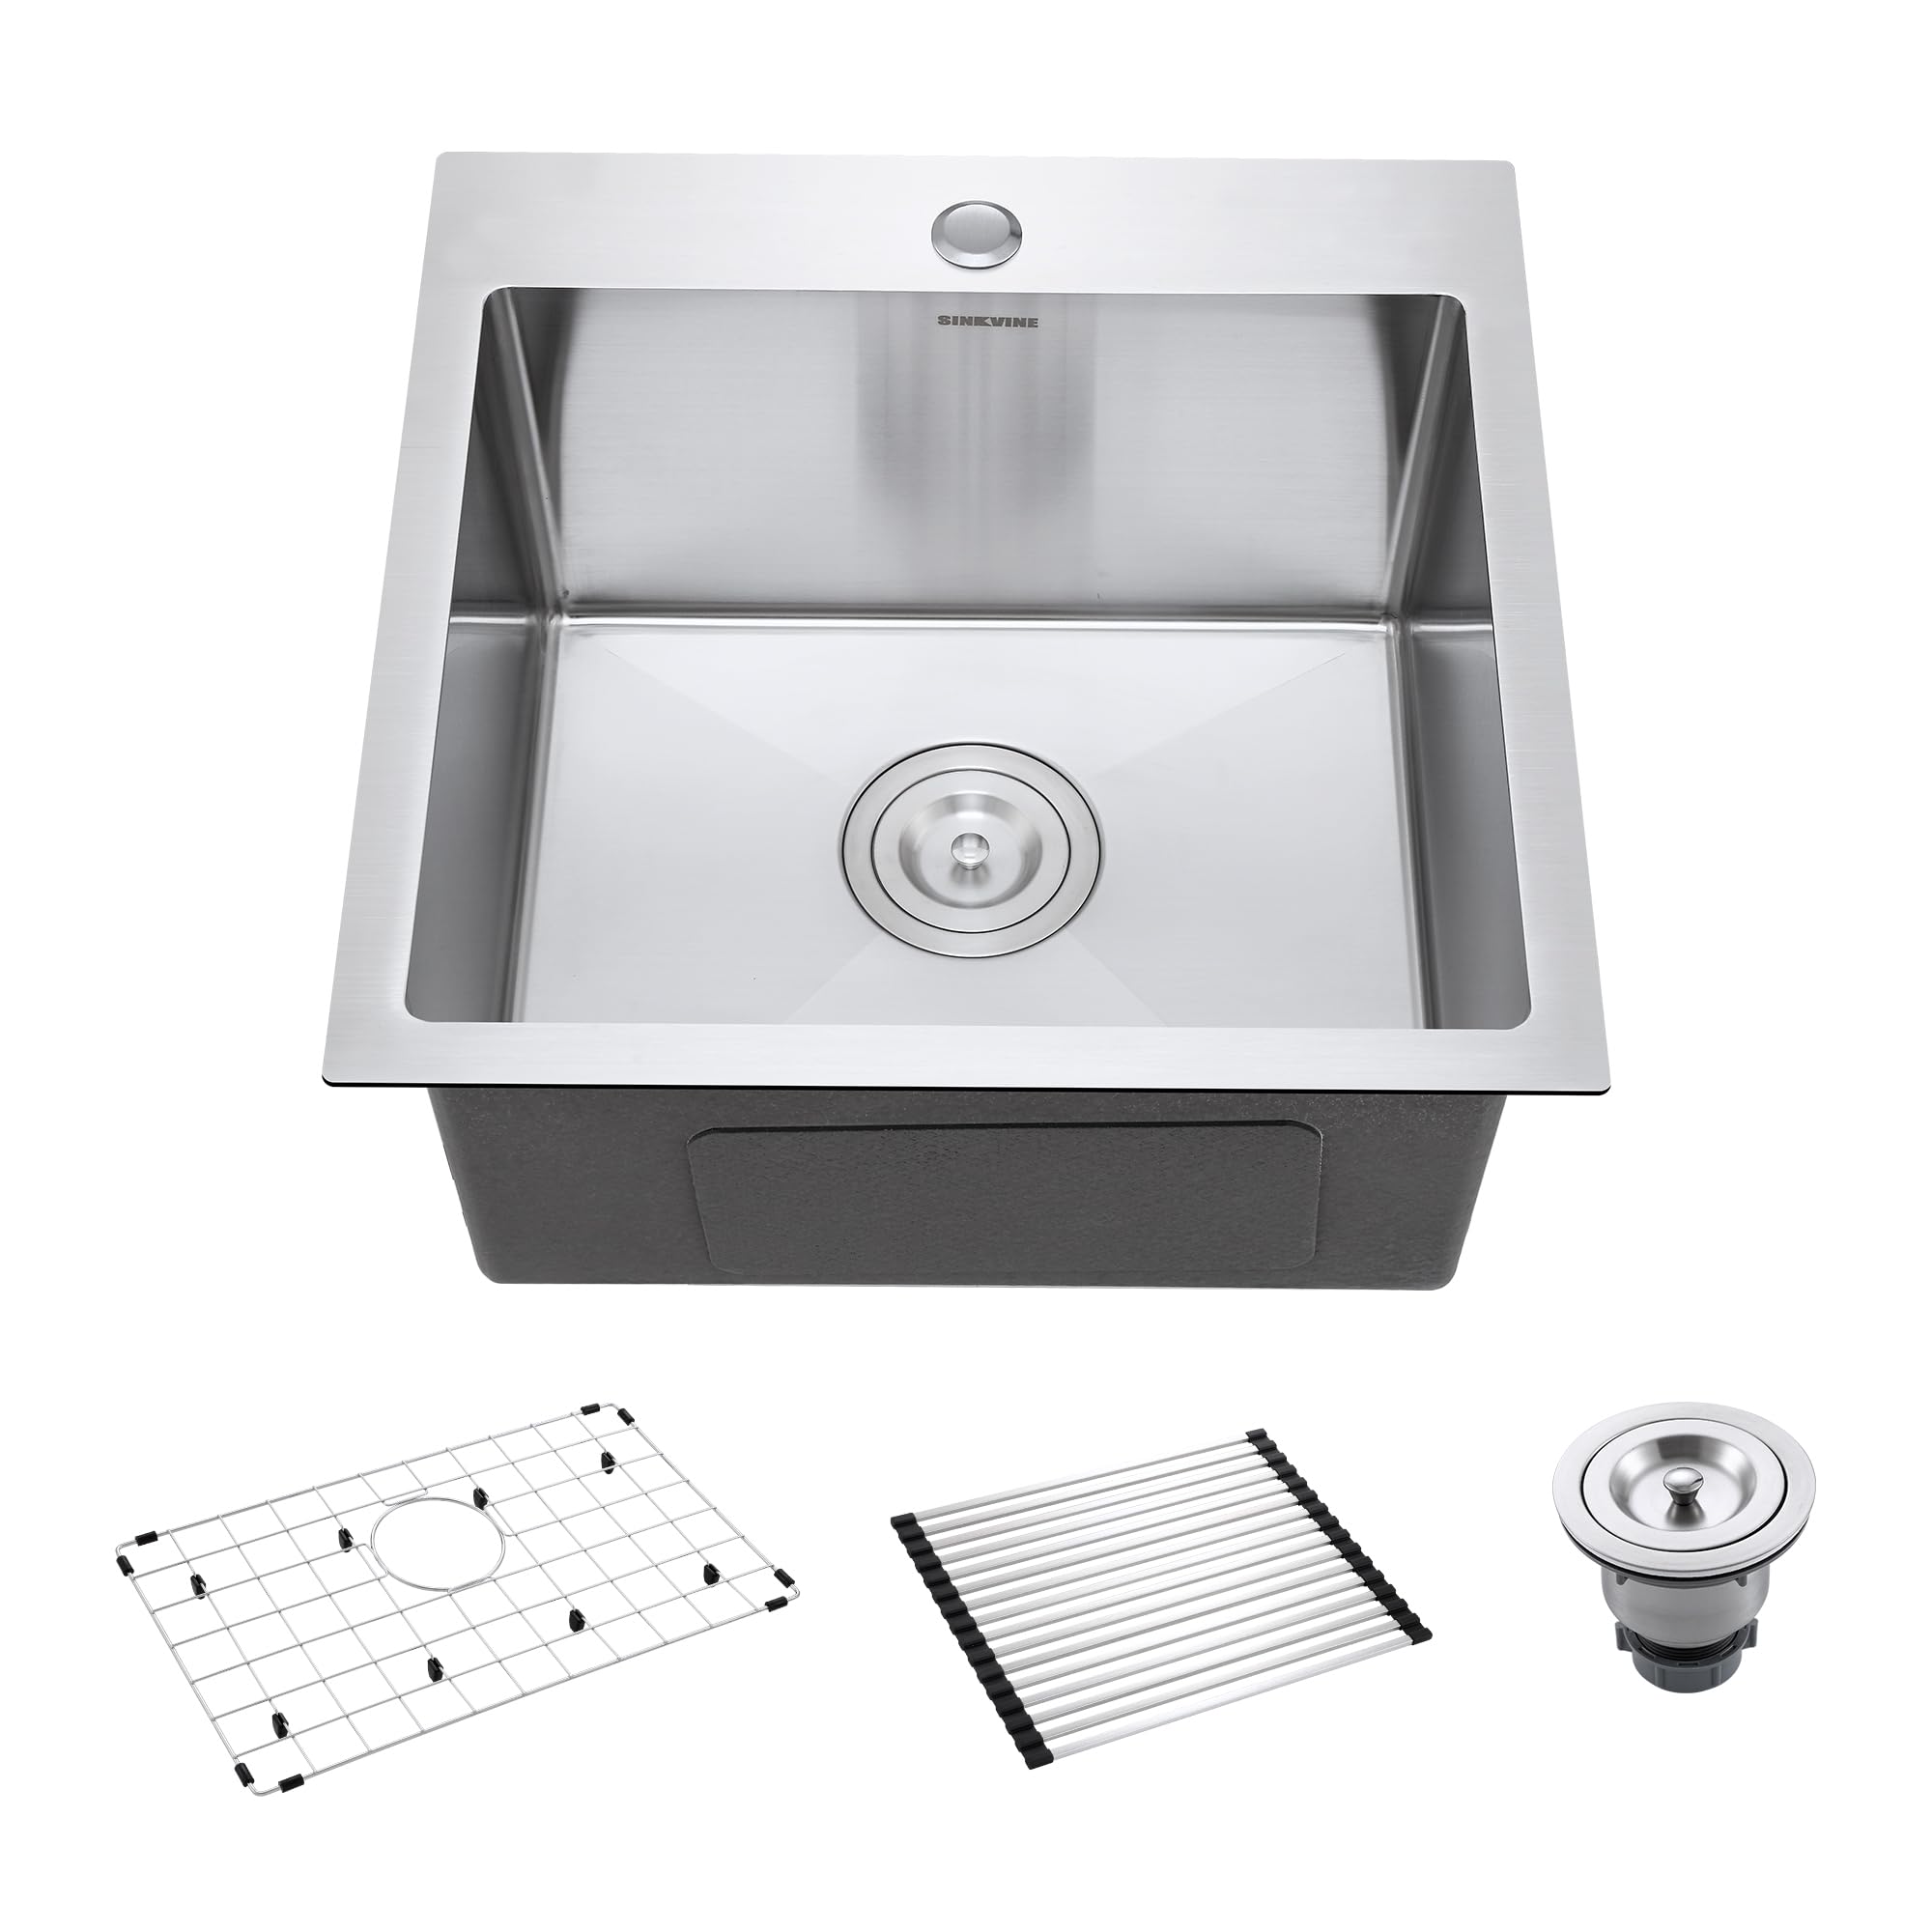
Image 1.1: SINKVINE 18-Inch Stainless Steel Bar Sink.
2. Product Features
- Compact Size: Exterior Dimensions: 18" (W) x 18" (D) x 9" (H). Interior Dimensions: 16" x 14" x 8.66". Minimum Base Cabinet: 21" wide.
- Drop-In Design: Allows for simple top mount installation with various kitchen countertop materials. Features a 3mm extra-thick mounting flange for a flush fit and easy cleaning.
- Lasting Durability: Crafted from high-quality T-304 grade stainless steel (18/10 Chromium/Nickel) for resistance to corrosion and rust.
- Fast Drainage: Rear-offset drain and X-shaped drainage grooves ensure quick water removal and prevent pooling.
- Ultra Quiet: Equipped with 3mm heavy-duty rubber padding and a sound dampening system to minimize noise from water and disposal.
- Easy Maintenance: R10 rounded corners facilitate cleaning and prevent debris build-up.
- Included Accessories: Kitchen bar sink, roll-up dish drying rack, bottom rise grid protector, and drain assembly with removable strainer.

Image 2.1: Sink Dimensions and Deep Bowl Feature.

Image 2.2: Included Sink Accessories.
Video 2.3: SINKVINE Drop-in Kitchen Sink Overview. This video demonstrates the sink's features, including easy cleaning, fast drainage, and the use of included accessories like the rinse grid and roll-up rack.
3. Specifications
| Attribute | Detail |
|---|---|
| Brand | SINKVINE |
| Model Number | SVT181809RS0 |
| Color | Brushed |
| Material | Stainless Steel (T-304 grade, 18/10 Chromium/Nickel) |
| Exterior Dimensions | 18"D x 18"W x 9"H |
| Interior Dimensions | 16" x 14" x 8.66" |
| Minimum Base Cabinet | 21" wide |
| Installation Type | Drop In |
| Drain Type | Lift and Turn (3.5" opening) |
| Item Weight | 18.31 pounds (8.32 Kilograms) |
| Hole Count | 1 (for faucet) |
| Included Components | Metal Sink Strainer, Bottom Rinse Grid, Roll-up Drying Rack (Pipe not included) |
4. Setup and Installation
The SINKVINE 18-Inch Bar Sink is designed for drop-in (top mount) installation. A cut-out template is included in the package to assist with precise countertop preparation.
4.1 Pre-Installation Checklist
- Verify all components are present and undamaged.
- Ensure your base cabinet is at least 21 inches wide.
- Gather necessary tools (e.g., jigsaw, drill, sealant, screwdriver).
4.2 Installation Steps
- Prepare Countertop: Use the provided cut-out template to mark and cut the opening in your countertop. Ensure the edges are smooth.
- Apply Sealant: Apply a bead of silicone sealant around the perimeter of the countertop opening to create a watertight seal.
- Place Sink: Carefully lower the sink into the prepared opening. Ensure the 3mm thickened flange sits flush against the countertop.
- Secure Sink: Use the provided mounting clips (if applicable) to secure the sink to the underside of the countertop. Tighten evenly.
- Install Faucet and Drain: Install your chosen faucet into the pre-drilled hole. Connect the drain assembly, including the basket strainer, to the sink's 3.5-inch drain opening. Ensure all connections are tight and leak-free.
- Connect Plumbing: Connect the faucet and drain to your existing water supply and waste lines according to local plumbing codes.

Image 4.1: Sink Installation Overview.
5. Maintenance
Proper care will help maintain the brilliance and longevity of your SINKVINE stainless steel sink. Follow these guidelines for daily and periodic maintenance:
5.1 Daily Care
- Clean your sink immediately after use.
- Wash the sink with ordinary mild detergent, rinse thoroughly with water, and then dry with a soft cloth to prevent water spots and mineral build-up.
- Never allow soap or other household cleaners to dry on the sink surface.
- Use the included bottom rinse grid to protect the sink's finish from scratches and impacts from cookware.
5.2 Avoiding Damage
- Avoid using abrasive cleaners, steel wool, or scouring pads, as these can scratch the stainless steel finish.
- Do not leave acidic foods (e.g., citrus, tomatoes) or harsh chemicals in contact with the sink surface for extended periods.
- Rinse the sink thoroughly after using any cleaning product.

Image 5.1: Sink Cleaning and Care.
6. Troubleshooting
This section addresses common issues you might encounter with your SINKVINE sink.
6.1 Slow Drainage
- Check Strainer: Ensure the drain basket strainer is clear of debris. Remove and clean it regularly.
- P-Trap Clog: If the strainer is clear, the clog might be in the P-trap. Consult a plumber if you are unsure how to clear it.
6.2 Water Spots or Stains
- Dry After Use: Always wipe the sink dry after each use to prevent hard water spots.
- Mild Cleaner: For stubborn spots, use a non-abrasive stainless steel cleaner and a soft cloth, rubbing in the direction of the grain.
6.3 Scratches
- Use Grid: The included bottom rinse grid helps prevent scratches from pots and pans.
- Stainless Steel Polish: Minor scratches can sometimes be minimized with a stainless steel polish designed for this purpose.
7. Warranty and Support
Your SINKVINE 18-Inch Stainless Steel Bar Sink is backed by a Lifetime Limited Warranty. This warranty covers manufacturing defects under normal use and service. Please retain your proof of purchase for warranty claims.
For detailed warranty information, product support, or to inquire about replacement parts, please contact SINKVINE customer service through the retailer where you purchased the product or visit the official SINKVINE website.

Image 7.1: SINKVINE Lifetime Limited Warranty.