1. Introduction
This manual provides instructions for the installation, maintenance, and troubleshooting of your new Generic replacement pump for various ice maker models. This pump is designed to restore proper water circulation within your ice maker, ensuring efficient ice production. Please read these instructions carefully before proceeding with installation or maintenance.
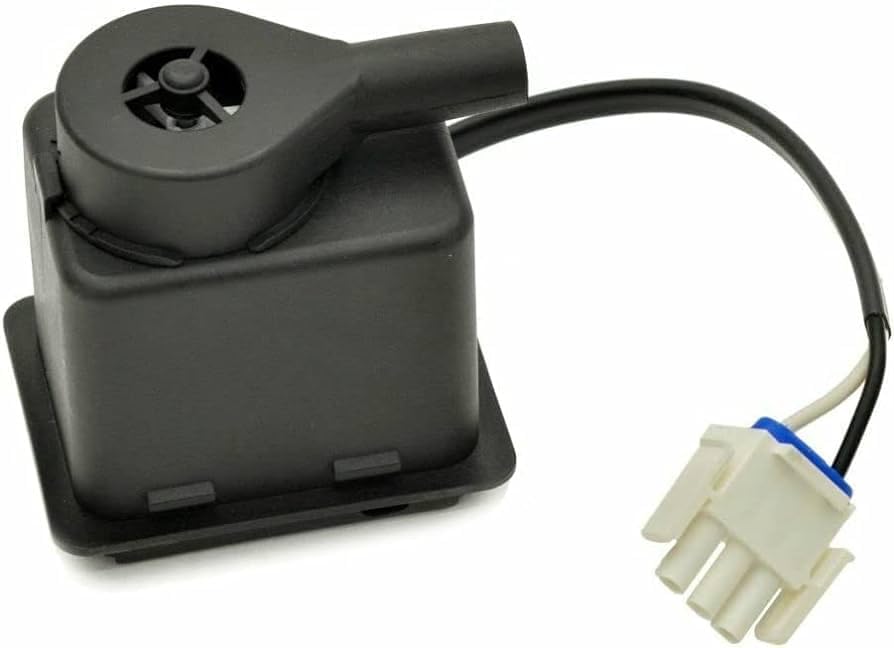
Image 1: Generic Replacement Pump. This image displays the black plastic pump unit with an attached electrical wire ending in a white connector. The pump features a small intake grate on its top surface.
2. Safety Information
Always prioritize safety when working with electrical appliances. Failure to follow these safety guidelines may result in electric shock, injury, or damage to the appliance.
- Disconnect Power: Before attempting any installation, maintenance, or repair, always unplug the ice maker from its power source.
- Wear Protective Gear: Use appropriate personal protective equipment, such as gloves and safety glasses, if necessary.
- Professional Assistance: If you are unsure about any step or uncomfortable performing the installation, consult a qualified appliance technician.
- Water Shut-off: Ensure the water supply to the ice maker is turned off before beginning work.
3. Compatibility
This replacement pump is compatible with a wide range of ice maker models from various brands. Please verify your ice maker's model number against the list below to ensure compatibility. The model number is typically located on a label inside the ice maker or on the back of the unit.
Compatible Kenmore Models:
- 10689482700, 10689483700, 10689582700, 10689582701, 10689582702, 10689582703, 10689582704, 10689582705, 10689582706, 10689582707, 10689583701, 10689583702, 10689583703, 10689583704, 10689583706, 10689583707, 10689589700, 10689589702, 10689589703, 10689589704, 10689589705, 10689589706, 10689589707
Compatible Whirlpool Models:
- GI15NDXTB0, GI15NDXTB1, GI15NDXTB2, GI15NDXTB3, GI15NDXTB4, GI15NDXTQ0, GI15NDXTQ1, GI15NDXTQ2, GI15NDXTQ3, GI15NDXTQ4, GI15NDXTQO, GI15NDXTS0, GI15NDXTS1, GI15NDXTS2, GI15NDXTS3, GI15NDXTS4, GI15NDXXB0, GI15NDXXB1, GI15NDXXB2, GI15NDXXQ0, GI15NDXXQ1, GI15NDXXQ2, GI15NDXXS0, GI15NDXXS1, GI15NDXXS2, GI15NFLTB0, GI15NFLTB1, GI15NFLTB2, GI15NFLTB3, GI15NFLTB4, GI15NFLTBO, GI15NFLTS0, GI15NFLTS1, GI15NFLTS2, GI15NFLTS3, GI15NFLTS4, GI15NFLXB0, GI15NFLXS0, GI15NFRTB0, GI15NFRTB1, GI15NFRTB2, GI15NFRTB3, GI15NFRTB4, GI15NFRTBO, GI15NFRTS0, GI15NFRTS1, GI15NFRTS2, GI15NFRTS3, GI15NFRTS4, GI15NFRXB0, GI15NFRXS0, JEACS50SLF1, JEACS50SLF2
Compatible Jenn-Air Models:
- JIM158XBCX0, JIM158XBCX1, JIM158XBCX2, JIM158XBCX3, JIM158XBRB0, JIM158XBRB1, JIM158XBRB2, JIM158XBRS0, JIM158XBRS1, JIM158XBRS2, JIM158XWRB0, JIM158XWRB1, JIM158XWRS0, JIM158XWRS1, JIM158XXCX0, JIM158XXCX1, JIM158XXCX2, JIM158XXRS0, JIM158XXRS1, JIM158XXRS2
Compatible KitchenAid Models:
- KUIA15NLHS11, KUIA15NRHS11, KUIA15PLLS11, KUIA15PRLS11, KUIA18NNJS11, KUIA18PNLS11, KUIC15NLTS0, KUIC15NLTS1, KUIC15NLTS2, KUIC15NLTS3, KUIC15NLTS4, KUIC15NLXS0, KUIC15NLXS1, KUIC15NRTS0, KUIC15NRTS1, KUIC15NRTS2, KUIC15NRTS3, KUIC15NRTS4, KUIC15NRXS0, KUIC15NRXS1, KUIC15NRXS2, KUIC15PLTS0, KUIC15PLTS1, KUIC15PLTS2, KUIC15PLTS3, KUIC15PLTS4, KUIC15PLXS0, KUIC15PLXS1, KUIC15PLXS2, KUIC15PLXS3, KUIC15PRTS0, KUIC15PRTS1, KUIC15PRTS2, KUIC15PRTS3
If your model number is not listed, or if you are unsure about compatibility, please contact customer support for assistance.
4. Setup and Installation
This section outlines general steps for replacing an ice maker pump. Specific procedures may vary depending on your ice maker model. Refer to your appliance's original service manual for detailed instructions if available.
- Prepare the Appliance:
- Disconnect the ice maker from the electrical power supply.
- Turn off the water supply valve to the ice maker.
- Empty any ice from the ice bin and remove any standing water from the reservoir.
- Carefully pull the ice maker away from the wall or cabinet to access the rear or bottom panel.
- Access the Pump:
- Locate and remove the access panel(s) that cover the pump assembly. This may involve unscrewing panels or releasing clips.
- Identify the existing pump. Note its orientation and how it is connected.
- Remove the Old Pump:
- Disconnect the electrical connector from the old pump.
- Carefully detach any hoses or tubing connected to the pump. Be prepared for residual water.
- Unmount the old pump from its housing. It may be held by screws, clips, or a simple friction fit.
- Install the New Pump:
- Position the new replacement pump in the same orientation as the old one.
- Secure the new pump into its housing using the original screws or clips.
- Reconnect all hoses and tubing to the new pump, ensuring a snug and leak-free fit.
- Connect the electrical connector to the new pump. Ensure it clicks securely into place.
- Reassemble and Test:
- Replace all access panels and secure them.
- Push the ice maker back into its original position.
- Turn on the water supply valve to the ice maker. Check for any leaks around the pump and hose connections.
- Plug the ice maker back into the electrical power source.
- Initiate an ice-making cycle and observe the pump's operation and water flow.
If you encounter any difficulties during installation, refer to the troubleshooting section or contact customer support.
5. Operating Instructions
This pump is a replacement component designed to integrate seamlessly with your ice maker's existing system. Once correctly installed, the pump operates automatically as part of the ice maker's normal cycle. There are no specific user-controlled operating functions for the pump itself.
- Ensure the ice maker is connected to a power source and water supply.
- The ice maker will automatically initiate the water filling and circulation process, activating the pump as needed.
- Monitor the ice maker for the first few cycles to ensure proper operation and ice production.
6. Maintenance
Regular maintenance of your ice maker, including its pump, can extend its lifespan and ensure optimal performance. While the pump itself requires minimal direct maintenance, general ice maker care is important.
- Regular Cleaning: Periodically clean your ice maker according to the manufacturer's instructions to prevent mineral buildup and mold growth, which can affect pump performance.
- Inspect Hoses: Occasionally check the water hoses connected to the pump for kinks, cracks, or leaks.
- Water Quality: Using filtered water can reduce mineral deposits that might clog the pump or other ice maker components.
- Winterization (if applicable): If the ice maker is in an unheated area and will be shut down for an extended period, follow the manufacturer's winterization procedures to drain all water and prevent freezing damage to the pump and lines.
7. Troubleshooting
If your ice maker is not functioning correctly after pump replacement, consider the following common issues and solutions:
| Problem | Possible Cause | Solution |
|---|---|---|
| No Water Flow / No Ice Production |
|
|
| Pump is Loud or Vibrating Excessively |
|
|
| Water Leaks |
|
|
If these steps do not resolve the issue, please contact customer support.
8. Specifications
- Part Type: Replacement Ice Maker Pump
- Manufacturer: Generic
- Model Number (Example): GI15NDXTS2 (Note: This is an example model number for a compatible ice maker, not the pump's specific part number.)
- ASIN: B0DC6H7YGG
- First Available: July 31, 2024
- Compatibility: Refer to Section 3 for a comprehensive list of compatible ice maker models.
9. Warranty and Support
This replacement pump comes with a satisfaction guarantee to ensure your peace of mind.
- Money-Back Guarantee: A refund will be made within 90 days from the date of purchase if you are not satisfied with the product.
- Customer Support: If you have any questions regarding compatibility, installation, or performance, please contact our customer support team. We aim to resolve your problem within 24 hours.
- Contact Information: Please refer to your purchase documentation or the seller's contact details for support.
