1. Introduction
This manual provides essential information for the safe and efficient operation of your HTNZIR H-19-JP 19-inch PC Monitor. Please read this manual thoroughly before using the product and retain it for future reference.

Figure 1: Front view of the HTNZIR H-19-JP 19-inch PC Monitor.
2. Safety Information
Observe the following safety precautions to prevent damage to the monitor or injury to yourself.
- Do not expose the monitor to rain, moisture, or extreme temperatures.
- Ensure proper ventilation around the monitor. Do not block ventilation openings.
- Use only the power adapter supplied with the monitor.
- Avoid placing heavy objects on the power cord.
- Disconnect the power cable from the outlet during lightning storms or when unused for long periods.
- Do not attempt to service the monitor yourself. Refer all servicing to qualified personnel.
3. Package Contents
Verify that all items are present in the package:
- HTNZIR H-19-JP 19-inch PC Monitor
- Power Adapter
- HDMI Cable
- User Manual
4. Product Overview
4.1 Rear Panel and Ports
The rear panel of the monitor features various ports for connectivity and power input.

Figure 2: Rear view highlighting HDMI, VGA, and power input ports.
- HDMI Port: Connects to devices with an HDMI output for digital video and audio transmission.
- VGA Port: Connects to devices with a VGA output for analog video transmission.
- Power Input: Connects to the power adapter.
4.2 Key Features
- 1440x900 Resolution: Provides clear and vivid images for an enhanced viewing experience.
- 60Hz Refresh Rate: Ensures smooth display performance.
- Low Blue Light Technology: Reduces harmful blue light emissions to minimize eye strain during extended use.
- Dual Built-in Speakers: Delivers stereo audio without the need for external speakers.
- VESA Mount Compatibility: Supports 100x100mm VESA mounting standards for flexible installation options.
- Adjustable Tilt: The monitor can be tilted from -5° to +15° for optimal viewing angles.
5. Setup
5.1 Assembling the Stand
- Carefully remove the monitor and stand components from the packaging.
- Attach the stand base to the stand neck, securing it with the provided screw.
- Align the assembled stand with the mounting slot on the back of the monitor and push until it clicks into place.
5.2 Connecting to a Device
The monitor supports both HDMI and VGA connections.

Figure 3: Connecting the monitor via HDMI or VGA.
- HDMI Connection: Connect one end of the HDMI cable to the HDMI port on your computer or device and the other end to the HDMI port on the monitor.
- VGA Connection: Connect one end of the VGA cable to the VGA port on your computer or device and the other end to the VGA port on the monitor.
5.3 Power Connection
- Connect the power adapter to the power input port on the monitor.
- Plug the power adapter into a wall outlet.
5.4 VESA Mounting (Optional)
The monitor is compatible with 100x100mm VESA mounts.

Figure 4: VESA mounting points on the rear of the monitor.
- Remove the stand from the monitor if it is already attached.
- Attach your VESA-compatible wall mount or desk arm to the 100x100mm mounting holes on the back of the monitor using appropriate screws (not included).
- Follow the instructions provided with your VESA mount for secure installation.
6. Operating Instructions
6.1 Powering On/Off
Press the power button located on the monitor to turn it on or off.
6.2 Adjusting Tilt
The monitor can be manually tilted to achieve a comfortable viewing angle.

Figure 5: Monitor tilt range (-5° to +15°).
- Gently hold the top and bottom edges of the monitor and adjust it to your desired angle within the -5° to +15° range.
6.3 On-Screen Display (OSD) Menu
Use the control buttons on the monitor to navigate and adjust settings in the OSD menu. Common settings include brightness, contrast, color temperature, and input source selection.
6.4 Audio Output
The monitor features dual built-in speakers for audio playback.

Figure 6: Location of dual built-in speakers.
- Adjust the volume through your connected device or the monitor's OSD menu.
6.5 Low Blue Light Mode
The monitor includes a low blue light feature to reduce eye strain.
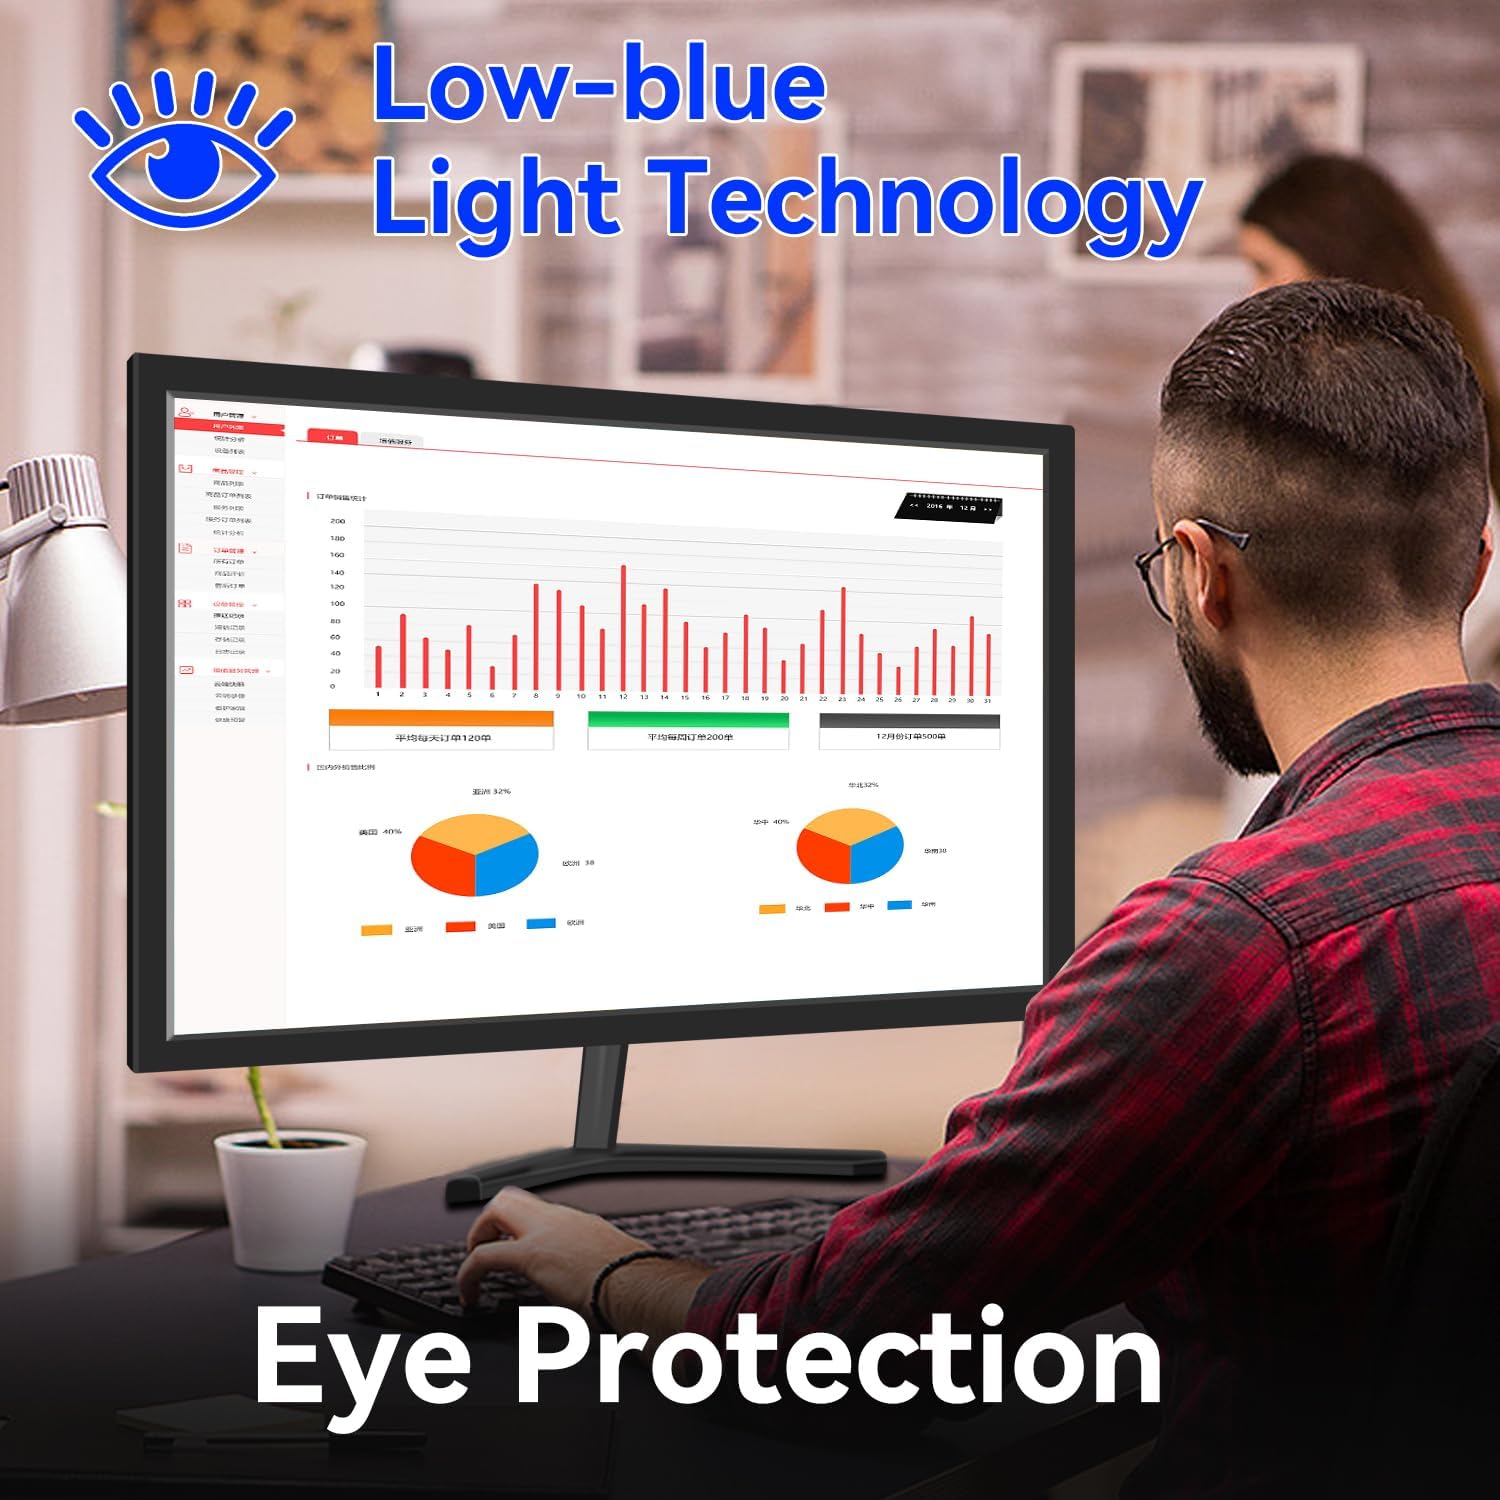
Figure 7: Low Blue Light Technology for eye protection.
- Activate or deactivate this mode via the OSD menu to suit your viewing preferences.
7. Maintenance
7.1 Cleaning the Monitor
- Always unplug the monitor before cleaning.
- Use a soft, lint-free cloth lightly dampened with water or a mild, non-abrasive screen cleaner.
- Do not spray cleaner directly onto the screen.
- Avoid using alcohol, ammonia, or abrasive cleaners.
7.2 Storage
- If storing the monitor for an extended period, disconnect all cables and store it in a cool, dry place.
- It is recommended to use the original packaging for storage to protect against dust and physical damage.
8. Troubleshooting
| Problem | Possible Cause | Solution |
|---|---|---|
| No image on screen | Monitor is not powered on. Video cable is loose or disconnected. Incorrect input source selected. | Press the power button. Check video cable connections. Select the correct input source via the OSD menu. |
| No sound from speakers | Volume is too low or muted. Audio output settings on the device are incorrect. | Adjust volume on monitor or connected device. Check audio settings on your computer/device. |
| Image is blurry or distorted | Incorrect resolution setting. Faulty video cable. | Set the display resolution to 1440x900. Try a different video cable. |
9. Specifications
| Feature | Specification |
|---|---|
| Brand | HTNZIR |
| Model Number | H-19-JP |
| Screen Size | 19 inches |
| Resolution | 1440 x 900 |
| Refresh Rate | 60Hz |
| Aspect Ratio | 16:9 |
| Response Time | 5ms |
| Brightness | 250 cd/m² |
| Viewing Angle | 170° (Horizontal/Vertical) |
| Connectivity | HDMI, VGA |
| Speakers | Dual Built-in Speakers |
| VESA Compatibility | 100 x 100 mm |
| Tilt Adjustment | -5° to +15° |
| Dimensions (W x H x D) | 400 x 290 x 20 mm (without stand) |
| Weight | 2.3 kg |
10. Warranty and Support
For warranty information and technical support, please refer to the warranty card included with your product or visit the official HTNZIR website. Please have your model number (H-19-JP) and purchase date available when contacting support.