1. Introduction
This instruction manual provides essential information for the proper installation, function, and maintenance of your Jenahuip Thermostat Wall Plate Mount UWP16 32321051-001. This wall plate is designed to provide a secure and organized mounting surface for compatible thermostats, facilitating clear wiring connections. Please read this manual thoroughly before proceeding with installation to ensure safe and correct usage.
2. Product Overview
The Jenahuip UWP16 32321051-001 is a replacement thermostat wall plate mount. It is designed to simplify the wiring process for thermostats by providing clearly labeled terminals and a stable mounting surface. The product has undergone strict testing to ensure excellent quality and high reliability.

Figure 1: This image displays the front of the Jenahuip UWP16 Thermostat Wall Plate Mount. It features clearly labeled wiring terminals (S, Y2, G, C, U, L/A, O/B, W2, E, W, K, R, Rc) for various thermostat connections. Below the terminals, there are instructions indicating proper wire exposure length (1/4" - 3/8") and important notes: 'C-Wire is required for most Wi-Fi Thermostats' and 'Do NOT connect wire to W for heat pump'. The model number UWP16 is also visible.
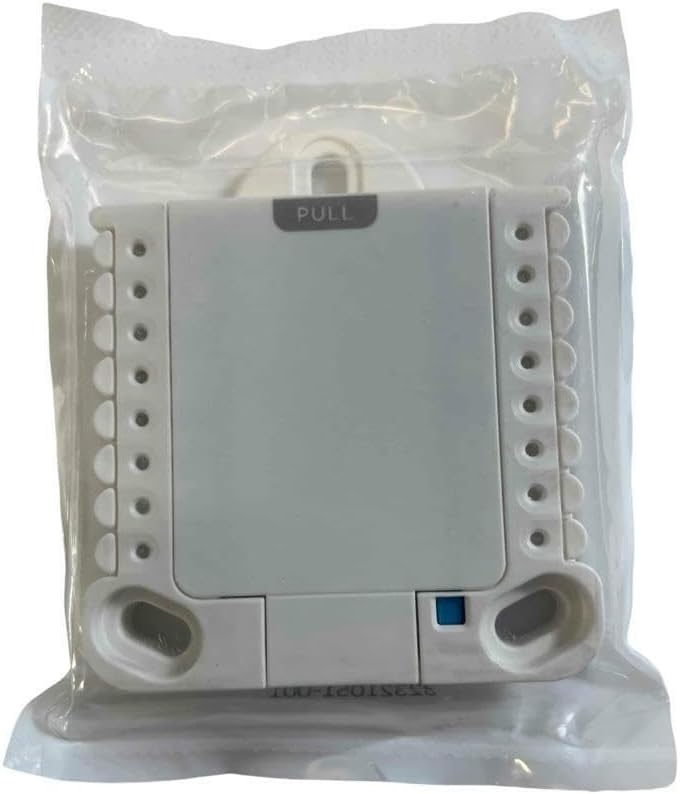
Figure 2: This image shows the Jenahuip UWP16 Thermostat Wall Plate Mount sealed in clear plastic packaging. The back of the plate is visible, along with the 'PULL' tab for opening the wiring compartment. This view indicates the product is new and unused.
3. Setup and Installation
The UWP16 wall plate serves as the primary mounting and wiring interface for your thermostat. Follow these general guidelines for installation:
- Power Off: Before beginning any wiring, ensure that the power to your HVAC system is completely turned off at the circuit breaker.
- Remove Old Thermostat: Carefully remove your existing thermostat and its wall plate. Note the wiring connections before disconnecting them.
- Mount the UWP16 Plate: Position the Jenahuip UWP16 wall plate on the wall where the thermostat will be located. Use appropriate screws to secure it firmly to the wall, ensuring it is level.
- Prepare Wires: Strip the insulation from your thermostat wires to expose approximately 1/4" to 3/8" of bare wire. Refer to Figure 1 for the recommended wire length.
- Connect Wires: Insert each wire into its corresponding terminal on the UWP16 plate. The terminals are clearly labeled (e.g., R, C, G, Y, W). Push the wire firmly into the terminal until it is securely held.
- Important Wiring Notes:
- A C-Wire is typically required for most Wi-Fi enabled thermostats to provide continuous power.
- If you have a heat pump system, DO NOT connect a wire to the 'W' terminal. Consult your thermostat's specific wiring diagram for heat pump configurations.
- Attach Thermostat: Once all wires are securely connected, attach your compatible thermostat to the UWP16 wall plate according to the thermostat's instructions.
- Restore Power: Turn the power back on at the circuit breaker.
4. Operation
The Jenahuip UWP16 wall plate itself does not have operational controls. Its function is to provide a stable mounting platform and a standardized wiring interface for your thermostat. All operational functions, such as temperature control, mode selection, and scheduling, are managed directly through the thermostat connected to this wall plate.
5. Maintenance
The UWP16 wall plate requires minimal maintenance. Periodically, you may:
- Cleaning: Gently wipe the surface of the wall plate with a soft, dry cloth to remove dust or debris. Avoid using harsh chemicals or abrasive cleaners.
- Inspection: Occasionally inspect the wiring connections to ensure they remain secure. If any wires appear loose, power off the system and re-seat them firmly.
6. Troubleshooting
If you encounter issues after installing the wall plate and thermostat, consider the following:
- No Power to Thermostat: Ensure the circuit breaker for your HVAC system is on. Double-check all wiring connections on the UWP16 plate to ensure they are secure and correctly matched to your thermostat's requirements. Verify that a C-wire is properly connected if your thermostat requires it.
- Incorrect System Behavior: If your heating or cooling system is not responding as expected, re-verify that each wire is connected to the correct terminal on the UWP16 plate according to your thermostat's installation guide. Pay close attention to heat pump specific wiring if applicable.
- Loose Connections: Power off the system and gently tug on each wire at the terminal to confirm it is firmly seated.
For specific thermostat operational issues, refer to your thermostat's instruction manual.
7. Specifications
| Feature | Specification |
|---|---|
| Brand | Jenahuip |
| Model Number | UWP16 32321051-001 |
| Color | White |
| Controller Type (Thermostat) | Push Button, Mechanical Knob |
| Temperature Control Type (Thermostat) | Manual |
| Connectivity Technology (Thermostat) | Wi-Fi |
| Display Type (Thermostat) | Manual |
| Control Method (Thermostat) | Touch |
| Backlight (Thermostat) | No |
| UPC | 738875103785 |
| Manufacturer | jenahuip |
8. Warranty and Support
The Jenahuip UWP16 Thermostat Wall Plate Mount comes with a one-year warranty. We are committed to providing high-quality professional accessories and support for our products. For any warranty claims or technical assistance, please contact Jenahuip customer support.


