1. Product Overview
The Silhouette Electrostatic Mat is an accessory designed for use with the Silhouette Portrait 4 cutting machine. This mat utilizes electrostatic adhesion to secure materials during the cutting process, eliminating the need for traditional adhesive mats. This design helps prevent damage to delicate materials upon removal and simplifies the cleanup process.
It is particularly beneficial for materials that are prone to tearing or curling when removed from adhesive surfaces. The mat measures approximately 21 x 30 cm (8.5 x 12 inches).

Image 1.1: Front view of the Silhouette Electrostatic Mat, showing its clean, white surface and integrated power connection point.
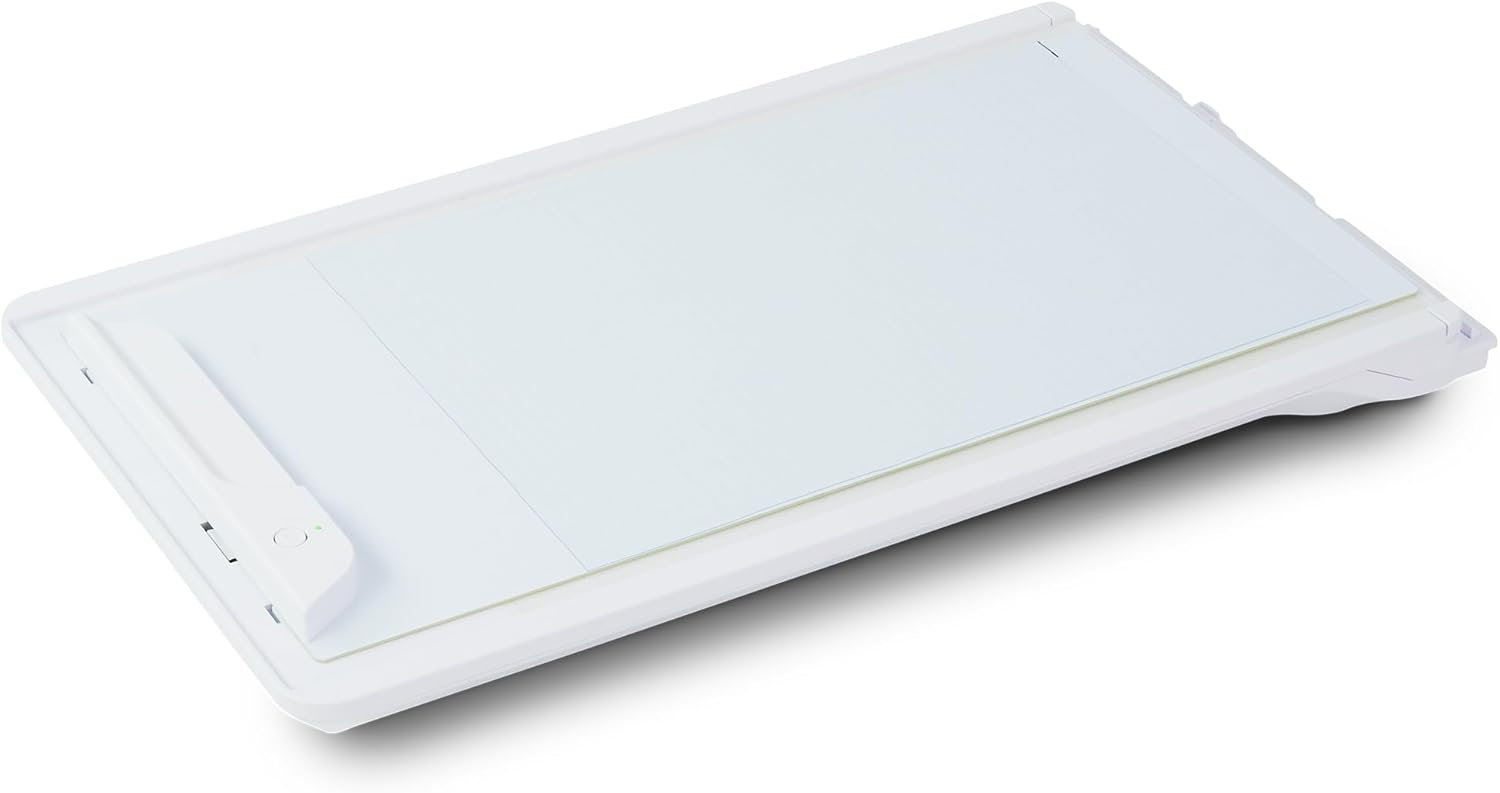
Image 1.2: Angled view of the Silhouette Electrostatic Mat, highlighting its slim profile and the electrostatic surface.
2. Compatibility
This Electrostatic Mat is exclusively compatible with the Silhouette Portrait 4 cutting machine. It is not designed for use with other Silhouette models or cutting machines.
3. Setup Instructions
- Unpack the Mat: Carefully remove the Electrostatic Mat from its packaging.
- Connect to Portrait 4: Insert the Electrostatic Mat into the Silhouette Portrait 4 machine's designated mat slot. Ensure it is properly aligned and seated. The mat connects electrically to the machine to activate its electrostatic properties.
- Software Settings: Open the Silhouette Studio software. Ensure that the software recognizes the Electrostatic Mat. You may need to select "Electrostatic Mat" as your mat type in the software settings for optimal performance.
- Place Material: Gently place your desired material onto the electrostatic surface of the mat. The electrostatic charge will hold the material in place.

Image 3.1: The Silhouette Electrostatic Mat loaded into a Portrait 4 machine, with a piece of material placed on its surface, ready for cutting.
4. Operating Instructions
4.1 Material Selection
- The Electrostatic Mat performs best with smooth, non-permeable materials.
- Materials with a heavy texture or porous surfaces may not adhere effectively to the electrostatic mat.
- Always test a small piece of your material on the mat before a full project to ensure proper adhesion.
4.2 Cutting Process
- Prepare Design: Create or load your design in Silhouette Studio.
- Adjust Settings: Select the appropriate material type and cutting settings (blade depth, force, speed) in Silhouette Studio. Ensure the "Electrostatic Mat" option is selected.
- Load Mat: With the material placed on the mat, load the mat into the Portrait 4 machine as described in the setup section.
- Start Cut: Send your design to the Portrait 4 for cutting.
- Unload Material: Once cutting is complete, the electrostatic charge will release, allowing for easy and damage-free removal of your cut material.

Image 4.1: A Silhouette Portrait 4 machine actively cutting material placed on the Electrostatic Mat.
5. Maintenance
- Cleaning: The electrostatic surface should be kept clean and free of debris. Use a soft, dry cloth to gently wipe the surface if needed. Avoid abrasive cleaners or solvents.
- Storage: Store the mat flat in a clean, dry environment to prevent warping or damage to the electrostatic surface.
- Protection Sheet: The mat includes a protective sheet. While cutting, be mindful of your force settings to avoid cutting through this sheet. Replacement protection sheets may be available if needed.
6. Troubleshooting
6.1 Mat Turns Off During Use
If the Electrostatic Mat unexpectedly turns off or loses its charge during a cutting job, this can often be resolved by adjusting the position of the paper roller on your Portrait 4 machine.
- Check Roller Placement: Ensure the adjustable paper roller on the Portrait 4 is positioned correctly. If the roller is too far towards the center or too close to the edge of the machine, it may interfere with the mat's connection or trigger a safety feature, causing the mat to deactivate.
- Recommended Position: Refer to your Silhouette Portrait 4 machine's manual for the recommended paper roller placement when using accessories like the Electrostatic Mat. A common recommendation is to position the roller to align with the material's edge or within a specific marked area.
- Secure Connection: Verify that the Electrostatic Mat is fully and securely inserted into the Portrait 4's mat slot, ensuring a stable electrical connection.
6.2 Material Not Adhering
- Material Type: Confirm that your material is smooth and non-permeable. Heavily textured or porous materials will not adhere well.
- Clean Surface: Ensure the mat's electrostatic surface is clean and free of dust, lint, or debris.
- Mat Activation: Verify that the mat is properly connected to the Portrait 4 and that the machine is powered on and the mat is activated (indicated by an LED light, if present).
7. Specifications
| Product Name | Silhouette Electrostatic Mat |
| Model Number | CUT-MAT-ES-LTR |
| Brand | Silhouette |
| Dimensions | 21 x 30 cm (8.5 x 12 inches) |
| Compatibility | Silhouette Portrait 4 only |
| Adhesion Type | Electrostatic |

Image 7.1: The product packaging for the Silhouette Electrostatic Mat, showing key features and compatibility.
8. Warranty and Support
For detailed warranty information and customer support, please refer to the official Silhouette website or contact Silhouette customer service directly. Information regarding warranty periods, terms, and conditions, as well as technical assistance, can typically be found on the manufacturer's support pages.
You can visit the Silhouette America website for more resources and support.