1. Introduction
This manual provides essential information for the safe and efficient operation, installation, and maintenance of your Iamsii 36-inch Built-in Kitchen Range Hood Insert. Please read this manual thoroughly before installation and use, and retain it for future reference.
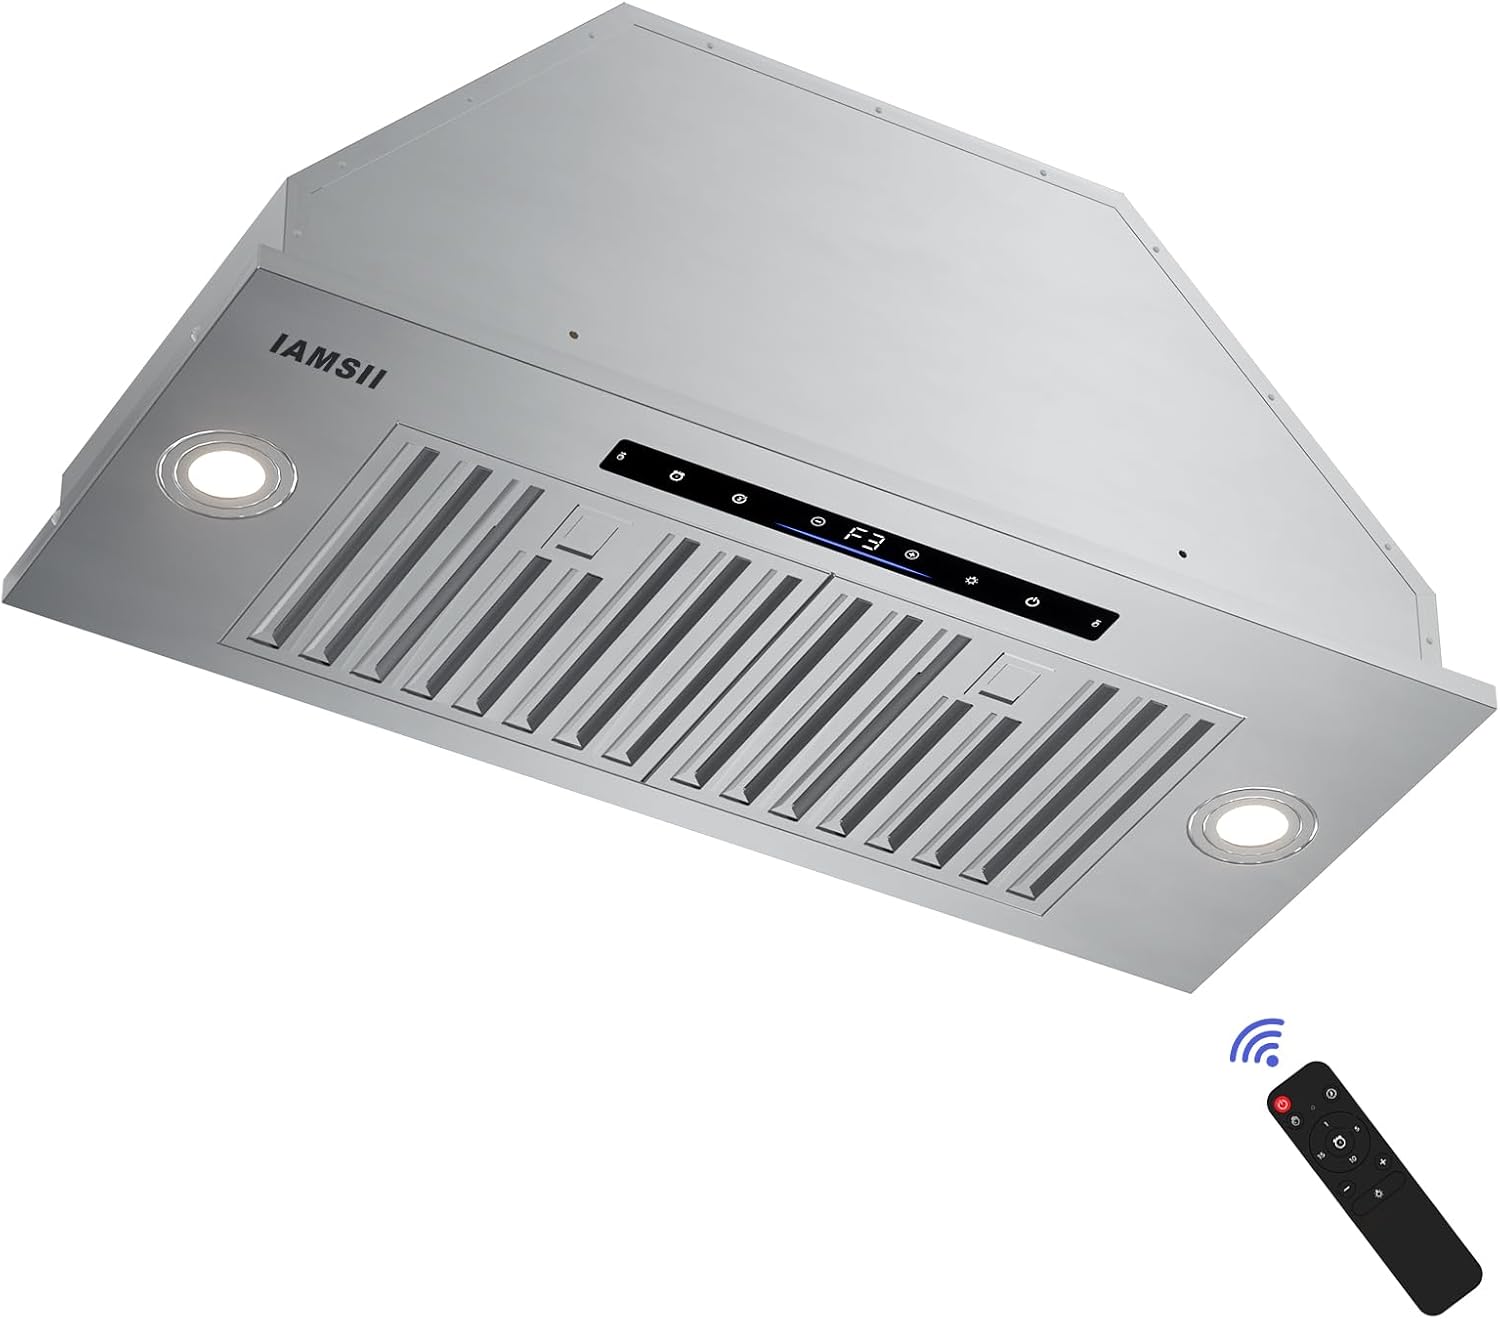
Figure 1: Iamsii 36-inch Range Hood Insert with remote control. This image displays the stainless steel range hood insert from a lower angle, highlighting its sleek design, LED lights, control panel, and the included remote control.
2. Safety Information
To reduce the risk of fire, electric shock, or injury, observe the following:
- Read all instructions before using this appliance.
- Installation work and electrical wiring must be done by qualified person(s) in accordance with all applicable codes and standards, including fire-rated construction.
- Sufficient air is needed for proper combustion and exhausting of gases through the flue (chimney) of fuel-burning equipment to prevent back-drafting.
- When cutting or drilling into wall or ceiling, do not damage electrical wiring and other hidden utilities.
- Ducted fans must always be vented to the outdoors.
- Do not use this unit with any external solid-state speed control device.
- Clean grease filters frequently. Grease should not be allowed to accumulate on fan or filter.
- Never leave surface units unattended at high settings. Boil-over causes smoking and greasy spillovers that may ignite.
- Always turn hood ON when cooking at high heat or when flaming foods.
3. Package Contents
Verify that all components are present and undamaged upon unpacking:
- Range Hood (1 unit)
- User Manual (1 unit)
- Charcoal Filters (2 units - for ductless operation)
- Woodscrews (8 units)
- Anchor Screws (8 units)
- Self-drilling Plastic Drywall Anchors (8 units)
- Duct Adapter (1 unit)
- Apron (1 unit)
- Gloves (1 pair)

Figure 2: This image displays the range hood insert along with all its included accessories, such as filters, duct adapter, mounting hardware, apron, and gloves.
4. Specifications
| Feature | Specification |
|---|---|
| Model Number | IA08S-E36 |
| Airflow Displacement | 900 Cubic Feet Per Minute (CFM) |
| Material | Stainless Steel |
| Noise Level | 65 Decibels (Max) |
| Mounting Type | Built-in or Insert |
| Controls Type | Gesture, Remote, Touch |
| Number of Speeds | 4 |
| Light Source Type | LED |
| Filter Type | Baffle |
| Ventilation Type | Convertible (Ducted/Ductless) |
| Product Dimensions | 11.8"D x 35.4"W x 11"H |
| Item Weight | 26.7 Pounds |
| Voltage | 120 Volts |
| Wattage | 120 watts |
| Amperage | 2 Amps |
| Certifications | ETL, cETL |

Figure 3: Detailed dimensions of the Iamsii Range Hood Insert, showing height, width, depth, and ducting measurements for installation planning.

Figure 4: Illustration demonstrating the low noise level of the range hood, comparing its maximum 65dB operation to common household sounds like talking voice and refrigerator hum.
5. Installation
The Iamsii Range Hood Insert is designed for both ducted and ductless convertible installation. Ensure proper framing and electrical connections are in place before proceeding.
5.1 Ducted vs. Ductless Installation
For ducted installation, the hood vents cooking fumes and odors directly outside through a 6-inch top ducted vent. For ductless (recirculating) installation, optional charcoal filters are required to purify the air before recirculating it back into the kitchen.

Figure 5: Visual comparison of ductless installation (air recirculates through filters) and ducted installation (air is expelled outside via an exhaust pipe).
5.2 Mounting
The range hood is designed for built-in or insert mounting within a cabinet structure. Ensure the cabinet opening matches the product dimensions (11.8"D x 35.4"W x 11"H) and provides adequate support. Use the provided woodscrews, anchor screws, and drywall anchors as appropriate for your cabinet material.
Video 1: This video demonstrates the installation process for the Iamsii Range Hood Insert, showing how it fits into a cabinet and the steps for securing it.
Video 2: A detailed installation video for the Iamsii Range Hood, covering key steps and considerations for a successful setup.
6. Operation
Your Iamsii Range Hood offers multiple convenient control methods: touch, gesture sensing, and remote control.
6.1 Control Panel
The integrated touch control panel allows direct access to all functions including power, fan speed, lighting, and timer settings.

Figure 6: Close-up view of the touch control panel, showing icons for timer, delay shutdown, speed adjustment, light, and power.
6.2 Gesture Control
Wave your hand across the gesture sensing area to control the fan speed and lighting without touching the panel. Wave right to increase fan speed, and wave left to decrease it. Waving from left to right will also turn on the light.

Figure 7: Illustration demonstrating the gesture control feature, where a hand wave increases or decreases fan speed.
Video 3: This video provides a demonstration of the gesture control functionality, showing how to operate the range hood with simple hand movements.
6.3 Remote Control
Use the included remote control for convenient operation from a distance. The remote allows you to power on/off, adjust fan speed, control lighting, and set the delay shutdown timer.

Figure 8: Image showing the remote control for the range hood, with buttons for power, delay shutdown, timer, speed adjustment, and light control.
6.4 Fan Speeds & Suction
The hood features 4 fan speeds, providing up to 900 CFM of suction power to effectively capture odors and smoke. The maximum smoke exhaust efficiency can reach 95%.

Figure 9: Visual representation of the range hood's powerful 900 CFM suction, effectively capturing smoke and odors during cooking.
Video 4: This video highlights the powerful 900 CFM suction of the Iamsii Range Hood Insert, demonstrating its effectiveness in clearing kitchen air.
6.5 Lighting
The hood is equipped with two LED lights. These lights offer adjustable brightness to illuminate your cooking area. They can be controlled independently of the fan.

Figure 10: Image showcasing the adjustable brightness LED lights of the range hood, providing ample illumination for the cooking surface.
6.6 Delay Shutdown & Timer
Utilize the 3-minute delay shutdown feature to clear residual fumes after cooking. An adjustable timer (1-15 minutes) is also available for customized operation.

Figure 11: Graphic illustrating the 180-second (3-minute) delay shutdown function, designed to remove residual grease and fumes.
7. Maintenance
Regular cleaning and maintenance will ensure optimal performance and longevity of your range hood.
7.1 Filter Cleaning
The stainless steel baffle filters are removable and dishwasher safe, making cleaning convenient. For optimal performance, clean filters regularly to prevent grease accumulation.

Figure 12: Image showing the removable baffle filters and their compatibility with dishwasher cleaning for easy maintenance.
7.2 General Cleaning
Wipe the exterior of the range hood with a soft cloth and mild detergent. Avoid abrasive cleaners or scouring pads that could scratch the stainless steel finish.
8. Troubleshooting
If you encounter any issues with your range hood, refer to the following common troubleshooting steps:
- No Power: Check if the unit is properly plugged into a 120V AC outlet. Verify the circuit breaker or fuse is not tripped.
- Fan Not Operating: Ensure the power is on. Check if any error codes are displayed on the control panel.
- Weak Suction: Verify that the filters are clean and free of grease buildup. Ensure the ducting (if applicable) is not obstructed.
- Excessive Noise: Check for any loose parts or obstructions in the fan assembly. Ensure the unit is securely mounted.
- Lights Not Working: Check if the light bulbs are securely in place. If issues persist, contact customer support.
9. Warranty and Support
Iamsii offers a 5-Year Warranty on this range hood. For any questions, problems, or missing parts, please contact Iamsii customer support. We are committed to providing quick responses within 24 hours to ensure your satisfaction.
Refer to the contact information provided in your product packaging or on the official Iamsii website for support.