1. Introduction
This manual provides detailed instructions for the safe installation, operation, and maintenance of your NOPAARD Smart 52 Inch Wood Flush Mount Ceiling Fan. This fan features smart control capabilities via remote, app, and voice assistants, a quiet DC motor, and an integrated dimmable LED light. Please read all instructions carefully before beginning installation and retain this manual for future reference.
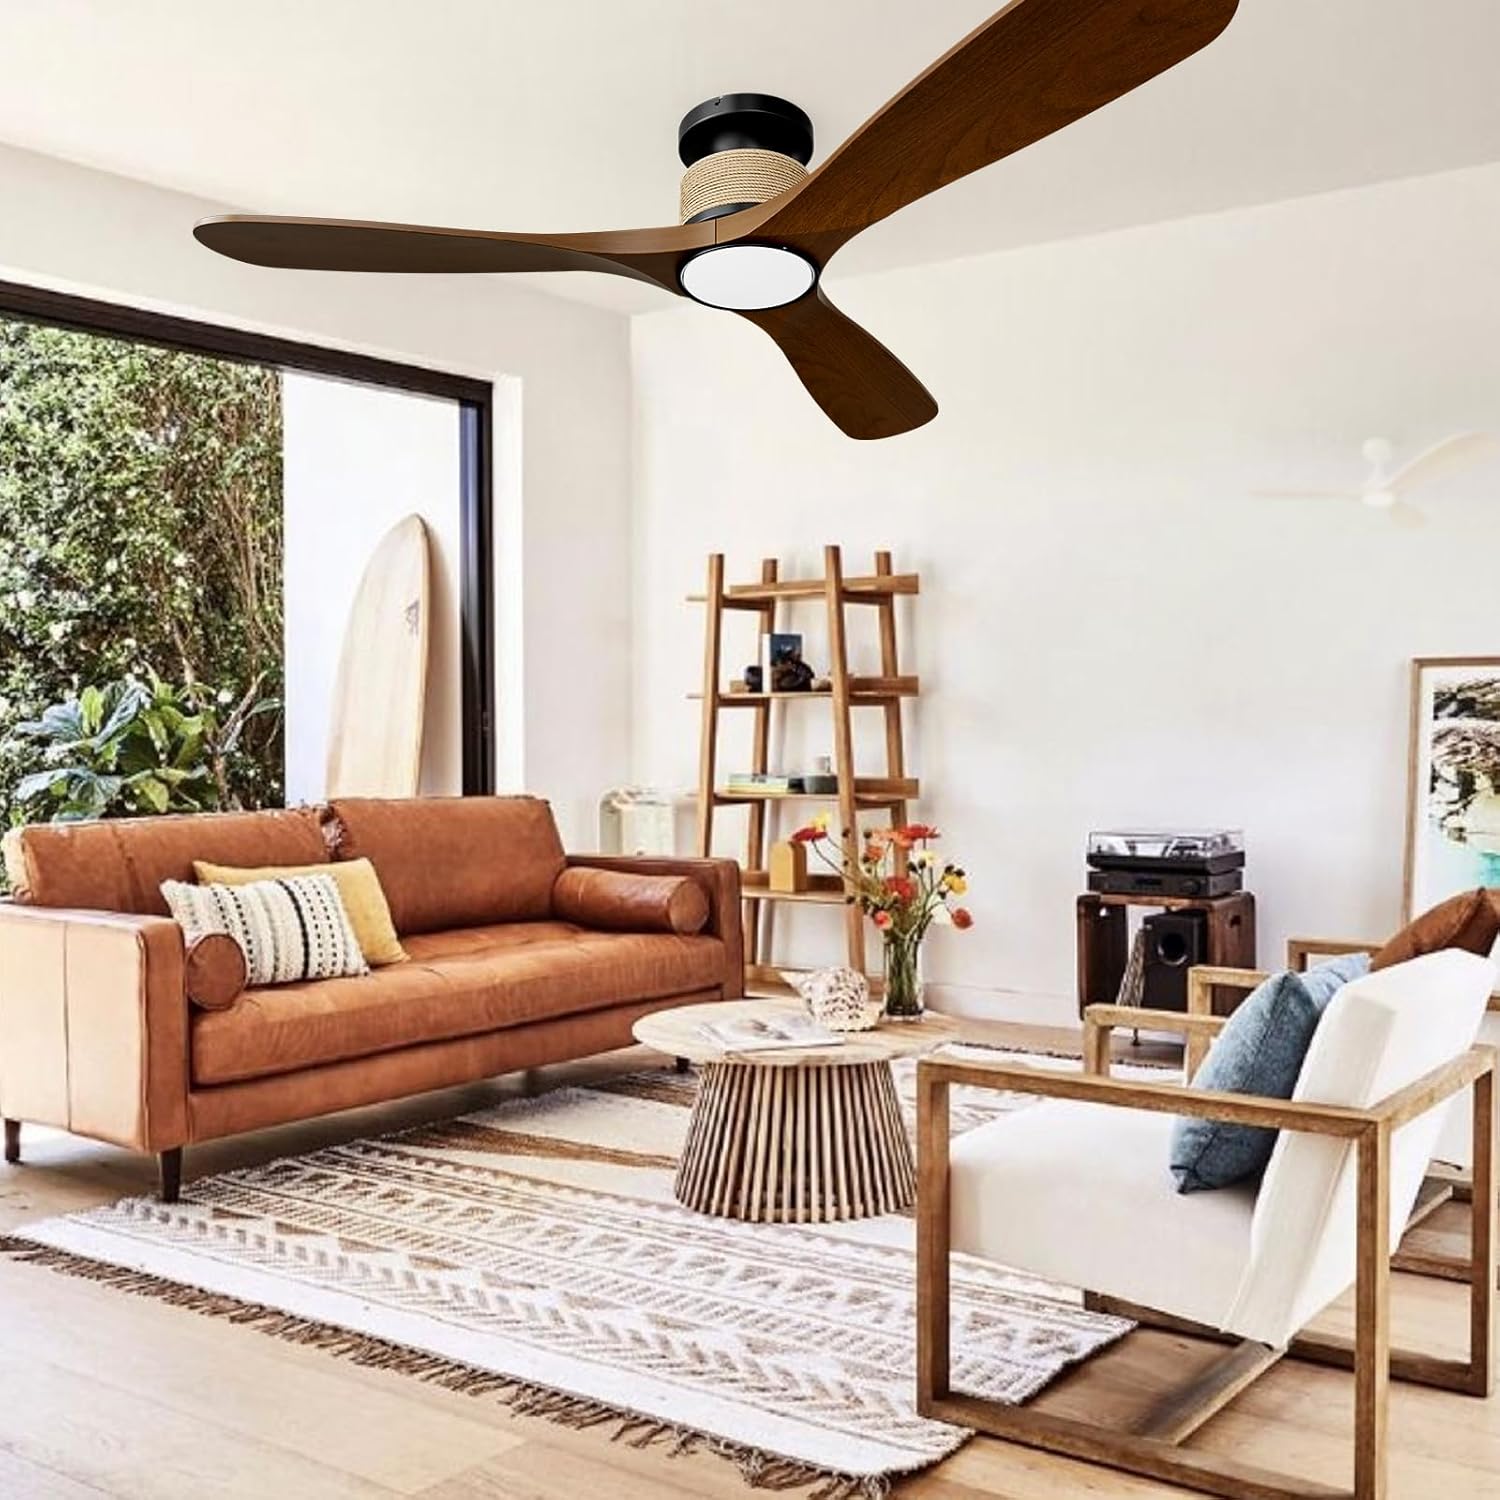
Image 1.1: NOPAARD Smart 52 Inch Wood Flush Mount Ceiling Fan in a living room setting.
2. Safety Information
WARNING: To reduce the risk of fire, electric shock, or personal injury, always follow these safety guidelines:
- Ensure the electrical supply is disconnected at the main fuse box or circuit breaker before installation or servicing.
- All electrical wiring must be performed by a qualified electrician and comply with all local and national electrical codes.
- The mounting structure must be capable of supporting the weight of the fan (approximately 8.36 lbs) plus the dynamic load during operation.
- Do not install the fan on vaulted or sloped ceilings. This fan is designed for flush mounting only.
- Keep hands, clothing, and other objects clear of the fan blades during operation.
- This fan is suitable for wet-rated indoor/outdoor use, such as covered patios or porches. Do not expose the fan directly to water.
- Use only replacement parts specified by the manufacturer.
3. Package Contents
Verify that all components are present before beginning installation:
- Fan Motor Housing
- Fan Blades (3)
- LED Light Kit
- Mounting Bracket
- Remote Control
- Hardware Pack (screws, wire nuts, etc.)
- Instruction Manual
4. Setup and Installation
Follow these steps for proper installation. Professional installation is recommended.
4.1 Pre-Installation Checks
- Turn off power at the circuit breaker.
- Ensure the ceiling junction box is securely mounted and rated for fan support.
- Confirm the ceiling height is suitable for a flush mount fan (minimum 8.9 inches clearance from ceiling to bottom of fan).

Image 4.1: Fan dimensions and installation suitability.
4.2 Mounting the Bracket
- Attach the mounting bracket to the ceiling junction box using the provided screws. Ensure it is firmly secured.
- The design allows for the mounting bracket to be installed first, then the fan body can be easily attached, eliminating the need to hold the heavy fan overhead during wiring.
4.3 Wiring the Fan
- Connect the fan's electrical wires to the household wiring according to the wiring diagram in the full manual (typically black to black, white to white, ground to ground). Use wire nuts to secure connections.
- Carefully tuck all wires into the junction box.
4.4 Attaching the Fan Body and Blades
- Secure the fan motor housing to the mounting bracket.
- Attach the fan blades to the motor housing using the provided screws. Ensure all screws are tightened securely.
4.5 Installing the Light Kit
- Connect the light kit wires to the fan motor housing wires.
- Secure the light kit to the bottom of the fan housing.
5. Operating Instructions
Your NOPAARD Smart Ceiling Fan offers multiple control options for convenience.
5.1 Control Methods

Image 5.1: Overview of control methods.
- Remote Control: Use the included remote to adjust fan speed, light settings, and activate the timer.
- Tuya App Control: Download the Tuya Smart app to your smartphone. Follow the in-app instructions to pair your fan for remote control from anywhere.
- Voice Control: Integrate with Amazon Alexa or Google Assistant devices. Once paired via the Tuya app, you can use voice commands such as "Alexa, turn on the fan in the bedroom."
- Wall Control: Note that the fan and lights can only be turned on/off together via a standard wall switch and cannot be operated separately or adjusted. For full functionality, use the remote, app, or voice control.
5.2 Fan Speed Adjustment
The fan features 6 variable speeds to suit your comfort needs.
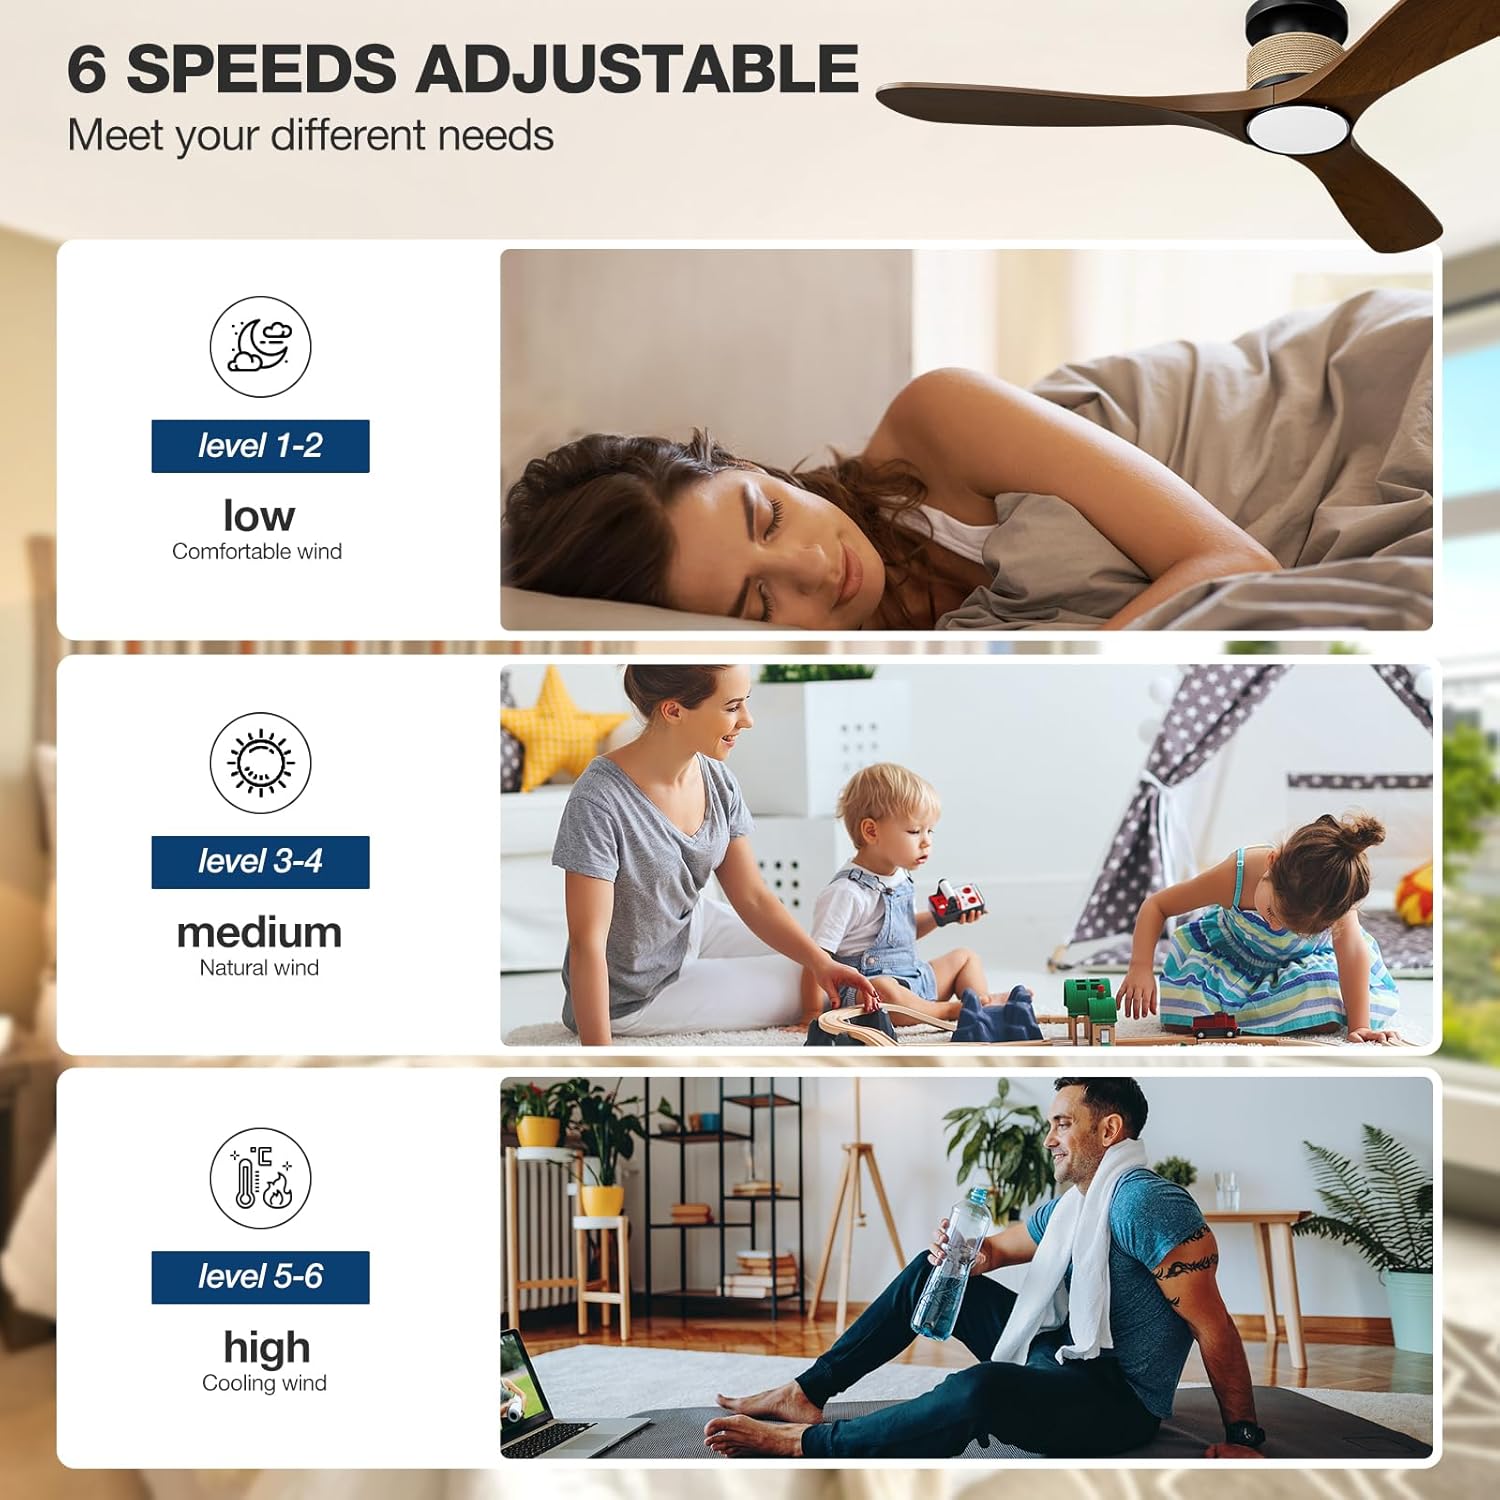
Image 5.2: Fan speed levels.
- Levels 1-2: Low speed for gentle air circulation, ideal for sleeping.
- Levels 3-4: Medium speed for natural airflow, suitable for daily activities.
- Levels 5-6: High speed for maximum cooling, effective in larger spaces or warmer conditions.
5.3 Light Settings
The integrated LED light offers adjustable color temperature and brightness.

Image 5.3: Dimmable LED light with adjustable color temperatures.
- Color Temperature: Cycle through 3000K (warm yellow), 4000K (bright daylight), and 6000K (cool white) to match your preference.
- Dimming: Adjust brightness from 0% to 100% (0-2000 lumens) using the remote or app.
5.4 Reversible Fan Blades (Winter/Summer Mode)
The fan features a reversible DC motor to optimize air circulation year-round.

Image 5.4: Reversible fan blade function.
- Summer Mode: Blades rotate counter-clockwise, pushing cool air down to create a refreshing breeze.
- Winter Mode: Blades rotate clockwise, drawing cool air up and circulating warm air trapped near the ceiling throughout the room.
5.5 Timer Function
Set the fan to automatically turn off after a specified period using the timer function (1, 2, 4, or 8 hours).
6. Maintenance
Regular maintenance ensures optimal performance and longevity of your ceiling fan.
- Cleaning: Periodically wipe the fan blades and motor housing with a soft, damp cloth. Do not use abrasive cleaners or solvents. Ensure power is off before cleaning.
- Blade Balance: If the fan wobbles, check that all blade screws are tight and that the blades are not bent or damaged.
- Electrical Connections: Annually inspect all electrical connections for tightness.
7. Troubleshooting
Refer to this section for common issues and their solutions.
| Problem | Possible Cause | Solution |
|---|---|---|
| Fan does not start | No power supply; Loose wiring; Remote battery low. | Check circuit breaker; Verify all wire connections; Replace remote battery. |
| Light does not work | Loose wiring; LED driver issue. | Check light kit wiring; Contact support if LED driver is suspected. |
| Remote not responding | Battery depleted; Remote not paired. | Replace remote battery; Refer to pairing instructions in the full manual. |
| App/Voice control not working | Wi-Fi connectivity issue; Incorrect app pairing. | Ensure stable 2.4GHz Wi-Fi connection; Re-pair the fan with the Tuya app; Check Alexa/Google Assistant integration. |
| Fan wobbles | Loose blades; Unbalanced blades; Loose mounting. | Tighten all blade screws; Check for bent blades; Ensure mounting bracket is secure. |
| Fan is noisy | Loose screws; Internal component issue. | Check all screws for tightness; If noise persists, contact support. (Note: DC motor is designed for quiet operation, typically less than 35dB at low speeds). |
8. Specifications
| Feature | Detail |
|---|---|
| Model Name | 52-YJ818 |
| Product Dimensions | 52"D x 52"W x 8.9"H |
| Item Weight | 8.36 Pounds |
| Number of Blades | 3 |
| Motor Type | Brushless DC Motor |
| Energy Efficiency | 75% more energy-efficient than AC fans |
| Air Flow Capacity | 7451 Cubic Feet Per Minute (CFM) |
| Noise Level | 35 Decibels (at low speeds) |
| Wattage | 57 watts |
| Voltage | 110 Volts |
| Number of Power Levels | 6 |
| Light Type | 3CCT Dimmable LED Light |
| Color Temperatures | 3000K (Warm Yellow), 4000K (Bright Daylight), 6000K (Cool White) |
| Lumen Output | 0-2000 Lumens |
| Control Methods | Remote, Tuya App, Alexa, Google Assistant (Voice) |
| Special Features | Reversible Blades, Timer (1/2/4/8H), Memory Function |
| Installation Type | Flush Mount (not for vaulted ceilings) |
| Indoor/Outdoor Usage | Indoor, Covered Outdoor (Wet-rated) |
| Certifications | ETL Listed |
9. Warranty and Support
NOPAARD provides the following warranty for your ceiling fan:
- Quality Assurance: 24 months from the date of purchase.
- DC Motor Warranty: 10 years from the date of purchase.
If you encounter any issues with product installation, operation, or quality, please contact NOPAARD customer support. Our professional team is available to assist you.
For support, please visit the NOPAARD official website or refer to the contact information provided with your purchase documentation.