
Biquole QEK-S03
Biquole QEK-S03 Keyless Entry Fingerprint Smart Door Lock User Manual
Model: QEK-S03 | Brand: Biquole
1. Introduction
This manual provides detailed instructions for the installation, setup, and operation of your Biquole QEK-S03 Keyless Entry Fingerprint Smart Door Lock. This smart lock offers multiple unlocking methods including fingerprint, passcode, IC card/fob, mobile app control, and traditional mechanical keys, enhancing the security and convenience of your home or office.
The Biquole QEK-S03 is designed for ease of use and durability, featuring an intuitive touchscreen digital keypad, alloy body construction, and IP54 waterproof rating. It is powered by 4 AA batteries, providing approximately 12 months of operation.
2. Safety Information
- Read all instructions carefully before installation and use.
- Do not attempt to disassemble or repair the lock yourself. Contact customer support for assistance.
- Ensure all components are securely fastened during installation to prevent malfunction.
- Keep mechanical keys in a safe place outside your home for emergency access.
- Replace batteries promptly when a low battery alert is issued to avoid being locked out.
- Avoid exposing the lock to extreme temperatures or direct water immersion, despite its IP54 rating.
3. Package Contents
Verify that all items listed below are included in your package:
- QEK-S03 Fingerprint Smart Deadbolt Door Lock (Exterior and Interior Deadbolt)
- 2 Standard Mechanical Keys
- 2 IC Fob Cards
- Latch
- Strike Plate
- Installation Instructions & Programming Instructions
- Mounting Hardware (screws, bolts)
- 4 AA Batteries

Image: Complete package contents of the Biquole QEK-S03 Smart Door Lock.
4. Specifications
| Feature | Description |
|---|---|
| Brand | Biquole |
| Model Name | QEK-S03 |
| Lock Type | Biometric, Combination Lock, Deadbolt, Keypad |
| Unlocking Methods | Fingerprint, Passcode, IC Fob, App Control, Mechanical Key |
| Fingerprint Recognition Speed | 0.3 seconds recognition, 0.5 seconds unlock |
| Fingerprint Capacity | Up to 100 fingerprints |
| User Code Capacity | Up to 100 user codes |
| Power Source | 4 AA batteries (included) |
| Battery Life | Approx. 12 months (10,000 openings) |
| Emergency Power | Emergency charging port |
| Material | Zinc Alloy |
| Color | Glossy Black |
| Dimensions (L x W x H) | 6 x 2.7 x 1.1 inches |
| Door Thickness Compatibility | 35mm-50mm (1.38"-1.97") |
| Bore Hole Diameter | 55mm (2.17") |
| Backset Distance | 60mm or 70mm (2.3"/2.76") |
| Waterproof Rating | IP54 |
| Connectivity | Bluetooth (App Control), Optional Tuya G2 WiFi Gateway for remote features |
5. Installation
5.1 Pre-Installation Checks
Before beginning installation, ensure your door meets the following specifications:
- Door Thickness: 35mm-50mm (1.38"-1.97")
- Bore Hole Diameter: 55mm (2.17")
- Backset Distance: 60mm or 70mm (2.3"/2.76")

Image: Door measurement guidelines for Biquole QEK-S03 Smart Lock installation.
5.2 Door Handing Identification
It is crucial to identify whether your door is left-opening or right-opening before installation to ensure proper functionality. Refer to the provided template or the video below for detailed guidelines.
Video: Guide on how to identify left-handed and right-handed doors for correct lock orientation.
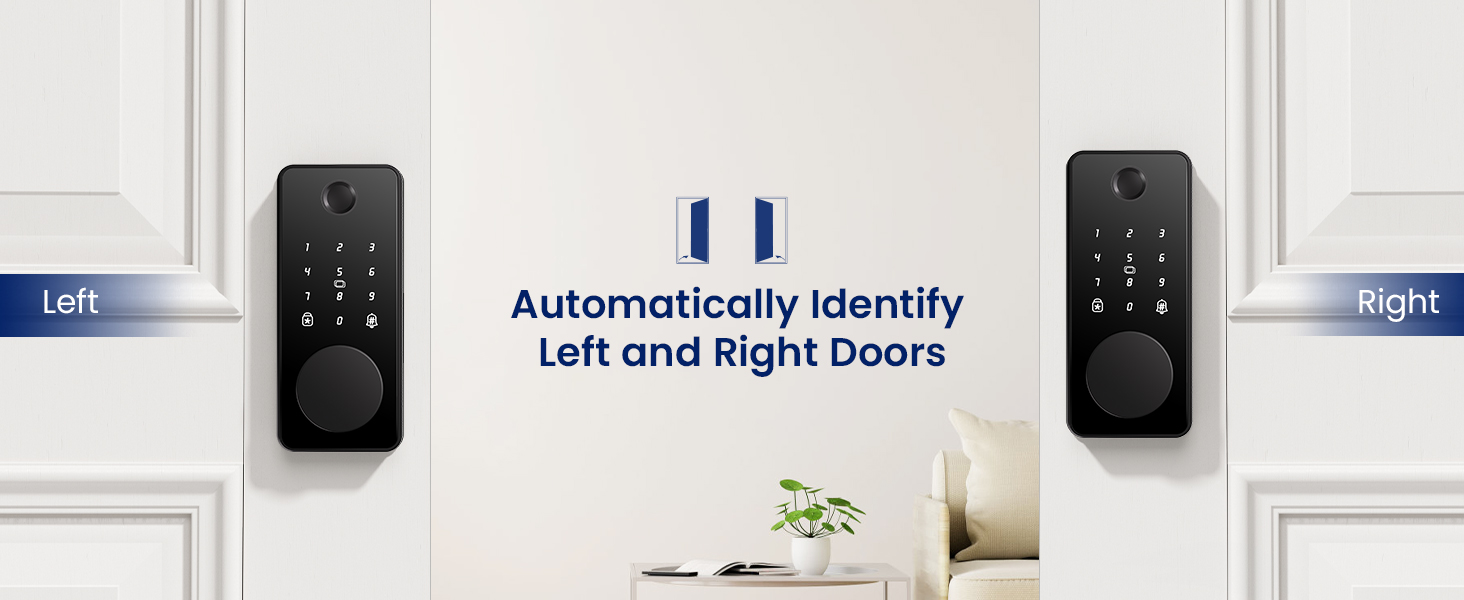
Image: Visual guide for left and right door identification.
5.3 Step-by-Step Installation
Follow these steps to install your Biquole QEK-S03 Smart Door Lock:
- Prepare the Door: Use the provided template to mark and drill holes if necessary. Ensure existing holes match the lock's specifications.
- Install the Latch: Insert the latch into the door edge. Ensure the 'TOP' marking on the latch is facing upwards. Secure it with screws.
- Install the Strike Plate: Attach the strike plate to the door frame, aligning it with the latch. Secure it with screws.
- Install the Exterior Panel: Feed the main cable and the locking bar through the door hole. Position the exterior panel vertically and secure it.
- Install the Interior Mounting Plate: Connect the main cable to the interior mounting plate. Ensure the plate is parallel to the door and secure it with screws.
- Install the Interior Panel: Connect the main cable from the exterior panel to the interior panel. Tuck excess cable neatly. Align the interior panel and secure it with screws.
- Insert Batteries: Open the battery cover on the interior panel and insert the 4 AA batteries. Close the cover.
Video: Step-by-step installation guide for the Biquole QEK-S03 Smart Door Lock.
6. Setup
6.1 App Download and Connection
Download the 'Smart Life' app from your smartphone's app store. Ensure Bluetooth is enabled on your phone. Follow the in-app instructions to add your Biquole QEK-S03 lock.
Video: Instructions for connecting the Biquole Smart Door Lock to the Smart Life app.
6.2 Adding Fingerprints
Once connected to the app, navigate to the 'Member Management' section. Select 'Add Fingerprint' and follow the on-screen prompts to register your fingerprint. You will typically need to place your finger on the sensor multiple times for accurate registration.

Image: Fingerprint recognition area on the Biquole QEK-S03 Smart Lock.
6.3 Adding Passcodes
In the app, go to 'Temporary Code' or 'Member Management' to add new passcodes. You can set timed, permanent, one-time, or custom passcodes. The lock supports 6-digit passcodes.
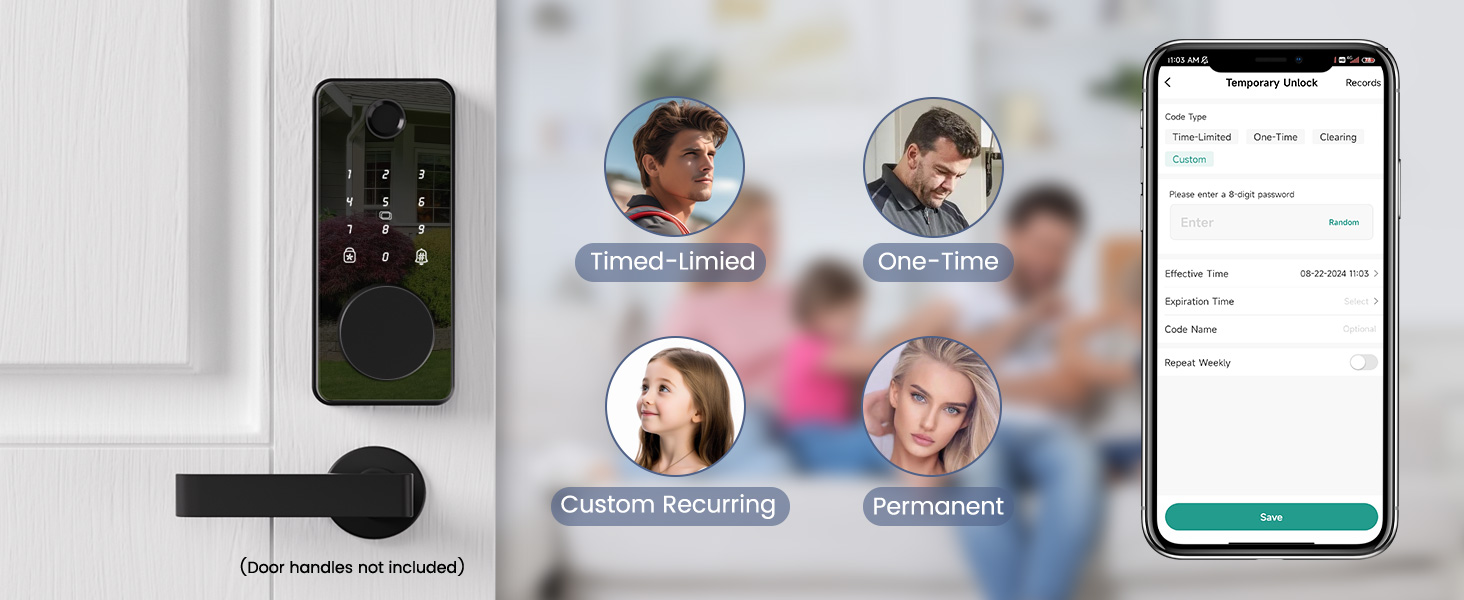
Image: App interface for managing temporary and custom passcodes.
6.4 Adding IC Cards/Fobs
From the app's 'Accessories Management' or 'Member Management' section, select 'Add Card'. Follow the instructions to register your IC Fob cards by tapping them on the lock's sensor.

Image: Using an IC Fob card for keyless entry.
6.5 Connecting Multiple Phones
The administrator can invite other users to join the home in the Smart Life app. Navigate to 'Home Management' and 'Add Member' to share access. Invited members will receive a notification and can then control the lock via their own app.
7. Operating Instructions
7.1 Unlocking Methods
- Fingerprint: Place your registered finger on the sensor. The lock will unlock in approximately 0.5 seconds.
- Passcode: Enter your 6-digit passcode on the keypad.
- IC Fob: Tap your registered IC Fob card on the lock's sensor.
- App Control: Use the Smart Life app to remotely unlock the door (requires optional Tuya G2 WiFi Gateway for remote access).
- Mechanical Key: Use one of the provided mechanical keys for manual unlocking.

Image: Overview of the five diverse unlocking methods.
7.2 Auto-Lock and One-Touch Lock
The lock features an auto-lock function that can be configured via the app to automatically lock after a customizable delay of 1-180 seconds after entry or exit. For immediate locking, simply press the '#' button on the keypad (one-touch lock).

Image: Auto-lock and one-touch lock functionality.
7.3 Anti-Peeping PIN Code
To enhance security, you can enter random digits before or after your actual passcode. The lock will still recognize the correct sequence within the longer string of numbers, preventing others from easily guessing your code by observing your hand movements.

Image: Anti-peeping PIN code feature for enhanced security.
7.4 Silent Mode
Enable silent mode via the app for quiet operation, ideal for late-night entries or exits without disturbing others.

Image: Silent mode operation for discreet use.
7.5 Passage Mode
Activate passage mode in the app to keep the door unlocked for extended periods, such as during parties or when moving items. The lock will remain unlocked until manually locked again.

Image: Passage mode for temporary unlocked access.
7.6 Safe Mode
If multiple incorrect entries are made, the lock will enter safe mode, temporarily disabling electronic access. During this time, only the mechanical key or app control can unlock the door. Safe mode typically lasts for 5 minutes.

Image: Safe mode, requiring mechanical key or app unlock after multiple incorrect entries.
7.7 Event History and Notifications
The Smart Life app allows you to monitor unlock records and wrong passcode attempts in real-time. With the optional Tuya G2 WiFi Gateway, you can receive real-time entry alerts and notifications directly to your phone.

Image: Lock event history displayed in the app.

Image: Real-time notifications via the app (with optional gateway).
7.8 Voice Control (with Optional Tuya G2 WiFi Gateway)
When connected to the Tuya G2 WiFi Gateway (sold separately), your Biquole QEK-S03 Smart Door Lock can be integrated with voice assistants like Alexa and Google Home for convenient voice control.

Image: Voice control functionality with Alexa and Google Home (requires optional gateway).
8. Maintenance
- Cleaning: Wipe the lock's surface with a soft, dry cloth. Avoid abrasive cleaners or solvents that could damage the finish or electronic components.
- Battery Replacement: The lock will issue a low battery alert when power is running low. Replace all 4 AA batteries promptly. Do not mix old and new batteries or different battery types.
- Emergency Power: In case of complete battery depletion, use the emergency charging port (Micro-USB) to temporarily power the lock and gain entry.

Image: Battery compartment and expected battery life.

Image: Low power alert and emergency charging port.
9. Troubleshooting
- Fingerprint Not Recognized: Ensure your finger is clean and dry. Try re-registering your fingerprint in the app.
- Passcode Not Working: Verify the passcode is correct. Ensure you are pressing '#' after entering the code. Check if the lock is in safe mode.
- Lock Not Responding: Check battery levels. If batteries are dead, use the emergency charging port or mechanical key.
- App Connectivity Issues: Ensure Bluetooth is enabled on your phone. Restart the app and the lock (by removing and reinserting batteries).
- Door Handing Issue: If the lock mechanism is not operating correctly, verify the door handing setting in the app (Left On/Right On) matches your door's orientation.
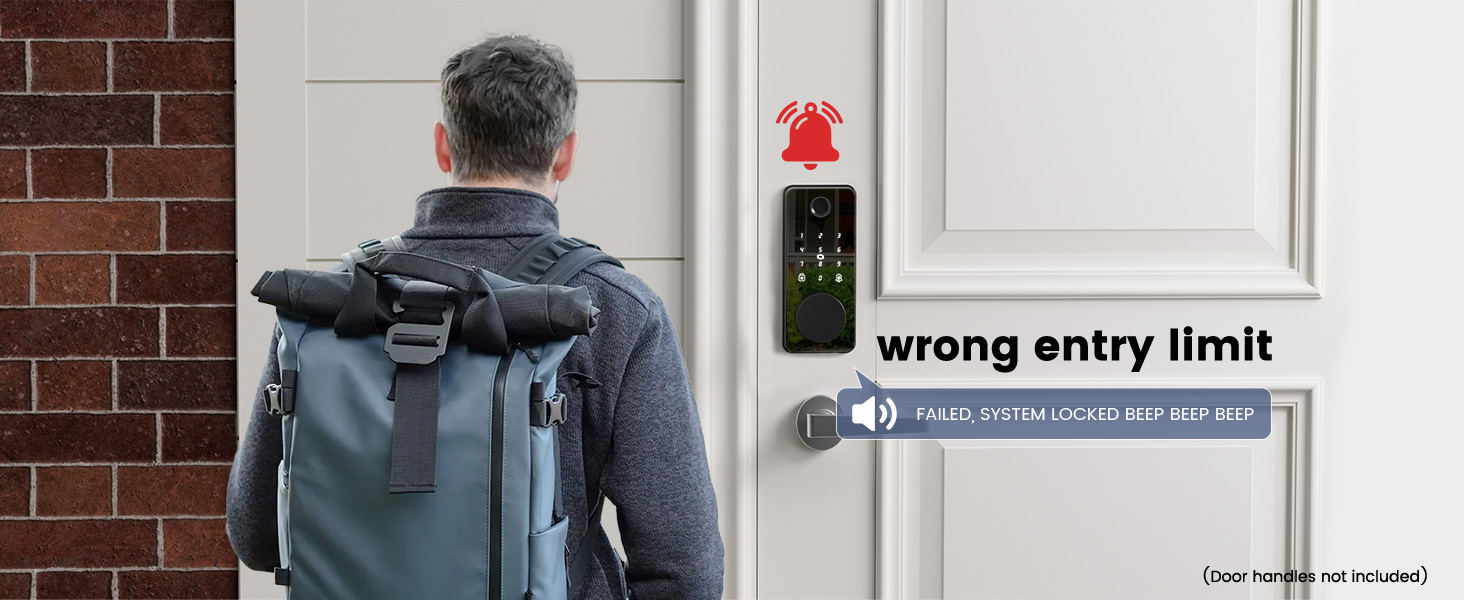
Image: Wrong entry limit alert on the smart lock.
10. Reset
To reset the lock to factory settings:
- Remove one battery from the interior panel.
- Locate the reset button (usually a small pinhole) on the interior panel.
- Using a reset tool (or a paperclip), press and hold the reset button.
- While holding the reset button, reinsert the battery.
- Continue holding the reset button for approximately 6 seconds until you hear a
Related Documents - QEK-S03

Biquole QEK-NO1 Smart Lock Installation and Programming Guide
Comprehensive installation and programming instructions for the Biquole QEK-NO1 smart lock, covering setup, features, and troubleshooting.
QEK-NO1 Smart Lock Installation and Programming Guide
Comprehensive guide for installing and programming the QEK-NO1 electronic keypad deadbolt smart lock, covering parts, layout, step-by-step installation, programming features, and troubleshooting tips.Ask a question about this manual
Ask about setup, troubleshooting, compatibility, parts, safety, or missing instructions. Manuals+ will review the question and use this page’s manual context to help answer it.