1. Introduction
This manual provides instructions for the installation, operation, maintenance, and troubleshooting of your NETGEAR XS516TM 18-Port 10G/Multi-Gigabit Ethernet Smart Switch. This device is designed to provide high-speed network connectivity with advanced management features for business environments.
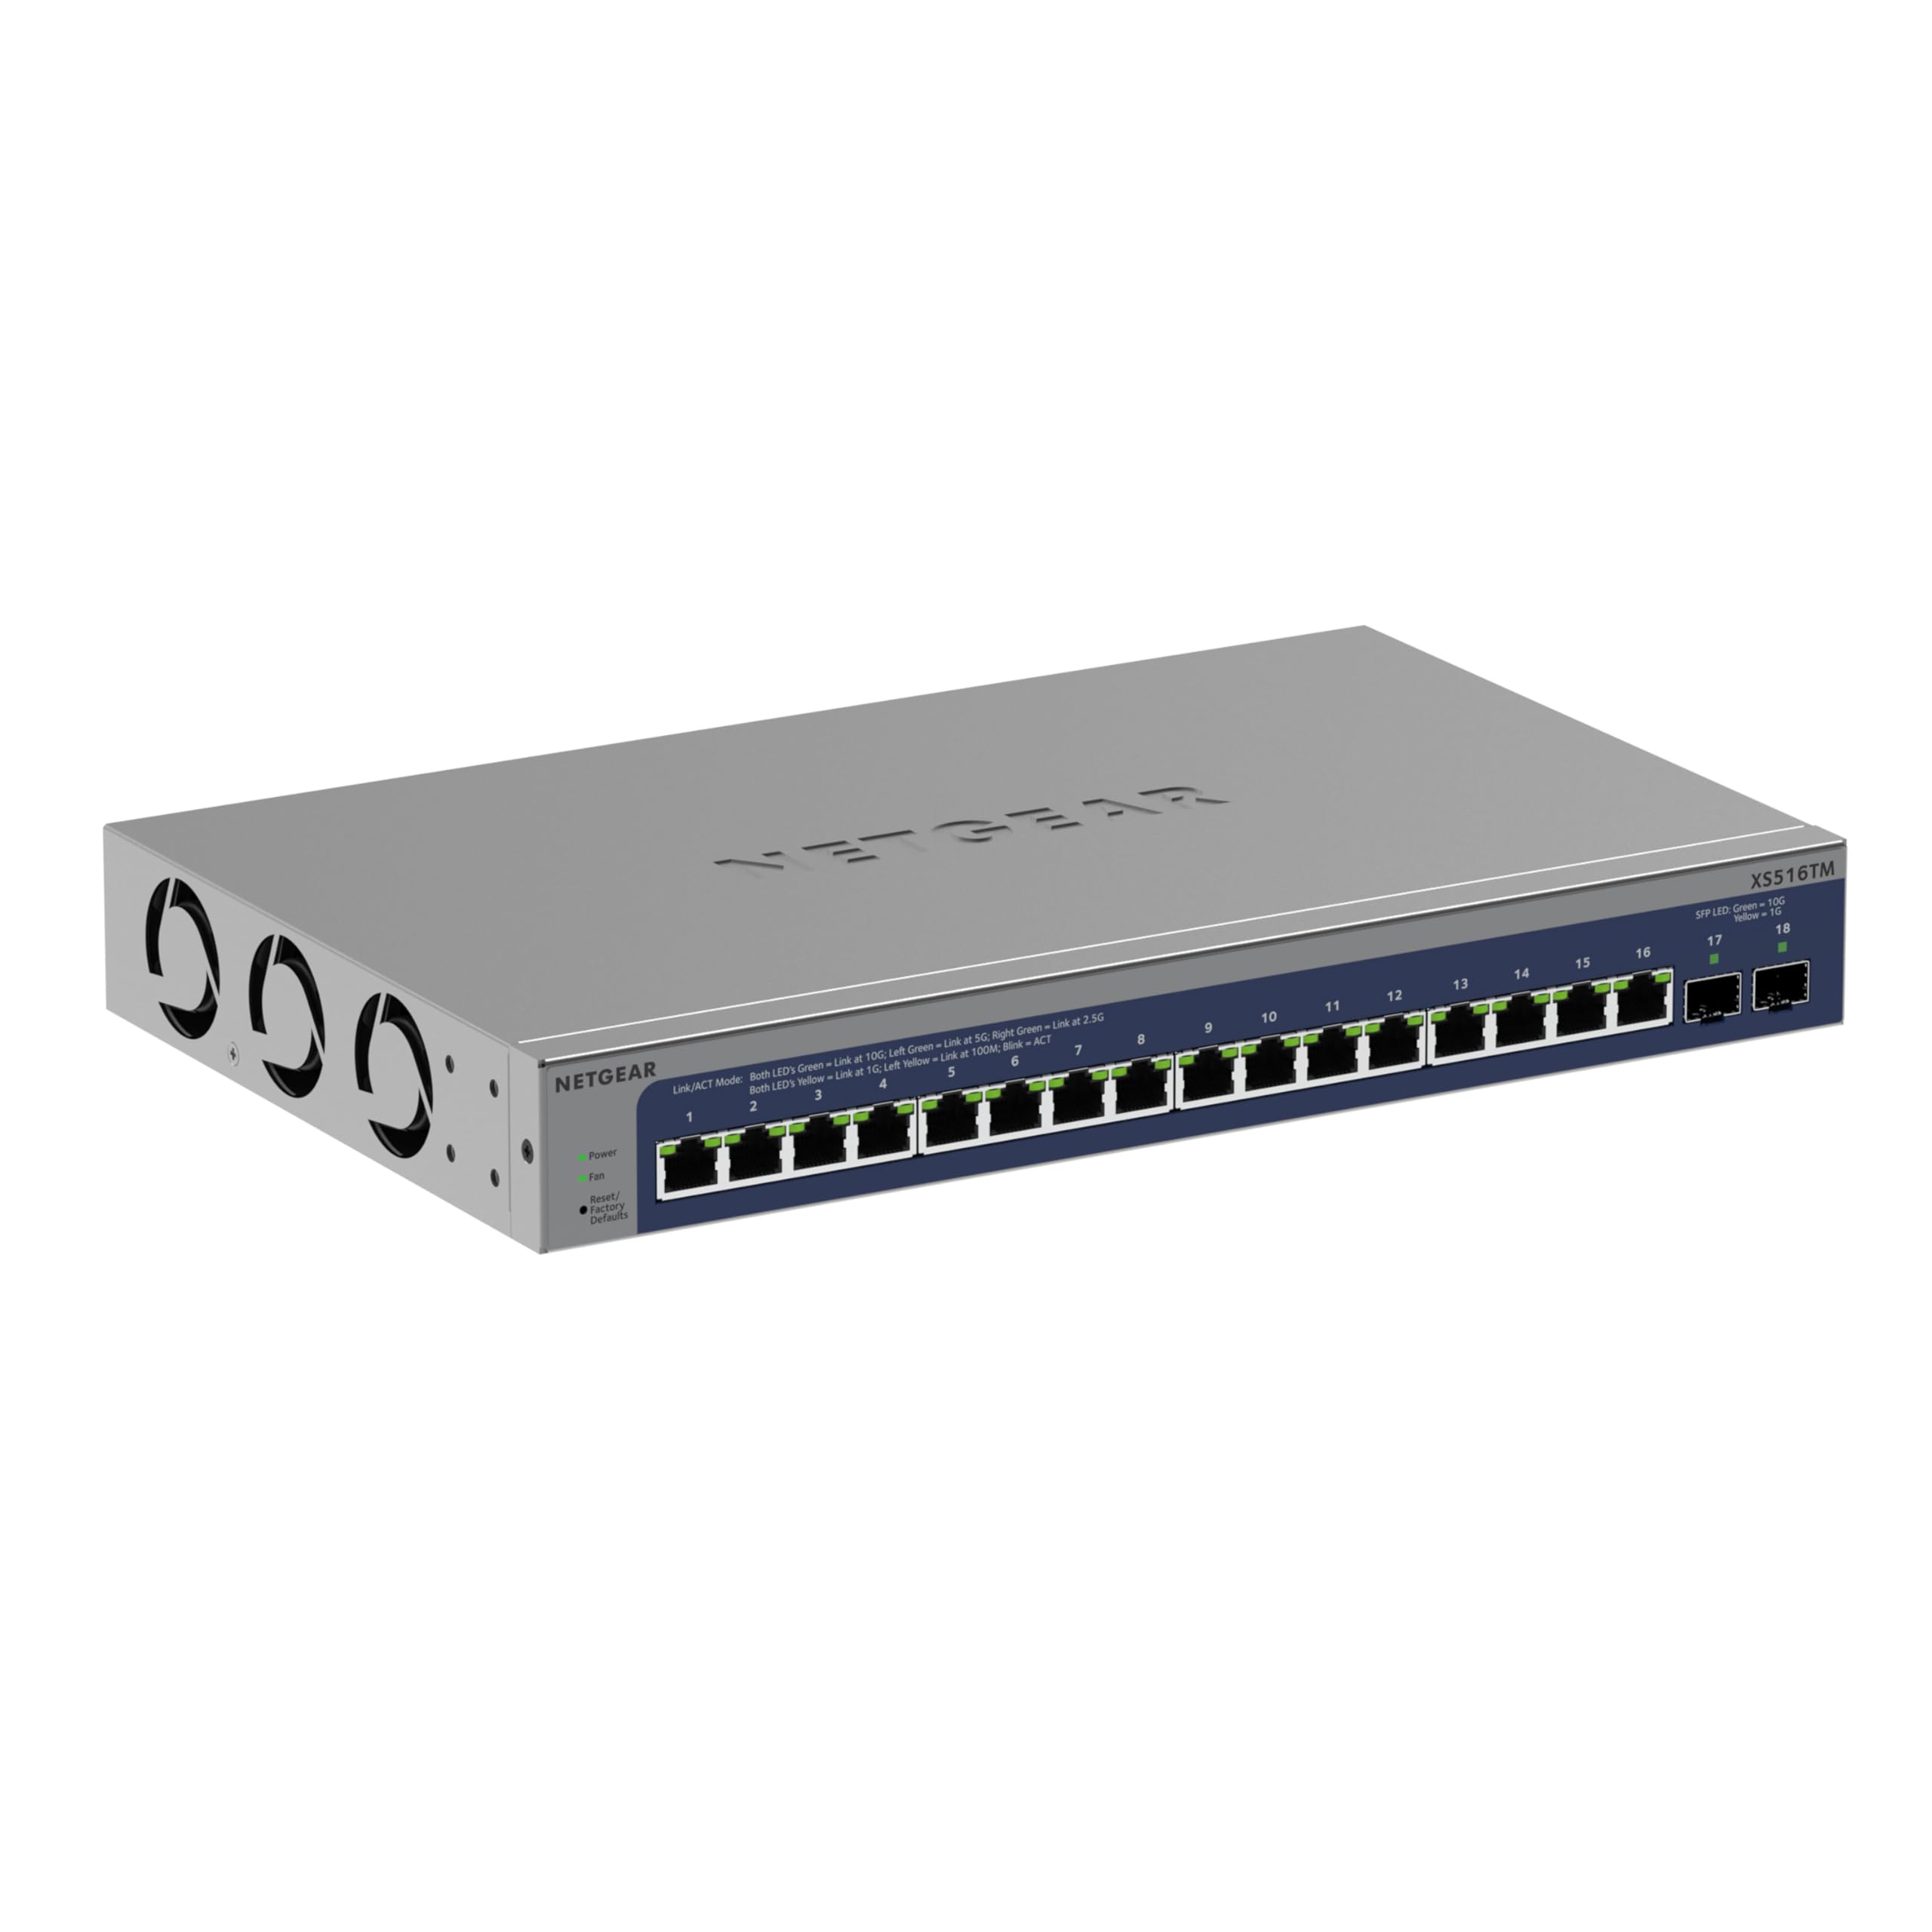
Figure 1: Front view of the NETGEAR XS516TM Smart Switch.
2. Package Contents
Verify the contents of your package. If any items are missing or damaged, contact your NETGEAR reseller.
- NETGEAR XS516TM Smart Switch
- Power cord
- Mounting kit (for wall or rack mount)
- Rubber footpads for tabletop installation
- Installation guide
3. Physical Overview
The NETGEAR XS516TM switch features 16 multi-gigabit Ethernet ports and 2 SFP+ ports for high-speed connectivity.

Figure 2: Front and rear panel of the XS516TM switch, highlighting the 16 Ethernet ports, 2 SFP+ ports, power input, and status indicators.
Front Panel Features:
- 16 x 1G/2.5G/5G/10G Ethernet Ports: These ports support various speeds for flexible network connections.
- 2 x 10G SFP+ Ports: For high-speed fiber optic connections or direct attach copper cables.
- LED Indicators: Provide status information for power, link/activity, and speed for each port.
- Reset Button: Used to restore factory default settings.
Rear Panel Features:
- Power Input: Connects to the included power cord.
- Grounding Screw: For optional grounding.
4. Setup and Installation
4.1. Mounting Options
The XS516TM switch can be installed on a desktop, wall-mounted, or rack-mounted.
- Desktop Installation: Attach the included rubber footpads to the bottom of the switch.
- Wall Mount: Use the provided mounting kit to secure the switch to a wall. Ensure the wall can support the weight of the switch and connected cables.
- Rack Mount: Use the provided rack-mount brackets to install the switch in a standard 19-inch equipment rack.
4.2. Connecting the Switch
- Connect your network devices (servers, workstations, access points, etc.) to the 1G/2.5G/5G/10G Ethernet ports using appropriate Ethernet cables.
- For high-speed uplinks or connections to other network devices, use the 10G SFP+ ports with compatible SFP+ transceivers or DAC cables.
- Connect the power cord to the switch's power input and then to an AC power outlet.
- Verify the Power LED illuminates, indicating the switch is receiving power.
5. Operating the Switch
The XS516TM is a Smart Switch, offering advanced management capabilities through its web-based interface and optional NETGEAR Insight cloud management.
5.1. Local Configuration and Control
Access the switch's web-based management interface from a connected computer to configure settings such as VLANs, QoS, IGMP, security features, and more. Refer to the detailed software manual for comprehensive configuration instructions.

Figure 3: Example of the Smart Switch software interface for local configuration.
5.2. NETGEAR Insight Remote Management
The switch includes a 1-year subscription to NETGEAR Insight, allowing remote management of your network from anywhere. This feature provides centralized control and monitoring through a cloud-based platform without requiring additional hardware.

Figure 4: NETGEAR Insight interface for remote management on various devices.
Key features of NETGEAR Insight include:
- Multi-Location Support
- Network Scan Device Discovery
- Configuration Copy & Cloning
- Advanced PoE Configuration (if applicable to model)
- Firmware Scheduler
- SNMP Device Status
- Data History
- Single Sign-on
- Two-Factor Authentication
- Email Alerts/Push Notifications
6. Maintenance
To ensure optimal performance and longevity of your NETGEAR XS516TM switch, follow these maintenance guidelines:
- Cleaning: Keep the switch clean and free from dust. Use a soft, dry cloth for cleaning. Do not use liquid or aerosol cleaners.
- Ventilation: Ensure proper airflow around the switch. Do not block ventilation openings.
- Firmware Updates: Regularly check the NETGEAR support website for the latest firmware updates. Applying updates can improve performance, add new features, and enhance security.
- Environmental Conditions: Operate the switch within the specified temperature and humidity ranges to prevent damage.
7. Troubleshooting
If you encounter issues with your NETGEAR XS516TM switch, refer to the following common troubleshooting steps:
- No Power:
- Ensure the power cord is securely connected to the switch and a working power outlet.
- Check if the power outlet is functional by plugging in another device.
- No Link Light:
- Verify that the Ethernet cable is properly connected to both the switch port and the connected device.
- Try a different Ethernet cable.
- Ensure the connected device is powered on and functioning correctly.
- Network Connectivity Issues:
- Check the IP configuration of your devices.
- Log into the switch's management interface to check port status, VLAN settings, and other configurations.
- If using NETGEAR Insight, check the device status and logs remotely.
- Perform a factory reset if all other troubleshooting fails (refer to the "Reset Button" in Section 3).
- Slow Performance:
- Ensure all connected devices are operating at their optimal speeds.
- Check for network congestion or excessive broadcast traffic.
- Verify cable quality and length meet specifications for 10G/Multi-Gigabit speeds.
For more detailed troubleshooting, consult the full user manual available on the NETGEAR support website or contact NETGEAR technical support.
8. Specifications
| Feature | Specification |
|---|---|
| Brand | NETGEAR |
| Model Number | XS516TM-100NAS |
| Number of Ports | 18 (16 x 1G/2.5G/5G/10G Ethernet, 2 x 10G SFP+) |
| Data Transfer Rate | 10 Gigabits Per Second (max) |
| Switch Type | Managed (Smart Switch) |
| Interface | Ethernet, SFP+ |
| Item Weight | 3.49 Kilograms |
| Dimensions (H x W x D) | 1.7 x 13.0 x 8.1 inches |
| Upper Temperature Rating | 50 Degrees Celsius |
| UPC | 606449165456 |
9. Warranty and Support
NETGEAR provides comprehensive support and warranty for the XS516TM Smart Switch:
- Limited Lifetime Hardware Warranty: Your product is covered by a limited lifetime hardware warranty.
- Next Business Day Replacement: In case of hardware failure, a replacement unit can be dispatched on the next business day.
- 24/7 Chat Support: Access to 24/7 chat support with a NETGEAR expert for technical assistance.
For warranty details, product registration, and technical support, please visit the official NETGEAR support website: www.netgear.com/support