DigitConvert C190-A
DigitConvert Digital Film & Slide Scanner User Manual
Model: C190-A
Introduction
This manual provides comprehensive instructions for the setup, operation, and maintenance of your DigitConvert Digital Film & Slide Scanner. This device is designed to convert your old color and black & white negatives (135, 110mm) and 50mm slides (135, 110, 126mm), as well as Super 8 slides, into high-resolution 22MP JPEG digital files. You can save these files directly to the scanner's built-in 128MB memory or to an SD card (up to 64GB FAT32 or EXFAT format, not included).
Package Contents
Please verify that all items listed below are included in your package:
- Digital Film & Slide Scanner
- USB Cable (Type-C to USB)
- HDMI Cable
- Power Adapter
- Cleaning Brush
- Positive Clip
- 110 Negative Clip
- 110 Positive Clip
- Super 8 Clip
- 135 Negative Clip
- User Manual
- 12-month Warranty Card

Product Overview
Familiarize yourself with the main features and components of your scanner.
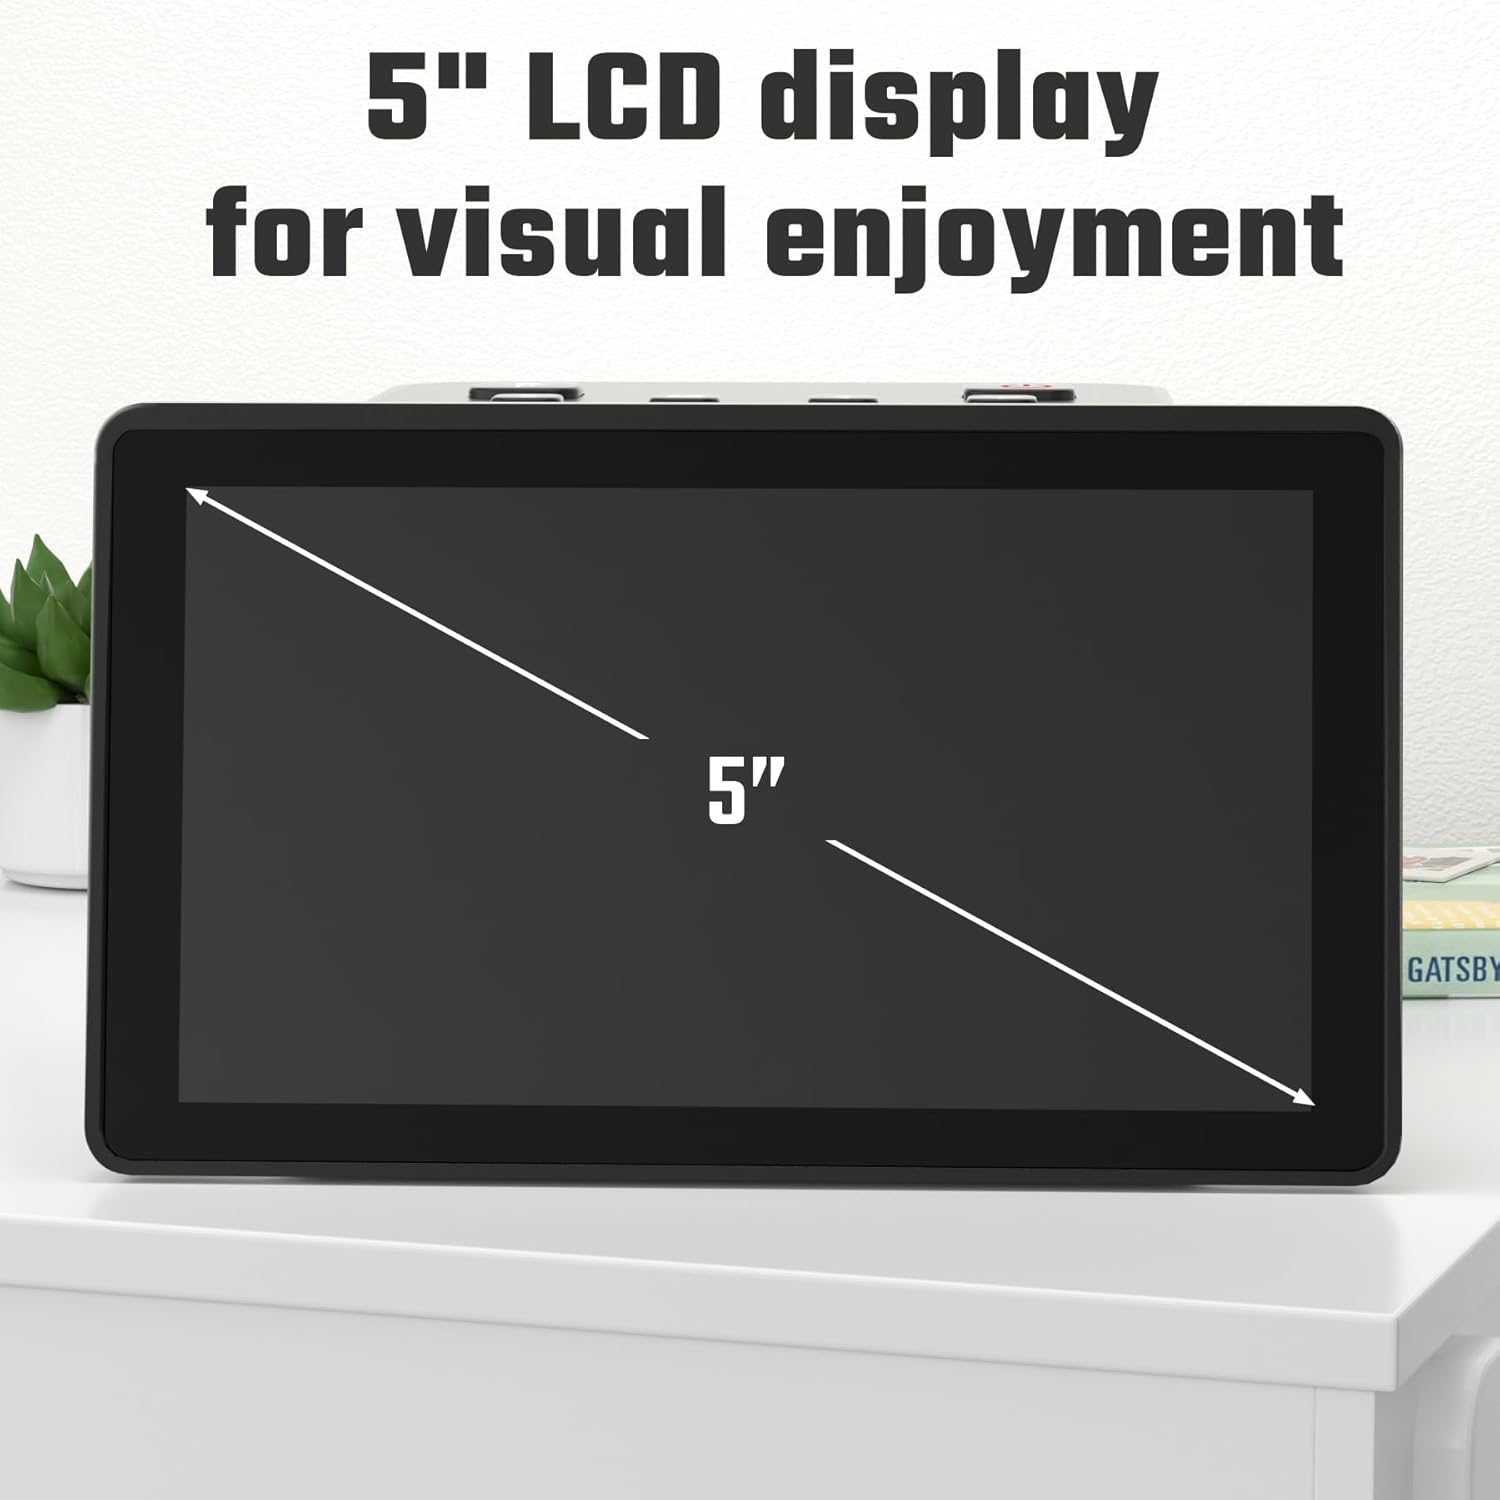
Front View & Display

The scanner features a large 5-inch HD LCD display for instant previewing and editing of negatives and slides. This screen also functions as a digital photo frame for viewing and sharing scanned images.
Control Panel
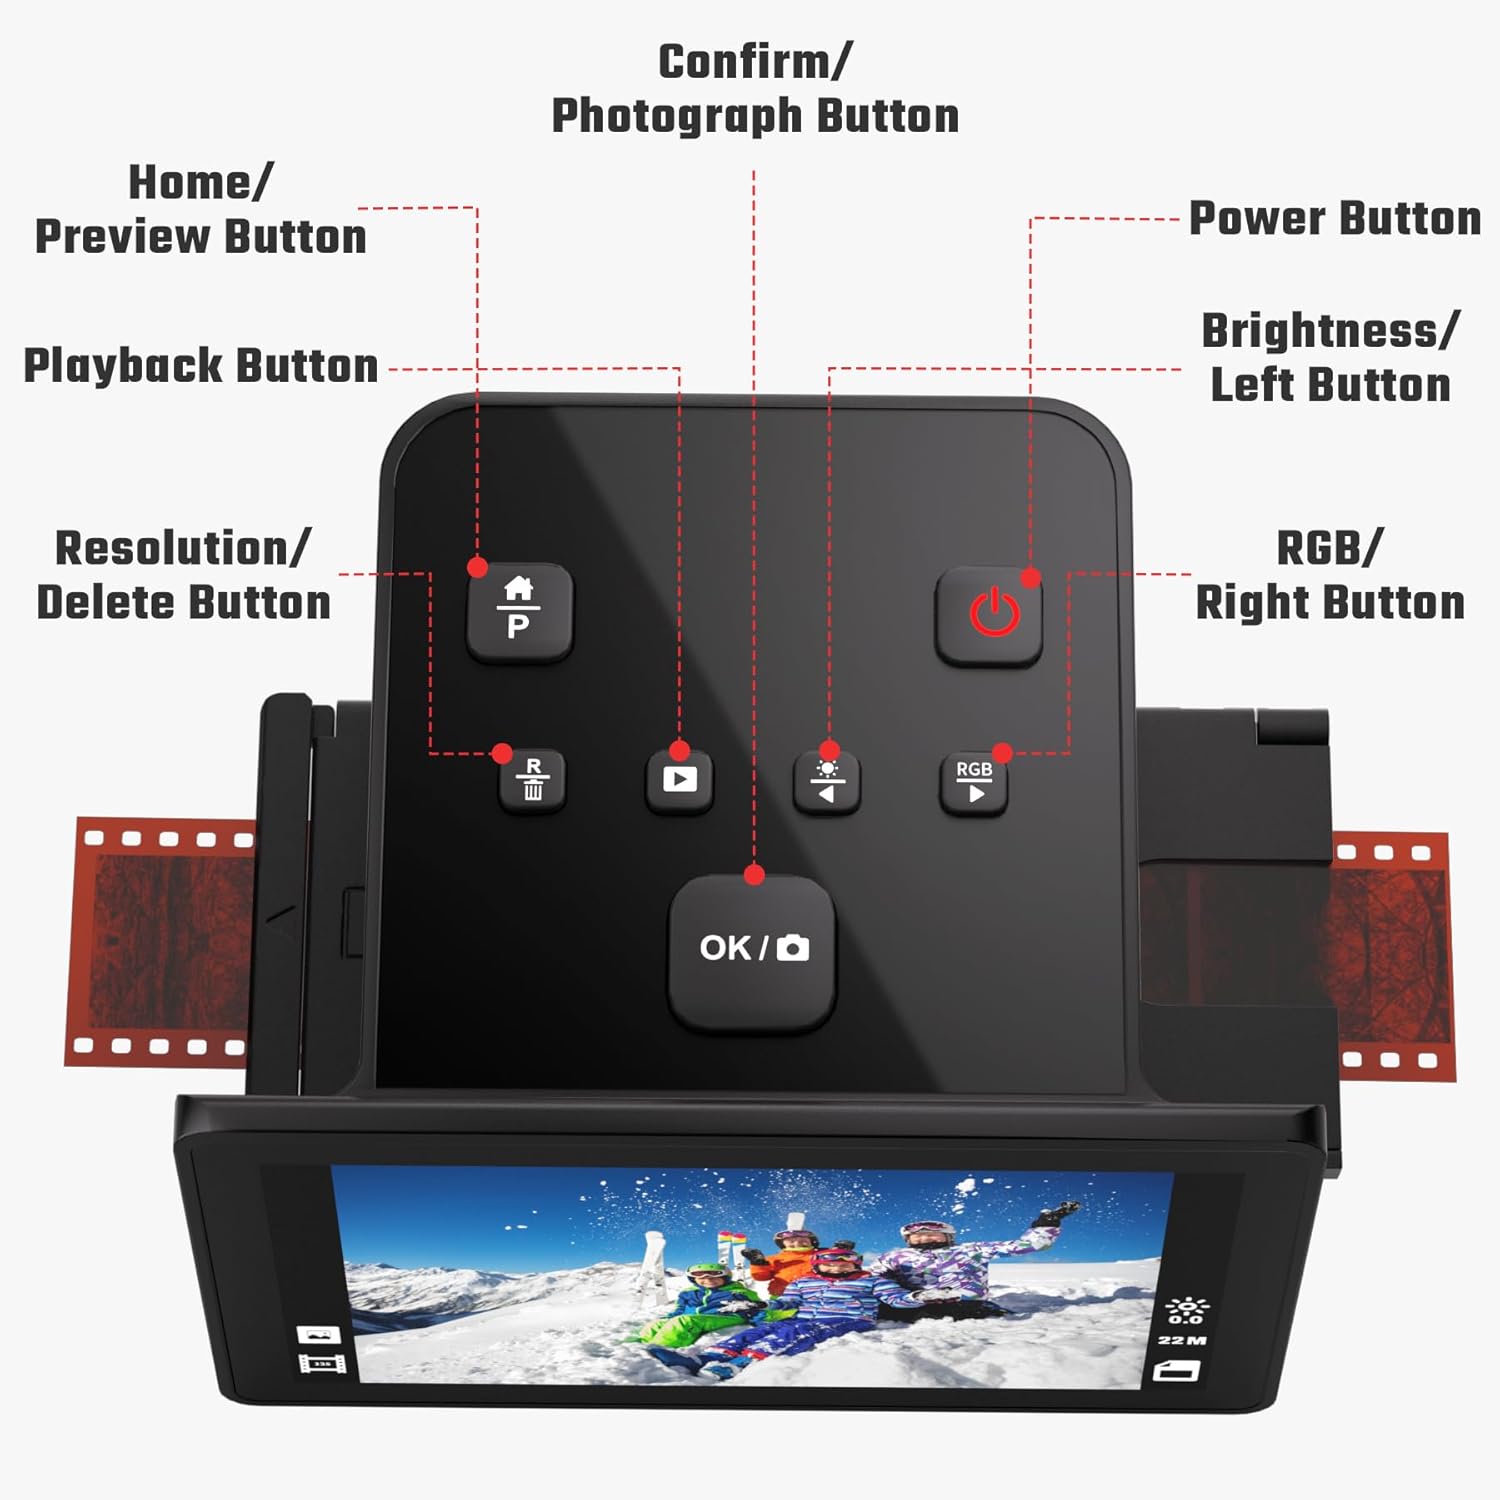
- Home/Preview Button: Returns to the main menu or previews current scan.
- Playback Button: Accesses the gallery of saved images.
- Resolution/Delete Button: Adjusts scan resolution or deletes selected images.
- OK/Photograph Button: Confirms selections or initiates a scan.
- Power Button: Turns the device on/off.
- Brightness/Left Button: Adjusts image brightness or navigates left.
- RGB/Right Button: Adjusts RGB color balance or navigates right.
Ports and Connectivity

- HDMI Output: Connects the scanner to a TV or monitor for larger viewing.
- SD Card Interface: Insert an SD card (up to 64GB FAT32 or EXFAT) for expanded storage.
- Type-C USB Interface: Used for power and data transfer to a computer.
Setup
- Unpack the Scanner: Carefully remove all components from the packaging.
- Connect Power: Connect the power adapter to the scanner's Type-C USB port and plug it into a power outlet.
- Insert SD Card (Optional): If you wish to save more than the internal memory allows, insert a compatible SD card into the SD card slot. Ensure it is formatted to FAT32 or EXFAT.
- Power On: Press the Power Button on the control panel to turn on the scanner.
Operating Instructions
Loading Film and Slides
The scanner supports various film and slide types using specific adapters:

- For 50mm Slides (135, 110, 126mm) and Super 8 Slides: Use the appropriate positive clip/insert.
- For 135/110/126 KPK Negatives: Use the corresponding negative clip/insert.

Insert the film or slide into the correct adapter, then slide the adapter into the scanner's side slot until it clicks into place.
Scanning Process
- Select Film Type: From the main menu, use the navigation buttons to select "Film Type" and press OK. Choose the specific type of film or slide you are scanning (e.g., 135 Film, 110 Film, Slide, Negative Film, B&W).
- Preview: Once the film/slide is inserted, the image will appear on the LCD screen.
- Adjust Settings (Optional):
- Use the Brightness/Left and RGB/Right buttons to adjust image brightness and color balance as needed.
- Press the Resolution/Delete button to change the output resolution (up to 22MP).
- Scan: Press the OK/Photograph button to capture the image. The scanned image will be saved to the internal memory or SD card.
For a visual guide on the scanning process, please watch the official product video below:
Viewing and Transferring Images
- On Scanner: Select "Gallery" from the main menu to view saved images. You can also use the "Photos Frame Mode" for a slideshow.
- On TV/Monitor: Connect the scanner to a TV or monitor using the provided HDMI cable. This allows for larger viewing of your scanned images.

Figure 8: Connecting the scanner to a TV for easy viewing. - To Computer: Connect the scanner to your computer using the supplied Type-C to USB cable (not the HDMI cable). Turn on the device and select "USB Functions" from the menu screen. Once connected, you can view, edit, and export the captured pictures from your computer.

Figure 9: Transferring images to a computer via USB.
Maintenance
Cleaning the Scanner
To ensure optimal scan quality, regularly clean the film and slide pathways:
- Power off and unplug the scanner.
- Use the provided cleaning brush to gently remove any dust or debris from the film and slide insertion slots.
- Do not use liquid cleaners or abrasive materials on the scanner's screen or body.

Troubleshooting
| Problem | Possible Cause | Solution |
|---|---|---|
| Scanner does not power on. | Power adapter not connected properly or power outlet issue. | Ensure power adapter is securely connected to the scanner and a working power outlet. Try a different outlet. |
| Scanned images are blurry or dusty. | Dust or debris on the film/slide or scanner lens. | Clean the film/slide thoroughly before scanning. Use the provided cleaning brush to clean the scanner's film pathway. |
| Cannot transfer files to computer. | Incorrect cable used or wrong mode selected. | Use the Type-C to USB cable (not HDMI). Ensure "USB Functions" is selected on the scanner's menu screen after connecting to the computer. |
| Slides get stuck in the slide channel. | Misalignment or debris in the channel. | Ensure slides are properly aligned in the adapter. Use the cleaning brush to clear any obstructions in the slide channel. Handle slides gently when feeding. |
| Scanned images have incorrect colors. | Color balance settings are off. | Adjust the RGB color balance using the RGB/Right button on the control panel before scanning. |
Specifications
- Model: C190-A
- Brand: DigitConvert
- Scanner Type: Negatives & Slides
- Resolution: Up to 22MP (Interpolated), 14MP (Optical)
- Display: 5-inch LCD Screen
- Supported Film Types: 135, 110, 126 KPK Negatives & Slides, Super 8 Slides
- Internal Memory: 128MB
- External Storage: SD Card (up to 64GB FAT32 or EXFAT format, not included)
- Connectivity: USB, HDMI
- Item Weight: 1.1 pounds (0.5 Kilograms)
- Package Dimensions: 6.42 x 5.51 x 4.8 inches
- Color Depth: 24 bpp
- Minimum System Requirements: Windows 7
- UPC: 797422950029
Warranty and Support
Your DigitConvert Digital Film & Slide Scanner comes with a 12-month warranty from the date of purchase. Please retain your proof of purchase for warranty claims.
For technical support, troubleshooting assistance, or warranty inquiries, please refer to the contact information provided on your warranty card or visit the official DigitConvert website.