1. Introduction
Thank you for choosing the Kitchen in the box Smart Vacuum Sealer Machine. This appliance is designed to preserve food freshness by removing air from specially designed bags and containers, extending shelf life and maintaining flavor. Its user-friendly design and multiple operating modes make it a versatile tool for any kitchen.
Please read this manual thoroughly before operating the appliance to ensure safe and efficient use. Keep this manual for future reference.
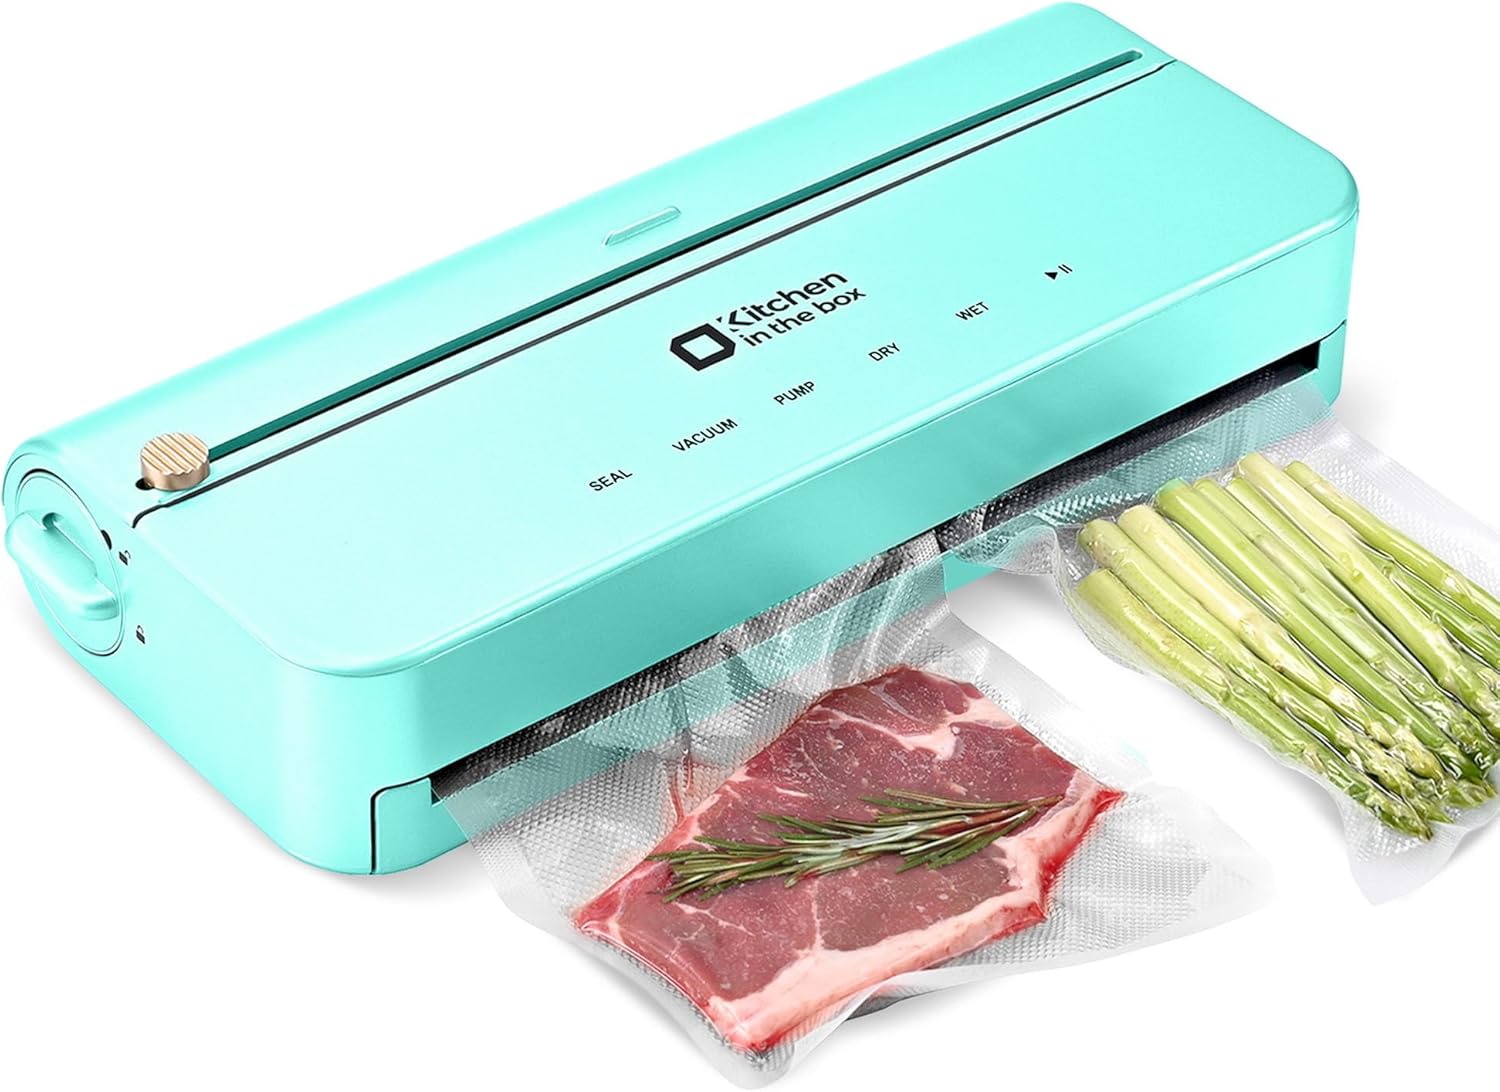
Figure 1.1: Kitchen in the box Smart Vacuum Sealer Machine (Blue Model)
2. Safety Information
- Always ensure the appliance is unplugged before cleaning or performing any maintenance.
- Do not immerse the appliance, power cord, or plug in water or other liquids.
- Keep out of reach of children. This appliance is not intended for use by persons with reduced physical, sensory, or mental capabilities unless supervised.
- Use only vacuum sealer bags and accessories specifically designed for this appliance.
- Do not operate the appliance if the power cord or plug is damaged, or if the appliance malfunctions or has been damaged in any manner.
- Avoid placing the appliance on hot surfaces or near heat sources.
- Ensure the lid is properly latched before starting any operation.
- Allow the sealing strip to cool down for at least 30 seconds between sealing cycles to prevent overheating and ensure proper sealing.
3. Product Components
The Kitchen in the box Smart Vacuum Sealer Machine includes the following main components:
- Main Unit with Control Panel
- Built-in Bag Storage Compartment
- Integrated Bag Cutter
- Vacuum Chamber
- Sealing Strip (Double)
- Detachable Magnetic Drip Tray
- External Vacuum Port
- Power Cord
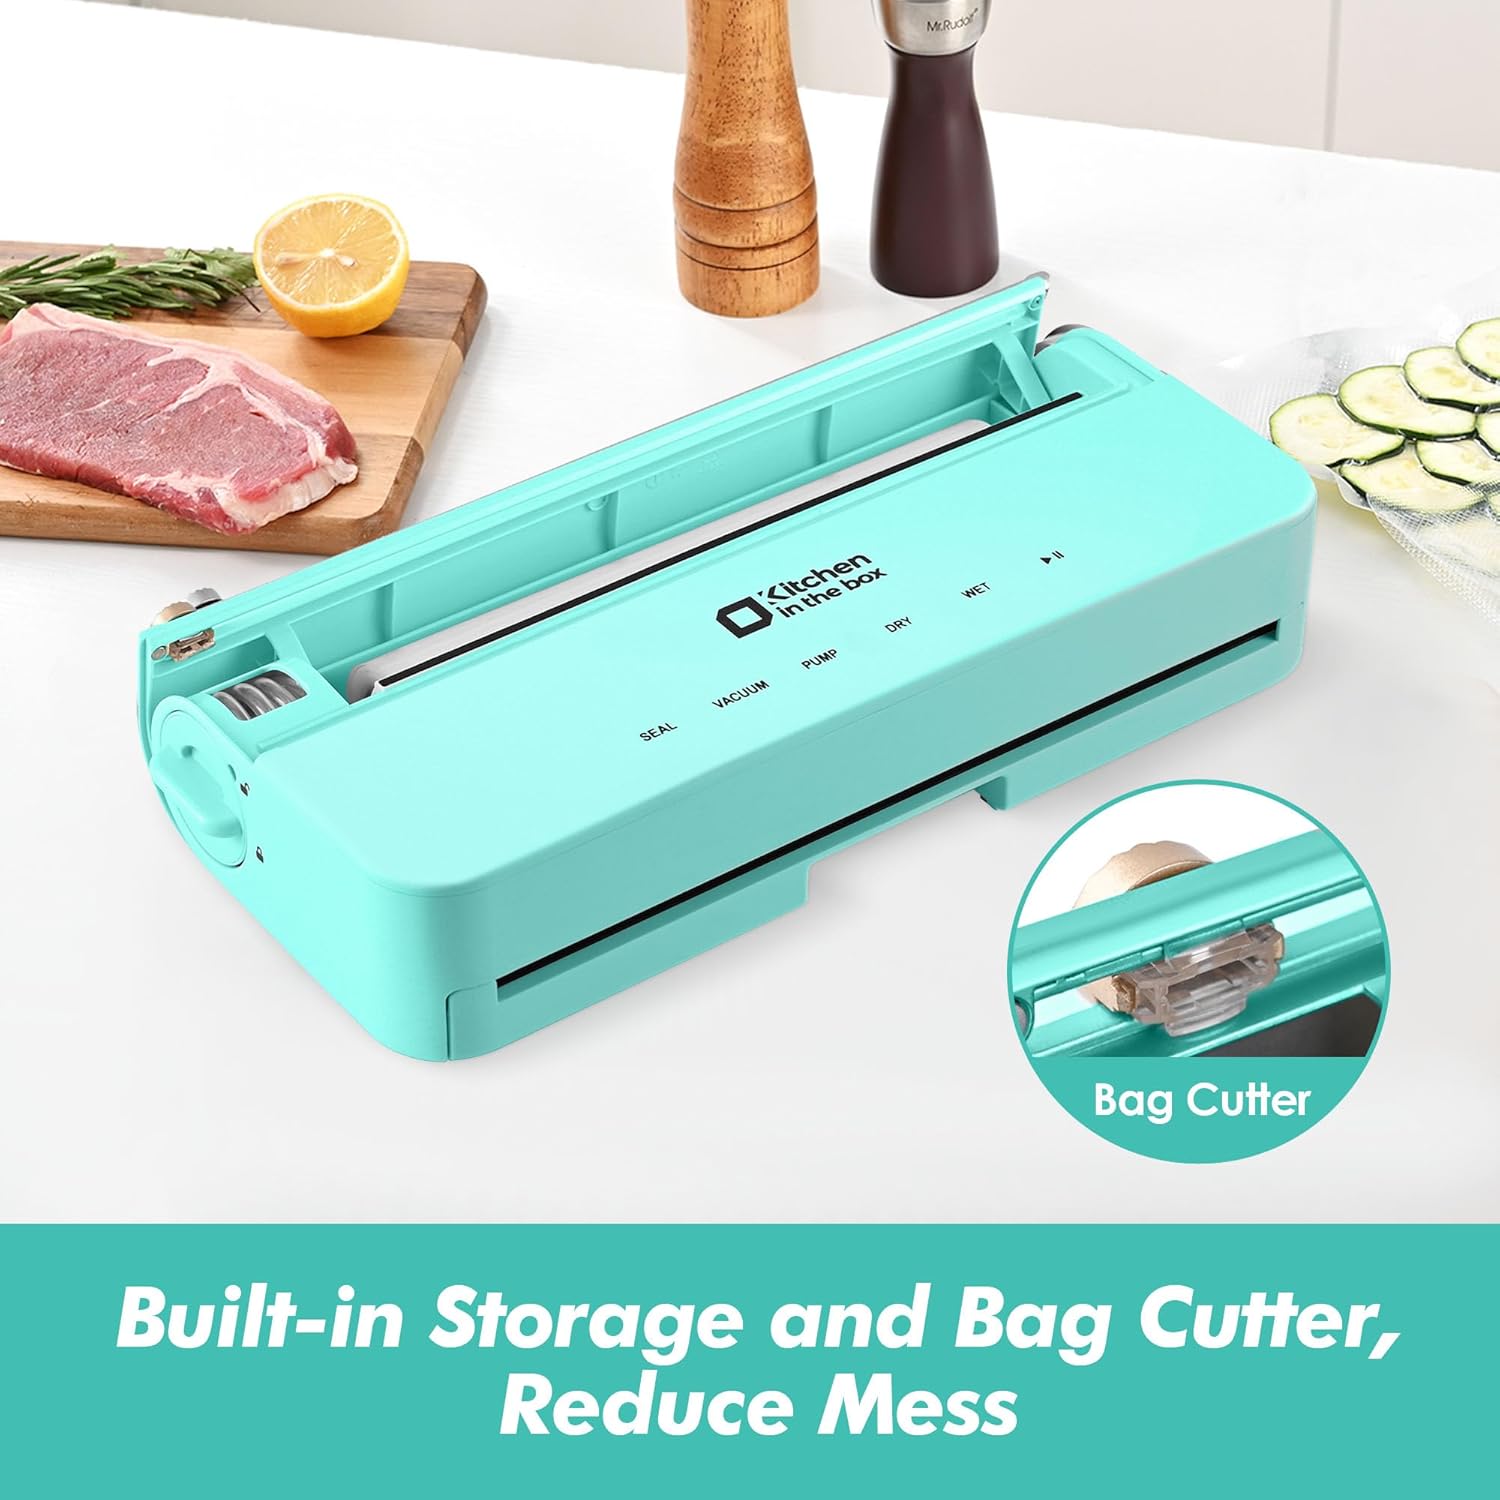
Figure 3.1: Built-in Bag Storage and Cutter
4. Setup
- Unpack: Carefully remove the vacuum sealer and all accessories from the packaging.
- Placement: Place the appliance on a flat, stable, and dry surface. Ensure there is enough space around the unit for operation.
- Power Connection: Plug the power cord into a suitable electrical outlet.
- Install Bag Roll (Optional): If using a bag roll, open the top lid, place the roll into the built-in storage compartment, and pull out enough material to reach the sealing area. Use the integrated cutter to create a custom-sized bag by sealing one end.
- Install Drip Tray: Ensure the detachable magnetic drip tray is properly installed in its designated slot at the front of the vacuum chamber.
5. Operating Instructions
The vacuum sealer offers a simple 2-step operation for most sealing tasks and five specialized modes for various food preservation needs.
5.1 Basic 2-Step Operation (for Vacuum & Seal)
- Prepare Bag: Place the food item into a vacuum sealer bag, ensuring at least 2-3 inches of empty space at the top. Lay the open end of the bag flat into the vacuum chamber.
- Close Lid: Close the lid firmly until both sides click into place.
- Select Mode: Press the desired mode button (e.g., VACUUM for automatic vacuum and seal, or SEAL for sealing only). The machine will automatically vacuum and then seal the bag.

Figure 5.1: Ultra-simple 2-step operation
5.2 Operating Modes
The Smart Vacuum Sealer features an intelligent automatic pressure-lifting system to ensure optimal sealing and a double sealing strip for enhanced airtightness.
- DRY Mode: Ideal for automatic vacuuming and sealing of dry foods such as meats, nuts, and vegetables.
- WET Mode: Designed for vacuuming moist foods like meats and fruits, adjusting suction for optimal results.
- VAC Mode: Provides manual vacuum control, allowing you to stop the vacuum process at any time to prevent deformation of delicate or soft foods like bread or fragile fruits. Press again to seal.
- SEAL Mode: For sealing only, without vacuuming. Perfect for sealing chip bags, foil packages, or creating custom-sized bags from a roll.
- PUMP Mode (External Vacuum): Use this mode with the included air suction hose for external vacuuming of compatible containers, bottles, and boxes. Connect the hose to the external vacuum port and the container, then press PUMP.

Figure 5.2: Multiple Selectable Modes

Figure 5.3: External Vacuum System in Use
6. Maintenance and Cleaning
Regular cleaning ensures optimal performance and extends the life of your vacuum sealer.
- Detachable Drip Tray: The magnetic drip tray collects any liquid residue during the vacuuming process. It can be easily detached and washed with warm, soapy water. Rinse thoroughly and dry completely before reattaching.
- Sealing Strip: Wipe the sealing strip and vacuum chamber with a damp cloth after each use to remove any food particles or moisture. Ensure they are dry before closing the lid.
- Exterior: Clean the exterior of the appliance with a soft, damp cloth. Do not use abrasive cleaners or solvents.
- Storage: Store the vacuum sealer in a dry place with the lid unlatched to prevent compression of the sealing gasket, which can affect its performance over time.

Figure 6.1: Detachable Drip Tray for Easy Cleaning
7. Troubleshooting
If you encounter issues with your vacuum sealer, refer to the following common problems and solutions:
| Problem | Possible Cause | Solution |
|---|---|---|
| Machine does not turn on. | Not plugged in; power outlet issue. | Ensure power cord is securely plugged into a working outlet. |
| Bag does not vacuum properly. | Bag not placed correctly; lid not fully latched; sealing strip dirty/damaged; bag material incompatible. | Ensure bag opening is flat and fully inside the vacuum chamber. Press down firmly on the lid until it clicks. Clean the sealing strip. Use only recommended vacuum sealer bags. |
| Bag does not seal. | Sealing strip too hot; sealing strip dirty/damaged; bag material incompatible. | Allow the machine to cool down for 30 seconds between seals. Clean the sealing strip. Use only recommended vacuum sealer bags. |
| Air leaks into bag after sealing. | Improper seal; sharp food edges; bag puncture. | Reseal the bag. Ensure no food particles are on the sealing area. Pad sharp food items. Inspect bag for punctures. |
8. Specifications
| Feature | Detail |
|---|---|
| Brand | Kitchen in the box |
| Model Number | VS2035 |
| Material | Plastic |
| Color | Blue |
| Item Weight | 3.6 Pounds |
| Power Source | DC |
| Operation Mode | Manual (with automated functions) |
| Wattage | 140 watts |
| Package Dimensions | 16.26 x 8.39 x 4.69 inches |
| Sealing Strip | Double |
| Bag Storage | Built-in (up to 5M rolls) |
| Cutter | Integrated |
| Drip Tray | Detachable Magnetic |
9. Warranty and Support
For warranty information or technical support, please refer to the contact details provided on the product packaging or visit the official Kitchen in the box website. Keep your purchase receipt as proof of purchase for warranty claims.
For further assistance, please contact our customer service team.