1. Important Safety Information
Please read and understand all safety instructions before installing or operating the darkFlash DNA240A AIO CPU Liquid Cooler. Failure to follow these instructions may result in product damage, property damage, or personal injury.
- Electrical Safety: Ensure your power supply is disconnected from the wall outlet before beginning installation. Only connect the cooler to compatible power sources as specified.
- Handling: Handle the cooler and its components with care. Avoid bending or kinking the liquid tubes. Do not apply excessive force to the radiator fins or pump head.
- Liquid Coolant: The cooler contains a sealed liquid coolant. Do not attempt to open or modify the sealed unit. In case of a leak, immediately disconnect power and contact support.
- Static Electricity: Always ground yourself before handling internal PC components to prevent electrostatic discharge (ESD) damage.
- Ventilation: Ensure adequate airflow within your PC case to facilitate proper heat dissipation from the radiator.
- Compatibility: Verify compatibility with your CPU socket (Intel LGA 1200/115X/1700/1851, AMD AM4/AM5/AM2/AM2+/AM3/AM3+/FM1/FM2) and PC case dimensions before installation.
2. Package Contents
Carefully unpack the darkFlash DNA240A AIO CPU Liquid Cooler and verify that all components are present and undamaged. If any items are missing or damaged, please contact darkFlash customer support.
- darkFlash DNA240A AIO Liquid Cooler (Radiator, Pump, and Tubes pre-assembled)
- 2 x 120mm PWM ARGB Fans
- Intel Mounting Bracket Kit (LGA 1200/115X/1700/1851)
- AMD Mounting Bracket Kit (AM4/AM5/AM2/AM2+/AM3/AM3+/FM1/FM2)
- Fan Screws
- Radiator Mounting Screws
- Thermal Paste (pre-applied or in a tube)
- User Manual (this document)
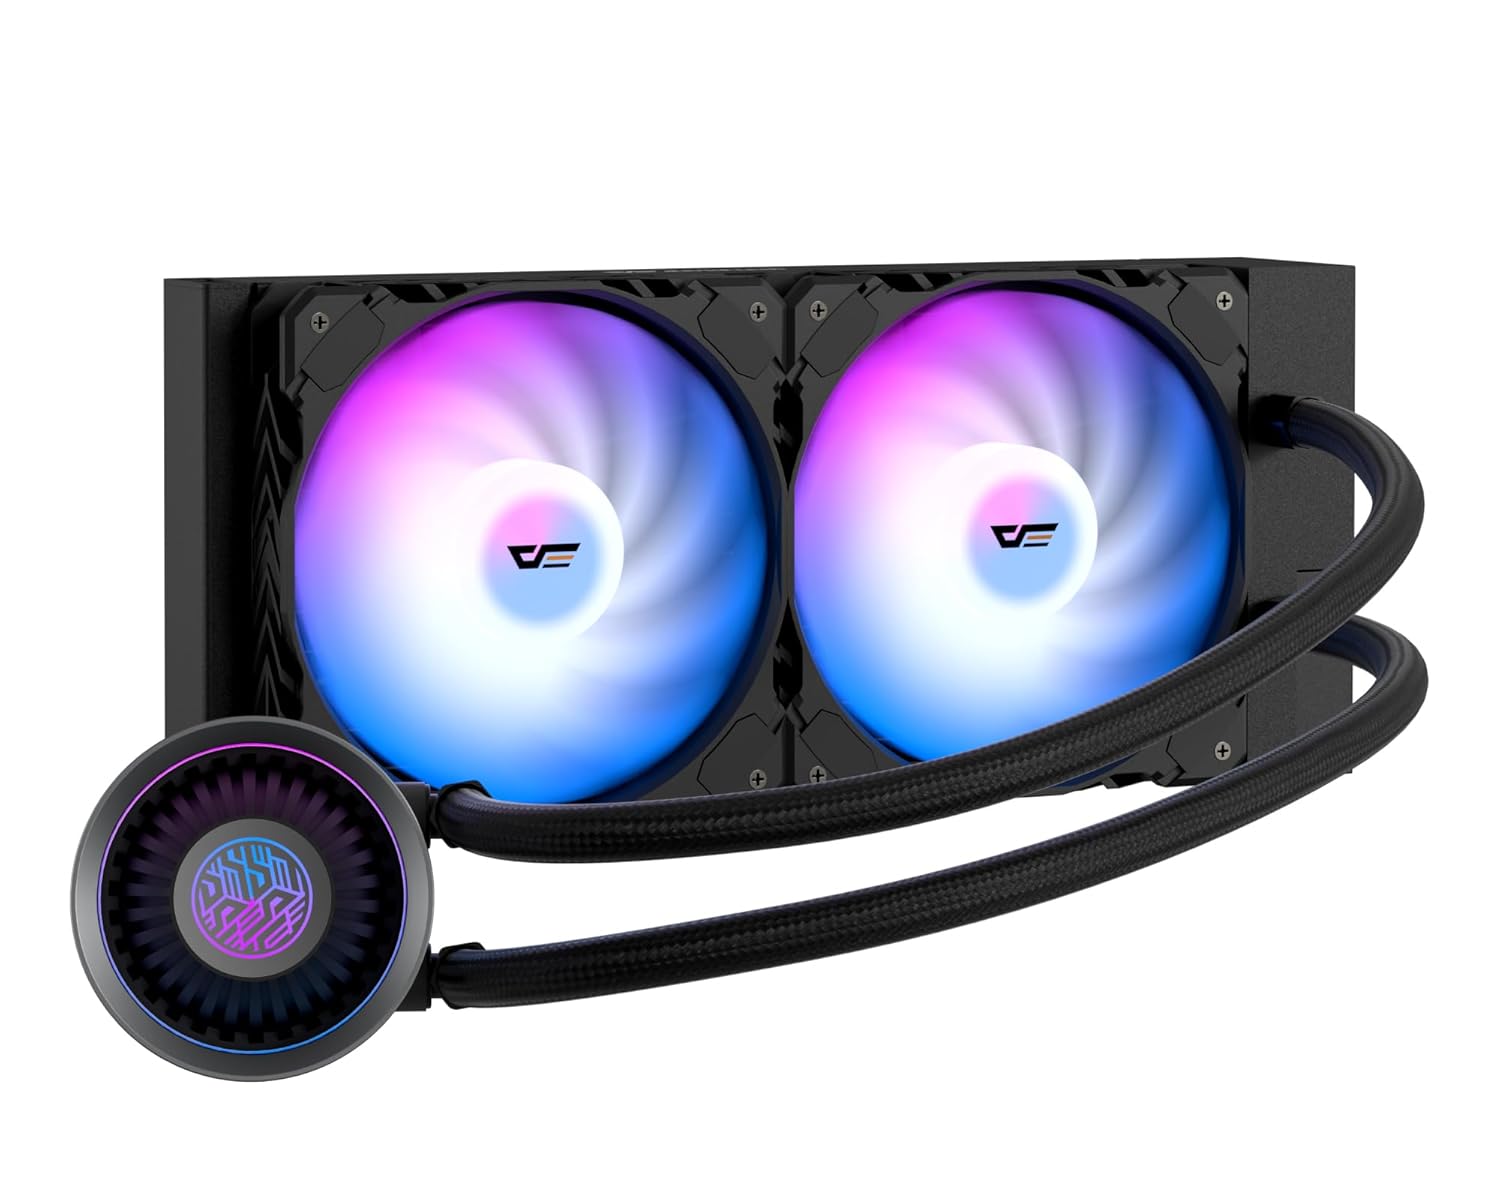
Image: The darkFlash DNA240A AIO CPU Liquid Cooler, showcasing the radiator, two ARGB fans, and the pump head with its integrated tubing.
3. Setup and Installation
This section provides general guidelines for installing your darkFlash DNA240A AIO CPU Liquid Cooler. Specific steps may vary slightly depending on your motherboard and PC case. Refer to your motherboard and case manuals for detailed instructions.
3.1 Prepare Your System
- Power Off: Shut down your computer completely and disconnect the power cable from the wall outlet.
- Open Case: Open your PC case to access the motherboard and CPU area.
- Remove Old Cooler: If an existing CPU cooler is installed, carefully remove it and clean any old thermal paste from the CPU surface using isopropyl alcohol.
3.2 Install Mounting Bracket
Select the appropriate mounting bracket for your CPU socket (Intel or AMD).

Image: Separate mounting brackets for Intel and AMD CPU sockets, ensuring broad compatibility.
- For Intel Sockets (LGA 1200/115X/1700/1851): Attach the Intel backplate to the rear of your motherboard, aligning the holes. Secure the standoffs through the motherboard from the front.
- For AMD Sockets (AM4/AM5/AM2/AM2+/AM3/AM3+/FM1/FM2): Use the existing AMD backplate (if present) or install the provided AMD backplate. Secure the AMD mounting clips to the pump head, then attach the pump to the CPU socket retention module.
3.3 Mount Radiator and Fans
- Attach Fans to Radiator: Secure the two 120mm PWM ARGB fans to the radiator using the provided fan screws. Ensure the fan airflow direction is appropriate for your case's ventilation (typically exhausting air out of the case).
- Mount Radiator: Install the radiator assembly into your PC case. Common mounting locations include the top, front, or rear of the case, depending on available space and radiator size (240mm). Use the longer radiator mounting screws to secure it.

Image: Diagram illustrating the dimensions of the 240mm and 360mm radiators, important for case compatibility.
3.4 Install Pump Head
- Apply Thermal Paste: If the thermal paste is not pre-applied to the cold plate, apply a small pea-sized amount to the center of your CPU's integrated heat spreader (IHS).
- Position Pump: Carefully place the pump head onto the CPU, aligning it with the mounting standoffs or clips.
- Secure Pump: Tighten the retention screws in a diagonal pattern until the pump head is firmly seated. Do not overtighten.

Image: An exploded view of the pump's internal structure, highlighting the optimized flow rate design for efficient cooling.
3.5 Connect Cables
The darkFlash DNA240A features an embedded single-line design for simplified connections.

Image: Illustration of the simplified cable management, featuring a pre-connected 7-pin cable ready for 4-pin (PWM) and 5V 3-pin (ARGB) connections.
- Pump Power: Connect the pump's 3-pin or 4-pin connector to the CPU_FAN or AIO_PUMP header on your motherboard.
- Fan Power (PWM): Connect the fan's 4-pin PWM connector to an available fan header on your motherboard (e.g., SYS_FAN or CPU_OPT).
- ARGB Lighting: Connect the 5V 3-pin ARGB connector to a compatible 5V addressable RGB header on your motherboard. (Note: Do NOT connect to a 12V RGB header, as this will damage the LEDs.)
- Cable Management: Route cables neatly to ensure proper airflow and a clean build.

Image: The darkFlash AIO cooler installed in a PC, demonstrating the vibrant RGB animations from both the fans and the pump head, compatible with ASUS Aura Sync and other motherboard RGB software.
4. Operating Instructions
Once installed, the darkFlash DNA240A AIO CPU Liquid Cooler operates automatically to maintain optimal CPU temperatures.
- Automatic Fan Control (PWM): The PWM (Pulse Width Modulation) fans automatically adjust their speed based on the CPU temperature, providing an optimal balance between cooling performance and noise levels. This is managed by your motherboard's fan control settings, which can often be configured in the BIOS/UEFI or through motherboard software.
- ARGB Lighting Synchronization: The ARGB fans and pump head feature customizable lighting effects. These can be synchronized with most addressable RGB motherboards, including those supporting Aura Sync, Mystic Light, and Polychrome Sync. Use your motherboard's RGB software to control lighting modes, colors, and brightness.
- High-Performance Pump: The advanced pump operates at up to 4,000 RPM, ensuring efficient and quiet circulation of the coolant for superior heat dissipation.

Image: Visual representation of the optimized PWM ARGB fans, highlighting their performance metrics such as fan speed (up to 2200 RPM), air capacity (up to 61.7 CFM), fan pressure (up to 1.26 MMH2O), and low noise level (up to 30 dBA).
5. Maintenance
Regular maintenance helps ensure the longevity and optimal performance of your darkFlash DNA240A AIO CPU Liquid Cooler.
- Dust Removal: Periodically clean dust from the radiator fins and fan blades using compressed air or a soft brush. Dust accumulation can impede airflow and reduce cooling efficiency.
- Inspect Tubing: Visually inspect the liquid tubes for any signs of kinks, cracks, or leaks. While the high polymer rubber hose is designed for durability, regular checks are recommended.
- Check Connections: Ensure all power and ARGB cables remain securely connected to the motherboard and components.
- No Coolant Refill: The AIO cooler is a sealed unit and does not require coolant refills or maintenance. Do not attempt to open the unit.
6. Troubleshooting
If you encounter issues with your darkFlash DNA240A AIO CPU Liquid Cooler, refer to the following common problems and solutions.
| Problem | Possible Cause | Solution |
|---|---|---|
| High CPU Temperatures |
|
|
| Fans Not Spinning / No RGB |
|
|
| Unusual Noise from Pump/Fans |
|
|
7. Specifications
| Feature | Detail |
|---|---|
| Model Number | DN360A (Note: This model is the 240mm variant, despite the model number DN360A) |
| Radiator Material | Aluminium |
| Cold Plate Material | Copper, Micro Skived Fins |
| Cooling Method | Water Cooling |
| Fan Type | PWM ARGB Fans |
| Fan Speed | Up to 1800 RPM ±10% (as per feature bullets, 2200 RPM in image) |
| Air Flow Capacity | 61.7 Cubic Feet Per Minute (CFM) |
| Noise Level | ≤30 dBA |
| Pump Speed | 4000 RPM ±10% |
| Power Connector Type | 5-Pin (for integrated cable) |
| Voltage | 12 Volts |
| Wattage | 1.8 watts |
| Compatible CPU Sockets | Intel: LGA 1200/115X/1700/1851 AMD: AM4/AM5/AM2/AM2+/AM3/AM3+/FM1/FM2 |
| Package Dimensions | 15.12 x 8.94 x 5.51 inches |
| Item Weight | 3.42 Pounds |
8. Warranty and Support
darkFlash stands behind the quality of its products.
- Warranty: The darkFlash DNA240A AIO CPU Liquid Cooler comes with an exceptional 3-year assurance. Please retain your proof of purchase for warranty claims.
- Customer Support: For technical assistance, troubleshooting, or warranty inquiries, please visit the official darkFlash website or contact their customer support team.
- Online Resources: Additional information and FAQs may be available on the darkFlash Store on Amazon.


