
1. Introduction
This manual provides detailed instructions for the setup, operation, and maintenance of your Youyu 10.1-inch Digital Photo Frame (Model UDF10D1). Please read this manual thoroughly before using the device to ensure proper functionality and to maximize your user experience. Keep this manual for future reference.
2. Safety Information
Observe the following safety precautions to prevent damage to the device or injury to yourself.
- Do not expose the device to moisture, rain, or extreme temperatures.
- Avoid placing the device near heat sources or in direct sunlight.
- Use only the provided power adapter.
- Do not attempt to disassemble or repair the device yourself. Contact customer support for assistance.
- Keep the device away from children and pets.
3. Package Contents
Verify that all items are present in the package:
- Youyu 10.1-inch Digital Photo Frame (Model UDF10D1)
- Power Adapter
- Remote Control
- User Manual
4. Product Overview
4.1 Front View

The front of the digital photo frame features a 10.1-inch IPS display with a 1280x800 resolution, providing clear and vibrant image display.
4.2 Rear and Side Views (Ports and Controls)
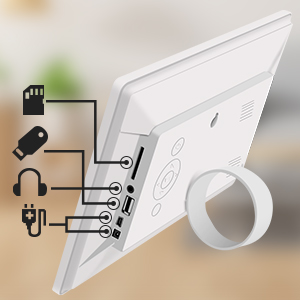
The rear and side panels of the frame include essential ports and controls for connectivity and operation:
- SD Card Slot: For inserting SD memory cards.
- USB Port: For connecting USB flash drives.
- Headphone Jack: For audio output.
- Power Input: For connecting the power adapter.
- Control Buttons: On-device buttons for basic navigation.
4.3 Remote Control

The included remote control allows for convenient operation of the frame from a distance, providing access to all functions without needing to touch the device.
5. Setup
5.1 Powering On
- Connect the power adapter to the DC IN port on the back of the frame.
- Plug the power adapter into a wall outlet.
- The frame will automatically power on. If not, press the power button on the back of the frame.
5.2 Initial Settings
Upon first use, you may be prompted to set the language, time zone, date, and time. Follow the on-screen instructions using the remote control or the buttons on the back of the frame.
5.3 Inserting Storage Media
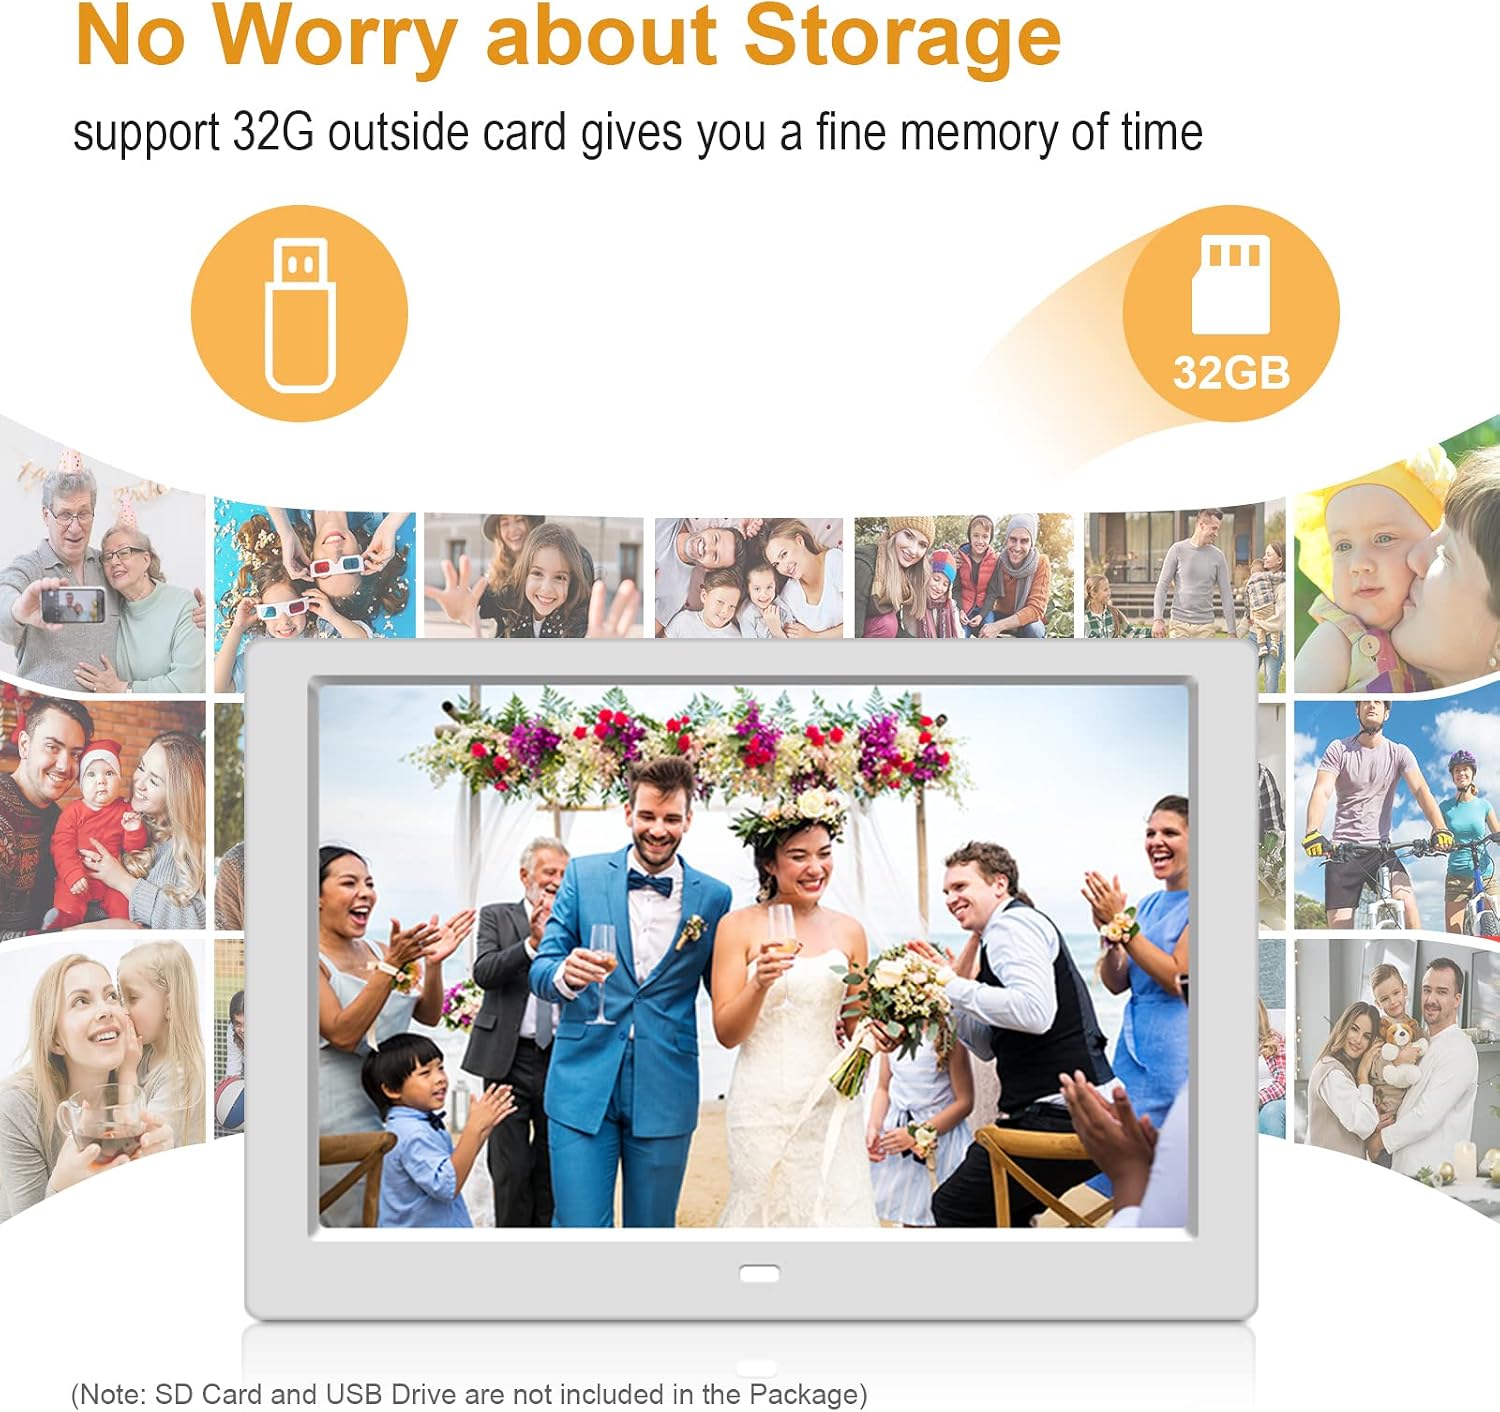
The frame supports SD cards and USB flash drives (up to 32GB) for displaying photos and videos.
- For SD Card: Gently insert the SD card into the SD card slot until it clicks into place. Ensure the card is inserted in the correct orientation.
- For USB Drive: Insert the USB flash drive into the USB port.
The frame will automatically detect the inserted media and begin playing content or prompt you to select a source.
5.4 Wall Mounting

The frame is designed to be wall-mountable. Use appropriate wall anchors and screws (not included) suitable for your wall type. Ensure the frame is securely fastened to prevent accidental falls.
6. Operating Instructions
6.1 Basic Navigation
Use the remote control or the buttons on the back of the frame to navigate through menus and select options. The directional buttons (Up, Down, Left, Right) are used for movement, and the OK/Enter button confirms selections. The Menu/Exit button typically returns to the previous screen or the main menu.
6.2 Photo and Video Playback

Once media is inserted, the frame can automatically start a slideshow of photos or play videos. You can manually select specific files or folders from the media browser.
6.3 Slideshow Settings

Customize your slideshow experience through the settings menu:
- Playback Order: Choose between shuffle, sequential, or repetitive playback.
- Slide Transition Effect: Select from various transition styles between photos.
- Picture Switching Speed: Adjust the duration each photo is displayed.
6.4 Clock and Calendar Functions
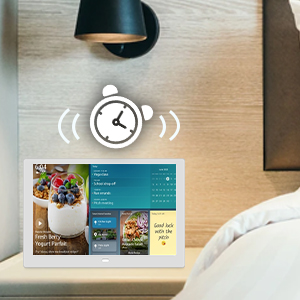
The frame includes built-in clock and calendar functions. These can be accessed and configured through the main menu, allowing you to display the current time and date alongside your photos.
6.5 Brightness Adjustment
Adjust the screen brightness to suit your viewing environment. This setting is typically found in the display or system settings menu.
6.6 Managing Files
The frame allows for basic file management, such as image preview and deletion. Navigate to the file browser, select the desired file, and choose the appropriate option from the context menu.
7. Maintenance
7.1 Cleaning
- Ensure the device is powered off and unplugged before cleaning.
- Use a soft, dry, lint-free cloth to clean the screen and exterior surfaces.
- Do not use liquid cleaners, aerosols, or abrasive materials, as these may damage the finish or screen.
7.2 Storage
When not in use for extended periods, store the frame in a cool, dry place, away from direct sunlight and extreme temperatures.
8. Troubleshooting
If you encounter issues with your digital photo frame, refer to the following common problems and solutions:
| Problem | Possible Solution |
|---|---|
| Frame does not power on. | Ensure the power adapter is securely connected to both the frame and a working power outlet. Try a different outlet. |
| No images or videos displayed. | Verify that the SD card or USB drive is correctly inserted and contains compatible media files (JPEG for photos, MP4 for videos). Check if the media source is selected in the menu. |
| Remote control is not working. | Ensure there are no obstructions between the remote and the frame. Replace the remote control batteries if necessary. |
| Images appear distorted or low quality. | Ensure the image resolution is suitable for the frame's 1280x800 display. High-resolution images will appear clearer. |
9. Specifications
| Feature | Detail |
|---|---|
| Model Number | UDF10D1 |
| Screen Size | 10.1 Inches |
| Resolution | 1280 x 800 (HD) |
| Display Type | IPS |
| Aspect Ratio | 16:10 |
| Compatible Devices | Personal Computer, Tablet |
| Storage Support | SD Card, Mini USB (up to 32GB) |
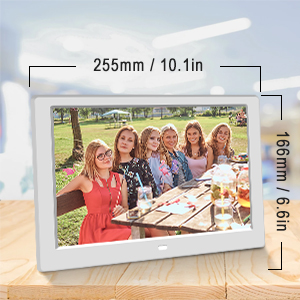
| Product Dimensions | 13.6 x 8.6 x 0.99 inches |
| Item Weight | 1.43 pounds |
| Color | White Digital Frame |
10. Warranty and Support
Youyu stands by the quality of its products. This digital photo frame comes with a one-year warranty from the date of purchase. We also provide lifetime support for our products. If you encounter any issues or have questions, please contact our customer support team. We aim to provide a prompt response within 24 hours.
For support, please refer to the contact information provided with your purchase or visit the official Youyu website.