1. Introduction
Thank you for choosing the smaate Magnetic 2-Pin USB Charger Cable. This manual provides essential information for the safe and effective use of your new charger. This product is designed specifically for the VPSTAY ALB1 1.47” Fitness Tracker Smartwatch.
2. Package Contents
Please verify that all items are present in your package:
- 2 x Magnetic 2-Pin USB Charger Cables
3. Specifications
| Brand | smaate |
| Model Number | CBLBALB1 |
| Compatibility | VPSTAY ALB1 1.47” Fitness Tracker Smartwatch |
| Cable Length | 60 cm |
| Max. Current | 1A |
| Max. Voltage | 5V |
| Connectivity | USB-A to Magnetic 2-Pin |
| Safety Feature | Built-in Short-circuit protection IC |
4. Setup and Connection
- Connect to Power Source: Insert the USB-A end of the charger cable into a compatible USB power adapter (e.g., wall charger, computer USB port, power bank). Ensure the power source provides 5V output.
- Connect to Smartwatch: Align the two magnetic pins on the other end of the charger cable with the charging contacts on the back of your VPSTAY ALB1 smartwatch. The magnets will automatically snap into place, ensuring a secure connection.

This image demonstrates how to connect the magnetic charger to your smartwatch. Align the two magnetic pins on the cable with the charging contacts on the back of your watch until they securely attach.
5. Operating Instructions
Once connected, your smartwatch should indicate that it is charging. The charging time may vary depending on the smartwatch's battery level and the power source.
Safety Feature: Short-Circuit Protection
This charger cable features a built-in Short-circuit protection IC. In the event of a short-circuit, this integrated circuit will automatically cut off the power to prevent damage to the charger or your device.
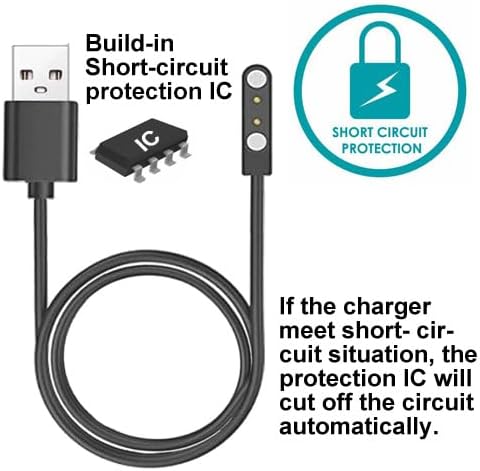
This image highlights the integrated short-circuit protection IC. In the event of a short-circuit, this component automatically disconnects the power to prevent damage.
6. Safety Precautions
- Always unplug the charger cable from the power source once your smartwatch is fully charged.
- Avoid leaving the magnetic charging points in contact with metal objects when not connected to the smartwatch, as this could potentially cause a short circuit.
- Do not expose the charger cable to water or extreme temperatures.
- Do not attempt to disassemble or modify the charger cable.
- Keep out of reach of children.

Always unplug the charger cable from the power source once your smartwatch is fully charged. This practice enhances safety and prevents potential issues from magnetic points attracting metal objects.
7. Maintenance
- Clean the charging contacts on both the cable and your smartwatch regularly with a dry, soft cloth to ensure optimal connection.
- Store the cable in a cool, dry place when not in use.
- Avoid bending or twisting the cable excessively to prevent internal damage.
8. Troubleshooting
- Smartwatch not charging:
- Ensure the magnetic pins are correctly aligned and securely attached to the smartwatch's charging contacts.
- Check if the USB-A end is fully inserted into a working power source.
- Try a different USB power adapter or USB port.
- Clean the charging contacts on both the cable and the smartwatch.
- Slow charging:
- Ensure your power source provides sufficient output (e.g., 5V/1A).
- Avoid charging in extremely hot or cold environments.
9. Customer Support
If you encounter any issues or have questions regarding your smaate charger cable, please contact us through Amazon:
- Click on the seller name: Smaate-US
- Select the option to "Ask a question"
Our support team aims to provide a professional solution within 24 hours.