1. Introduction
This manual provides comprehensive instructions for the safe and effective use of your BETOPPER 150W Moving Head DJ Lights. Please read this manual thoroughly before operating the device and retain it for future reference. Proper understanding of these instructions will ensure optimal performance and longevity of your lighting equipment.
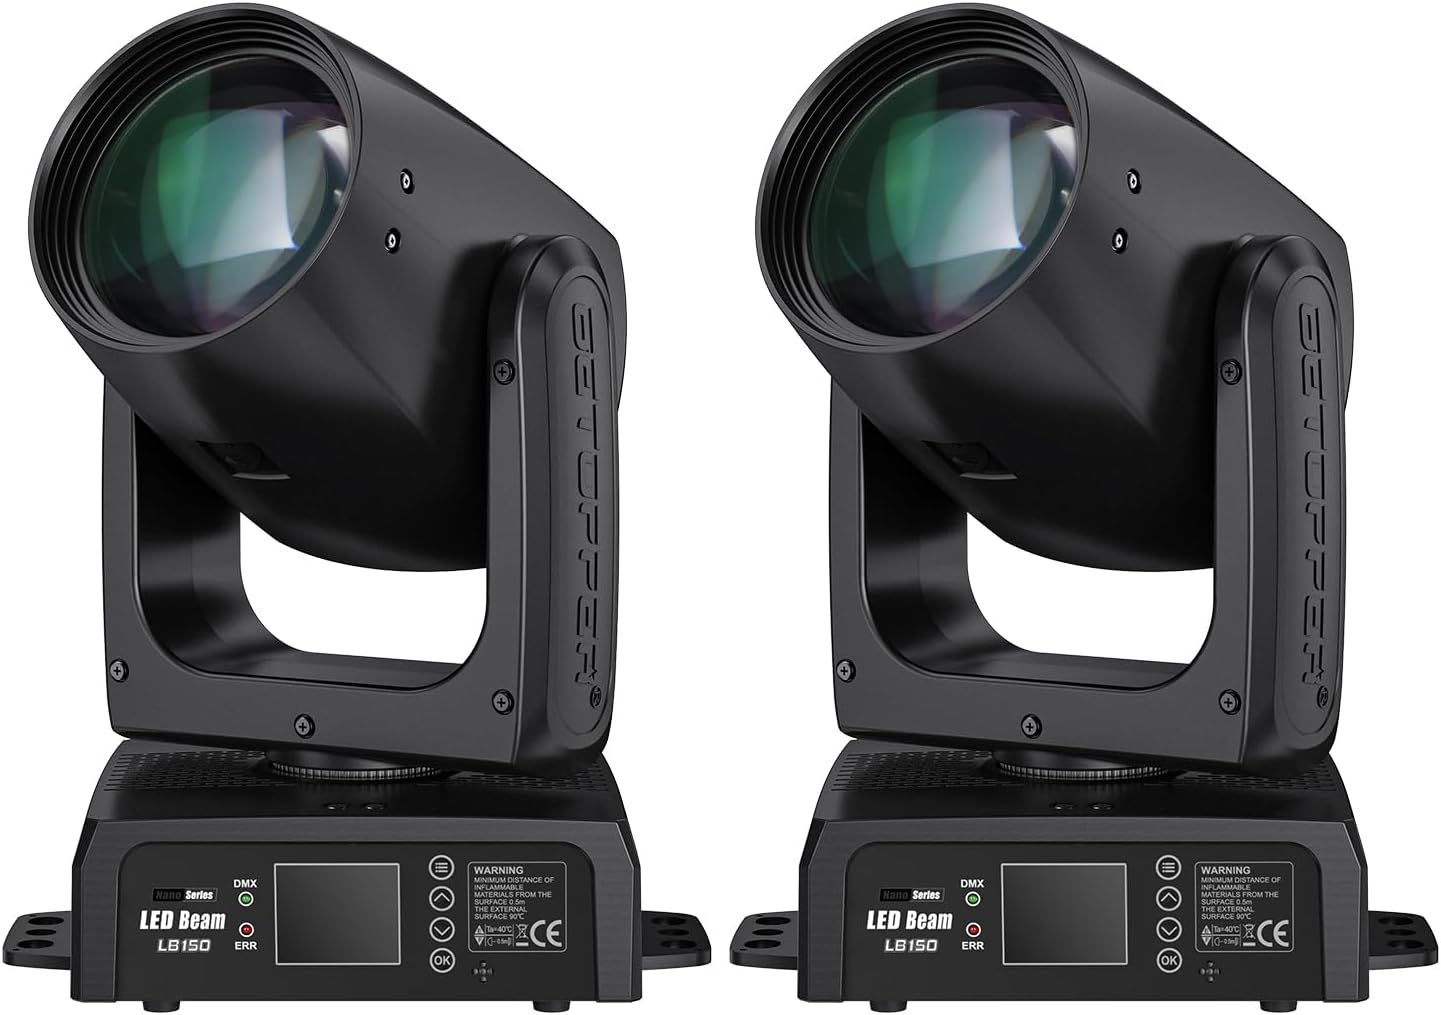
Figure 1.1: BETOPPER 150W Moving Head DJ Lights (Two Units)
2. Safety Information
Always observe the following safety precautions to prevent electric shock, fire, or injury:
- Power Supply: Ensure the power supply voltage matches the device's requirements (120V AC). Disconnect power before cleaning or servicing.
- Ventilation: Do not block ventilation openings. Ensure adequate airflow around the unit to prevent overheating.
- Mounting: Securely mount the fixture using appropriate clamps and safety cables. Always use a safety cable when suspending the unit.
- Environment: Avoid exposure to rain, moisture, extreme temperatures, or dusty environments. This device is for indoor use only.
- Servicing: Refer all servicing to qualified personnel. Do not attempt to repair the unit yourself.
- Direct Eye Exposure: Avoid direct eye exposure to the light source. The beam is powerful and can cause eye damage.
3. Package Contents
Upon unpacking, verify that all items listed below are present and in good condition:
- BETOPPER 150W Moving Head DJ Light Unit(s)
- Power Input Cable
- Safety Rope
- Light Hook Plate (for mounting)
- User Manual

Figure 3.1: Product Accessories
4. Product Overview
4.1 Key Features
- Powerful Illumination: Equipped with a 150W LED source, delivering 115,000 lux at 3 meters.
- Dynamic Effects: Features 12 distinct GOBO patterns and 12 vibrant colors.
- Prism Plate: Includes an 8+16 dual-layer prism for diverse beam splitting effects.
- Precise Control: 0-100% smooth dimming and advanced strobing capabilities.
- Flexible Movement: Offers 540° pan (X-axis) and 270° tilt (Y-axis) rotation.
- Multiple Operating Modes: DMX control, sound activation, and three auto modes.
- Compact Design: Sleek build with a 10mm lens for exceptional brightness and quiet operation.

Figure 4.1: Key Product Features
4.2 Component Identification
Familiarize yourself with the various ports and controls on your moving head light:

Figure 4.2: Front and Back Panel Overview
- DMX IN/OUT: For connecting to a DMX controller or other DMX fixtures.
- POWER IN/OUT: For power connection and daisy-chaining power to other units.
- FUSE: Overcurrent protection. Replace only with the specified fuse type.
- LED Display: Shows current settings and menu options.
- Control Buttons (Menu, Down, OK, Up): Used to navigate and adjust settings on the LED display.
5. Setup
5.1 Mounting
The BETOPPER 150W Moving Head DJ Light can be mounted in various positions:
- Floor Mount: Place the unit on a stable, level surface. Ensure it is not easily knocked over.
- Truss Mounting: Attach the light hook plate to the bottom of the fixture using the provided screws. Securely fasten the clamp to a truss or suitable support structure. Always attach a safety rope to a separate, secure point on the truss.
- Inverted Mounting: The fixture can operate inverted. Adjust the display orientation in the menu settings if needed. Ensure secure mounting with a safety cable.
5.2 Power Connection
Connect the provided power input cable to the POWER IN port on the fixture and then to a suitable 120V AC power outlet. For multiple units, you can daisy-chain power using the POWER OUT port to connect to the POWER IN of the next fixture, ensuring not to exceed the maximum power load for the circuit.
5.3 DMX Connection (Optional)
If using a DMX controller, connect a DMX cable from the DMX OUT of your controller to the DMX IN of the first fixture. For multiple fixtures, connect the DMX OUT of the first fixture to the DMX IN of the second, and so on. Ensure the last fixture in the chain has a DMX terminator (not included) for stable signal transmission.
6. Operating Modes
The BETOPPER 150W Moving Head DJ Light offers several operating modes, selectable via the LED display and control buttons:
- DMX Control Mode: Allows full control over all fixture parameters (pan, tilt, color, GOBO, prism, dimming, strobe) using an external DMX controller. Refer to the DMX channel chart (usually found in a separate DMX manual or on the manufacturer's website) for specific channel assignments.
- Sound Activated Mode: The fixture reacts to ambient sound, synchronizing light movements and effects with music beats. Adjust sensitivity via the menu.
- Auto Modes: Features three pre-programmed automatic modes that cycle through various patterns, colors, and movements. These modes are designed for standalone operation without external control.
- Master/Slave Mode: Connect multiple fixtures via DMX cables. Set one unit as 'Master' and others as 'Slave'. The slave units will mimic the master's movements and effects, ideal for synchronized light shows without a DMX controller.

Figure 6.1: Versatile Moving Head Beam Light in Operation
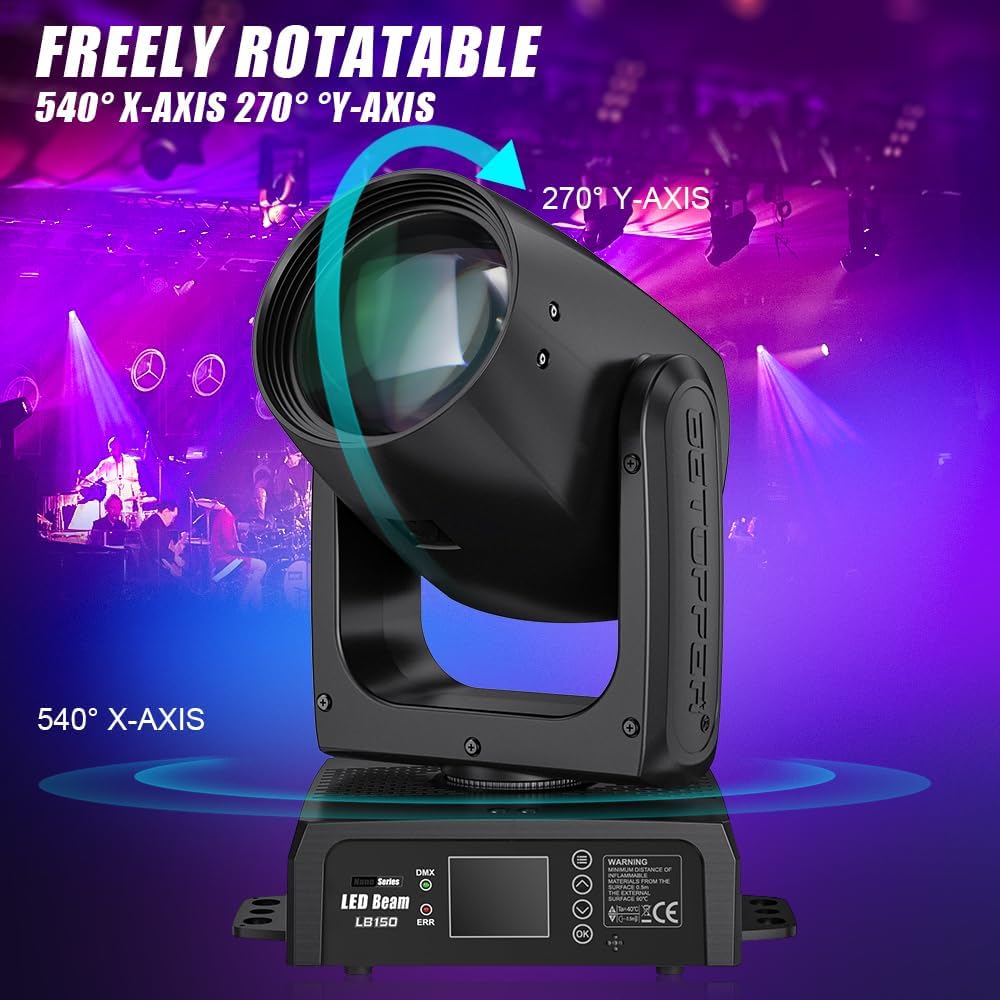
Figure 6.2: Pan and Tilt Rotation Capabilities

Figure 6.3: Example GOBO Patterns

Figure 6.4: Example Color Beams
7. Maintenance
Regular maintenance ensures the optimal performance and extends the lifespan of your fixture:
- Cleaning: Periodically clean the exterior casing, lenses, and ventilation grilles with a soft, lint-free cloth. For stubborn dirt, use a mild glass cleaner on the lenses, applied to the cloth first, not directly to the lens.
- Inspection: Regularly check power cables, DMX cables, and mounting hardware for any signs of wear, damage, or loose connections.
- Fuse Replacement: If the fuse blows, disconnect power and replace it with a fuse of the exact same type and rating. Consult the specifications for details.
- Storage: When not in use, store the fixture in a dry, dust-free environment, preferably in its original packaging or a protective case.
8. Troubleshooting
If you encounter issues with your BETOPPER 150W Moving Head DJ Light, refer to the following common problems and solutions:
| Problem | Possible Cause | Solution |
|---|---|---|
| No power | Power cable disconnected, faulty outlet, blown fuse. | Check power connections. Test outlet. Replace fuse if blown (refer to Section 7). |
| No light output | Dimmer at 0%, fixture in blackout mode, LED failure. | Check dimmer settings. Exit blackout mode. If LED failure, contact support. |
| No DMX control | Incorrect DMX address, faulty DMX cable, no DMX terminator, DMX controller issue. | Verify DMX address. Check DMX cable integrity. Ensure terminator is used on the last fixture. Test DMX controller. |
| Fixture not moving/responding | Motor calibration issue, DMX signal problem, internal fault. | Perform a reset or calibration via the menu. Check DMX signal. If problem persists, contact support. |
| Overheating | Blocked ventilation, high ambient temperature. | Ensure clear ventilation. Operate in a well-ventilated area. |
For issues not covered here or if troubleshooting steps do not resolve the problem, please contact Betopper customer support.
9. Specifications
| Feature | Detail |
|---|---|
| Model Number | BT-LB150-CA |
| Light Source | 150W LED |
| Brightness | 115,000 lux @ 3 meters |
| Beam Angle | 1.78 Degrees |
| GOBOs | 12 Static GOBO patterns |
| Colors | 12 Colors + White, Half-color effect |
| Prism | 1 prism plate (8+16 prisms) |
| Dimming | 0-100% smooth linear dimming |
| Pan Rotation | 540° |
| Tilt Rotation | 270° |
| Control Modes | DMX512, Sound Activated, Auto, Master/Slave |
| Power Source | Corded Electric |
| Voltage | 120 Volts (AC) |
| Material | Aluminum |
| Finish Type | Powder Coated |
| Product Dimensions | 9"L x 6"W x 11"H (236mm x 174.4mm x 292mm) |
| Item Weight | 25.5 pounds (11.57 kg) |

Figure 9.1: Product Dimensions and Weight

Figure 9.2: Beam Angle and Brightness Measurement
10. Warranty and Support
For warranty information, please refer to the documentation provided with your purchase or visit the official Betopper website. If you require technical assistance, have questions about operation, or need to report a defect, please contact Betopper customer support through their official channels. Please have your model number (BT-LB150-CA) and purchase details ready when contacting support.
Note: No official product videos were available from the seller in the provided data to embed in this manual.