1. Introduction
This manual provides essential information for the proper installation, operation, and maintenance of your RATION Imbera Evaporator Coil G319 V10 2022631. Please read this manual thoroughly before installation and use to ensure safe and efficient performance.
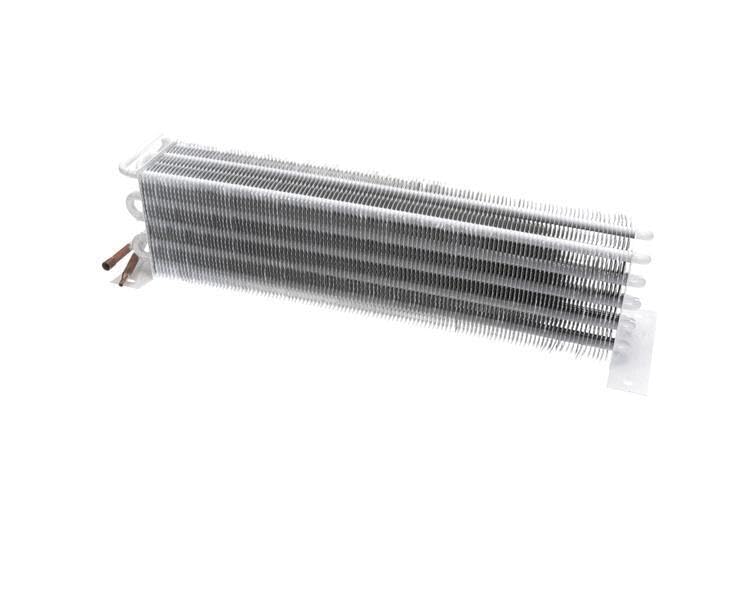
Image 1.1: The RATION Imbera Evaporator Coil G319 V10 2022631. This component is designed for efficient heat exchange in refrigeration systems, featuring multiple fins and copper tubing for optimal performance.
2. Product Overview
The RATION Imbera Evaporator Coil G319 V10 2022631 is a critical component designed for refrigeration systems, ensuring efficient cooling. Its advanced design and high-quality materials contribute to reliable and long-lasting performance.
Key Features:
- Highly efficient design for fast and effective cooling.
- Constructed with high-quality materials for durability and reliability.
- Engineered for straightforward installation.
3. Setup and Installation
Proper installation is crucial for the optimal performance and longevity of the evaporator coil. It is recommended that installation be performed by a qualified technician.
3.1. Pre-Installation Checks
- Compatibility: Before installation, verify that the evaporator coil is compatible with your existing refrigeration system.
- Inspection: Carefully inspect the coil for any signs of damage during shipping. Do not install if damage is observed.
- Dimensions: To ensure compatibility, please check the product dimensions and review the provided images closely against your system's requirements.
3.2. Installation Steps
- Ensure the refrigeration system is completely powered off and depressurized before beginning installation.
- Carefully remove the old evaporator coil, if applicable, following proper safety procedures for refrigerant handling.
- Position the new RATION Imbera Evaporator Coil G319 V10 2022631 in the designated location within the refrigeration unit.
- Connect the refrigerant lines to the coil's inlet and outlet ports. Ensure all connections are secure and leak-free.
- Perform a leak test on all new connections using appropriate methods.
- Evacuate the system to remove any non-condensable gases and moisture.
- Recharge the system with the correct type and amount of refrigerant as specified by the system manufacturer.
- Verify proper operation after installation by monitoring system pressures and temperatures.
4. Operating Guidelines
Once installed, the evaporator coil operates as an integral part of the refrigeration cycle. Its function is to absorb heat from the refrigerated space, allowing the refrigerant to evaporate and cool the area.
4.1. Normal Operation
- The coil will become cold as refrigerant flows through it, facilitating heat transfer.
- Condensation may form on the coil surface during operation, which is normal and typically managed by a defrost cycle or drain pan.
4.2. Performance Considerations
- Maintain proper airflow over the coil for maximum efficiency. Blocked airflow can reduce cooling capacity.
- Ensure the system's refrigerant charge is correct. Both under-charging and over-charging can impair performance.
5. Maintenance
Regular maintenance helps ensure the longevity and efficient operation of your evaporator coil.
5.1. Cleaning the Coil
- Periodically inspect the coil fins for dust, dirt, or ice buildup.
- Gently clean the fins using a soft brush or vacuum cleaner with a brush attachment to remove debris. Avoid bending the fins.
- For stubborn dirt, a coil cleaner specifically designed for evaporator coils can be used, following the cleaner's instructions.
5.2. Drain Pan and Line Maintenance
- Check the condensate drain pan and line regularly for blockages (e.g., algae, slime).
- Clean the drain pan and flush the drain line to ensure proper drainage of condensation.
5.3. Professional Inspection
- It is recommended to have a qualified HVAC/refrigeration technician inspect the entire system, including the evaporator coil, annually.
- A professional can check refrigerant levels, system pressures, and overall performance.
6. Troubleshooting
This section provides general troubleshooting tips for common issues related to evaporator coils. For complex problems, consult a qualified technician.
| Problem | Possible Cause | Solution |
|---|---|---|
| Poor Cooling Performance | Dirty coil fins, low refrigerant, restricted airflow, ice buildup | Clean coil, check refrigerant levels, ensure clear airflow, defrost coil |
| Excessive Ice Buildup | Low airflow, low refrigerant, faulty defrost system, dirty filter | Check airflow, verify refrigerant charge, inspect defrost components, replace filter |
| Water Leaking from Unit | Clogged condensate drain line/pan, cracked drain pan | Clear drain line/pan, inspect for damage, replace if necessary |
7. Specifications
| Attribute | Detail |
|---|---|
| Brand | RATION |
| Model Number | G319 V10 2022631 |
| Part Number | Description (as per manufacturer data) |
| ASIN | B0DBBBG14B |
| Date First Available | July 26, 2024 |
8. Warranty Information
Specific warranty details for the RATION Imbera Evaporator Coil G319 V10 2022631 are not provided in this manual. Please refer to the product packaging, purchase documentation, or contact RATION directly for warranty terms and conditions.
9. Customer Support
For technical assistance, replacement parts, or further inquiries regarding your RATION Imbera Evaporator Coil G319 V10 2022631, please contact the manufacturer, RATION, or your authorized dealer. Contact information may be available on the product packaging or the manufacturer's official website.