1. Introduction
This manual provides essential instructions for the safe and effective operation of your Fujifilm S4500 and S4530 Compact Digital Camera. Please read this manual thoroughly before using the camera and keep it in a safe place for future reference. The Fujifilm S4500/S4530 is equipped with a 14MP CCD sensor, a 30x optical zoom Fujinon lens, and is capable of recording 720p HD movies.
2. Product Overview
Familiarize yourself with the main components of your camera.
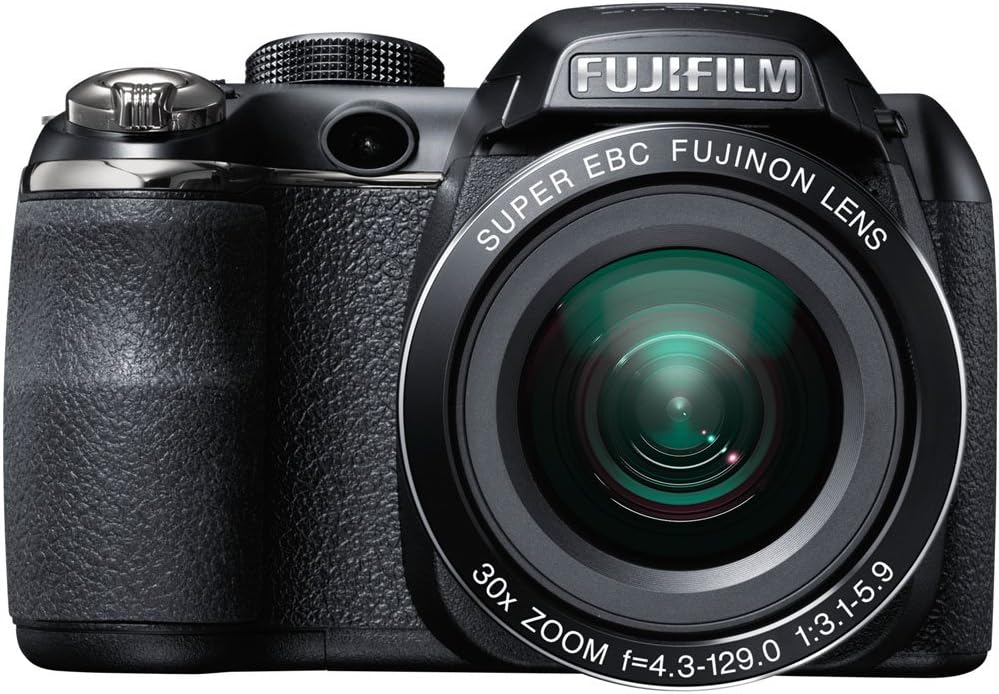
Figure 2.1: Front view of the Fujifilm S4500/S4530 camera with the built-in flash in the raised position, showcasing the Fujinon 30x optical zoom lens.

Figure 2.2: Front view of the Fujifilm S4500/S4530 camera with the built-in flash in the lowered position, highlighting the lens barrel and grip.

Figure 2.3: Side view of the Fujifilm S4500/S4530 camera, showing the ergonomic grip and control layout.
Key Components:
- Lens: Fujinon 30x Optical Zoom Lens (24-720mm equivalent).
- Flash: Built-in pop-up flash.
- LCD Display: 3-inch, 230,000-dot screen for viewing and menu navigation.
- Viewfinder: Electronic Viewfinder (EVF).
- Control Dial: For selecting shooting modes.
- Shutter Button: To capture photos.
- Zoom Lever: Controls optical and digital zoom.
3. Setup
3.1. Inserting Batteries
- Open the battery compartment cover located on the bottom of the camera.
- Insert four (4) AA alkaline batteries, ensuring correct polarity (+/-) as indicated inside the compartment.
- Close the battery compartment cover securely.
3.2. Inserting a Memory Card
- Open the memory card slot cover, usually located on the side or bottom of the camera.
- Insert an SD, SDHC, or SDXC memory card with the label facing the correct direction until it clicks into place.
- Close the memory card slot cover securely.
3.3. Initial Power On and Date/Time Setting
- Press the ON/OFF button to power on the camera.
- The first time you power on, you will be prompted to set the date and time. Use the directional buttons to navigate and the MENU/OK button to confirm.
- Follow the on-screen instructions to complete the initial setup.
4. Operating Instructions
4.1. Taking Photos
- Turn the camera on.
- Select a shooting mode using the mode dial (e.g., AUTO for automatic settings).
- Frame your shot using the LCD monitor or electronic viewfinder.
- Use the zoom lever to adjust the focal length.
- Press the shutter button halfway down to focus. The focus frame will turn green when focus is achieved.
- Press the shutter button fully down to take the picture.
4.2. Recording Videos
- Turn the mode dial to the movie recording setting (often indicated by a film camera icon).
- Frame your subject.
- Press the dedicated movie record button (if available) or the shutter button to start recording.
- Press the button again to stop recording. The camera records in 720p HD resolution.
4.3. Playback
- Press the PLAY button to enter playback mode.
- Use the directional buttons to scroll through your photos and videos.
- Press MENU/OK to view options for the selected image/video.
4.4. Flash Modes
The camera offers various flash modes, including Auto and Red Eye Reduction. To change the flash mode, press the flash button (often indicated by a lightning bolt icon) and use the directional buttons to select your desired mode from the on-screen menu.
5. Maintenance
5.1. Cleaning the Camera
- Lens: Use a soft, lint-free cloth or a lens brush to gently remove dust. For smudges, use a specialized lens cleaning solution applied to the cloth, not directly to the lens.
- LCD Display: Wipe gently with a soft, dry cloth. Avoid pressing too hard.
- Camera Body: Use a soft, dry cloth to wipe away dust and fingerprints. Do not use organic solvents or strong cleaning agents.
5.2. Battery Care
- Remove batteries when the camera will not be used for an extended period to prevent leakage.
- Store batteries in a cool, dry place.
- Replace all four AA batteries at the same time with new ones for optimal performance.
5.3. Storage
When storing the camera, ensure it is turned off, and the lens cap is attached. Store in a dry, well-ventilated area away from direct sunlight, high temperatures, and humidity.
6. Troubleshooting
| Problem | Solution |
|---|---|
| Camera does not turn on. | Check if batteries are inserted correctly and are fully charged. Replace with new AA batteries if necessary. |
| Images are blurry. | Ensure the lens is clean. Press the shutter button halfway to allow the camera to focus before taking the shot. Check if the camera is in a suitable shooting mode for the lighting conditions. |
| Flash does not fire. | Check the flash mode settings. Ensure the flash is raised if it is a pop-up type. The flash may not fire if the battery level is low. |
| Memory card error. | Ensure the memory card is inserted correctly. Try formatting the card (this will erase all data). If the problem persists, try a different memory card. |
| Cannot record video. | Ensure the camera is in video recording mode. Check if there is sufficient space on the memory card. |
7. Specifications
| Feature | Detail |
|---|---|
| Model Name | Fujifilm S4500 / S4530 |
| Image Sensor | 14 Megapixel 1/2.3-inch CCD |
| Lens | Fujinon 30x Optical Zoom (24-720mm equivalent) |
| Digital Zoom | Up to 6.7x |
| Image Stabilization | Digital Image Stabilization |
| LCD Display | 3.0-inch, 230,000 dots |
| Video Recording | 720p HD (MP4 format) |
| Storage Media | SD / SDHC / SDXC memory cards |
| ISO Sensitivity | Auto, 100, 200, 400, 800, 1600, 3200, 6400 (expanded to 51200) |
| Shutter Speed | 8 seconds to 1/2000 seconds |
| Power Supply | 4x AA alkaline batteries |
| Connectivity | HDMI, USB |
| Dimensions (approx.) | 1.2 Pounds (Item Weight) |
8. Warranty and Support
This Fujifilm S4500/S4530 camera typically comes with a 90-day limited warranty. Please refer to your purchase documentation for specific warranty terms and conditions. For technical support or service inquiries, please contact Fujifilm customer service or the retailer from whom the product was purchased.


