1. Introduction
This manual provides detailed instructions for the safe and efficient operation, setup, and maintenance of your ShyangLiang Portable Sewing Machine, Model LH-SM520A. Please read this manual thoroughly before using the machine to ensure proper function and to prevent damage.

Image 1.1: The ShyangLiang Portable Sewing Machine LH-SM520A, shown with its extension table and product packaging.
2. Safety Instructions
- Always unplug the machine from the power outlet when cleaning, making adjustments, or when not in use.
- Keep fingers away from the needle, hand wheel, and all moving parts during operation.
- Do not operate the machine if the power cord is damaged or if the machine is not functioning correctly.
- Keep the machine out of reach of children. Adult supervision is required when children are near the machine.
- Use only the accessories recommended by the manufacturer.
3. Product Overview
The ShyangLiang Portable Sewing Machine LH-SM520A is designed for home use, offering 16 built-in stitch patterns, adjustable sewing speed, and reverse sewing capabilities. It features a lightweight and compact design, making it suitable for various fabric types and users from beginners to professionals.

Image 3.1: Key components of the ShyangLiang Portable Sewing Machine LH-SM520A.
Key Features:
- 16 Built-in Stitch Patterns: Offers a variety of stitches for different sewing needs.
- Adjustable Sewing Speed: Dual speed settings (low/high) for precise control.
- Reverse Sewing Function: For reinforcing stitches at the beginning and end of seams.
- Built-in LED Light: Illuminates the sewing area for improved visibility.
- Integrated Thread Cutter: Conveniently trims threads without external tools.
- Extension Table: Provides a larger working surface for bigger projects.
- Foot Pedal Control: Allows for hands-free speed adjustment.
- Durable Construction: Features a cast aluminum frame for long service life.
4. Setup
4.1 Unpacking and Initial Inspection
- Carefully remove the sewing machine and all accessories from the packaging.
- Check for any visible damage. If damage is found, contact customer support.
- Ensure all listed accessories are present.
4.2 Attaching the Extension Table
The extension table provides additional workspace. To attach it:
- Align the pegs on the extension table with the corresponding holes on the front of the sewing machine.
- Gently push the table towards the machine until it clicks securely into place.

Image 4.1: The sewing machine with the extension table attached, showing its compact dimensions.
4.3 Power Connection
- Connect the foot pedal cable to the designated port on the machine.
- Plug the power adapter into the machine's power input.
- Insert the power adapter into a standard electrical outlet.
4.4 Threading the Machine
Correct threading is crucial for proper operation. Follow the numbered guide on the machine and the steps below:
- Place a spool of thread on the spool pin.
- Guide the thread through the upper thread guide.
- Pass the thread through the tension adjustment dial.
- Thread through the take-up lever from right to left.
- Guide the thread down through the lower thread guide.
- Thread the needle from front to back.
- Pull approximately 6 inches of thread through the needle eye.

Image 4.2: Detailed threading steps for the ShyangLiang sewing machine.
4.5 Winding the Bobbin
- Place an empty bobbin onto the bobbin winder spindle.
- Guide the thread from the spool pin through the bobbin winding tension disc.
- Wrap the thread around the bobbin a few times manually.
- Push the bobbin winder spindle to the right.
- Press the foot pedal or power switch to start winding. Stop when the bobbin is full.
- Cut the thread and push the spindle back to the left.
4.6 Inserting the Bobbin
- Open the bobbin cover plate.
- Insert the wound bobbin into the bobbin case, ensuring the thread unwinds in the correct direction (usually counter-clockwise).
- Pull the bobbin thread through the tension spring.
- Close the bobbin cover plate.
5. Operating Instructions
5.1 Selecting a Stitch Pattern
The machine offers 16 built-in stitch patterns. To select a pattern:
- Turn the stitch selection dial to the desired number corresponding to the stitch pattern shown on the machine's body.
- Ensure the needle is in the up position before changing stitch patterns.

Image 5.1: Stitch selection dial and available stitch patterns.
5.2 Adjusting Sewing Speed
The machine has two speed settings: Low (L) and High (H). Use the speed adjustment switch located on the machine to select your preferred speed.
5.3 Starting to Sew
- Place the fabric under the presser foot.
- Lower the presser foot lever.
- Gently press the foot pedal or use the power switch to start sewing.
- Guide the fabric smoothly as the machine sews.
5.4 Reverse Sewing
To reinforce a seam, press and hold the reverse sewing button. The machine will sew backward. Release the button to resume forward sewing.
5.5 Using the Built-in LED Light
The LED light automatically illuminates the sewing area when the machine is powered on, providing better visibility for detailed work.
5.6 Fabric Compatibility
This machine is capable of sewing various fabric types, including up to 4-7 layers of certain materials. It is suitable for:
- Leather (thin)
- Jeans (up to 5 layers)
- Cotton cloth
- Elastic fabric
- Thin fabric
- Chiffon fabric

Image 5.2: Demonstrating the machine's capability to sew through multiple layers of fabric.
5.7 Special Functions
The machine includes several specialized functions for enhanced versatility:
- Barrel Sewing: Ideal for sewing cylindrical items like sleeves and pant legs.
- Lock Edge Functionality: Creates a neat, finished edge to prevent fraying.
- Locking Buttonhole Function: For creating professional-looking buttonholes.
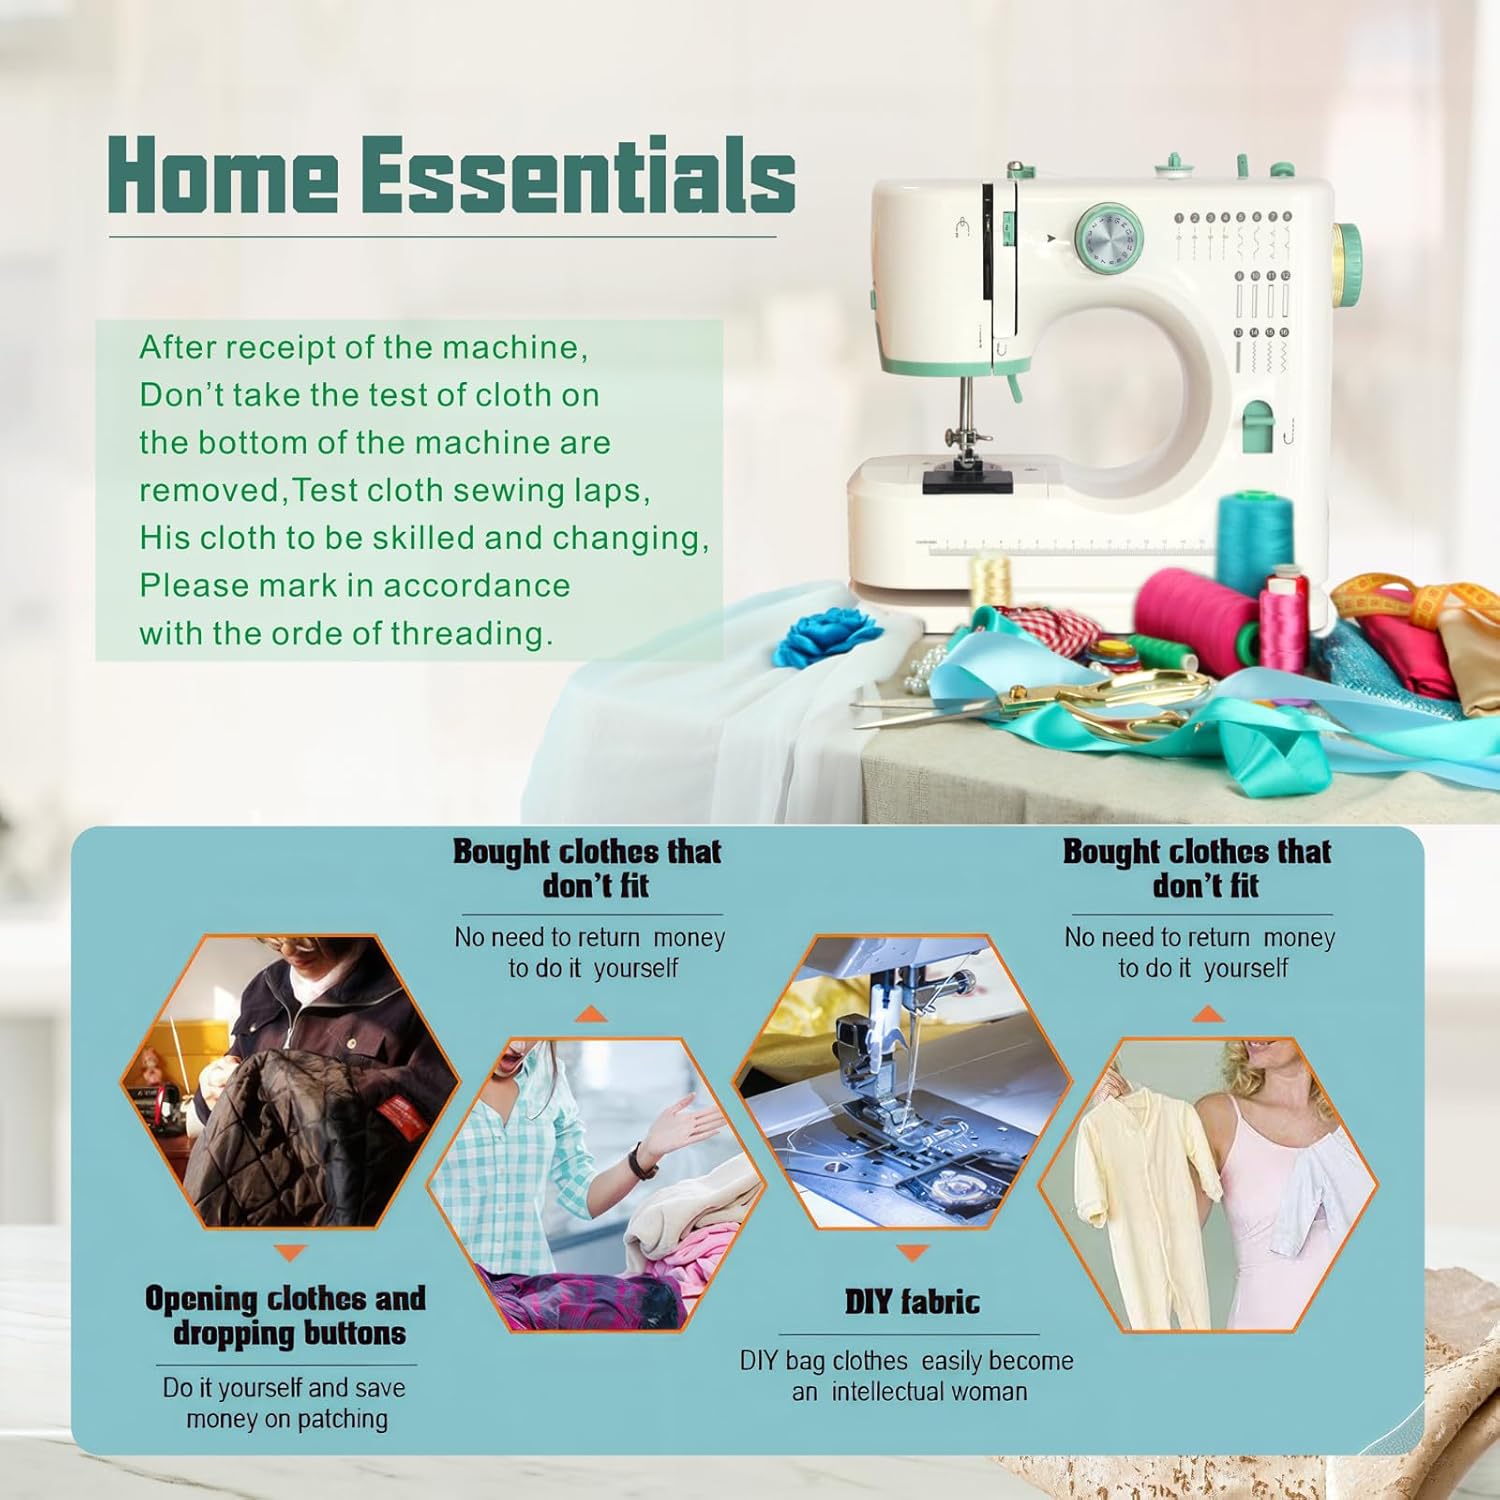
Image 5.3: Visual examples of the machine's multiple sewing functions.
6. Maintenance
6.1 Cleaning the Machine
Regular cleaning ensures smooth operation and extends the machine's lifespan.
- Always unplug the machine before cleaning.
- Use a soft brush to remove lint and dust from the bobbin area and feed dogs.
- Wipe the exterior of the machine with a soft, dry cloth. Do not use liquid cleaners.
6.2 Replacing the Needle
A dull or bent needle can cause skipped stitches or fabric damage. Replace the needle regularly.
- Ensure the machine is unplugged.
- Raise the needle to its highest position using the hand wheel.
- Loosen the needle clamp screw with a screwdriver.
- Remove the old needle.
- Insert a new needle with the flat side facing the back of the machine, pushing it up as far as it will go.
- Tighten the needle clamp screw securely.
Note: When replacing needles, ensure you use needles compatible with household sewing machines. If you experience difficulty finding suitable replacements, contact the manufacturer or seller for guidance.
7. Troubleshooting
If you encounter issues with your sewing machine, refer to the following common problems and solutions:
| Problem | Possible Cause | Solution |
|---|---|---|
| Skipped Stitches | Incorrect needle insertion, bent needle, incorrect threading, wrong needle size for fabric. | Re-insert needle correctly, replace needle, re-thread machine, use appropriate needle. |
| Thread Breakage | Incorrect threading, tension too tight, damaged needle, poor quality thread. | Re-thread machine, adjust tension, replace needle, use good quality thread. |
| Needle Breakage | Bent needle, pulling fabric forcefully, wrong needle size for fabric, hitting pins. | Replace needle, guide fabric gently, use correct needle, remove pins before sewing. |
| Machine Not Sewing | Not plugged in, power switch off, foot pedal not connected, bobbin empty. | Check power connections, turn on switch, connect foot pedal, wind and insert bobbin. |
| Uneven Stitches | Incorrect tension, improper threading, dirty feed dogs. | Adjust tension, re-thread machine, clean feed dogs. |
If the problem persists after attempting these solutions, please contact customer support.
8. Specifications
| Feature | Detail |
|---|---|
| Model Number | LH-SM520A |
| Brand | ShyangLiang |
| Product Dimensions (with extension table) | Approximately 11.8" (D) x 11" (W) x 5" (H) |
| Item Weight | Approximately 5.8 pounds (2.6 kg) |
| Built-in Stitch Patterns | 16 |
| Speed Settings | Low (L), High (H) |
| Frame Material | Cast Aluminum |
| Manufacturer | LondHome |
9. Warranty and Support
9.1 Warranty Information
Specific warranty details for the ShyangLiang Portable Sewing Machine LH-SM520A are not provided in this manual. For information regarding warranty coverage, duration, and terms, please refer to the product packaging or contact the seller or manufacturer directly.
9.2 Customer Support
If you have any questions, require technical assistance, or need to report an issue with your sewing machine, please contact the seller through your purchase platform or reach out to ShyangLiang customer service. Please have your model number (LH-SM520A) and purchase date available when contacting support.