1. Introduction
Thank you for choosing the HITBOX HBM200 Flux Core Welder. This manual provides essential information for the safe and effective operation, setup, maintenance, and troubleshooting of your new welding machine. The HBM200 is a compact and intelligent welding solution, ideal for various applications including metal lap welding, butt welding, automotive sheet metal repair, and duct construction. It is designed for ease of use with its One-Knob intelligent control system and is compatible with E71T-GS flux cored wire.
2. Safety Information
Always prioritize safety when operating welding equipment. Failure to follow safety guidelines can result in serious injury or damage to the equipment.
- Ensure proper ventilation in the work area to avoid inhaling welding fumes.
- Wear appropriate personal protective equipment (PPE), including welding helmet, gloves, protective clothing, and safety shoes.
- Do not operate the welder in damp or wet conditions.
- Keep flammable materials away from the welding area.
- The HITBOX HBM200 features built-in overcurrent, overvoltage, and overheating protection. The machine will automatically shut down in case of overheating or overload. Do not bypass these safety features.
- Allow the machine to cool down after prolonged use. The internal fan cooling system helps reduce dust ingress and extends service life.
- Always disconnect power before performing any maintenance or adjustments.
3. Product Overview
The HITBOX HBM200 is a versatile welding machine designed for efficiency and user-friendliness.
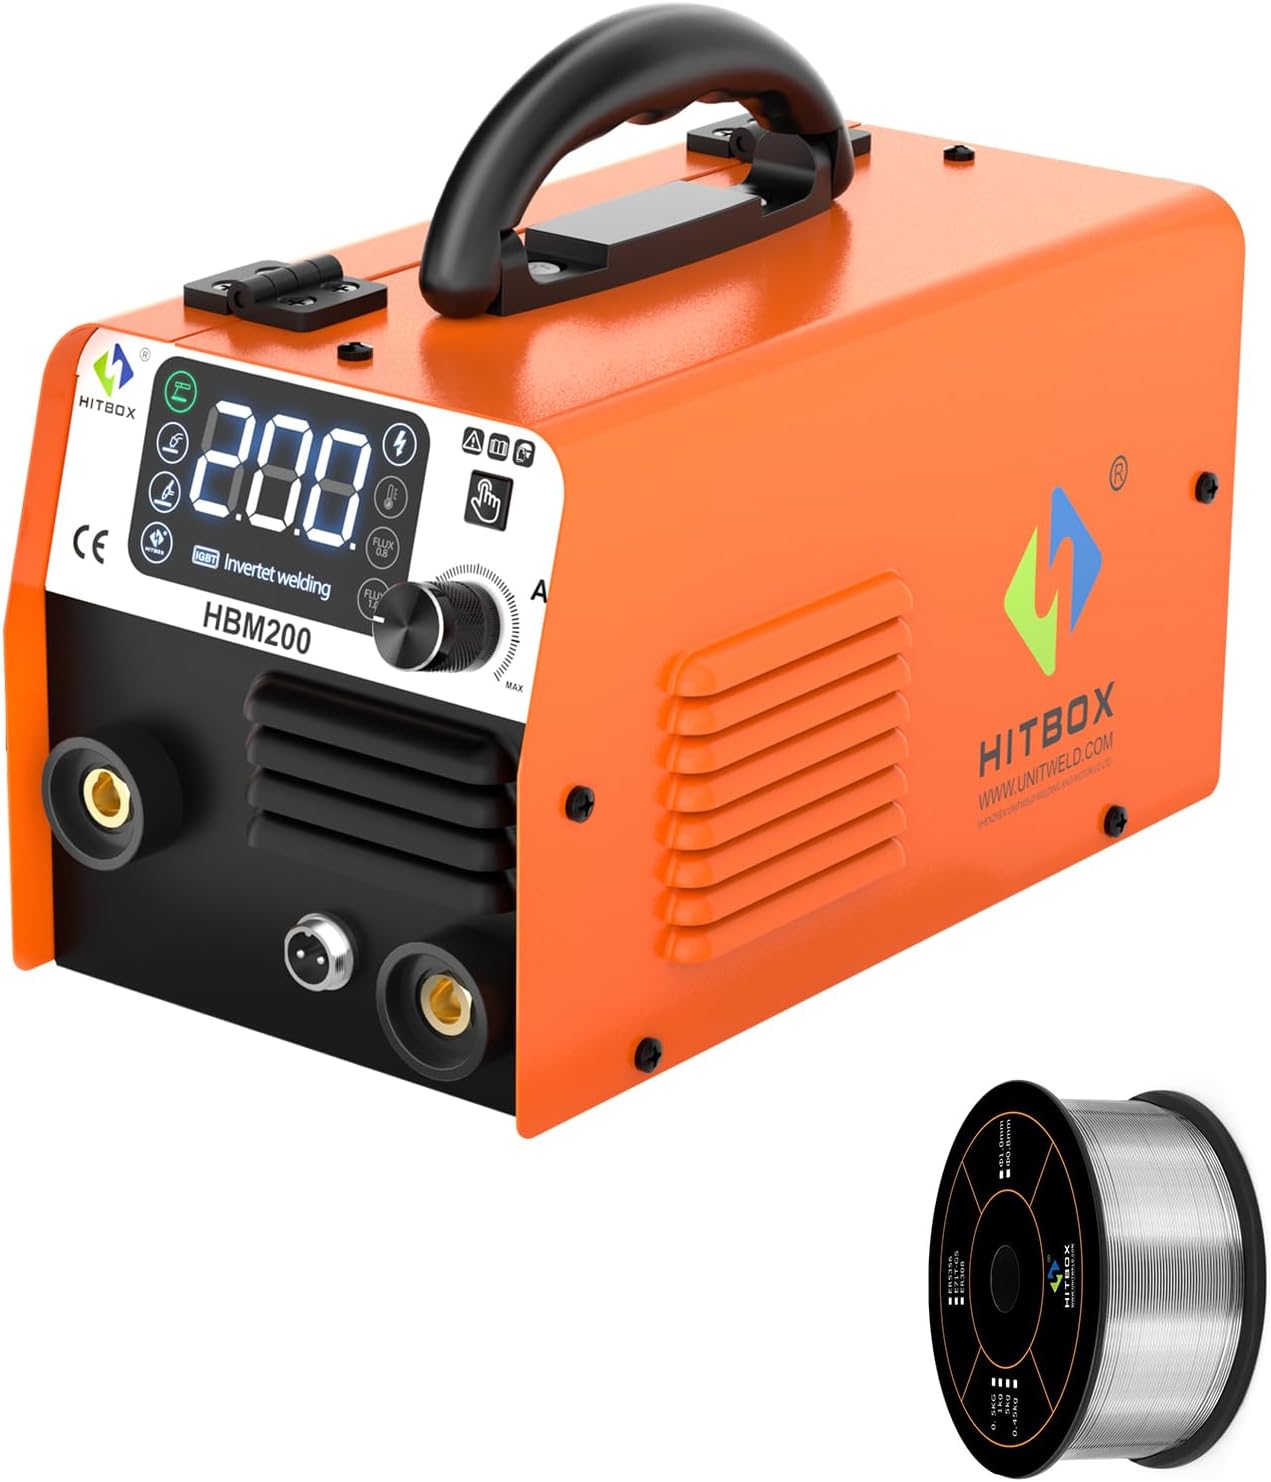
Figure 3.1: The HITBOX HBM200 Flux Core Welder with included 0.030"/0.8MM E71T-GS Flux Core Wire.

Figure 3.2: The HBM200 welder shown with its standard accessories, including the ground clamp, electrode holder, MIG torch, and various consumables.
Key Features:
- Synergic & Compact Design: One-Knob intelligent control system automatically compensates and adjusts welding current for optimal welds. Lightweight and portable.
- Adjustable Welding Speed: Output current range of 30-200A (actual welding effect 140A). Current adjustment knob for precise control over flux cored welding of various steel thicknesses.
- Safety Protection: Built-in overcurrent, overvoltage, and overheating protection with automatic shutdown. Fan cooling system for extended service life.
- Multi-Process Capability: Supports MMA (Stick), Flux MIG, and Lift TIG welding (WP17V TIG Torch needs to be purchased separately).
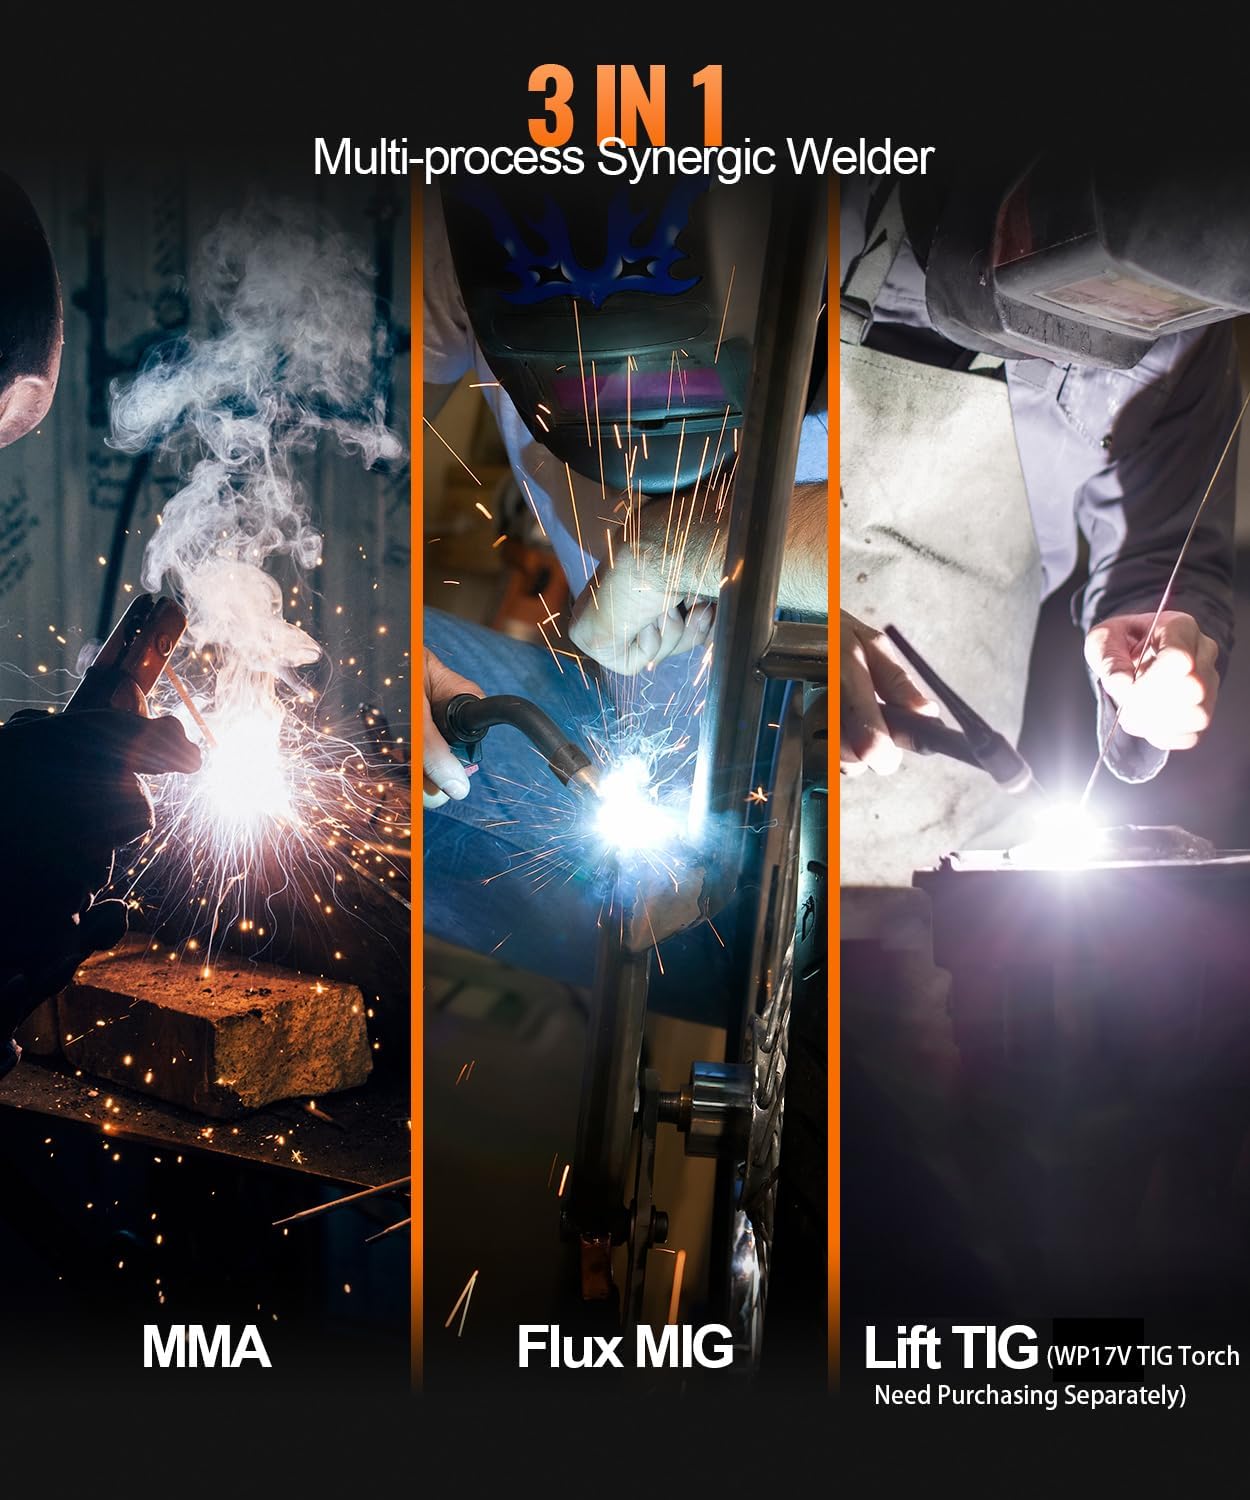
Figure 3.3: The HBM200 supports multiple welding processes, including MMA, Flux MIG, and Lift TIG.
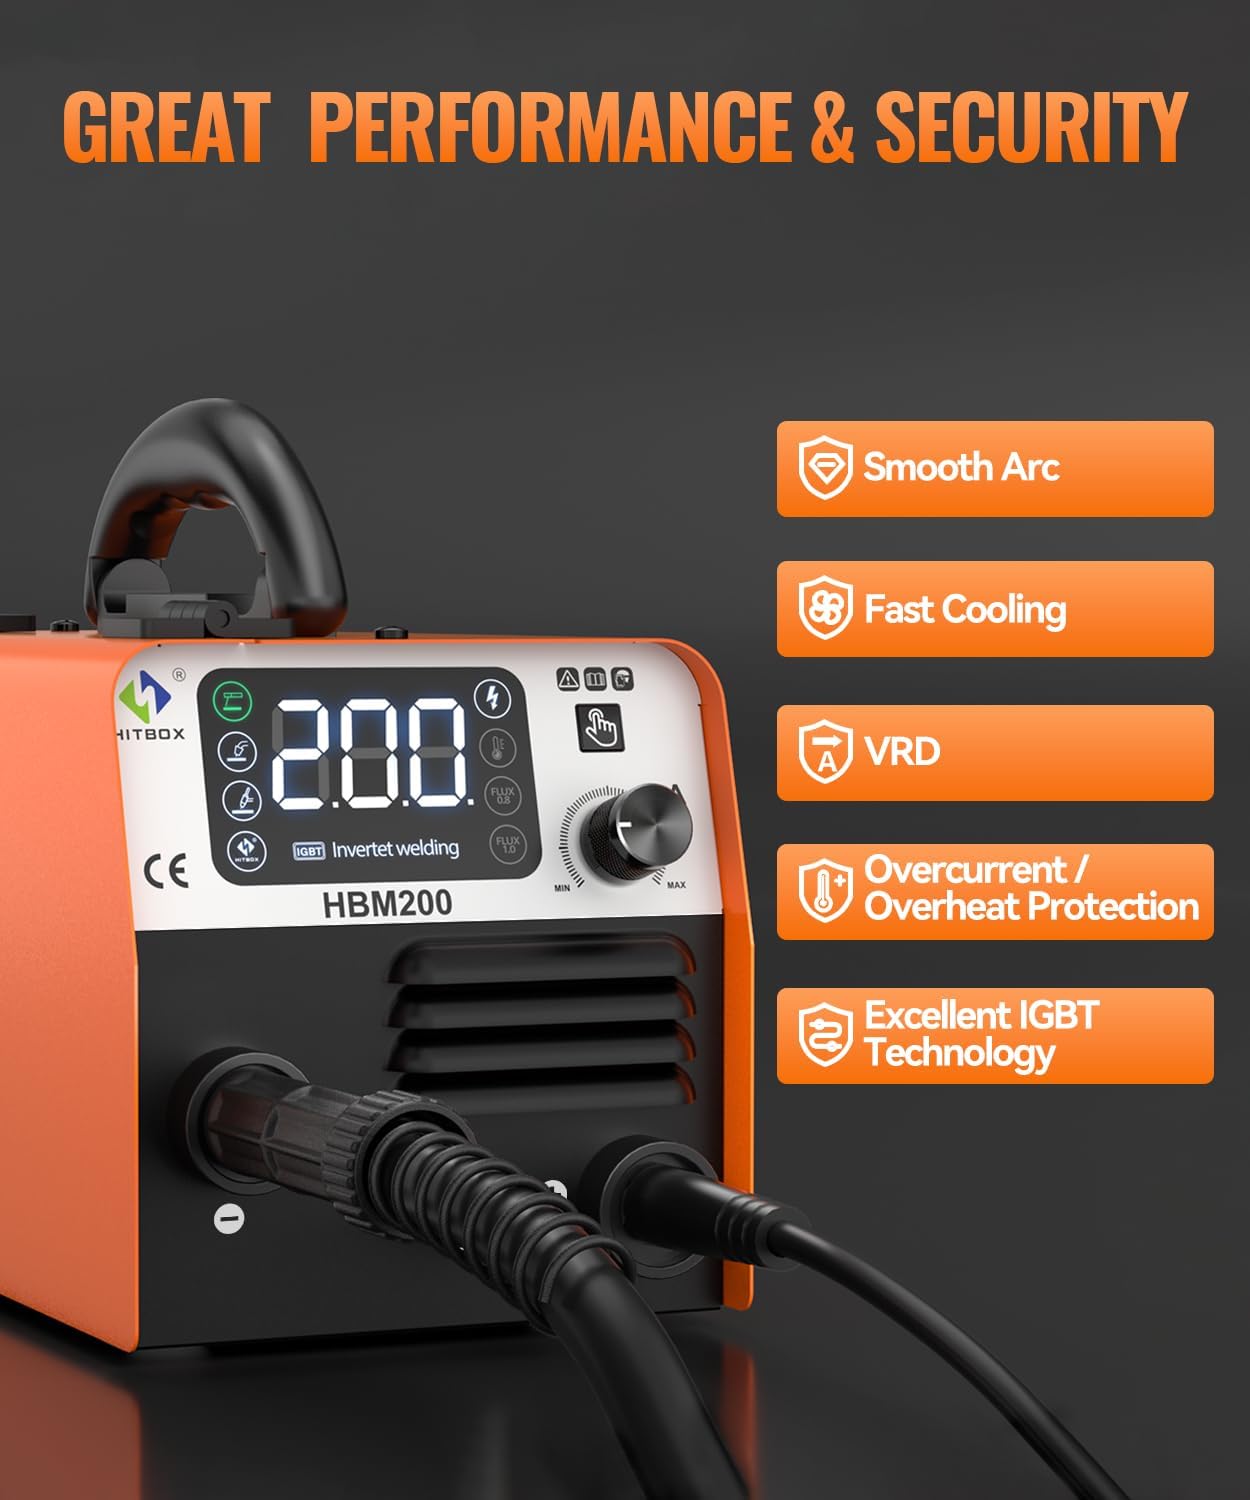
Figure 3.4: Performance and security features of the HBM200, including smooth arc, fast cooling, VRD, and robust protection systems.
4. Setup
Follow these steps for initial setup of your HITBOX HBM200 welder:
- Unpacking: Carefully remove the welder and all accessories from the packaging. Inspect for any shipping damage.
- Power Connection: Connect the welder to a suitable power supply. Ensure the voltage matches the machine's requirements.
- Ground Clamp Connection: Attach the ground clamp cable to the appropriate terminal on the welder and secure the clamp to your workpiece or welding table, ensuring good electrical contact.
- MIG Torch Connection: Connect the MIG torch to the designated port on the front panel.
- Wire Spool Installation: Open the wire feed compartment. Place the 1kg (2.2lb) 0.030"/0.8MM E71T-GS flux cored wire spool onto the spindle. Ensure the wire unwinds smoothly.
- Wire Feeding: Thread the wire through the wire feeder mechanism. The HBM200 features an automatic wire feeder that activates when the torch switch is pressed. Ensure the K-groove roller is set for 0.030" (0.8mm) flux-cored wire.

Figure 4.1: The automatic wire feeder mechanism, showing the wire path and the K-groove roller for 0.030"/0.039" flux-cored wire.
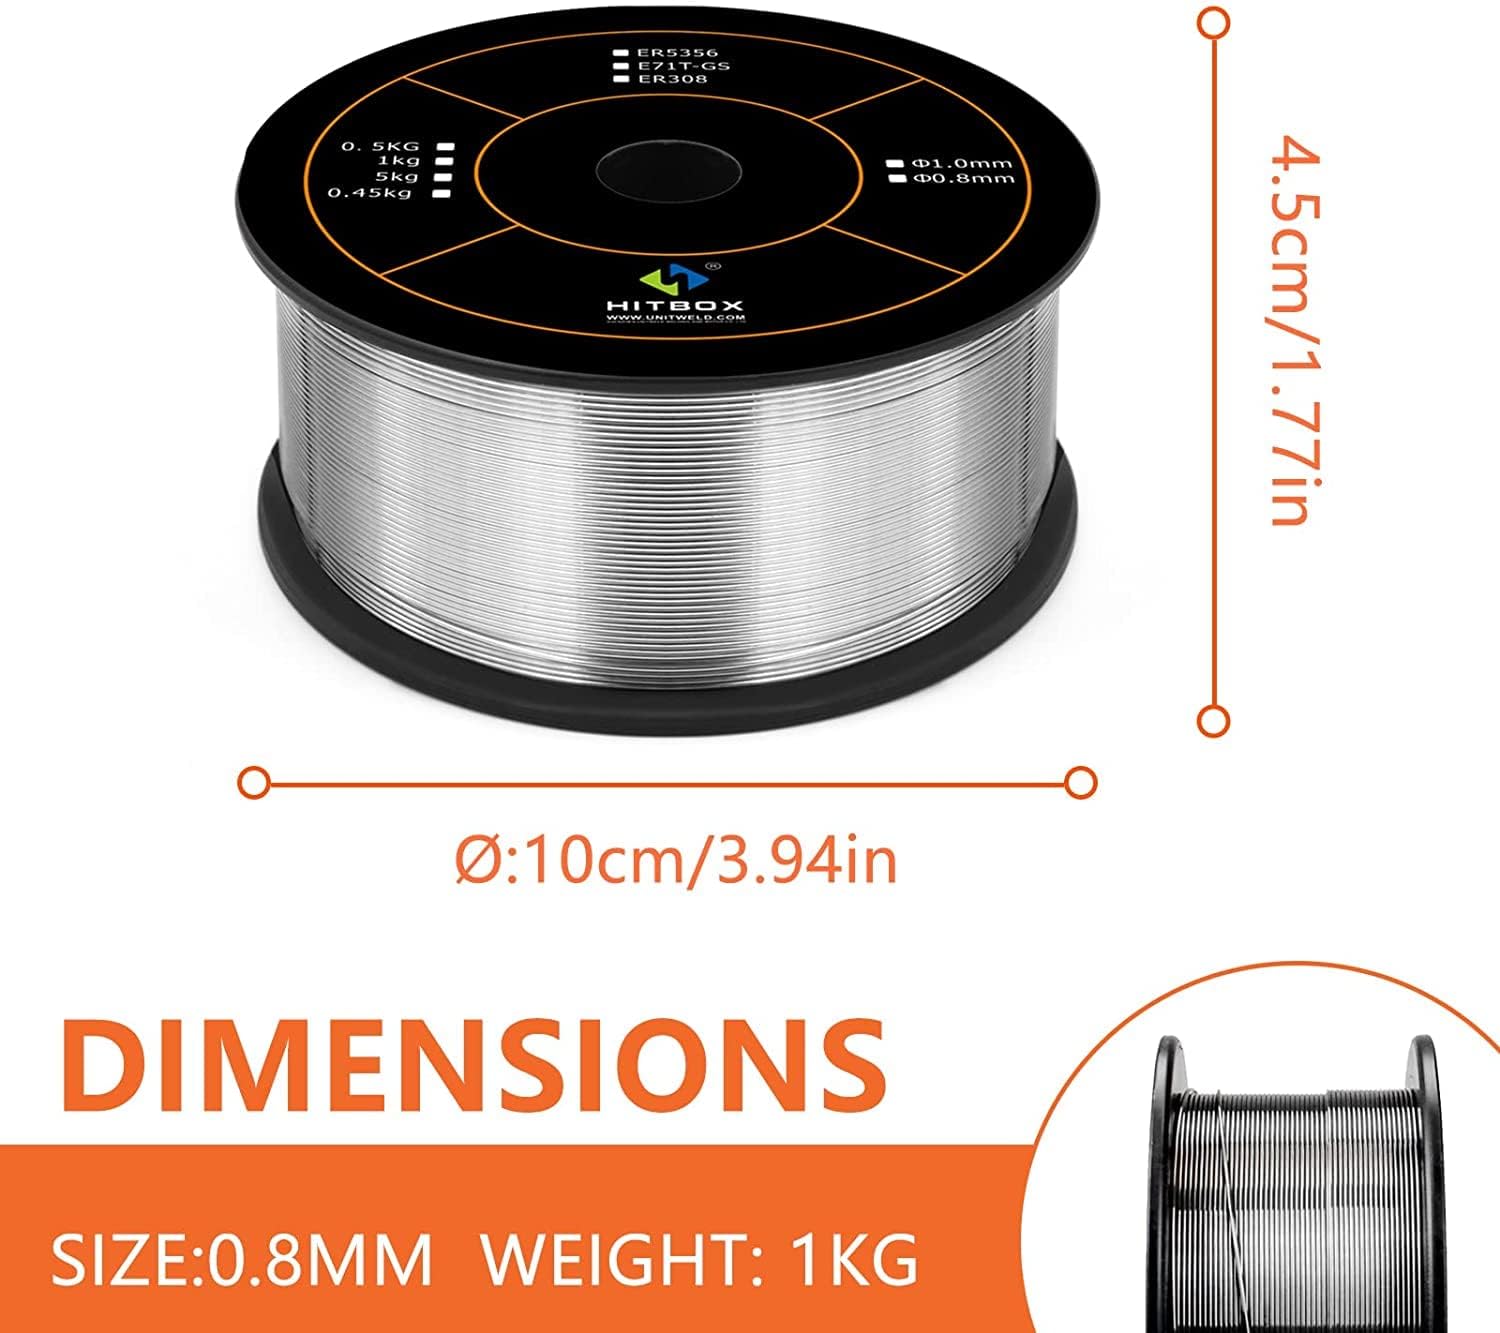
Figure 4.2: Dimensions of the 1kg (2.2lb) 0.030"/0.8MM E71T-GS flux core wire spool.
5. Operating Instructions
The HBM200 features an intelligent display and a single knob for synergistic control, making it user-friendly for both beginners and experienced welders.

Figure 5.1: The intelligent digital display provides clear feedback on welding parameters.
5.1. Power On and Mode Selection
- Turn on the power switch located on the rear of the machine.
- The intelligent display will illuminate. Use the mode selection button (if available, or the main knob for multi-function) to select your desired welding process: Flux MIG, MMA, or Lift TIG.
5.2. Adjusting Welding Parameters
- The HBM200 features a One-Knob intelligent control system. Rotate the main knob to adjust the welding current and wire feed speed simultaneously for Flux MIG welding. The machine automatically compensates for optimal settings.
- For MMA and Lift TIG modes, the knob will primarily control the welding current.
- The display shows the rated output current (up to 200A, with an actual welding effect of 140A). Adjust the current based on the thickness of the material and the type of weld.
5.3. Welding Process
- Ensure your workpiece is clean and properly grounded.
- Position the MIG torch or electrode appropriately.
- Press the torch trigger (for MIG) or strike an arc (for MMA/TIG) to begin welding.
- Maintain a consistent travel speed and arc length for a smooth and stable weld.
6. Maintenance
Regular maintenance ensures the longevity and optimal performance of your HITBOX HBM200 welder.
- Cleaning: Periodically clean the exterior of the machine with a dry cloth. Use compressed air to blow out dust from the cooling vents, ensuring the fan cooling system operates efficiently. This reduces dust entering the machine and extends its service life.
- Wire Feeder Inspection: Check the wire feeder rollers for wear and tear. Ensure they are clean and free of debris to prevent wire feeding issues.
- Torch and Cable Inspection: Inspect the MIG torch, ground clamp, and electrode holder cables for any damage, cuts, or loose connections. Replace damaged components immediately.
- Consumables: Regularly check and replace worn contact tips and nozzles on the MIG torch.
- Storage: Store the welder in a dry, clean environment away from excessive dust and moisture when not in use.
7. Troubleshooting
This section addresses common issues you might encounter with your HBM200 welder.
| Problem | Possible Cause | Solution |
|---|---|---|
| Welder does not power on | No power supply; Power switch off; Faulty power cable | Check power outlet and circuit breaker; Ensure power switch is ON; Inspect and replace power cable if damaged. |
| No arc/Poor arc stability | Poor ground connection; Incorrect settings; Worn consumables; Wire feeding issue | Ensure ground clamp has good contact; Adjust current/wire speed; Replace contact tip/nozzle; Check wire spool and feeder. |
| Wire not feeding | Wire tangled; Incorrect roller size; Clogged liner; Worn contact tip | Untangle wire; Ensure K-groove roller matches wire size; Clean or replace liner; Replace contact tip. |
| Overheat protection activated | Exceeded duty cycle; Blocked ventilation; High ambient temperature | Allow machine to cool down; Clear any obstructions from vents; Operate in a cooler environment. |
8. Specifications
Technical specifications for the HITBOX HBM200 Flux Core Welder.
| Feature | Detail |
|---|---|
| Model | HBM200 |
| Rated Output Current | 200A (Display) |
| Output Current Range | 30-200A |
| Actual Welding Effect | 140A |
| Duty Cycle | 30%-140A at 40°C |
| Wire Compatibility | 0.8mm / 0.030" E71T-GS Flux Cored Wire (1kg / 2.2lb spool) |
| Protection Features | Overcurrent, Overvoltage, Overheating Protection |
| Cooling System | Fan Cooling |
| Product Weight | 3.56 KG |
| Dimensions (Approx.) | 28cm (11in) L x 15cm (5.9in) W x 19cm (7.48in) H |
| Batteries Required? | No |
| Date First Available | July 26, 2024 |

Figure 8.1: The compact and portable design of the HBM200, highlighting its dimensions and weight.
9. Warranty and Support
HITBOX products are manufactured to high-quality standards. For specific warranty details, please refer to the warranty card included with your product or visit the official HITBOX website. For technical support, troubleshooting assistance, or spare parts, please contact HITBOX customer service through their official channels. Please have your model number (HBM200) and purchase information ready when contacting support.
No official product videos were provided in the product data for embedding in this manual.


