
1. Introduction
Thank you for choosing the hygger Submersible Aquarium LED Light. This manual provides essential information for the safe and efficient operation of your new aquarium light. Please read these instructions carefully before use and retain them for future reference.

2. Product Features
- 24/7 Natural Mode: Simulates a natural day-night cycle with gradual changes from warm orange dawn to bright full-spectrum midday light and starry blue night light. Customizable start and end times.
- DIY Mode: Offers 5 timer options (4H, 6H, 8H, 10H, 12H), 9 customizable lighting colors (full spectrum white, red, green, blue, pink, purple, cyan, orange, and gradient), and 10 adjustable brightness levels.
- Excellent Waterproof Design: Fully submersible and designed to operate underwater. Equipped with two powerful suction cups for secure placement.
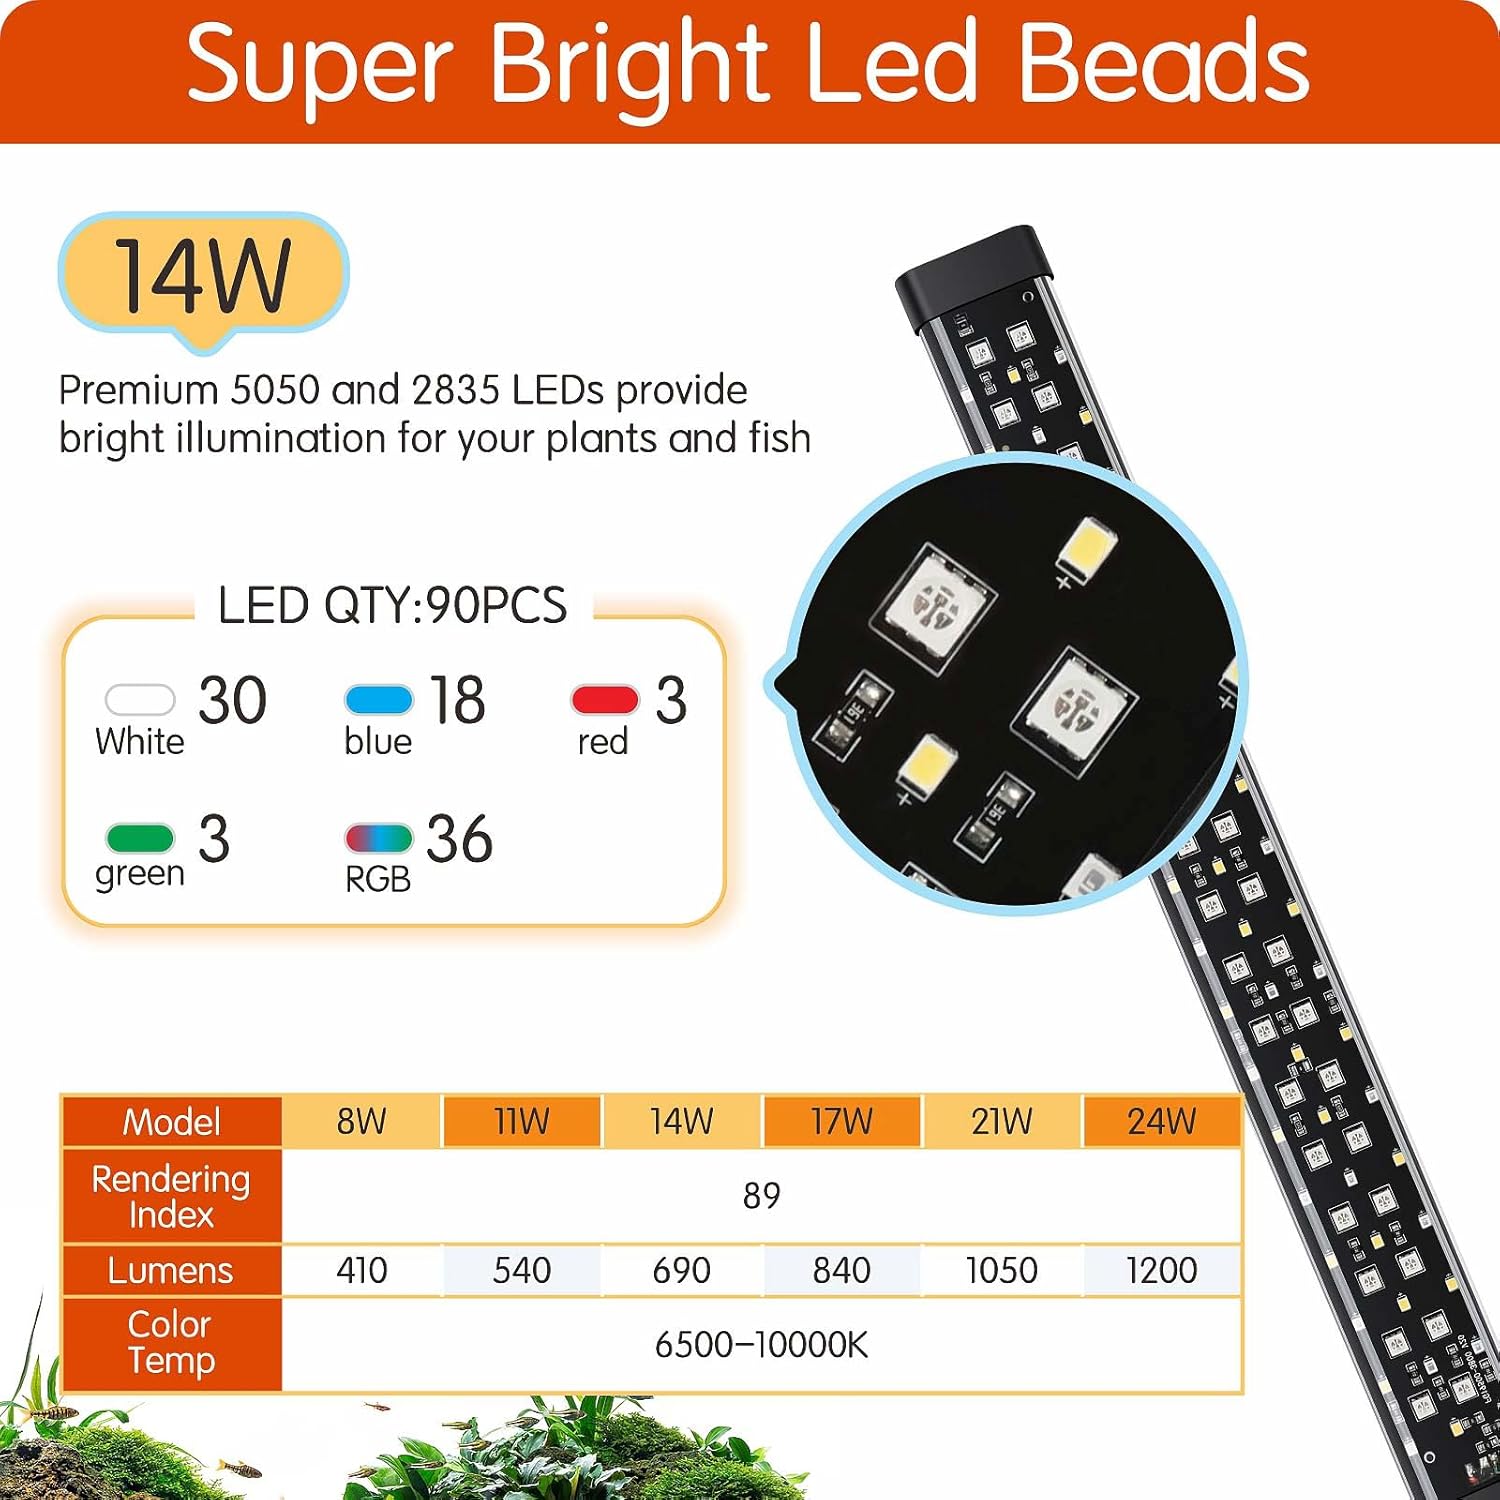
- High-Quality LED Beads: Features super bright 6500K white LEDs combined with RGB 5050 and 2835 lamp beads for intense light, enhancing fish and plant colors.
- Separable Adapter: Allows for easy replacement of the adapter without needing to replace the entire light unit.


3. Package Contents
The package includes:
- hygger Submersible Aquarium LED Light (Model HG135-14W)
- External Controller with Timer and Dimmer
- Power Adapter
- Suction Cups (2x) for mounting
- Adjustable Brackets (2x) for tank rim mounting

4. Setup and Installation
- Attach Mounting Brackets: Choose between the metal brackets for rim mounting or suction cups for submersible/internal mounting.
- For rim mounting: Slide the adjustable metal brackets onto the ends of the light fixture. Place the light securely on the aquarium rim.
- For submersible mounting: Attach the suction cups to the light bar and press firmly onto the desired clean, dry surface inside the aquarium (e.g., bottom, side).
- Position the Light: Place the light in your desired location within or above the aquarium. Ensure it is stable and does not obstruct any equipment or fish movement.
- Connect Power: Connect the light bar to the external controller, and then connect the controller to the power adapter. Plug the power adapter into a suitable electrical outlet. Ensure a drip loop is formed to prevent water from traveling along the cord to the outlet.

5. Operating Instructions
Your hygger aquarium light features an external controller for easy operation and customization.
5.1 Controller Overview

5.2 Power On/Off
- Press the power button (⑂) once to turn the light on.
- Press and hold the power button (⑂) for 3 seconds to turn the light off.
5.3 Brightness Adjustment (10 Levels)
- In any mode, press the + button to increase brightness.
- Press the - button to decrease brightness.
- There are 10 adjustable brightness levels, from 10% to 100%.

5.4 Color Selection (9 Colors)
- Press the M button to cycle through 9 preset colors: full spectrum white, red, green, blue, pink, purple, cyan, orange, and a gradient cycle.

5.5 24/7 Natural Mode
- This mode simulates a natural day-night cycle.
- To activate: Press the "24/7" button on the controller.
- The light will gradually transition through dawn (orange), daytime (full spectrum), sunset (orange), and moonlight (blue).
- The light will slowly turn on and off over 15 minutes to avoid startling fish.
- You can customize the start and end times for this mode. Refer to the controller's display for time settings.


5.6 DIY Mode (Custom Timer and Color)
- To activate: Press the "DIY" button on the controller.
- Select desired timer duration (4H, 6H, 8H, 10H, or 12H).
- Choose from 9 colors and 10 brightness levels to create your custom lighting schedule.
- The light will operate at 10% brightness when the set time is reached.
5.7 Power-Off Memory Function
- The light retains its last settings even after a power interruption. However, the internal clock may reset if power is lost for an extended period.
6. Maintenance
- Cleaning: Regularly wipe the light fixture with a soft, damp cloth to remove any water spots or algae buildup. Ensure the light is unplugged before cleaning.
- Inspection: Periodically check the power cord and connections for any signs of damage. If any damage is found, discontinue use immediately and replace the damaged component.
- Adapter Replacement: If the power adapter is damaged, it can be replaced separately without replacing the entire light unit. Use only a compatible hygger replacement adapter.
7. Troubleshooting
| Problem | Possible Cause | Solution |
|---|---|---|
| Light does not turn on. | Power cord not properly connected. Power outlet not working. Controller or light unit malfunction. | Check all connections. Test the outlet with another device. Contact customer support if connections are secure and outlet works. |
| Light settings reset after power outage. | Extended power loss. | Reprogram the desired settings using the controller. |
| Light is too dim or too bright. | Brightness level incorrectly set. | Adjust brightness using the + or - buttons on the controller. |
| Colors are not changing. | Incorrect mode selected. | Ensure you are in DIY mode or cycling through colors using the M button. |
8. Specifications
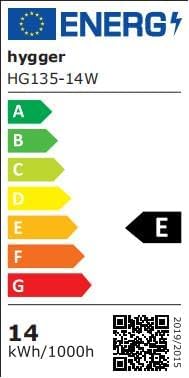
- Model: HG135-14W
- Power: 14W
- LED Quantity: 90 PCS (WHITE: 30 PCS / BLUE: 18 PCS / RED: 3 PCS / GREEN: 3 PCS / RGB: 36 PCS)
- CRI: 89
- Application (for Fish Tank Length): 41-68cm
- Power Cord Length: 1.5m + 0.34m + 1.45m
- Input Voltage: AC100-240V
- Output Voltage: DC 20V
- Kelvin: 6500K
- Lumen: 690
- Material: Plastic (Base), Acrylic or Polycarbonate (Shade)
- Waterproof Rating: Submersible (implied by "Sommergibile" and "Excellent waterproof design")
9. Official Product Videos
Video 9.1: hygger Aquarium LED Light Features Overview
This video provides a comprehensive overview of the hygger Aquarium LED Light, demonstrating its 24/7 natural mode, day and night cycles, power-off memory function, various color options, and brightness levels. It also shows different available sizes and installation methods.
Video 9.2: hygger Aquarium LED Light with Timer and Dimmable Features
This video demonstrates the timer and dimmable functionalities of the hygger Aquarium LED Light. It illustrates how to set different lighting durations and adjust the intensity of the light, showcasing its versatility for various aquarium needs.
10. Warranty and Support
For warranty information and customer support, please refer to the product packaging or contact hygger customer service directly. Keep your purchase receipt as proof of purchase.
If you wish to return a product within 30 days of receipt because you have changed your mind, please consult the Amazon help page on returns. If you have received a defective or damaged product, please consult the Amazon help page on defective items. For specific information on purchases made on the Marketplace, please consult the Amazon help page on Marketplace purchases.


