1. Introduction
This manual provides essential instructions for the installation, operation, maintenance, and troubleshooting of the BXparts TJ45E Carburetor. This carburetor is designed as a replacement part for Kawasaki TJ45E and TJ45 string trimmers and brush cutters. Please read this manual thoroughly before attempting any installation or operation to ensure proper function and safety.
2. Product Overview
The carburetor is a crucial component in internal combustion engines, responsible for mixing air and fuel in the correct ratio for combustion. This replacement unit is manufactured by BXparts and is compatible with specific Kawasaki models.
2.1 Included Components
- 1 x Carburetor
- 1 x Gasket
- 1 x Fuel line kit with grommet and fuel filter
- 2 x Primer bulbs
- 1 x Air filter
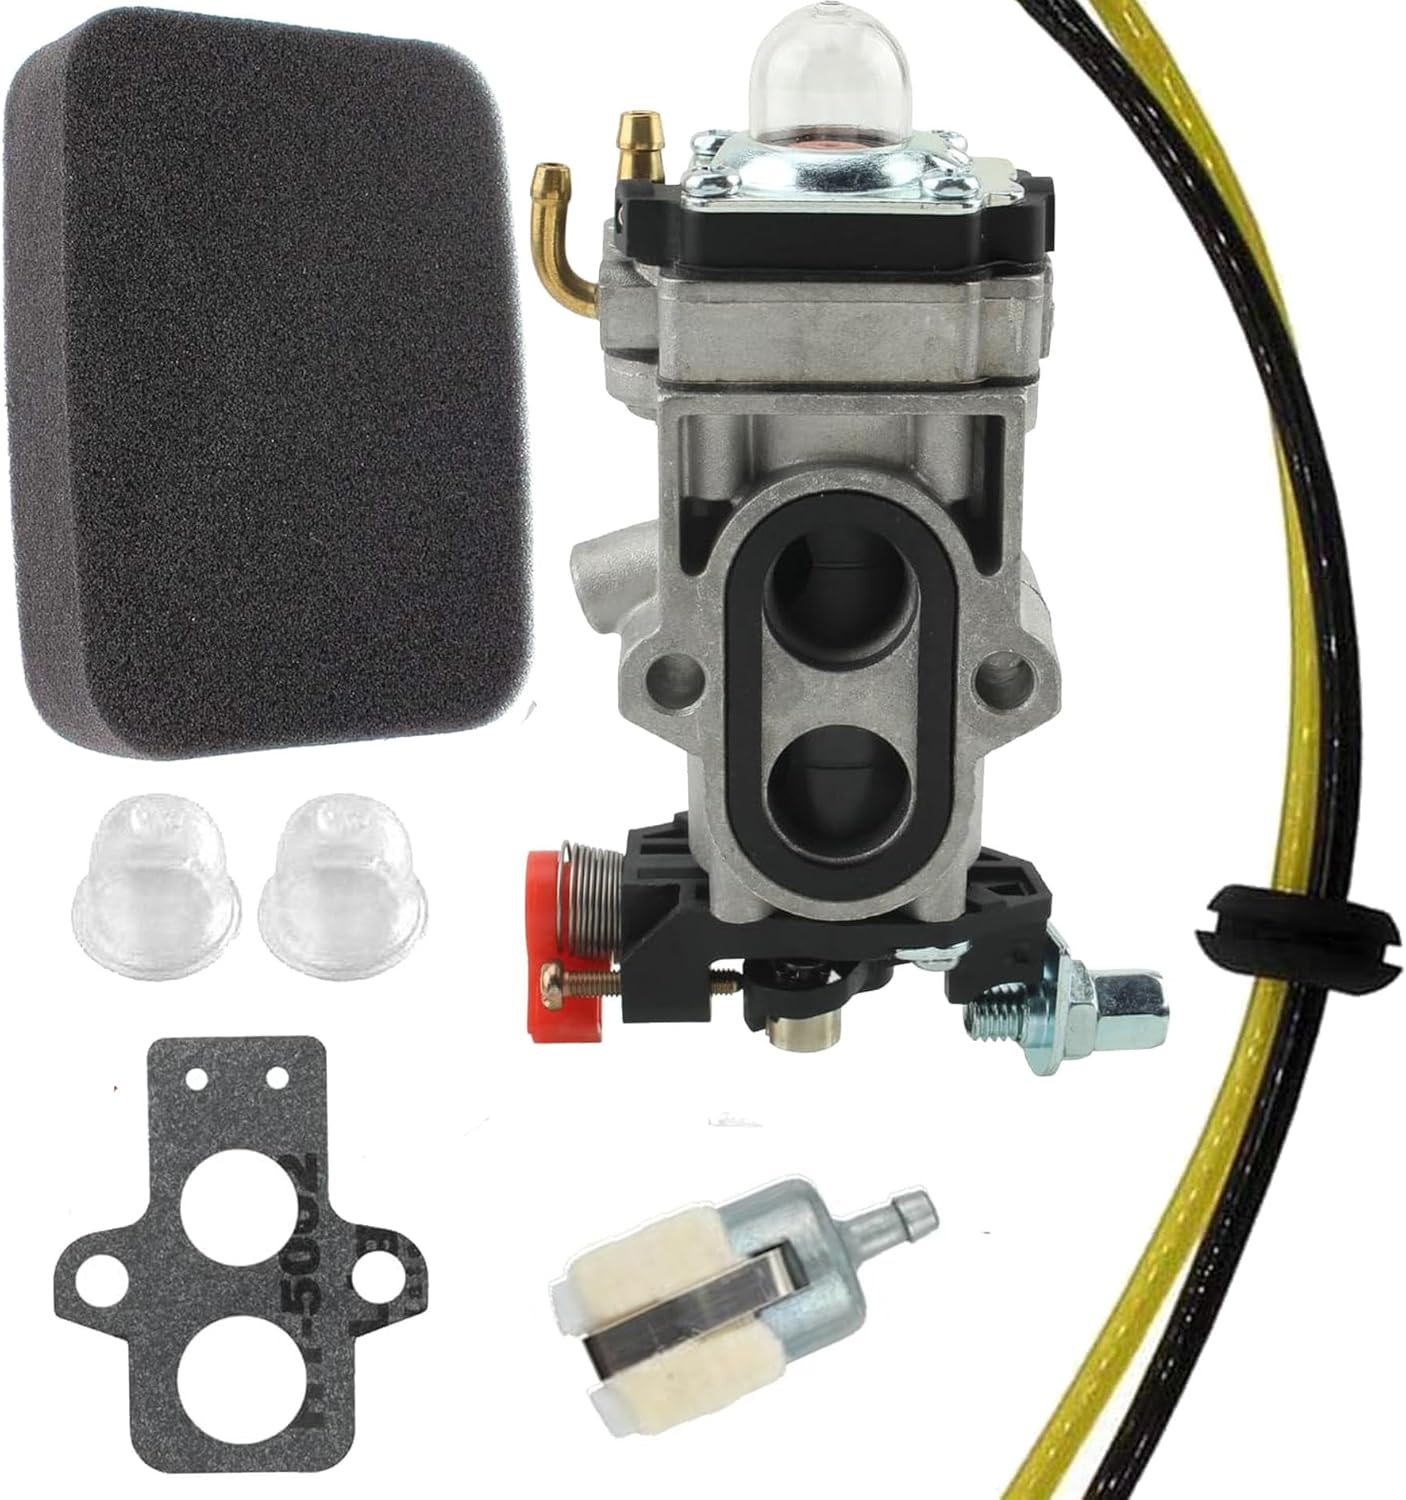
Figure 1: The BXparts TJ45E Carburetor shown with its accompanying gasket, fuel line kit, fuel filter, primer bulbs, and air filter. These components are essential for a complete replacement and proper engine function.
3. Setup and Installation
Proper installation is critical for the carburetor's performance and the engine's longevity. If you are unfamiliar with engine repair, it is recommended to seek assistance from a qualified technician.
3.1 Pre-Installation Checks
- Ensure the engine is cool and disconnected from any power source (e.g., spark plug wire removed).
- Verify that the replacement carburetor matches the original unit in terms of dimensions and connection points. Refer to the dimension diagram below.
- Gather necessary tools, including screwdrivers, wrenches, and pliers.

Figure 2: Key dimensions of the carburetor, including mounting hole spacing (30 mm / 1.18 in.) and intake port diameter (13.4 mm / 0.53 in.). These measurements are important for ensuring compatibility with your engine.
3.2 Installation Steps (General Guidance)
- Remove Old Carburetor: Carefully disconnect the fuel lines, throttle linkage, and mounting bolts from the old carburetor. Note the routing of all components.
- Clean Mounting Area: Ensure the engine's intake manifold surface is clean and free of debris.
- Install New Gasket: Place the new gasket between the carburetor and the engine's intake manifold.
- Mount New Carburetor: Secure the new carburetor using the original mounting bolts. Do not overtighten.
- Connect Fuel Lines: Attach the new fuel lines, ensuring correct connections for fuel intake and return. Install the new fuel filter in the tank.
- Connect Linkages: Reattach the throttle linkage and any other control cables.
- Install Air Filter: Place the new air filter into its housing.
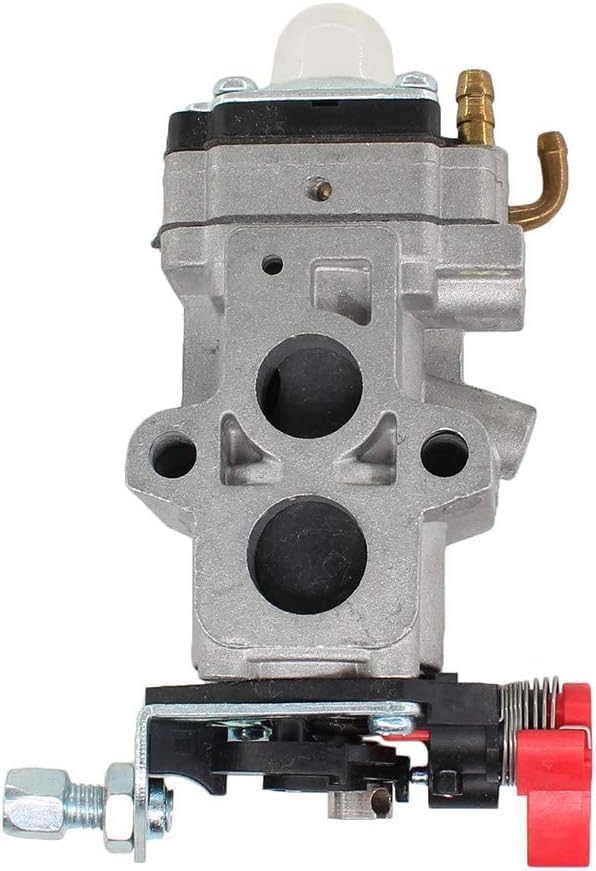
Figure 3: Side view of the carburetor, showing the throttle linkage connection point and fuel inlet. This perspective helps in understanding the component layout during installation.
4. Operating Instructions
After installation, follow these general steps to operate your engine with the new carburetor. Specific starting procedures may vary slightly depending on your trimmer or brush cutter model.
- Fuel Mixture: Ensure you are using the correct fuel-to-oil mixture as specified by your engine manufacturer.
- Priming: Press the primer bulb several times until fuel is visible in the bulb and flows freely, indicating the carburetor is filled with fuel.
- Choke: Set the choke lever to the "START" or "CHOKE" position.
- Starting: Pull the starter cord firmly until the engine attempts to start or "pops."
- Run Position: Once the engine attempts to start, move the choke lever to the "RUN" or "HALF CHOKE" position and pull the starter cord again until the engine starts and runs smoothly.
- Warm-up: Allow the engine to warm up for a minute or two before engaging the throttle fully.
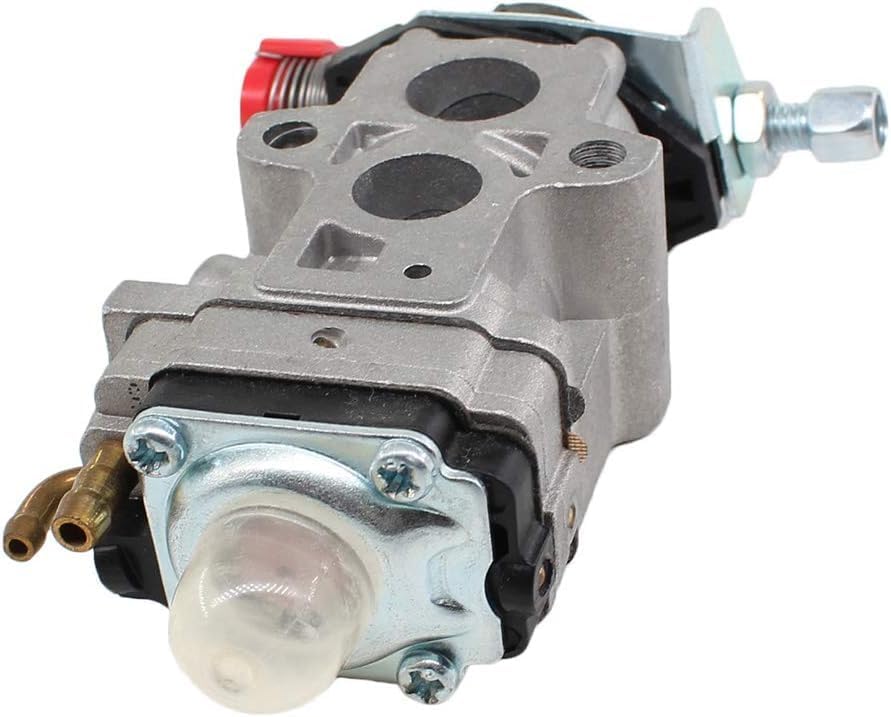
Figure 4: Bottom view of the carburetor, highlighting the primer bulb. This component is used to manually draw fuel into the carburetor for easier starting.
5. Maintenance
Regular maintenance ensures optimal performance and extends the lifespan of your carburetor and engine.
- Air Filter: Inspect and clean the air filter regularly. Replace it with the new air filter provided if it is excessively dirty or damaged. A clogged air filter can restrict airflow and affect engine performance.
- Fuel Filter: Replace the fuel filter periodically (e.g., annually or as needed) to prevent contaminants from reaching the carburetor. A new fuel filter is included with this kit.
- Fuel Lines: Inspect fuel lines for cracks, leaks, or hardening. Replace them if any damage is observed. New fuel lines are included.
- Carburetor Cleaning: If the engine experiences fuel-related issues, the carburetor may need cleaning. This typically involves disassembling the carburetor, cleaning jets and passages with carburetor cleaner, and replacing gaskets. This task is best performed by experienced individuals.
- Primer Bulb: Replace the primer bulb if it becomes cracked, stiff, or loses its ability to prime effectively. Two new primer bulbs are included.

Figure 5: An angled view of the carburetor, showing the location of potential adjustment screws (if present and accessible). These screws are typically for idle speed and fuel mixture, and should only be adjusted by experienced users.
6. Troubleshooting
This section addresses common issues that may arise with carburetor operation. Always ensure safety precautions are followed before attempting any troubleshooting.
| Problem | Possible Cause | Solution |
|---|---|---|
| Engine will not start | No fuel reaching carburetor; clogged fuel filter; faulty primer bulb; incorrect choke setting. | Check fuel level and lines. Replace fuel filter. Prime carburetor. Adjust choke. |
| Engine starts but dies quickly | Insufficient fuel supply; air leak; carburetor needs adjustment. | Ensure proper fuel flow. Check for loose connections. Consult a technician for carburetor adjustment. |
| Engine runs rough or lacks power | Clogged air filter; dirty carburetor jets; incorrect fuel mixture. | Clean or replace air filter. Clean carburetor. Verify correct fuel-to-oil ratio. |
| Fuel leaks from carburetor | Damaged gasket; loose connections; faulty float needle. | Inspect and replace gasket. Tighten connections. Carburetor may need repair or replacement. |
7. Specifications
- Model: TJ45E TJ45
- Manufacturer: BXparts
- Product Dimensions: 5 x 2 x 4 inches (approximate)
- Item Weight: 2.4 ounces
- Compatibility: Kawasaki TJ45E, Kawasaki TJ45 String Trimmer and Brush Cutter engines.
8. Warranty and Support
For any questions regarding the BXparts TJ45E Carburetor, including installation assistance, troubleshooting, or warranty claims, please contact the seller or manufacturer directly. Retain your proof of purchase for warranty purposes.
Manufacturer: BXparts
Brand: Generic