1. Introduction
Thank you for purchasing the VolantexRC F4U Corsair 3-Channel RC Plane. This Ready-to-Fly (RTF) model is designed for both beginners and experienced enthusiasts, featuring a 6-axis gyro stabilizer for enhanced flight stability and ease of control. Please read this manual thoroughly before operating the aircraft to ensure safe and optimal performance.
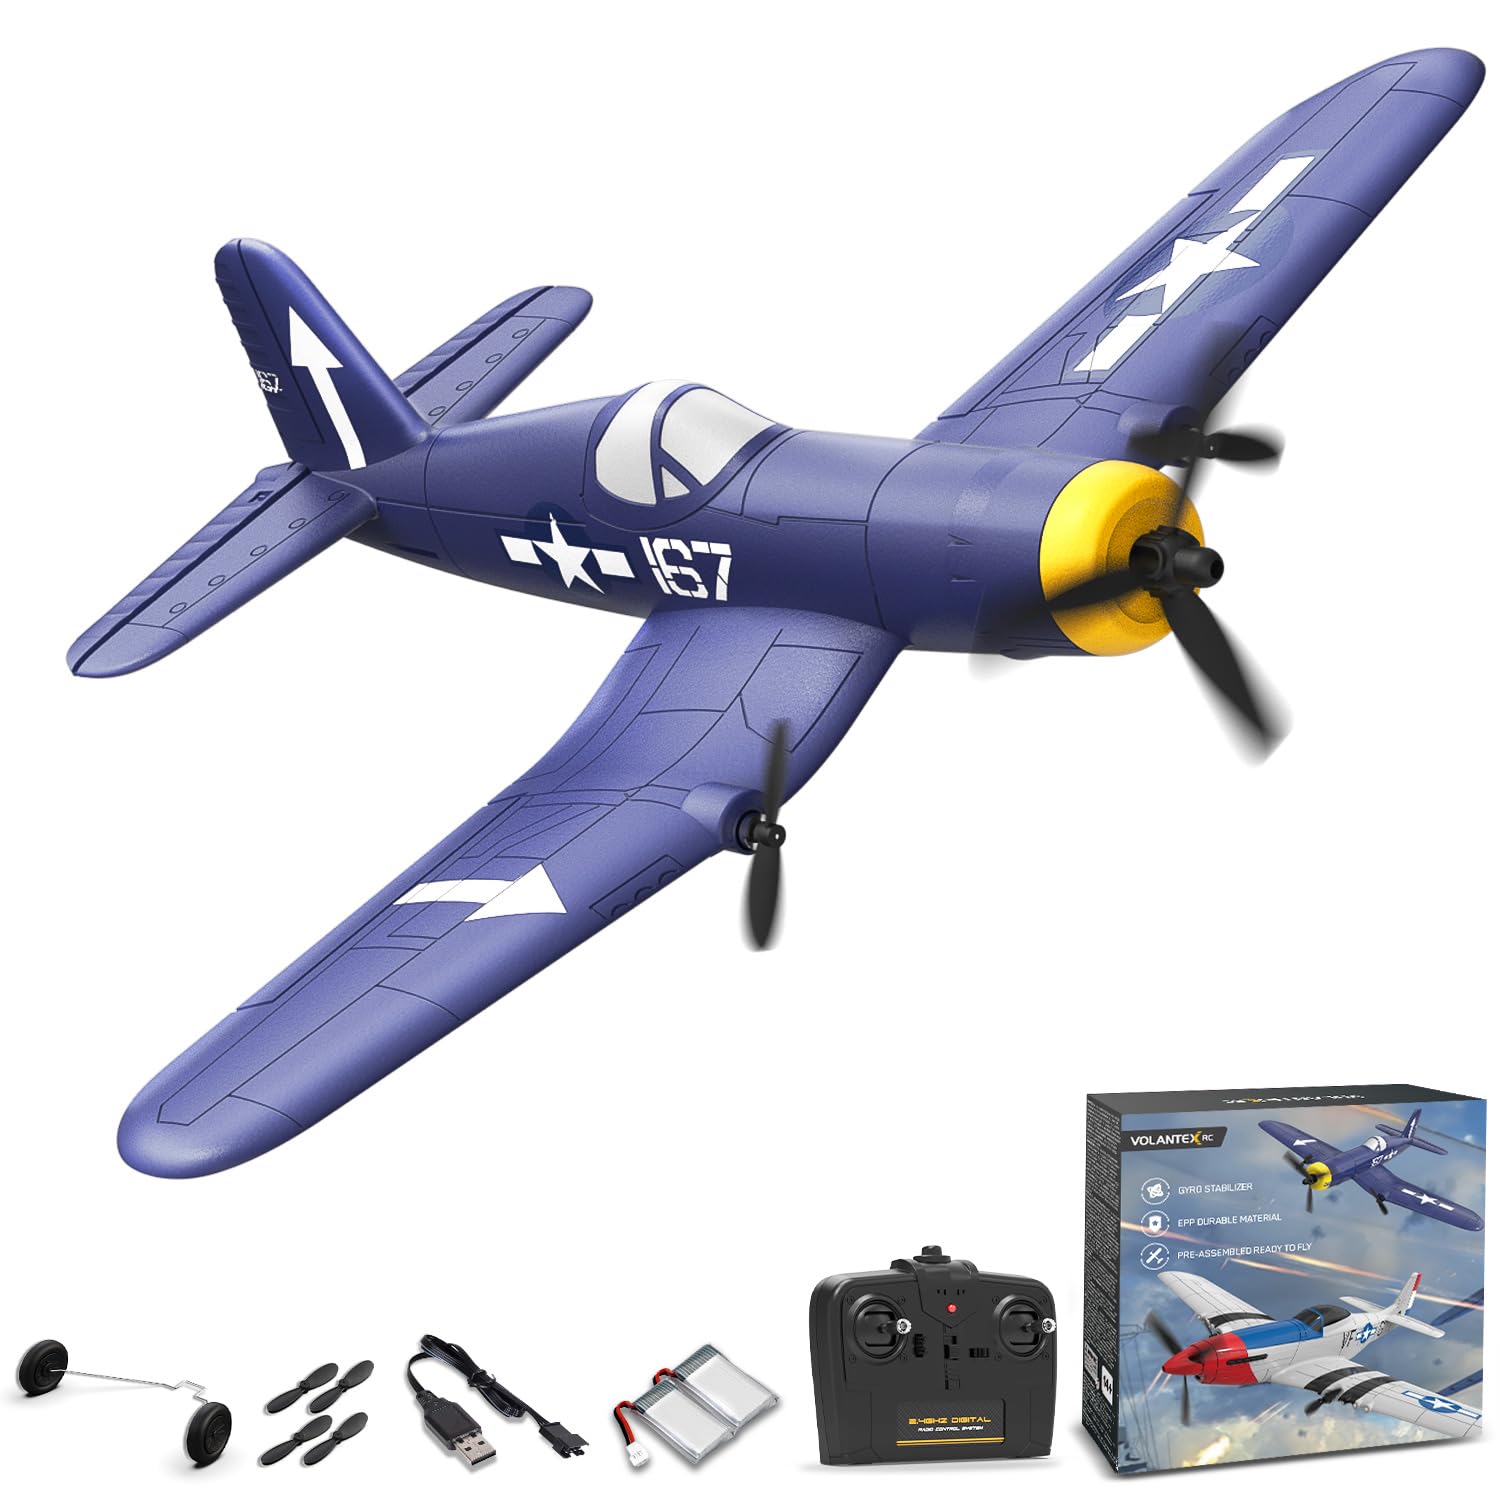
Image 1.1: The VolantexRC F4U Corsair 3-Channel RC Plane, a blue model with white markings, ready for flight.
2. Safety Information
Always prioritize safety when operating your RC plane. Failure to follow these guidelines may result in injury or damage to the aircraft.
- Age Recommendation: This product is recommended for users 14 years and up. Adult supervision is advised for younger operators.
- Flight Environment: Fly in open areas, away from people, buildings, trees, power lines, and water. Avoid flying in windy conditions.
- Pre-Flight Check: Always ensure the aircraft and remote control batteries are fully charged and properly installed. Check all control surfaces for free movement.
- Propeller Safety: Keep hands and face clear of the propellers when the battery is connected. Propellers can cause injury.
- Battery Handling: Use only the provided charger and batteries. Do not overcharge or short-circuit batteries. Disconnect batteries after use.
- Weather Conditions: Do not fly in rain, snow, strong winds, or lightning.
3. Setup Guide
3.1 Package Contents
Before starting, verify all components are present:
- VolantexRC F4U Corsair RC Plane
- 2.4GHz Remote Control Transmitter
- LiPo Flight Batteries (2 included)
- USB Charging Cable
- Spare Propellers
- Landing Gear Set
- User Manual

Image 3.1: Illustration of the VolantexRC F4U Corsair package contents, including the plane, remote, batteries, and accessories.
3.2 Battery Installation and Charging
- Aircraft Battery: Open the battery compartment on the underside of the aircraft. Connect the flight battery to the aircraft's power connector. Securely close the compartment.
- Remote Control Batteries: Install 2 AA batteries (included) into the remote control transmitter.
- Charging: Use the provided USB charging cable to charge the flight batteries. Connect the battery to the charger, then plug the charger into a USB power source. The indicator light will show charging status (refer to charger for specific light patterns).

Image 3.2: A close-up view of the battery compartment on the underside of the F4U Corsair, showing where to insert the flight battery.

Image 3.3: The USB charging cable connected to a flight battery, illustrating the charging process.
3.3 Landing Gear Installation
The landing gear can be easily attached for ground take-offs and landings, or removed for hand launches.
- Locate the slots on the underside of the wings and fuselage.
- Gently push the landing gear struts into the corresponding slots until they are secure.
- Ensure the wheels are free to rotate.

Image 3.4: The underside of the F4U Corsair, highlighting the attachment points for the landing gear.
3.4 Binding the Remote Control
The aircraft and remote control are typically pre-bound. If re-binding is necessary:
- Turn on the remote control.
- Connect the flight battery to the aircraft.
- Place the aircraft on a flat surface. The indicator light on the aircraft will flash.
- Move the throttle stick on the remote control to the lowest position, then to the highest, and back to the lowest.
- The aircraft's indicator light will become solid, indicating successful binding.
4. Operating Instructions
4.1 Pre-Flight Checks
- Ensure all batteries are fully charged.
- Check that the propellers are securely attached and undamaged.
- Verify that all control surfaces (rudder, elevator) move freely and correctly in response to remote control inputs.
- Confirm the flight area is clear of obstacles and people.
4.2 Take-off
The F4U Corsair offers two take-off methods:
- Hand Throw: Hold the aircraft firmly with one hand, apply full throttle, and gently throw it forward into the wind. The 6-axis gyro stabilizer will assist in maintaining level flight.
- Ground Take-off: Place the aircraft on a smooth, flat surface (e.g., pavement or short grass) with the landing gear installed. Gradually increase throttle and steer with the rudder until the aircraft gains enough speed to lift off.

Image 4.1: A hand launching technique for the F4U Corsair, demonstrating how to initiate flight with a gentle throw.

Image 4.2: The F4U Corsair accelerating on the ground for a conventional take-off.
Video 4.1: A demonstration of the VolantexRC F4U Corsair taking off and flying, showcasing its stability and ease of control for beginners.
4.3 Flight Controls and Gyro Stabilizer
The 3-channel remote control allows for basic flight maneuvers:
- Throttle: Controls the speed of the propellers (up/down on left stick).
- Rudder: Controls yaw (left/right on left stick).
- Elevator: Controls pitch (up/down on right stick).
The integrated 6-axis gyro stabilizer automatically corrects for turbulence and maintains stable flight, making it easier for beginners to learn. This system provides assistance to prevent crashes and allows for smoother control.

Image 4.3: A visual representation of the 6-axis gyro stabilizer actively correcting the aircraft's orientation during flight.
4.4 Low Battery Alarm
The remote control transmitter will beep and flash a light when the aircraft's battery is low. This indicates it's time to land the plane and recharge the battery.

Image 4.4: The remote control displaying a flashing light and indicating a low battery alarm for the aircraft.
4.5 Landing
To land the aircraft, gradually reduce throttle and guide the plane towards a clear, open area. Maintain a slight nose-up attitude with the elevator for a smooth touchdown. If using landing gear, aim for a gentle glide onto a flat surface. If hand-launching, reduce throttle to minimum and allow the plane to glide to a soft landing on grass.
5. Maintenance
5.1 Cleaning
Wipe the aircraft clean with a soft, dry cloth after each flight. Avoid using harsh chemicals or solvents that could damage the EPP foam material.
5.2 Propeller Replacement
In case of damage, replace propellers with genuine VolantexRC spare parts. Carefully remove the damaged propeller and install the new one, ensuring it is oriented correctly and securely fastened.

Image 5.1: A set of spare propellers, essential for maintaining flight performance after wear or damage.
5.3 Storage
Store the aircraft in a cool, dry place away from direct sunlight and extreme temperatures. Disconnect all batteries before storage.
6. Troubleshooting
| Problem | Possible Cause | Solution |
|---|---|---|
| Aircraft does not respond to remote control. | Low battery in aircraft or remote; not bound; interference. | Charge batteries; re-bind remote; move to an area with less interference. |
| Aircraft flies erratically or is unstable. | Strong wind; damaged propeller; gyro malfunction. | Fly in calm conditions; replace propeller; ensure gyro is enabled. |
| Propellers spin but aircraft does not take off. | Insufficient throttle; heavy landing gear on soft surface; damaged propeller. | Apply full throttle; try hand launch or harder surface; replace propeller. |
| Short flight time. | Battery not fully charged; old battery. | Ensure full charge; consider replacing battery if performance degrades. |
7. Specifications
| Feature | Detail |
|---|---|
| Model Number | EXA76208RB2 |
| Channels | 3-Channel |
| Stabilization | 6-axis Gyro Stabilizer |
| Material | EPP Durable Material |
| Motor Type | Dual Coreless Motors |
| Remote Control Frequency | 2.4GHz |
| Product Dimensions | 13 x 13 x 5 inches |
| Item Weight | 1.06 pounds |
| Recommended Age | 14 years and up |
8. Warranty and Support
For warranty information, returns, or technical support, please refer to the product packaging or contact VolantexRC customer service directly. Keep your purchase receipt for any warranty claims.