Parkside PNS 300 B3
PARKSIDE PNS 300 B3 Electric Drill/Driver User Manual
Model: PNS 300 B3
1. Introduction
This manual provides important information for the safe and efficient operation of your PARKSIDE PNS 300 B3 Electric Drill/Driver. Please read these instructions carefully before using the tool and keep them for future reference.
The Parkside PNS 300 B3 is a powerful and versatile electric drill/driver designed for various DIY projects. It features a robust 300-watt motor and a 2-speed gearbox, allowing optimal adaptation to different materials and applications. Its ergonomic design ensures comfortable handling and precise control. The keyless drill chuck facilitates quick and tool-free bit changes. Being corded, it provides consistent performance without battery concerns.
2. Safety Instructions
Always observe basic safety precautions to reduce the risk of fire, electric shock, and personal injury.
- Work Area Safety: Keep your work area clean and well-lit. Cluttered or dark areas invite accidents. Do not operate power tools in explosive atmospheres, such as in the presence of flammable liquids, gases, or dust.
- Electrical Safety: Power tool plugs must match the outlet. Never modify the plug in any way. Do not abuse the cord. Never use the cord for carrying, pulling, or unplugging the power tool. Keep cord away from heat, oil, sharp edges, or moving parts.
- Personal Safety: Always wear eye protection. Use safety glasses, goggles, or a face shield. Wear hearing protection when operating noisy tools. Dress properly. Do not wear loose clothing or jewelry. Keep your hair, clothing, and gloves away from moving parts.
- Tool Use and Care: Do not force the power tool. Use the correct power tool for your application. Disconnect the plug from the power source before making any adjustments, changing accessories, or storing power tools.
- Maintenance: Maintain power tools. Check for misalignment or binding of moving parts, breakage of parts, and any other condition that may affect the power tool’s operation. If damaged, have the power tool repaired before use.
3. Product Features
The PARKSIDE PNS 300 B3 Electric Drill/Driver offers the following key features:
- Powerful drill driver with 2-speed gearbox.
- Removable metal drill chuck for fast, tool-free switching between drilling and screwing functions.
- Easy tool change thanks to automatic spindle lock "SPINDLE LOCK".
- Soft grip non-slip features for comfortable and secure handling.
- Sturdy and durable design with 22 torque levels plus a dedicated drilling level.
- Maximum rotation speed of 1600 revolutions per minute.
4. Setup
4.1 Unpacking
Carefully remove the drill/driver and all accessories from the packaging. Inspect the tool for any signs of damage. Do not use the tool if it appears damaged.
4.2 Attaching/Changing Drill Bits or Screwing Bits
The PARKSIDE PNS 300 B3 features a keyless drill chuck for easy bit changes.
- Ensure the tool is unplugged from the power source.
- Hold the rear part of the chuck firmly with one hand.
- Rotate the front part of the chuck counter-clockwise to open the jaws.
- Insert the desired drill bit or screwing bit into the chuck, ensuring it is seated as far as possible.
- Rotate the front part of the chuck clockwise to tighten the jaws securely around the bit. The automatic spindle lock "SPINDLE LOCK" will assist in this process.
- Pull on the bit to ensure it is firmly secured before operation.

Image: The PARKSIDE PNS 300 B3 drill with its keyless chuck and a drill bit shown separately, illustrating the ease of bit attachment.
5. Operating Instructions
5.1 Power Connection
Connect the drill/driver's power cord to a suitable 220V AC power outlet. Ensure the power outlet is easily accessible.
5.2 Speed Selection
The drill/driver features a 2-speed gearbox:
- Gear 1 (Low Speed, High Torque): Ideal for powerful screwing applications and drilling into harder materials where more torque is required.
- Gear 2 (High Speed, Lower Torque): Optimized for fast drilling into softer materials like wood, plastic, or light metal.
Select the appropriate gear using the speed selector switch located on the top of the tool. Always select the gear before starting the tool.
5.3 Torque Setting (for Screwing)
The torque collar allows you to set the desired torque for screwing applications. There are 22 torque levels plus a drilling mode. Rotate the collar to align the desired setting with the indicator mark.
- Lower numbers (1-5): For small screws or soft materials.
- Medium numbers (6-15): For medium screws or general applications.
- Higher numbers (16-22): For large screws or harder materials.
- Drill symbol: For drilling applications, providing maximum torque without clutch engagement.

Image: Close-up of the PARKSIDE PNS 300 B3 drill, highlighting the torque adjustment collar with its numbered settings and drilling symbol.
5.4 Starting and Stopping
To start the tool, press the trigger switch. The speed is variable depending on how far the trigger is pressed. To stop the tool, release the trigger switch.
5.5 Forward/Reverse Rotation
The forward/reverse switch is located above the trigger. Push it to the left for forward rotation (for screwing in and drilling) and to the right for reverse rotation (for unscrewing). Ensure the tool has come to a complete stop before changing the direction of rotation.
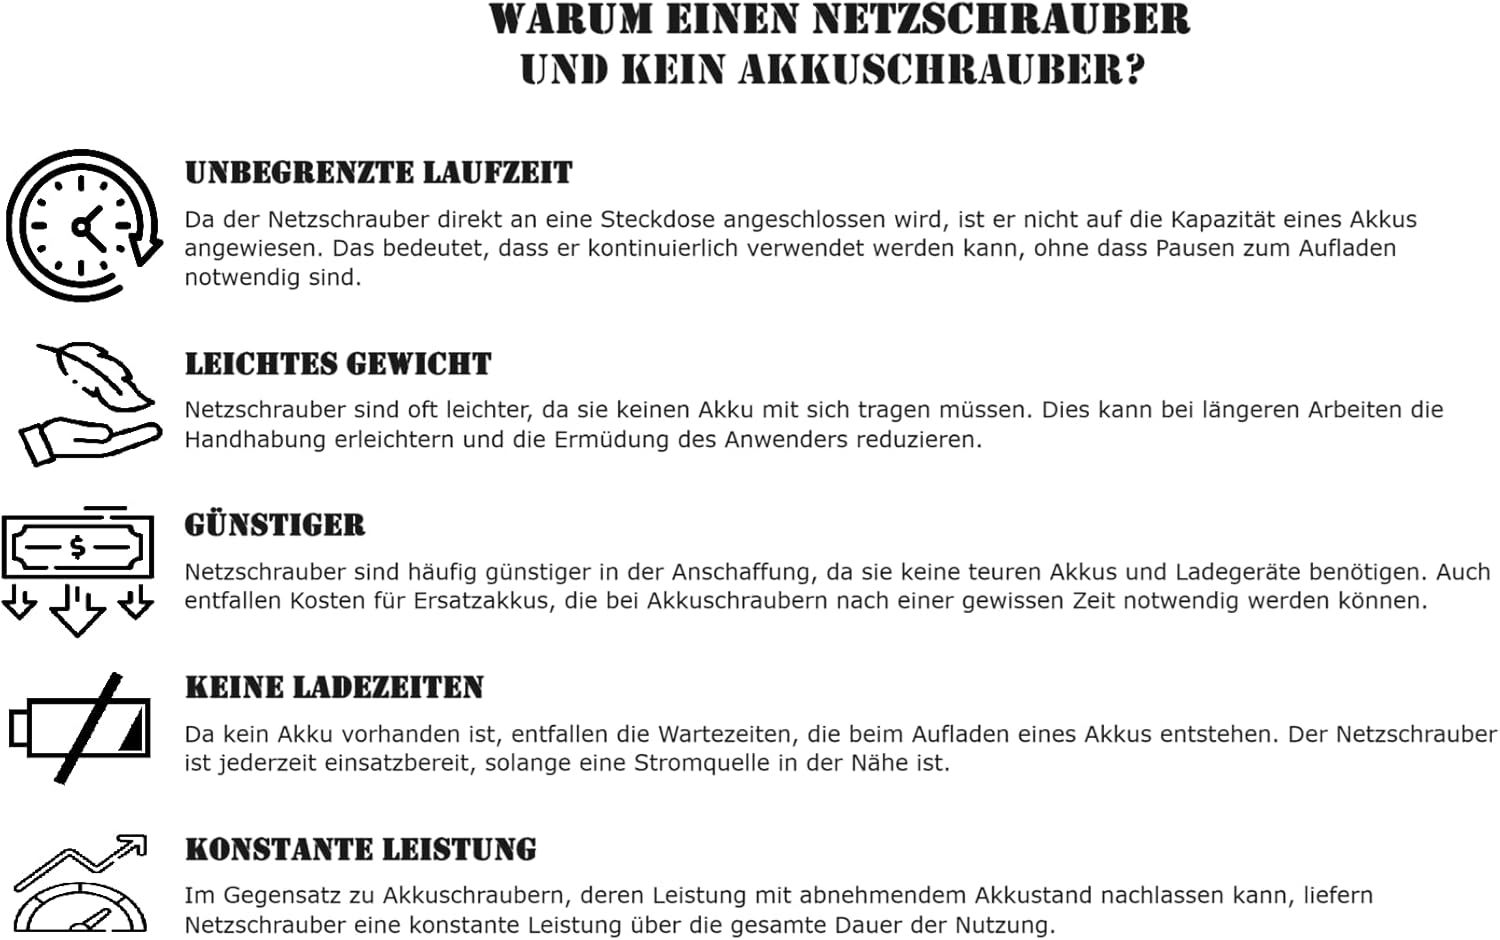
Image: A person demonstrating the use of the PARKSIDE PNS 300 B3 drill, drilling into a wooden beam, showcasing its application.

Image: The PARKSIDE PNS 300 B3 drill held firmly in a hand, illustrating its ergonomic design and readiness for operation.
6. Maintenance
Regular maintenance ensures the longevity and optimal performance of your drill/driver.
- Cleaning: After each use, clean the tool's ventilation slots and housing with a soft, dry cloth. Do not use water or chemical cleaning agents.
- Chuck Maintenance: Periodically clean the chuck jaws to ensure proper gripping of bits.
- Cord Inspection: Regularly inspect the power cord for any damage, cuts, or fraying. If damaged, have it replaced by a qualified electrician.
- Storage: Store the tool in a dry, secure place, out of reach of children.
7. Troubleshooting
| Problem | Possible Cause | Solution |
|---|---|---|
| Tool does not start. | No power supply; damaged cord; faulty switch. | Check power outlet and cord. If cord or switch is damaged, seek professional repair. |
| Bit slips in chuck. | Chuck not tightened sufficiently; bit shank is dirty or damaged. | Retighten chuck firmly. Clean or replace bit. |
| Tool overheats. | Overloading; blocked ventilation slots. | Reduce load. Clean ventilation slots. Allow tool to cool down. |
| Unusual noise or vibration. | Internal damage; worn components. | Discontinue use immediately and seek professional repair. |
8. Technical Specifications
| Specification | Value |
|---|---|
| Model Number | PNS 300 B3 |
| Power Source | Corded Electric |
| Voltage | 220 V (AC) |
| Max. Rotation Speed | 1600 RPM |
| Weight | 1.55 kg |
| Dimensions (L x W x H) | 20 x 15 x 30 cm |
| Included Components | Drill Attachment, 2 screw bits (25mm), 1 drill bit (Ø 6mm) |
9. Warranty and Support
For warranty information and customer support, please refer to the warranty card included with your product or visit the official Parkside website. Keep your purchase receipt as proof of purchase.
Manufacturer: Walter Werkzeuge Salzburg GmbH
Ask a question about this manual
Ask about setup, troubleshooting, compatibility, parts, safety, or missing instructions. Manuals+ will review the question and use this page’s manual context to help answer it.