1. Introduction
The Desiontal F12 is a professional 3-axis handheld gimbal stabilizer designed for smartphones. It provides smooth and stable video recording, enhanced by features such as AI face tracking, gesture control, and multiple shooting modes. Its foldable design ensures portability, making it suitable for various applications including vlogging, live streaming, and travel photography.
This manual provides detailed instructions for setting up, operating, and maintaining your F12 gimbal stabilizer to ensure optimal performance and longevity.
2. Package Contents
Please verify that all items are present in your package:
- Handheld Stabilizer (F12) x 1
- AI Tracking Module x 1
- Tripod x 1
- Type-C Charging Cable x 1
- Lanyard x 1
- User Manual x 1

Image 2.1: The Desiontal F12 gimbal stabilizer shown with its included accessories: the main gimbal unit, a detachable AI tracking module, a mini tripod, and a USB-C charging cable.
3. Product Overview
The F12 gimbal stabilizer features a compact, foldable design for easy transport. It incorporates a 3-axis stabilization system to ensure smooth footage. Key components include the phone clamp, control panel with joystick and buttons, and a detachable AI tracking module.

Image 3.1: Visual representation of the F12 gimbal's core features, including 3-axis stabilization, foldable design, easy operation, autobalance, multiple modes, horizontal/vertical switching, AI face tracking with fill light, and long battery endurance.

Image 3.2: Diagram illustrating the range of motion for each axis: 160-degree tilt axis, 325-degree roll axis, and 340-degree pan axis, allowing for extensive horizontal rotation.
4. Setup
4.1 Charging the Gimbal
Before first use, fully charge the gimbal using the provided Type-C charging cable. Connect the cable to the gimbal's charging port and a USB power adapter (not included). The charging indicator will show the charging status.
4.2 Attaching the Phone
- Unfold the gimbal.
- Extend the phone clamp and carefully place your smartphone into the clamp. Ensure the phone is securely held.
- Adjust the phone's position within the clamp to achieve a balanced state. The phone should remain level when the gimbal is powered off.
4.3 Attaching the AI Tracking Module
The AI tracking module attaches magnetically to the gimbal. Align the module with the designated magnetic area on the gimbal's phone clamp and allow it to snap into place. This module enables advanced face tracking and fill light functions.
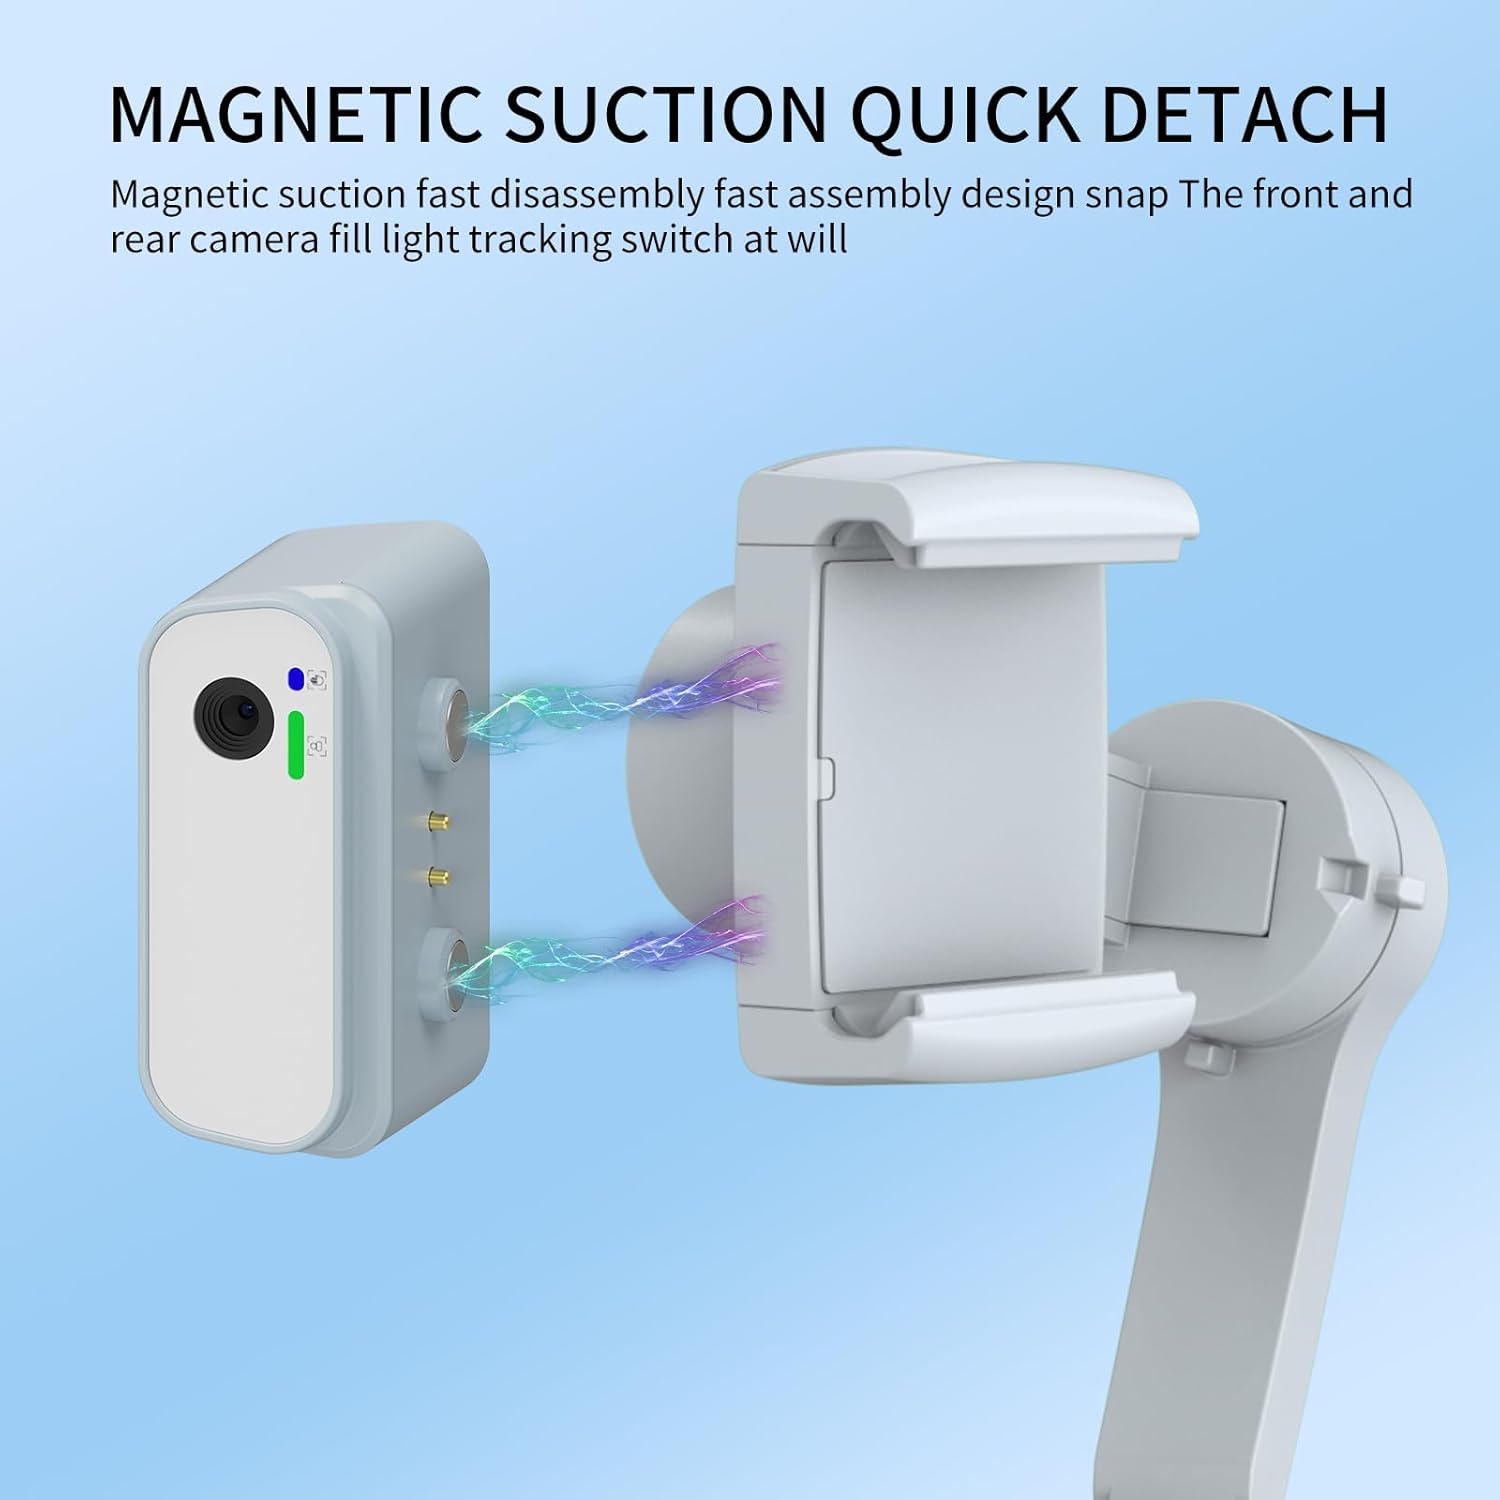
Image 4.1: Illustration of the magnetic quick-detach mechanism for the AI tracking module, showing how it easily connects and disconnects from the gimbal.
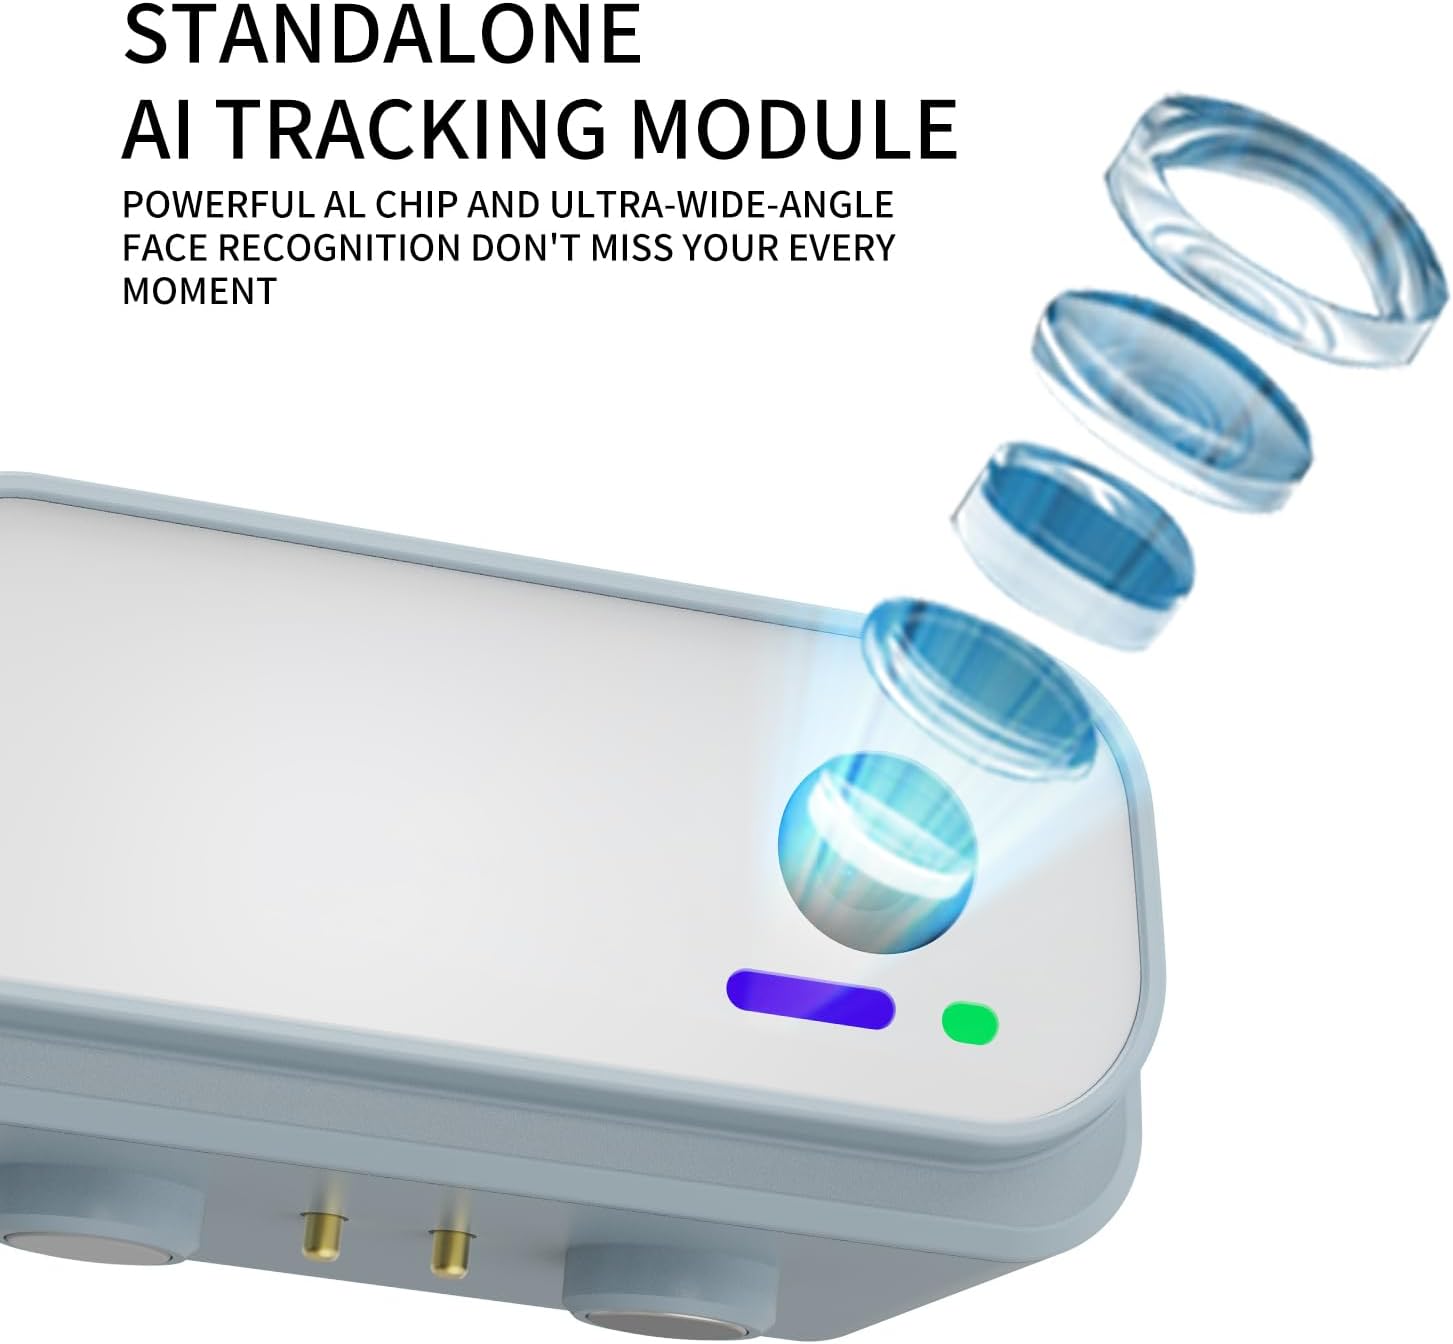
Image 4.2: Close-up view of the standalone AI tracking module, highlighting its powerful AI chip and ultra-wide-angle face recognition capabilities.
4.4 Powering On/Off
Press and hold the power button for a few seconds to turn the gimbal on or off. The indicator lights will illuminate when the device is active.
4.5 App Installation
For full functionality and advanced features, download the companion application (e.g., "Gimbal Joy" as mentioned in some reviews) from your smartphone's app store. Follow the in-app instructions to connect your gimbal via Bluetooth.
5. Operation
5.1 Basic Controls
The gimbal features a control panel with a joystick for pan/tilt adjustments and various buttons for mode switching, recording, and other functions. Refer to the diagram in the quick start guide for specific button layouts.
5.2 Horizontal and Vertical Shooting
The gimbal supports quick switching between horizontal (landscape) and vertical (portrait) shooting orientations. Typically, a dedicated button or a specific gesture/app command allows for this transition.

Image 5.1: Depiction of the one-click toggle feature, allowing users to quickly switch their smartphone between horizontal and vertical shooting modes with a 90-degree rotation.
5.3 AI Face Tracking and Gesture Control
The detachable AI module enables intelligent face tracking. Once activated, the gimbal will automatically follow the subject's face. Gesture control allows for hands-free operation of certain functions, such as starting/stopping tracking or controlling the fill light.
- AI Tracking Activation: Use the dedicated button on the AI module or the companion app to activate face tracking.
- Gesture Commands: Specific hand gestures can be used to control functions like turning face tracking on/off, activating the fill light, or adjusting its brightness and color temperature. Refer to the quick start guide for a list of supported gestures.
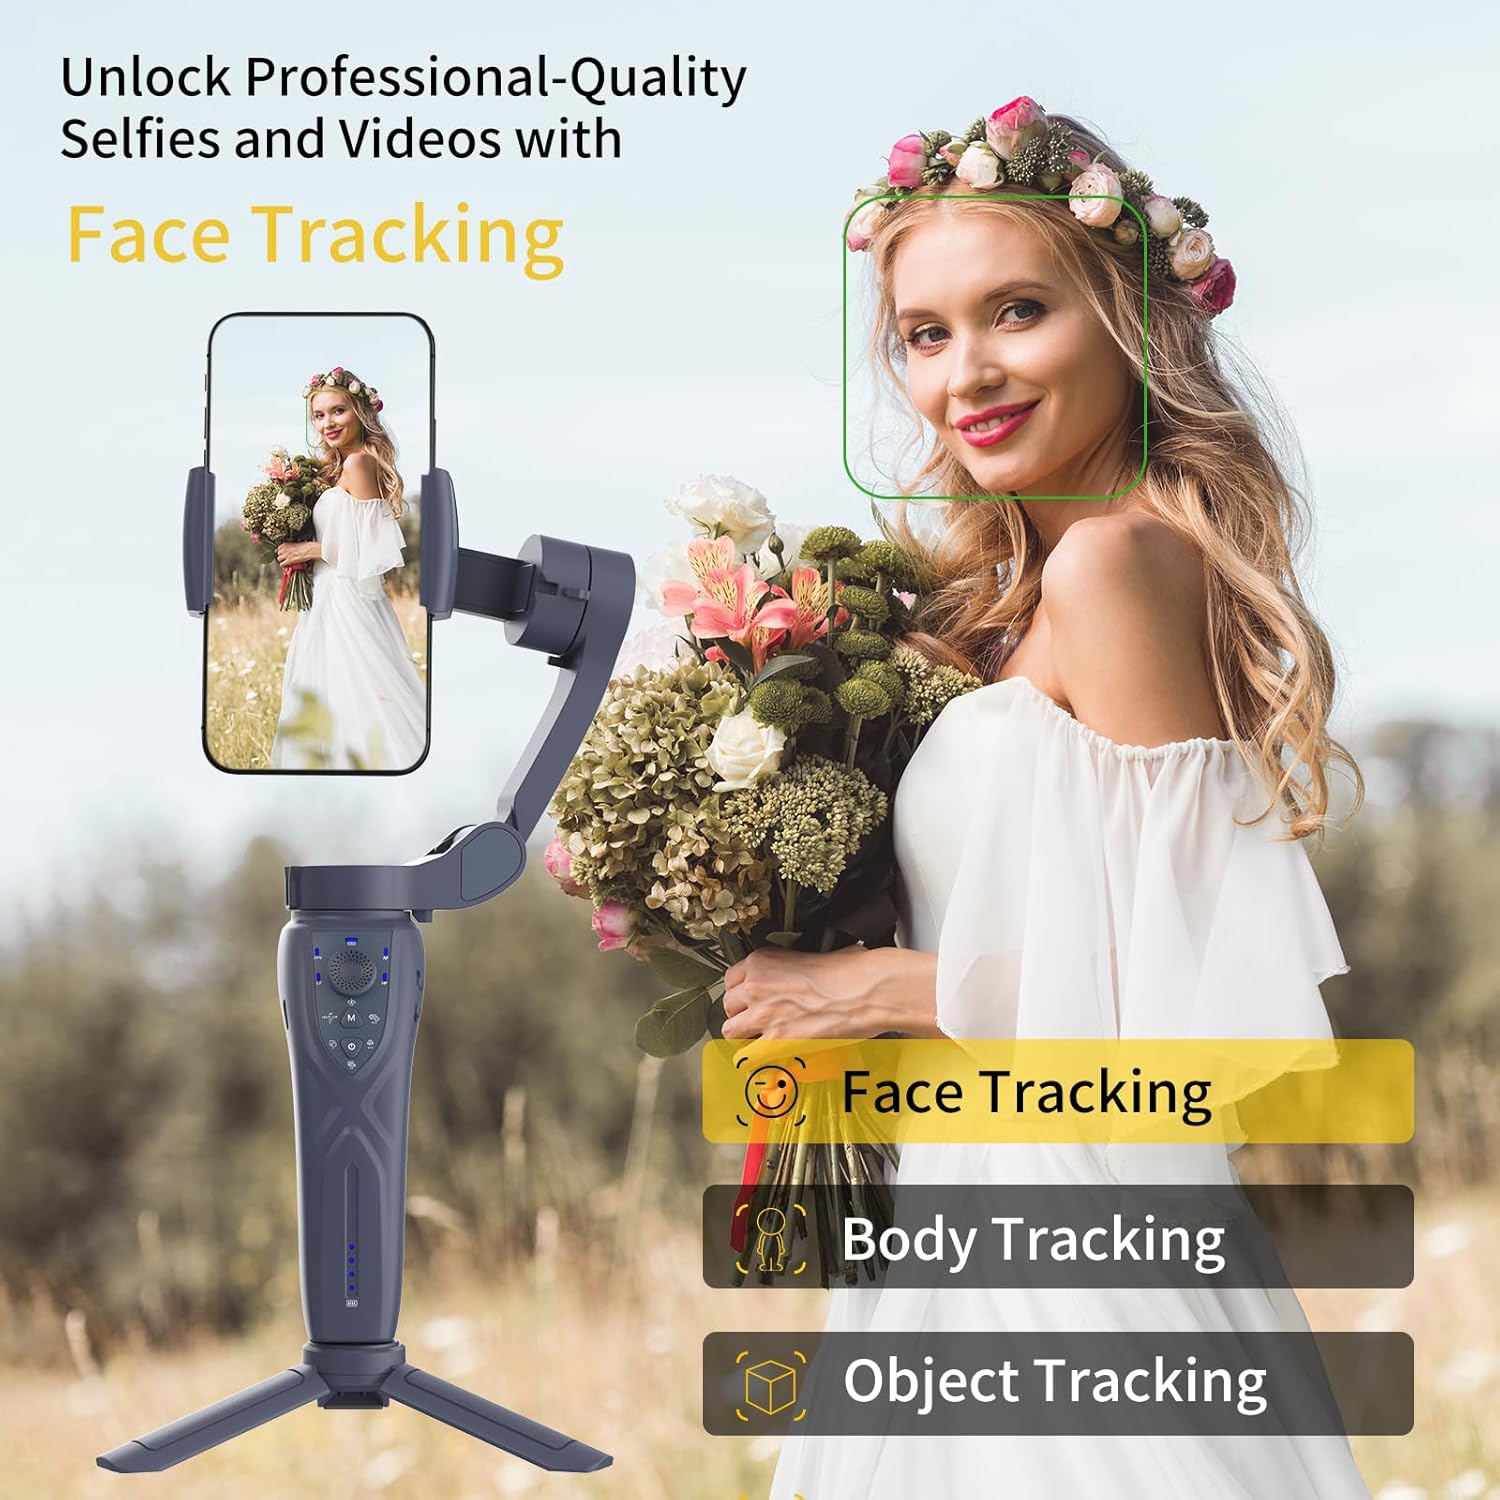
Image 5.2: Visual demonstrating the gimbal's capability for AI-powered face, body, and object tracking, ensuring the subject remains in frame.

Image 5.3: Example of gesture controls for the gimbal, including gestures for turning face tracking on/off, activating the fill light, and adjusting its brightness and color temperature.
5.4 Fill Light Operation
The AI tracking module integrates a fill light with 3 color temperatures and 9 levels of brightness. This can be controlled via physical buttons on the module, gesture control, or through the companion app to enhance lighting in various shooting conditions.
5.5 Multiple Shooting Modes
The F12 gimbal supports various shooting modes to enhance your creative possibilities:
- Panorama: Captures wide-angle panoramic shots.
- Wide-angle: Optimized for broader field-of-view shots.
- Close-up: For detailed shots of nearby subjects.
- Movie Mode: Provides cinematic effects and controls.
- Live Streaming: Optimized for stable live broadcasts.
- Time-lapse: Captures sequences over time for accelerated playback.
- Dynamic Time-lapse: Advanced time-lapse with motion.
6. Maintenance
6.1 Cleaning
Wipe the gimbal with a soft, dry cloth. Avoid using liquid cleaners or solvents, as they may damage the device.
6.2 Storage
Store the gimbal in a cool, dry place away from direct sunlight and extreme temperatures. When not in use for extended periods, ensure the gimbal is folded and stored in its protective packaging or a suitable case.

Image 6.1: The F12 gimbal in its folded state, demonstrating its compact size comparable to a smartphone, making it easy to carry in a pocket or small bag.
6.3 Battery Care
To prolong battery life, avoid fully discharging the battery frequently. If storing for a long time, charge the battery to approximately 50-60% every three months.
7. Troubleshooting
- Gimbal not powering on: Ensure the battery is charged. Connect the charging cable and try again.
- Unstable footage: Verify that the smartphone is properly balanced in the clamp before powering on the gimbal. Ensure no obstructions are interfering with the gimbal's motors.
- AI tracking not working: Check if the AI tracking module is securely attached and powered on. Ensure sufficient lighting for face recognition. Confirm that the feature is activated via gesture or the companion app.
- Gimbal not connecting to app: Ensure Bluetooth is enabled on your smartphone and the gimbal is powered on. Restart both the gimbal and the app, then attempt to reconnect.
- AI Module detachment: The AI module is designed for magnetic quick release. If it detaches unexpectedly, ensure it is properly aligned and snapped into place. For replacement inquiries, contact customer support.
8. Specifications
| Product Name | Handheld Stabilizer |
| Model | F12 |
| Material | ABS+PC |
| Stabilization | 3-axis |
| Adjustable Angle (Roll/Tilt/Pan) | 325° / 160° / 340° |
| Payload Weight | Up to 280g (9.88 oz) |
| Compatible Devices | iPhone/Android Smartphones |
| Compatible Phone Size | Diagonal < 7.72 inches, Width 2.17-3.54 inches, Thickness 0.27-0.47 inches |
| Battery Type | Rechargeable Lithium Battery |
| Battery Capacity | 1500mAh |
| Charging Time | Approximately 80 minutes |
| Endurance Time | 4.5 - 5 hours |
| Product Dimensions (Folded) | 6.5 x 4.72 x 1.97 inches |
| Item Weight | 12.7 ounces (360g) |
9. Warranty and Support
For warranty information, technical support, or inquiries regarding replacement parts, please contact Desiontal customer service through the retailer where the product was purchased or visit the official Desiontal website. Please retain your proof of purchase for warranty claims.


