1. Introduction
This manual provides comprehensive instructions for the safe and efficient operation, maintenance, and troubleshooting of your VEVOR 2200W Commercial Soft Ice Cream Machine. Please read this manual thoroughly before operating the machine to ensure optimal performance and longevity.
Key Features:
- High Productivity: Produces 21L/5.5 gal to 31L/8.2 gal of ice cream per hour.
- Rapid Freeze: Initial freeze time of 14 minutes, subsequent batches in 4 minutes or less.
- User-Friendly Operation: LED control panel with automatic cooling, hardness adjustment, one-click cleaning, and timer settings.
- Durable Construction: High-quality 401 stainless steel body and food-grade SUS304 stainless steel hopper.
- Versatile Application: Ideal for various commercial settings like ice cream shops, cafes, and snack bars.

Image: The VEVOR 2200W Commercial Soft Ice Cream Machine, showcasing its sleek stainless steel design, control panel, dispensing levers, and included accessories like lubrication, O-rings, and a cone holder. Three ice cream cones with different flavors are also depicted.
2. Setup and Installation
2.1 Unpacking and Inspection
Carefully unpack the ice cream machine and all its components. Verify that all parts are present and undamaged. The package includes: Ice Cream Machine x 1.
2.2 Placement
- Place the machine on a stable, level surface capable of supporting its weight (approximately 246 pounds).
- Ensure adequate ventilation around the machine. Maintain at least 6 inches (15 cm) of clearance from walls or other equipment on all sides to allow for proper heat dissipation.
- Avoid placing the machine in direct sunlight or near heat sources.
- The operating temperature range for the machine is 5 to 38°C (41 to 100.4°F).

Image: A detailed diagram illustrating the dimensions (21.3 x 28.3 x 53.5 inches / 540 x 720 x 1360 mm) and key specifications of the VEVOR Commercial Soft Ice Cream Machine, including its model number CKX300PRO-A19, operating temperature, production efficiency, hopper capacity, cylinder capacity, noise level, and materials.
2.3 Electrical Connection
- Connect the machine to a dedicated power outlet with the correct voltage and amperage as specified on the product label.
- Ensure the electrical supply is stable and grounded.
2.4 Initial Cleaning
Before first use, thoroughly clean all parts that will come into contact with food, including the hoppers, cylinders, and dispensing components. Use food-grade cleaning solutions and rinse thoroughly with clean water. Allow all parts to air dry completely.
3. Operating Instructions
3.1 Preparing the Mix
- Prepare your soft ice cream mix according to the recipe or manufacturer's instructions.
- Pour the prepared mix into the two 4.3L (1.1 gal) hoppers. Ensure the mix level is above the minimum fill line but below the maximum.
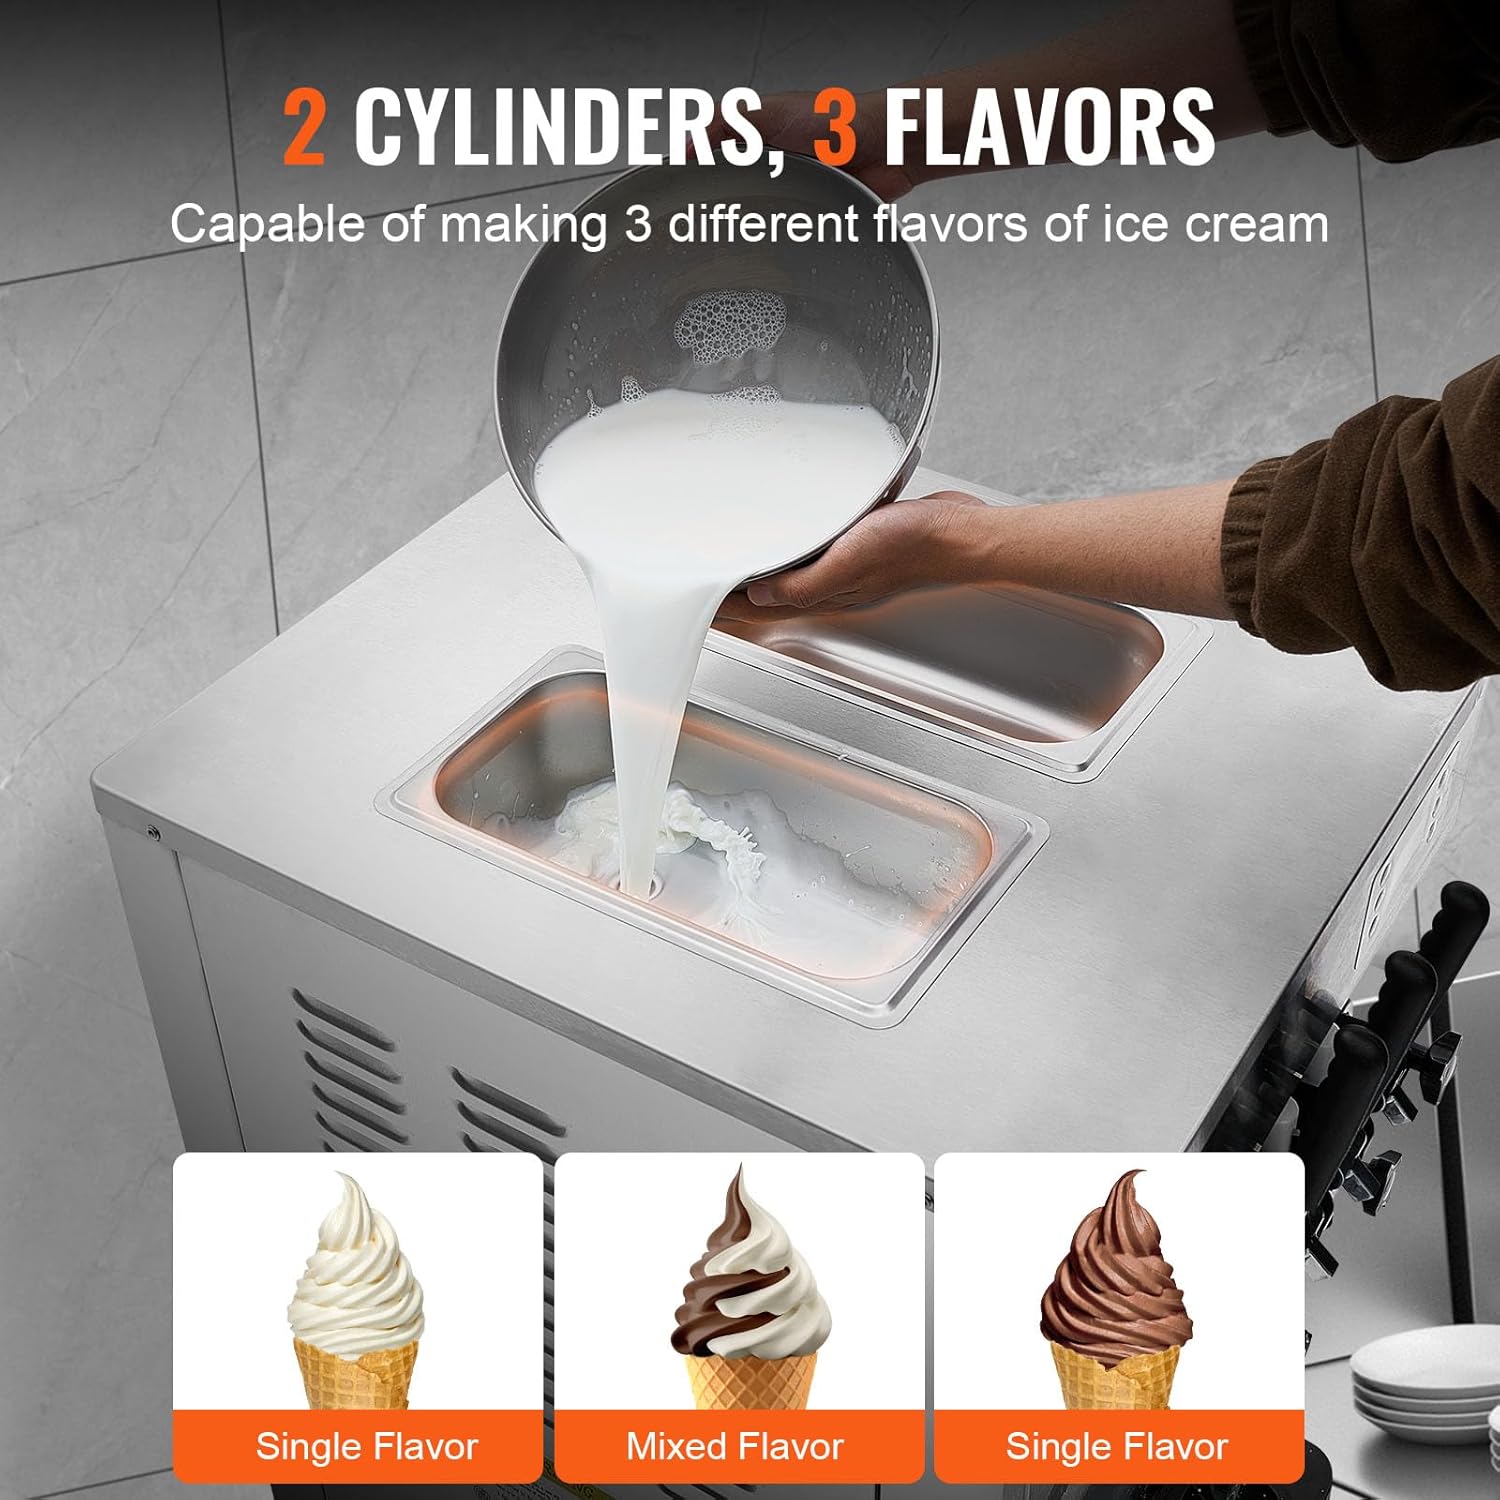
Image: Illustrates the process of pouring liquid ice cream mix into the machine's hoppers. The machine is capable of producing three different flavors: two single flavors from each hopper and a mixed flavor from the central dispenser.
3.2 Powering On and Pre-Cooling
- Turn on the main power switch.
- Engage the pre-cooling function (if available on your model) to chill the hoppers and cylinders before freezing. This helps reduce initial freezing time.

Image: Demonstrates the machine's efficiency, stating it can make ice cream in 14 minutes due to a built-in mini compressor for pre-cooling. It also highlights a production rate of 5.5-8.2 gallons per hour, a secondary forming time of 4 minutes, and a working temperature range of 5-38°C (41-100.4°F).
3.3 Using the Control Panel
The machine features an intuitive LED control panel for easy operation.

Image: A close-up view of the digital LED display control panel, showing various functions such as AUTO, CLEAN, STANDBY, FREEZE, PUMP, SET, UP, DOWN, and DEFROST buttons, along with digital readouts for hardness and production count.
- AUTO/FREEZE: Press to start the freezing process. The machine will automatically churn the mix until the desired hardness is reached.
- HARDNESS ADJUSTMENT: Use the "UP" and "DOWN" buttons to adjust the ice cream's hardness level.
- STANDBY: Activates a low-power mode to keep the mix chilled overnight (pre-cooling at night).
- CLEAN: Initiates the automatic cleaning cycle.
- The display shows real-time information such as production time and quantity.
3.4 Dispensing Ice Cream
- Once the ice cream is ready (indicated by the machine or desired hardness), place a cone or cup under the dispensing nozzle.
- Pull down the appropriate lever to dispense the desired flavor. The machine can dispense two single flavors and one mixed flavor.
- The machine can continuously deliver 6 to 8 cups of ice cream (each 80g) without interruption.

Image: A cutaway diagram illustrating the internal components and capacities of the ice cream machine. It shows two hoppers, each with a capacity of 4.3 L (1.1 gal), and a cylinder capacity of 1.7 L (0.45 gal). The image also notes the machine's ability to continuously serve 6-8 cups, with each serving approximately 80g.
4. Maintenance and Cleaning
Regular cleaning and maintenance are crucial for the hygiene, performance, and longevity of your ice cream machine.
4.1 Daily Cleaning (Auto Clean Function)
- After each day's use, remove any remaining mix from the hoppers.
- Fill the hoppers with warm water and a small amount of food-grade cleaning solution.
- Press the "CLEAN" button on the control panel to activate the automatic cleaning cycle. This will agitate the cleaning solution through the cylinders and dispensing nozzles.
- Drain the cleaning solution. Repeat with clean water for rinsing.
- Ensure all cleaning solution is thoroughly rinsed out.
4.2 Weekly Deep Cleaning
- Disconnect the machine from power.
- Disassemble all removable parts that come into contact with food (e.g., dispensing levers, beater assemblies, O-rings).
- Thoroughly wash these parts with warm, soapy water and a brush. Pay close attention to crevices and seals.
- Rinse all parts thoroughly with clean water and sanitize them using a food-grade sanitizer.
- Allow all parts to air dry completely before reassembly.
- Lubricate O-rings and other moving parts with food-grade lubricant before reassembly to ensure smooth operation and prevent leaks.
4.3 Condenser Cleaning
- Periodically clean the condenser fins located at the back or sides of the machine. Dust and debris can accumulate, reducing cooling efficiency.
- Use a soft brush or vacuum cleaner to remove dust. Ensure the machine is unplugged before cleaning the condenser.

Image: A diagram highlighting the machine's efficient cooling and rapid heat dissipation system, featuring a copper tube condenser and a large ventilation area. This design ensures even cooling and contributes to the machine's operating noise level of less than 60 dB.
5. Troubleshooting
Refer to the table below for common issues and their solutions. If the problem persists, contact customer support.

Image: A troubleshooting guide presented as a table, listing various error codes, their corresponding reasons, and recommended solutions for common operational issues with the ice cream machine.
| ERROR CODE | Reason | Solutions |
|---|---|---|
| CL | Hopper lack of ingredients | Add ingredients |
| nL | Cylinder lack of ingredients/Drive belt loose | Adjust gear |
| Cb | The handle is not in right position | Adjust handle position |
| -- | Cylinder stuck | Adjust hardness gear/Reset air switch |
| UH | Voltage is too high | Shut down and select the appropriate voltage |
| UL | Voltage is too low | Shut down and select the appropriate voltage |
| LL | Cylinder temperature lower than -9°C | Adjust the gear to lower gear/defrost the ingredients and remake the ice cream |
| Err | Refrigeration timeout, ice cream has not formed for more than 1 hour | Keep enough space for machine |
| Handle stick leak | Handle O-ring seals damage | Change the seals |
| Cylinder insert leak | Beater seals not in right position | Adjust beater seals position or change the seals |
| The sealing ring of the liquid outlet valve | The liquid outlet valve is not tightened or the sealing ring is damaged | Tighten the fixing screw or replace the sealing ring of the liquid outlet valve |
| Ice cream is not hard enough | The setting gear is small, and the ratio of ice cream powder and water is unreasonable | Adjust the powder and water ratio |
| Ice cream takes a long time to form or does not form at all | The ice cream machine is blocked on the left, right or back, the ambient temperature is high, and the condenser is dusty. | Adjust the installation position of the ice cream machine, lower the ambient temperature, and clean the dust on the condenser |
6. Specifications
| Feature | Detail |
|---|---|
| Brand | VEVOR |
| Model Name | Industrial Soft Serve Ice Cream Maker |
| Item Model Number | CKX300PRO-A19 |
| Operating Temperature | 5-38°C / 41-100.4°F |
| Ice Cream Production Efficiency | 5.5 - 8.2 Gal / H (21- 31 L / H) |
| Hopper Capacity | 4.3L / 1.1 Gal * 2 |
| Cylinder Capacity | 1.7L / 0.45 Gal |
| Noise Level | ≤60 dB |
| Hopper Material | Stainless Steel 304 |
| Main Material | Stainless Steel |
| Net Weight | 111.5 kg / 245.8 lbs |
| Item Weight | 246 pounds |
| Product Dimensions | 21.3 x 28.3 x 53.5 in / 540 x 720 x 1360 mm |
| Included Components | Ice Cream Machine x 1 |
| UPC | 197988094845 |
7. Warranty and Support
VEVOR products are designed for durability and performance. For specific warranty terms and conditions, please refer to the warranty card included with your product or visit the official VEVOR website. In case of any issues or for technical assistance, please contact VEVOR customer support. Have your model number (CKX300PRO-A19) and purchase details ready when contacting support.
You can find more information and support resources on the VEVOR Store on Amazon.


