Introduction
This manual provides comprehensive instructions for the safe and efficient operation, maintenance, and troubleshooting of your Singer M1250 Mechanical Sewing Machine. Designed for ease of use, this machine offers 45 unique stitch applications, an automatic 4-step buttonhole feature, and a user-friendly top drop-in bobbin system. Please read this manual thoroughly before using the machine to ensure proper function and longevity.
Key features of your Singer M1250 include:
- Versatile Stitching Capability: Access 45 unique stitch applications for various sewing projects.
- Easy Buttonhole Creation: Utilize the automatic 4-step buttonhole feature for precise results.
- Convenient Presser Feet: Includes 3 presser feet to expand sewing possibilities.
- User-Friendly Bobbin System: Features a top drop-in bobbin for simplified loading and monitoring.
- Simple Stitch Selection: Easily select stitch options using the straightforward dial.
Safety Information
Always observe basic safety precautions when using electrical appliances to reduce the risk of fire, electric shock, or injury to persons.
- Ensure the machine is unplugged from the electrical outlet when not in use, when servicing, or when making any adjustments.
- Keep fingers away from all moving parts. Special care is required around the sewing machine needle.
- Use the correct power cord and ensure it is securely connected to both the machine and the outlet.
- Never operate the machine if the power cord is damaged or if the machine is not working properly.
- Do not use the machine outdoors or operate where aerosol (spray) products are being used or where oxygen is being administered.
- Always turn off the machine before changing the needle, presser foot, or bobbin.
- This appliance is not intended for use by persons (including children) with reduced physical, sensory or mental capabilities, or lack of experience and knowledge, unless they have been given supervision or instruction concerning use of the appliance by a person responsible for their safety.
Package Contents
Upon opening your Singer M1250 Mechanical Sewing Machine package, please verify that all components are present:
- Singer M1250 Sewing Machine Unit
- Standard All-Purpose Presser Foot
- Zipper Foot
- Buttonhole Foot
- Needle Set
- Bobbins
- Seam Ripper/Lint Brush
- Darning Plate
- Spool Pin Felt
- Power Cord
- Foot Controller
- Instruction Manual (this document)
Setup
1. Unpacking and Placement
Carefully remove the machine from its packaging. Place the machine on a stable, flat surface. Ensure there is adequate space around the machine for comfortable operation and fabric handling.
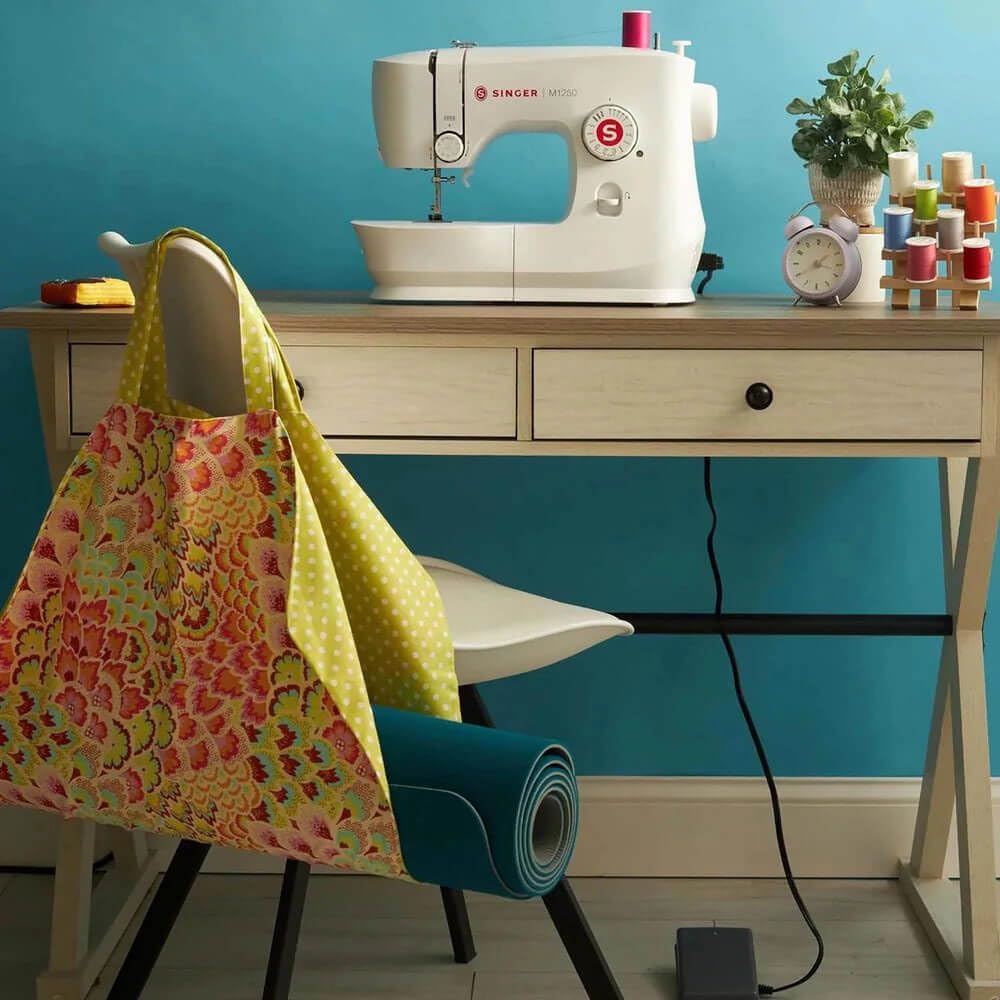
Figure 1.1: The Singer M1250 sewing machine positioned on a stable work surface, ready for use. A fabric bag and spools of thread are visible nearby, indicating a typical sewing environment.
2. Connecting Power and Foot Controller
Insert the power cord into the machine's power input jack and then into a suitable electrical outlet. Connect the foot controller plug into its designated jack on the machine. Ensure both connections are secure.
Note: A user review indicated that the power cord may not stay securely in place. Ensure the cord is firmly inserted and avoid pulling on it during operation. If the issue persists, contact customer support.
3. Winding the Bobbin
The Singer M1250 features a top drop-in bobbin system. Before sewing, the bobbin must be wound with thread.
- Place a spool of thread on the spool pin.
- Guide the thread through the upper thread guide and around the bobbin winding tension disc.
- Place an empty bobbin onto the bobbin winder spindle.
- Wrap the thread around the bobbin a few times, then push the bobbin winder spindle to the right.
- Gently press the foot controller to start winding. The machine will stop automatically when the bobbin is full.
- Cut the thread and push the bobbin winder spindle back to the left.

Figure 1.2: The top drop-in bobbin compartment, illustrating the ease of inserting and monitoring the bobbin thread supply through the transparent cover.
4. Threading the Machine
Proper threading is crucial for good stitch quality. Follow the numbered threading path indicated on the machine.
- Raise the presser foot lifter.
- Place a spool of thread on the spool pin.
- Guide the thread through the upper thread guide.
- Bring the thread down the right slot, around the tension discs, and up the left slot.
- Thread the take-up lever from right to left.
- Guide the thread down to the needle bar thread guide.
- Thread the needle from front to back.
- Place the wound bobbin into the bobbin case, ensuring the thread feeds in the correct direction as indicated by the machine markings.
- Pull the bobbin thread through the slot and under the presser foot.
- Turn the handwheel towards you to bring up the bobbin thread.

Figure 1.3: Clear threading guides are printed directly on the machine, simplifying the process for users.
Operating Instructions
1. Stitch Selection
The Singer M1250 offers 45 stitch applications. To select a stitch, turn the stitch selector dial located on the front of the machine until the desired stitch symbol aligns with the indicator mark.

Figure 2.1: The stitch selector dial, allowing for easy and intuitive selection of the 45 available stitch applications.
2. Sewing Basics
- Place the fabric under the presser foot.
- Lower the presser foot.
- Gently press the foot controller to begin sewing. Control sewing speed by varying pressure on the foot controller.
- To reverse stitch (for securing seams), press and hold the reverse lever/button.
- When finished, raise the needle to its highest position, lift the presser foot, and pull the fabric away. Cut threads using the thread cutter.

Figure 2.2: The sewing area illuminated by the integrated LED light, providing clear visibility of the needle and fabric during operation.
3. Automatic 4-Step Buttonhole
The machine simplifies buttonhole creation with its 4-step process.
- Attach the buttonhole foot.
- Mark the buttonhole position on your fabric.
- Set the stitch selector to the first buttonhole step (usually indicated by a symbol).
- Sew the first side, then proceed to the next steps as indicated on the stitch selector dial for the remaining sides and bar tacks.
Maintenance
Regular maintenance ensures the smooth operation and extends the life of your sewing machine.
1. Cleaning
- Always unplug the machine before cleaning.
- Remove the needle plate and bobbin case.
- Use the provided lint brush to remove lint and dust from the bobbin area, feed dogs, and tension discs.
- Wipe the exterior of the machine with a soft, dry cloth. Do not use harsh chemicals or abrasive cleaners.
2. Oiling (if applicable)
Refer to the full instruction manual for specific oiling points if your model requires it. Many modern machines are self-lubricating in key areas. If oiling is required, use only high-quality sewing machine oil.
3. Needle Replacement
Replace the needle regularly (after 8-10 hours of sewing or when it becomes dull/bent) to prevent skipped stitches and fabric damage. Ensure the flat side of the needle faces the back of the machine when inserting.
Troubleshooting
This section addresses common issues you might encounter. For more complex problems, contact customer support.
| Problem | Possible Cause | Solution |
|---|---|---|
| Machine not starting | Power cord not securely plugged in; machine not turned on. | Ensure power cord is fully inserted into machine and outlet. Turn on power switch. |
| Skipped stitches | Incorrect needle size/type; bent or dull needle; improper threading. | Replace needle with correct type for fabric. Re-thread machine completely. |
| Thread breaking | Improper threading; tension too tight; poor quality thread; burr on needle plate. | Re-thread machine. Adjust tension. Use good quality thread. Check for burrs. |
| Bobbin thread tangling | Bobbin incorrectly wound or inserted; lint in bobbin case. | Re-wind and re-insert bobbin correctly. Clean bobbin area. |
Specifications
Detailed technical specifications for the Singer M1250 Mechanical Sewing Machine:
- Model Number: M1250
- Product Dimensions: 9.1 x 9.1 x 9.1 inches (23.1 x 23.1 x 23.1 cm)
- Item Weight: 9.1 pounds (4.13 kg)
- Stitch Applications: 45
- Buttonhole Type: Automatic 4-step
- Bobbin Type: Top Drop-in
- Presser Feet Included: 3 (Standard, Zipper, Buttonhole)
- Color: White
- Date First Available: June 26, 2024
- UPC: 840163304498
Warranty and Support
For warranty information and customer support, please refer to the warranty card included with your product or visit the official Singer website. Keep your proof of purchase for warranty claims.
If you encounter issues not covered in the troubleshooting section, or require parts and service, please contact Singer customer service directly. Provide your model number (M1250) and purchase date when seeking assistance.


