DewinLVD AL-06G
Digital Timer User Manual
Model: AL-06G | Brand: DewinLVD
Introduction
Thank you for choosing the DewinLVD Digital Timer. This device is designed to automate the switching of electrical appliances on and off, helping you save energy and enhance home security. It features up to 16 programmable on/off settings per day, a clear LCD display, and a built-in battery for memory retention during power outages. Please read this manual carefully before use to ensure proper operation and to maximize the benefits of your new timer.

This image shows two white DewinLVD AL-06G digital timers, each featuring a prominent LCD screen at the top displaying time and mode, and a standard European (Schuko) power outlet at the bottom. Control buttons for programming are located below the screen.
Setup
Initial Setup and Time Setting
- Charge the Internal Battery: Before first use, plug the timer into a live power outlet for at least 5-10 minutes to charge the internal Ni-MH battery. This battery retains your settings during power outages.
- Clear All Settings (Reset): Use a pointed object (like a pen tip) to press the RESET button (usually a small recessed hole) to clear all previous settings and reset the unit. The LCD display will show all segments, then return to 00:00.
- Set Current Time:
- Press the CLOCK button and hold it.
- While holding CLOCK, press the WEEK button to set the current day of the week.
- While holding CLOCK, press the HOUR button to set the current hour.
- While holding CLOCK, press the MIN button to set the current minute.
Programming On/Off Times
The timer supports up to 16 ON/OFF programs. Each program consists of an ON time and an OFF time.
- Press the PROG button once. The display will show "1 ON".
- Press WEEK to select the day(s) for this program (e.g., MO, TU, WE, TH, FR, SA, SU, or various combinations like MO-FR, SA-SU, MO-SA, etc.).
- Press HOUR to set the desired ON hour.
- Press MIN to set the desired ON minute.
- Press PROG again. The display will show "1 OFF".
- Repeat steps 2-4 to set the desired OFF time for the same program.
- Continue pressing PROG to set additional ON/OFF programs (2 ON, 2 OFF, etc.) up to 16 programs.
- To exit programming mode, press the CLOCK button.

This image highlights the key components of the digital timer: the large LCD display, the setting buttons (PROG, WEEK, HOUR, MIN), the ON/AUTO/OFF button, the CLOCK button, the RES/RCL R button, and the indicator light.
Operating Instructions
Operating Modes
Press the ON/AUTO/OFF button to cycle through the operating modes:
- ON: The timer outlet is continuously ON, overriding all programmed settings.
- AUTO: The timer operates according to the programmed ON/OFF settings. This is the standard operating mode for automated control.
- OFF: The timer outlet is continuously OFF, overriding all programmed settings.
Anti-Theft Random Mode
This feature allows the timer to randomly turn connected lights or other devices ON and OFF within a set period (e.g., 6:00 PM to 6:00 AM) to simulate occupancy and deter potential intruders. To activate:
- Ensure the timer is in AUTO mode.
- Press the RANDOM button (if available, or refer to specific button combination for this model). The display will show 'R' or 'RANDOM'.
- The timer will now randomly switch the connected device ON and OFF within the pre-set random window.
This image depicts the digital timer plugged into an outlet, with a person appearing to be an intruder outside a house. The timer's anti-theft random mode helps simulate occupancy by turning lights on and off randomly, deterring unwanted visitors.
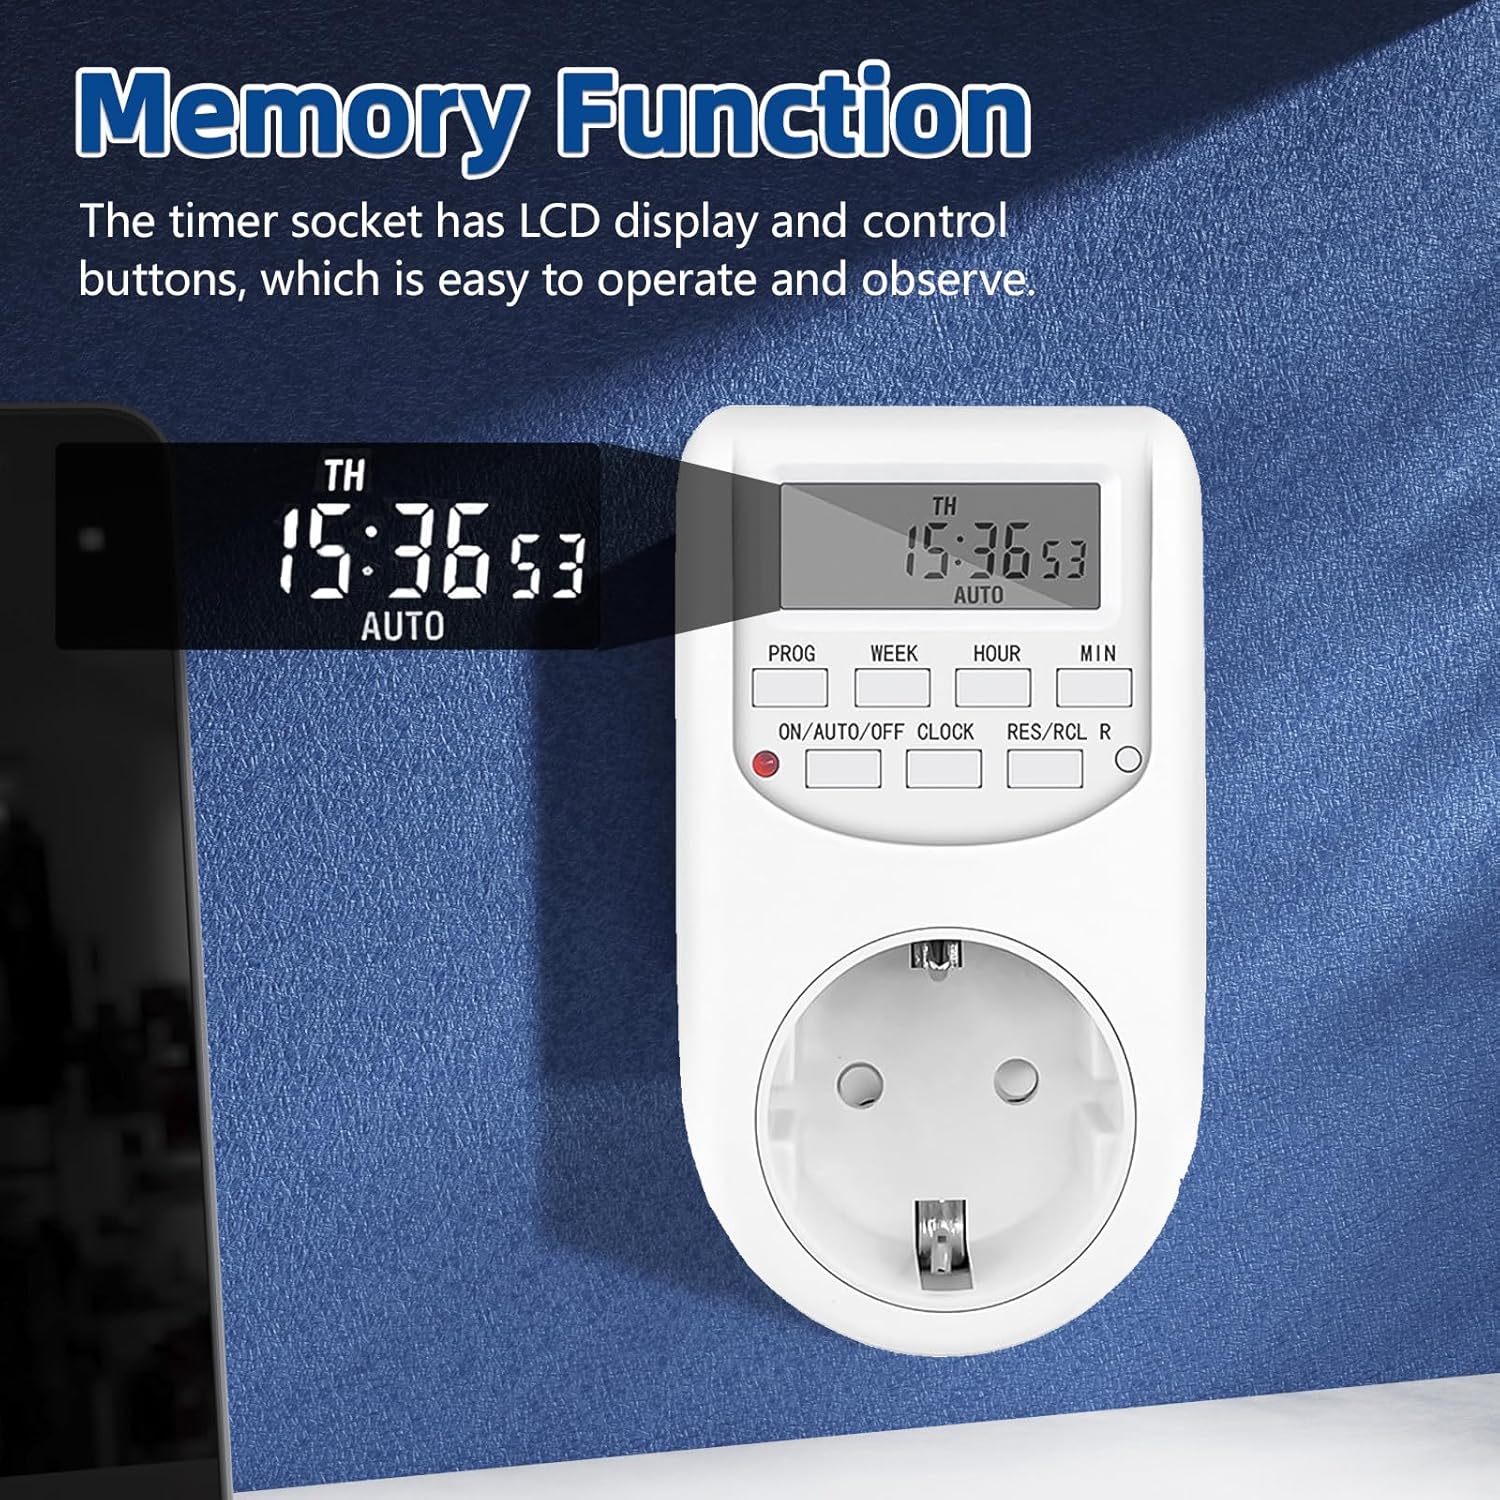
Memory Function
The built-in Ni-MH battery ensures that all programmed settings and the current time are retained even if the timer is unplugged or there is a power outage. This eliminates the need to reprogram the device after a power interruption.

This close-up image focuses on the LCD display of the digital timer, clearly showing the current time (15:36:53) and the 'AUTO' indicator, demonstrating the timer's operational display and its ability to retain settings.
Maintenance
To ensure the longevity and optimal performance of your digital timer, follow these simple maintenance guidelines:
- Cleaning: Wipe the timer with a soft, dry cloth. Do not use abrasive cleaners, solvents, or immerse the unit in water.
- Storage: When not in use for extended periods, store the timer in a cool, dry place away from direct sunlight and extreme temperatures.
- Battery Life: The internal Ni-MH battery is designed for long-term use. If the timer is stored for a very long time without power, it may require a longer initial charge (e.g., 12-24 hours) to fully reactivate the battery.
Troubleshooting
If you encounter issues with your digital timer, please refer to the following common problems and solutions:
| Problem | Possible Cause | Solution |
|---|---|---|
| Timer does not turn ON/OFF at programmed times. | Timer is not in AUTO mode. Incorrect program settings. | Ensure the timer is set to AUTO mode. Review and correct your program settings (ON/OFF times, days). |
| Display is blank or dim. | Internal battery is low or depleted. | Plug the timer into a live outlet for at least 5-10 minutes to charge the internal battery. If stored for long periods, charge for 12-24 hours. |
| Cannot set time or programs. | Unit is frozen or in an incorrect state. | Press the RESET button with a pointed object to clear all settings and restart. Then, set the time and programs again. |
| Connected appliance does not turn on. | Appliance is not properly plugged in or is faulty. Timer is not supplying power. | Check if the appliance is working when plugged directly into a wall outlet. Ensure the timer is in ON or AUTO mode (if within programmed ON time). |
Specifications
Detailed technical specifications for the DewinLVD AL-06G Digital Timer:
| Parameter | Value |
|---|---|
| Product Name | Timer |
| Model | AL-06G |
| Max Load | 10 A (2300 W) |
| Voltage | 230 V AC 50 Hz |
| Min Setting Time | 1 Minute |
| Operating Temperature | 0 - 40 °C |
| Number Of Programs | 16 (20) Times |
| Accuracy | ±1 Min/Mon |
| Shell Material | Polycarbonate (PC) |
| Dimensions | 78 x 42 x 110 mm |
| Battery | Ni-MH 1.2V 80 mAh (>100 hrs) |

This image displays the digital timer alongside a table detailing its specifications, including product name, model, max load, voltage, minimum setting time, operating temperature, number of programs, accuracy, shell material, dimensions, and battery type.
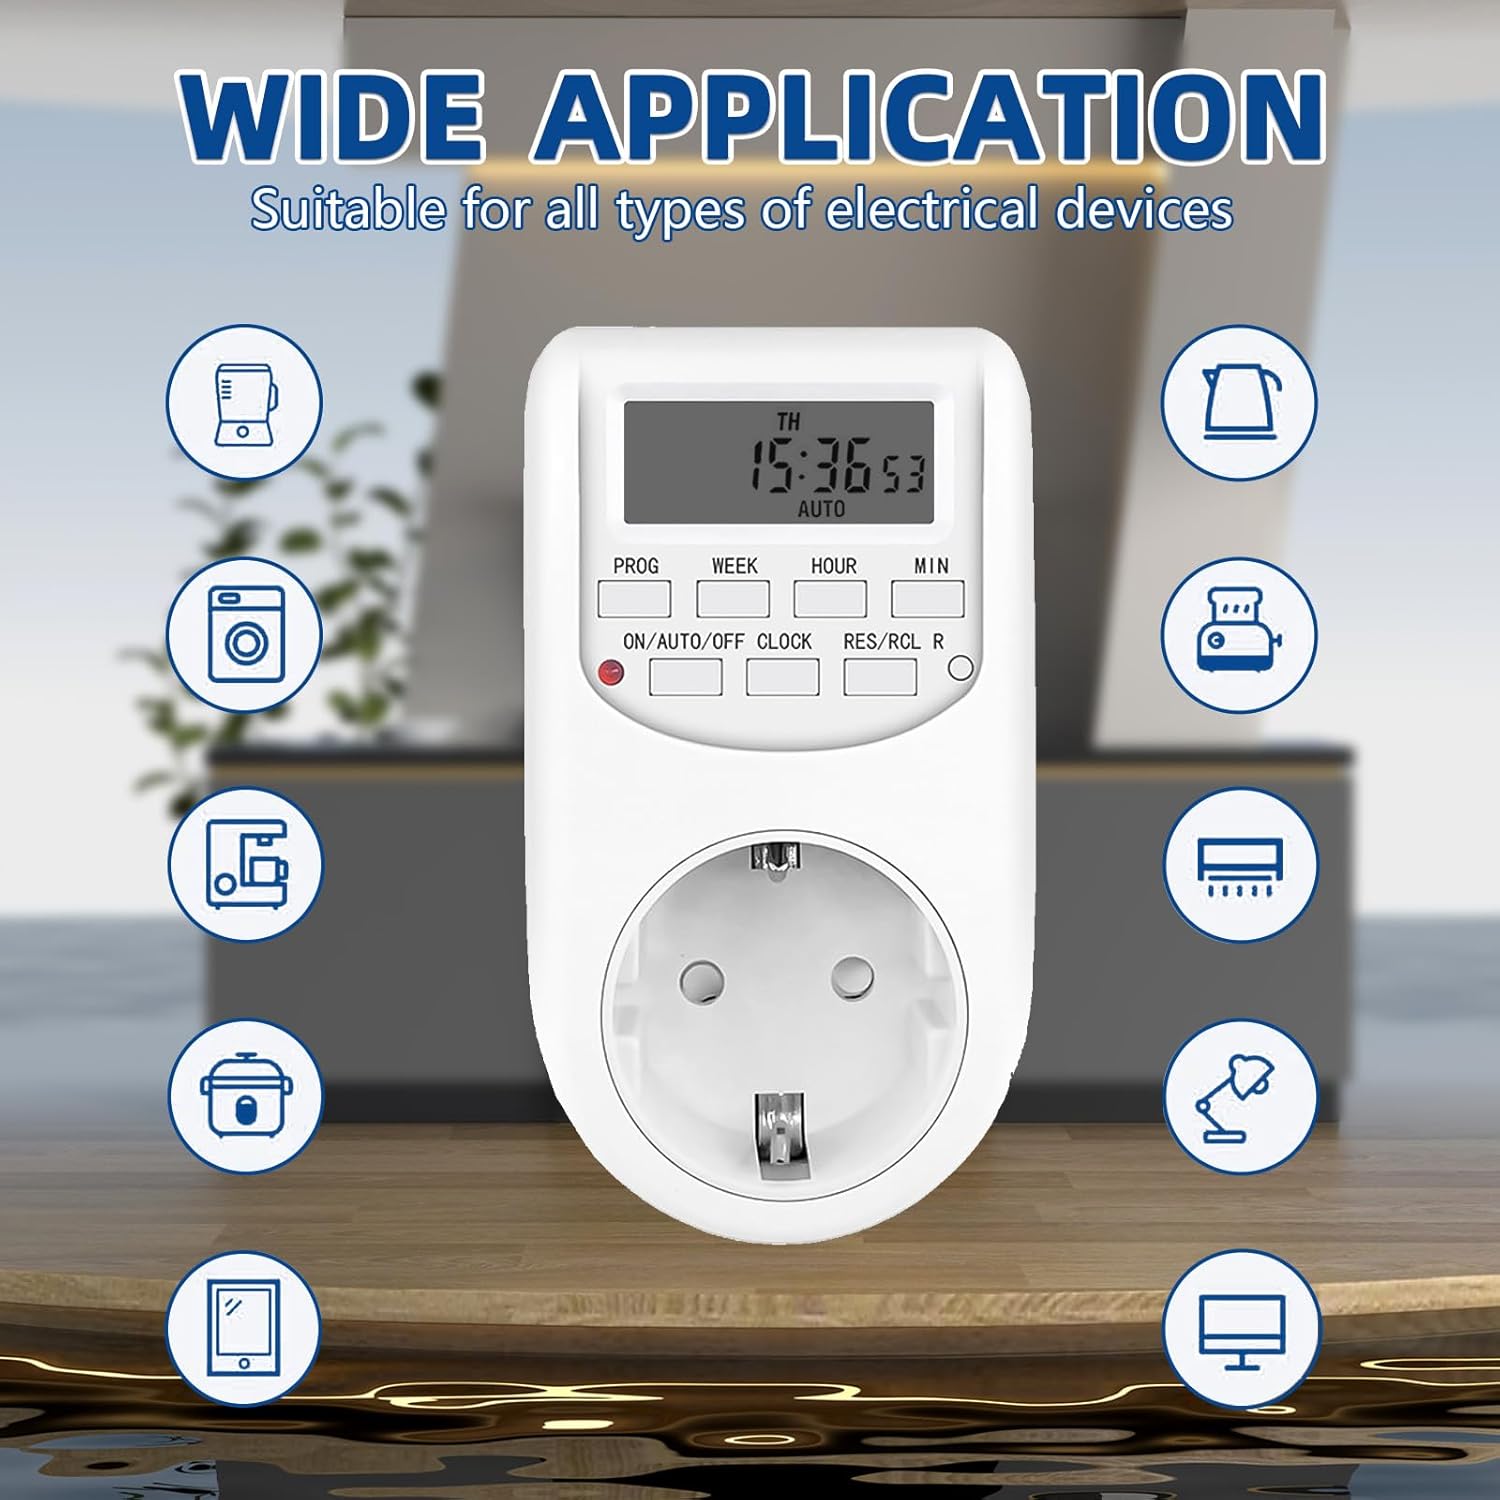
This image illustrates the wide range of applications for the digital timer, showing it centrally positioned with icons of various electrical devices such as blenders, washing machines, coffee makers, rice cookers, kettles, toasters, air purifiers, lamps, and computers, indicating its versatility.
Warranty and Support
This DewinLVD Digital Timer comes with a standard manufacturer's warranty. Please refer to the product packaging or the seller's information for specific warranty terms and conditions.
For technical support, troubleshooting assistance, or warranty claims, please contact the seller or manufacturer directly through the platform where you purchased the product. Keep your purchase receipt or order number handy as proof of purchase.
Related Documents - AL-06G
 |
EMOS P5502 | TS-MF3 Mechanical Timer Socket - User Manual User manual for the EMOS P5502 | TS-MF3 mechanical timer socket. Provides instructions on setting time, programming schedules, technical specifications, and safety guidelines for this 230V~, 16A plug-in timer. |
 |
Aigostar One-week Mechanical Indoor Timer Socket User Manual Detailed instructions for setting up and using the Aigostar One-week Mechanical Indoor Timer Socket. Learn how to program daily schedules, set timers, and ensure reliable appliance operation. |
 |
Fospower FOSHO-2366US 7-Day Digital Programmable Outlet Timer User Manual User manual for the Fospower FOSHO-2366US 7-Day Digital Programmable Outlet Timer with two outlets. Features include 10 ON/OFF programs, AUTO/MANUAL modes, Daylight Savings Time, Random function, and Countdown function. |
 |
TM07 Digital Timer Switch Instruction Manual Instruction manual for the JUANJUAN TM07 digital timer switch, detailing features, setup, manual control, timing settings, random function, countdown mode, and electrical specifications. |
 |
EMOS P5507 - TFE-5 Digital Outdoor Timer Socket: User Manual & Instructions Detailed guide for the EMOS P5507 - TFE-5 digital outdoor timer socket. Learn how to set programs, time, and use features like random switching for energy saving and security. |
 |
Nearpow T19S Dual Digital Timer Outlet User Manual User manual for the Nearpow T19S Dual Digital Timer Outlet. Provides instructions on setting current time, programming ON/OFF schedules, using Always ON/OFF modes, and other features like 12/24 hour format and summer time. Includes precautions and support contact. |
Ask a question about this manual
Ask about setup, troubleshooting, compatibility, parts, safety, or missing instructions. Manuals+ will review the question and use this page’s manual context to help answer it.