1. Introduction
Thank you for choosing the podofo Wireless Backup Camera System. This kit provides enhanced visibility and safety for your vehicle, featuring a 1080P HD 7-inch IPS screen and an IP68 waterproof rear camera with infrared night vision. This manual will guide you through the installation, operation, and maintenance of your new system.
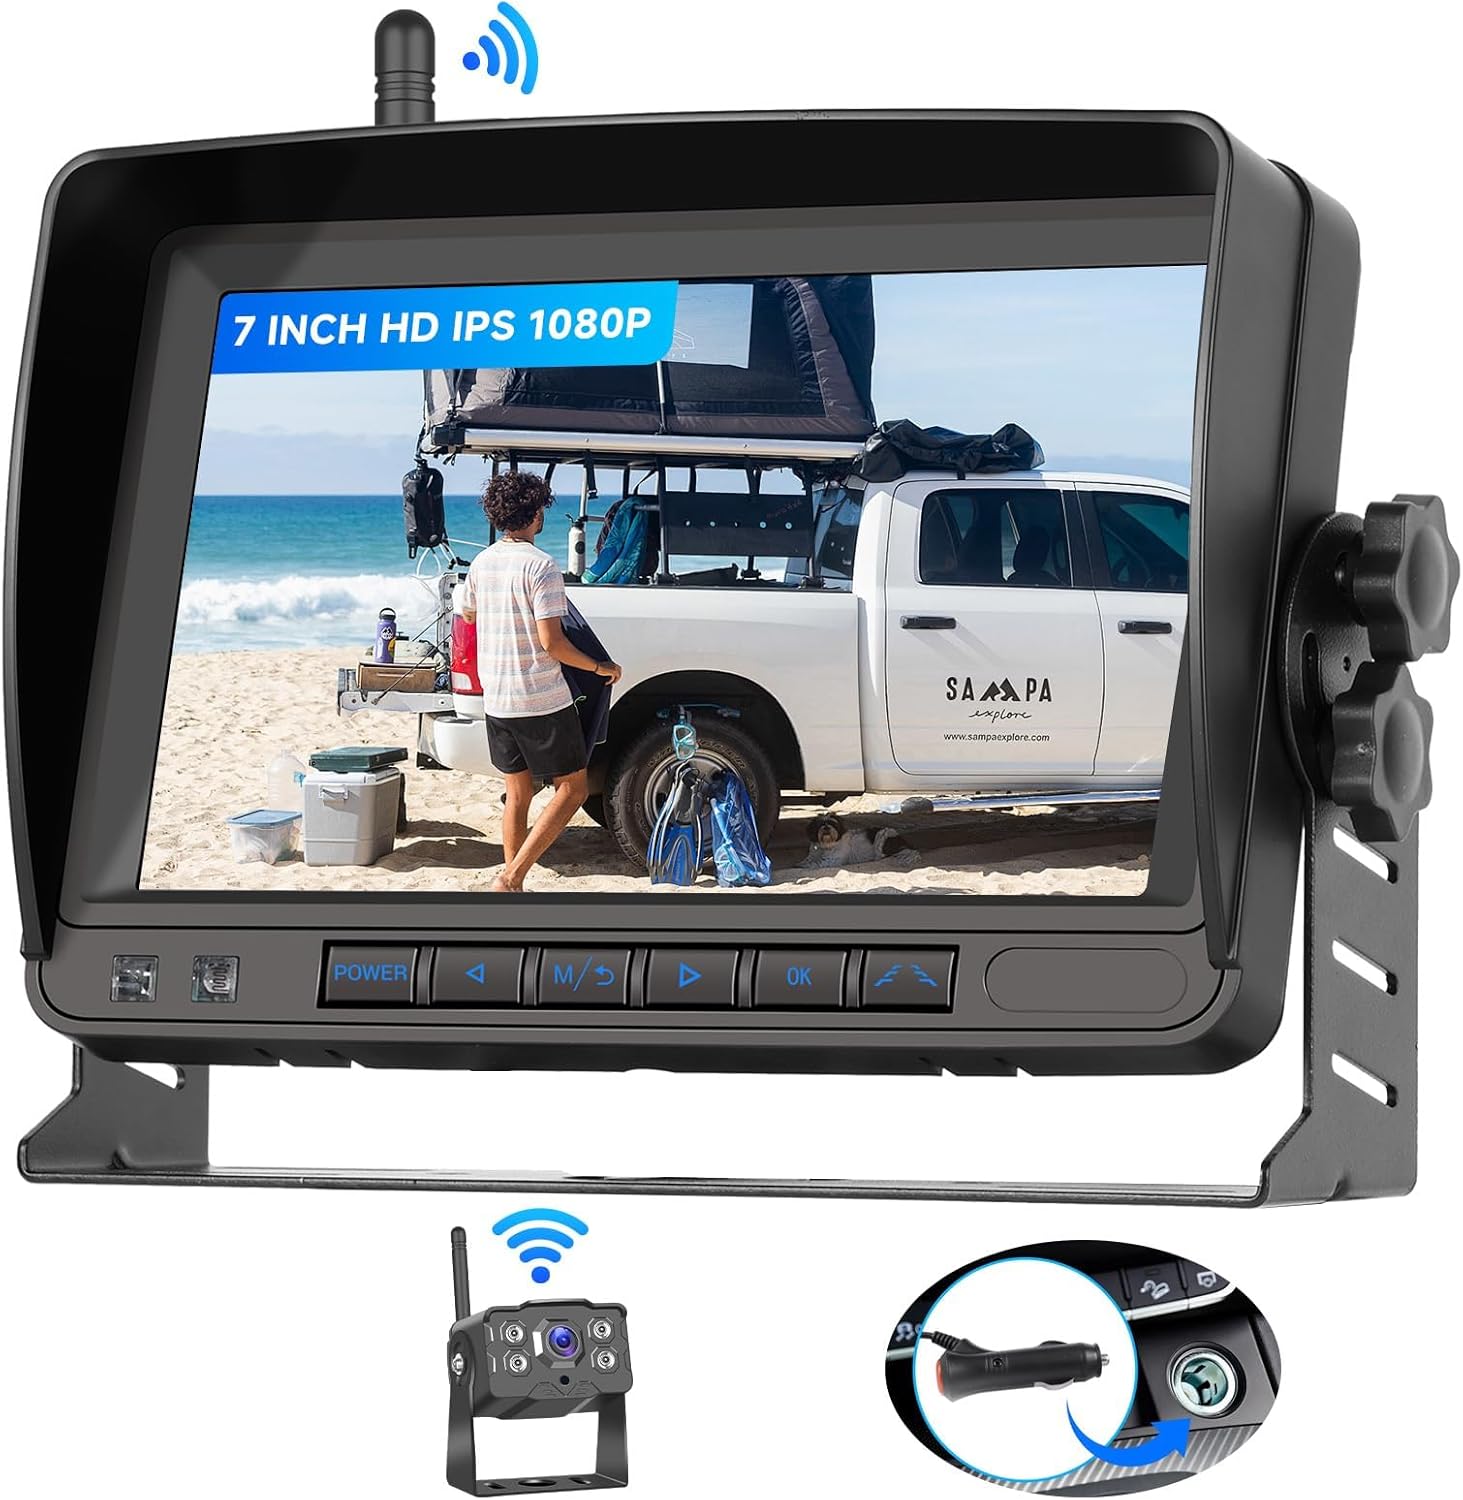
Image 1.1: The podofo Wireless Backup Camera System, showing the 7-inch monitor and the compact rear camera.
2. Product Features
- Upgraded Wireless Transmission: Digital high-speed wireless transmission up to 320 feet for clear, interference-free signal.
- 1080P HD IPS Monitor: 7-inch IPS display for crisp, vibrant color images with wide viewing angles and a sunshade to minimize glare.
- IP68K Waterproof Camera: Durable and heat-resistant camera ensures stable operation in harsh weather conditions.
- Infrared Night Vision: True IR night vision for enhanced visibility in low-light environments.
- Customizable Guide Lines: Toggle parking lines ON/OFF for precise maneuvering.
- Image Flip Function: Effortlessly rotate the image horizontally or vertically for mirror or standard orientation.
- Wide Compatibility: Suitable for Trucks, RVs, Pickups, Campers, Boats, Buses, and Trailers.

Image 2.1: Illustration of the 320ft wireless digital transmission range between the camera and monitor.

Image 2.2: The 7-inch IPS screen displaying wide viewing angles and accurate color reproduction.

Image 2.3: The IP68 waterproof camera, demonstrating its resilience to water and extreme temperatures (-22°F to 176°F).

Image 2.4: A visual comparison highlighting the clarity of high-definition infrared night vision provided by the camera.
3. What's in the Box
Please check the contents of your package to ensure all items are present:
- 7 Inch IPS Monitor
- Weatherproof Backup Camera
- Cigarette Lighter Power Adapter
- User Manual
- Wireless Antennas (2)
- Power Extension Cable
- Installation Tool (Screwdriver)
- Suction Cup Holder
- Frame Accessories (Mounting Bracket, Screws, Nuts)
- Sticker

Image 3.1: Visual representation of all items included in the product package, along with their names and the monitor's dimensions.
4. Setup and Installation
The system is designed for easy installation. Follow these steps for a quick setup:
4.1 Camera Installation
- Mount the Camera: Choose a suitable location at the rear of your vehicle, typically above the license plate or near the bumper. Secure the camera using the provided frame accessories (mounting bracket, screws, nuts).
- Connect Power:
- For Reversing Functionality (camera activates when reversing): Connect the camera's red power wire to your vehicle's reverse light positive wire. Connect the black ground wire to a metal chassis point or the reverse light negative wire.
- For Constant Monitoring (camera always on when vehicle is on): Connect the camera's red power wire to a constant 12V/24V power source (e.g., tail light, running light, or fuse box). Connect the black ground wire to a metal chassis point.
- Attach Antenna: Screw the wireless antenna onto the camera's antenna port.
4.2 Monitor Installation
- Mount the Monitor: Choose a convenient location on your dashboard or windshield. Use either the provided suction cup holder or the frame accessories for mounting. Ensure the monitor does not obstruct your view.
- Connect Power: Insert the cigarette lighter power adapter into your vehicle's 12V/24V cigarette lighter socket. Connect the other end to the monitor's power input.
- Attach Antenna: Screw the wireless antenna onto the monitor's antenna port.
4.3 Power On
Once both the camera and monitor are installed and powered, the system should automatically pair and display the camera feed. If the monitor is powered by the cigarette lighter, simply turn on your vehicle's ignition to power the monitor.

Image 4.1: A visual guide demonstrating the simple three-step "Plug and Play" installation process for the camera and monitor.

Image 4.2: Depiction of multiple installation methods for the monitor, including a dashboard stand and a suction cup mount.
5. Operating Instructions
Once installed, operating your podofo backup camera system is straightforward.
5.1 Basic Operation
- Power On/Off: The monitor powers on automatically when connected to a powered cigarette lighter socket and the vehicle ignition is on. To manually power off, press the power button on the monitor.
- View Camera Feed: The monitor will automatically display the camera feed when the camera receives power (e.g., when the vehicle is in reverse or if wired for constant monitoring).
5.2 Monitor Settings
Use the buttons on the monitor to access and adjust settings:
- Menu Button (M): Press to enter the main menu for display adjustments (brightness, contrast, color, etc.).
- Arrow Buttons (< / >): Navigate through menu options or adjust values.
- OK Button: Confirm selections.
- Guide Lines ON/OFF: Within the menu, locate the "Guide Lines" option to enable or disable the parking assist lines displayed on the screen.
- Image Flip: Within the menu, find the "Image Flip" or "Mirror/Normal" option to rotate the image horizontally or vertically. This is useful if the camera is mounted in a way that requires image inversion.

Image 5.1: Demonstrates the image flip functionality and the ability to toggle parking guide lines on or off for precise reversing.
6. Maintenance
To ensure the longevity and optimal performance of your backup camera system, follow these maintenance guidelines:
- Camera Lens: Regularly clean the camera lens with a soft, damp cloth to remove dirt, dust, or water spots that may obstruct the view. Avoid abrasive cleaners.
- Monitor Screen: Wipe the monitor screen with a soft, lint-free cloth. For stubborn smudges, use a screen-specific cleaning solution.
- Connections: Periodically check all cable connections to ensure they are secure and free from corrosion.
- Antennas: Ensure antennas are securely screwed in and not damaged.
- Extreme Conditions: While the camera is IP68K waterproof and heat-resistant, prolonged exposure to extreme temperatures or direct sunlight when not in use can affect component lifespan.
7. Troubleshooting
If you encounter issues with your system, refer to the following common problems and solutions:
| Problem | Possible Cause | Solution |
|---|---|---|
| No image on monitor / "No Signal" |
|
|
| Image is blurry or distorted |
|
|
| Guide lines not appearing/incorrect |
|
|
8. Specifications
| Feature | Detail |
|---|---|
| Product Dimensions | 7.3 x 2.5 x 4.8 inches (Monitor) |
| Item Weight | 3.14 pounds |
| Screen Size | 7 Inches |
| Display Technology | IPS LCD |
| Video Capture Resolution | 1080p |
| Wireless Range | Up to 320 feet (digital high-speed transmission) |
| Waterproof Rating | IP68K (Camera) |
| Voltage | 12V/24V Compatible |
| Optical Sensor Technology | CMOS |
| Lens Type | Wide Angle |
| Compatible Devices | Car, Van, Camper, SUVs, Pickups, Truck, RV, Bus, Trailer |
9. Warranty and Support
Podofo specializes in car electronics and is committed to providing professional technical support. If you encounter any issues with installation, operation, or have questions about your product, please do not hesitate to contact us.
For support, please refer to the contact information provided with your purchase or visit the official podofo website. Please have your product model number (B0D9XYQF4G) ready when contacting support.
This product comes with a standard manufacturer's warranty. Please refer to the warranty card included in your package for specific terms and conditions.