1. Introduction
Thank you for choosing the Genel ALTUS AL 6103 L washing machine. This manual provides essential information for the safe and efficient operation, installation, and maintenance of your appliance. Please read these instructions carefully before using your washing machine and keep them for future reference.
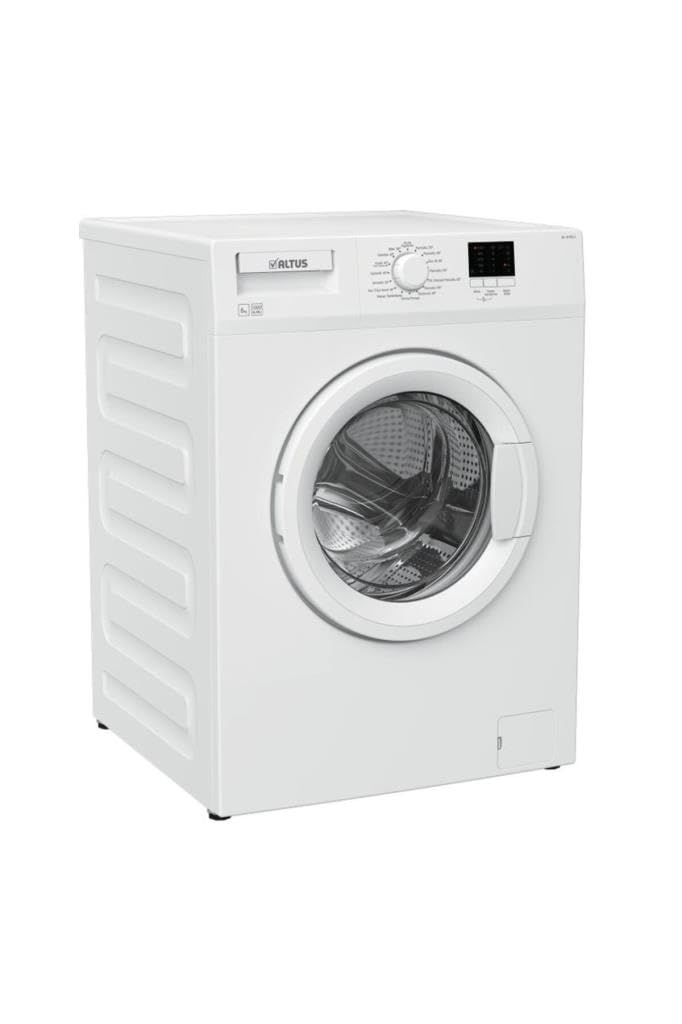
Figure 1: Front view of the Genel ALTUS AL 6103 L washing machine. This image shows the appliance's control panel, detergent drawer, and front-loading door.
2. Safety Instructions
For your safety and to ensure correct operation, please observe the following precautions:
- Read all instructions before using the appliance.
- This appliance is intended for household use only.
- Do not allow children to play with the appliance. Close supervision is necessary when the appliance is used near children.
- Ensure the power cord is not damaged. If damaged, it must be replaced by the manufacturer or an authorized service agent.
- Do not operate the washing machine if it is visibly damaged or if the power cord is faulty.
- Always unplug the appliance and turn off the water supply before cleaning or maintenance.
- Do not wash items that have been cleaned in, washed in, soaked in, or spotted with combustible or explosive substances.
- Keep the area around the washing machine clear of flammable materials.
3. Setup and Installation
3.1 Unpacking
Carefully remove all packaging materials. Remove the transport bolts located at the rear of the machine. These bolts are crucial for securing the drum during transit and must be removed before operation to prevent damage.
3.2 Location and Leveling
Place the washing machine on a firm, level floor. Adjust the leveling feet at the bottom of the machine to ensure it is stable and does not wobble. Proper leveling prevents excessive vibration and noise during operation.
3.3 Water Connection
Connect the water inlet hose to a cold water tap with a 3/4-inch thread. Ensure all connections are tight to prevent leaks. Position the drain hose into a standpipe or over the edge of a sink, ensuring it is securely fixed to prevent displacement during draining.
3.4 Electrical Connection
Plug the washing machine into a grounded electrical outlet. Ensure the voltage and frequency specified on the rating plate match your local power supply. Do not use extension cords or multiple adapters.
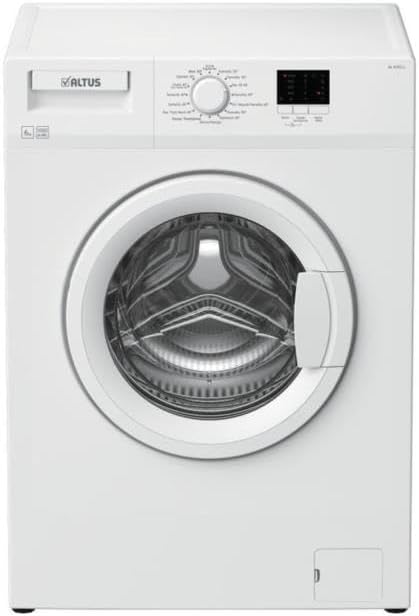
Figure 2: Side view of the Genel ALTUS AL 6103 L washing machine, illustrating its compact design suitable for solo installation. This view highlights the depth of 44 cm.
4. Operating Instructions
4.1 Control Panel Overview
The control panel features a program selection knob, function buttons, and a digital display. Refer to the markings on the panel for specific program names and functions.
4.2 Loading Laundry
Open the door and load laundry into the drum. Do not overload the machine; ensure there is enough space for clothes to move freely. Close the door firmly.
4.3 Adding Detergent
Pull out the detergent drawer. Add the appropriate amount of detergent and fabric softener to the designated compartments. Refer to detergent packaging for dosage recommendations.
4.4 Program Selection
Turn the program selection knob to choose the desired wash program. Common programs include:
- Cottons: For durable cotton items.
- Synthetics: For synthetic or mixed fabrics.
- Delicates: For delicate items requiring gentle washing.
- Quick Wash: For lightly soiled items needing a fast cycle.
- Spin: For draining water and spinning laundry.
4.5 Starting a Wash Cycle
After selecting the program and any additional functions, press the Start/Pause button to begin the wash cycle. The display will show the remaining time.
4.6 Ending a Wash Cycle
Once the program is complete, the machine will signal with an audible alert or a message on the display. The door will unlock after a short delay. Unload the laundry promptly.
5. Maintenance and Cleaning
Regular maintenance ensures optimal performance and extends the life of your washing machine.
5.1 Cleaning the Detergent Drawer
Periodically remove and clean the detergent drawer under running water to prevent detergent residue buildup.
5.2 Cleaning the Drum
Run a maintenance wash cycle (e.g., a hot wash without laundry and with a descaling agent) every few months to clean the drum and remove any residue.
5.3 Cleaning the Door Seal
Wipe the door seal after each wash to remove lint and moisture, preventing mold and odors.
5.4 Cleaning the Pump Filter
Locate the pump filter at the bottom front of the machine. Open the cover, drain any residual water, and carefully unscrew the filter. Clean it thoroughly and reinsert it securely.
6. Troubleshooting
Before contacting service, check the following common issues:
| Problem | Possible Cause | Solution |
|---|---|---|
| Machine does not start | No power; door not closed; program not selected. | Check power supply; ensure door is latched; select a program and press Start. |
| Water leakage | Hose connections loose; detergent drawer overflowing. | Tighten hose connections; do not overfill detergent drawer. |
| Excessive vibration | Machine not level; transport bolts not removed; uneven load. | Adjust leveling feet; remove transport bolts; redistribute laundry. |
| Poor washing results | Incorrect detergent dosage; wrong program; overloaded. | Adjust detergent; select appropriate program; reduce load size. |
7. Specifications
| Feature | Specification |
|---|---|
| Model | ALTUS AL 6103 L |
| Capacity | 6 kg |
| Maximum Spin Speed | 1000 RPM |
| Dimensions (W x D x H) | 60 cm x 44 cm x 84 cm |
| Energy Class | E (New Energy Class) |
| Access Position | Front Loading |
| Part Number | al6103lcmsr |
8. Warranty and Support
Your Genel ALTUS AL 6103 L washing machine comes with a standard manufacturer's warranty. Please refer to the separate warranty card provided with your purchase for detailed terms and conditions, including warranty period and coverage.
For technical assistance, spare parts, or to schedule a service appointment, please contact your authorized dealer or the manufacturer's customer support. Ensure you have your model number (AL 6103 L) and serial number ready when contacting support.