Merax Queen White
Merax Queen Bed Frame User Manual
Model: Queen White
1. Introduction
Thank you for purchasing the Merax Queen Bed Frame. This manual provides detailed instructions for assembly, operation, maintenance, and troubleshooting to ensure safe and efficient use of your new bed frame. Please read this manual thoroughly before assembly and retain it for future reference.
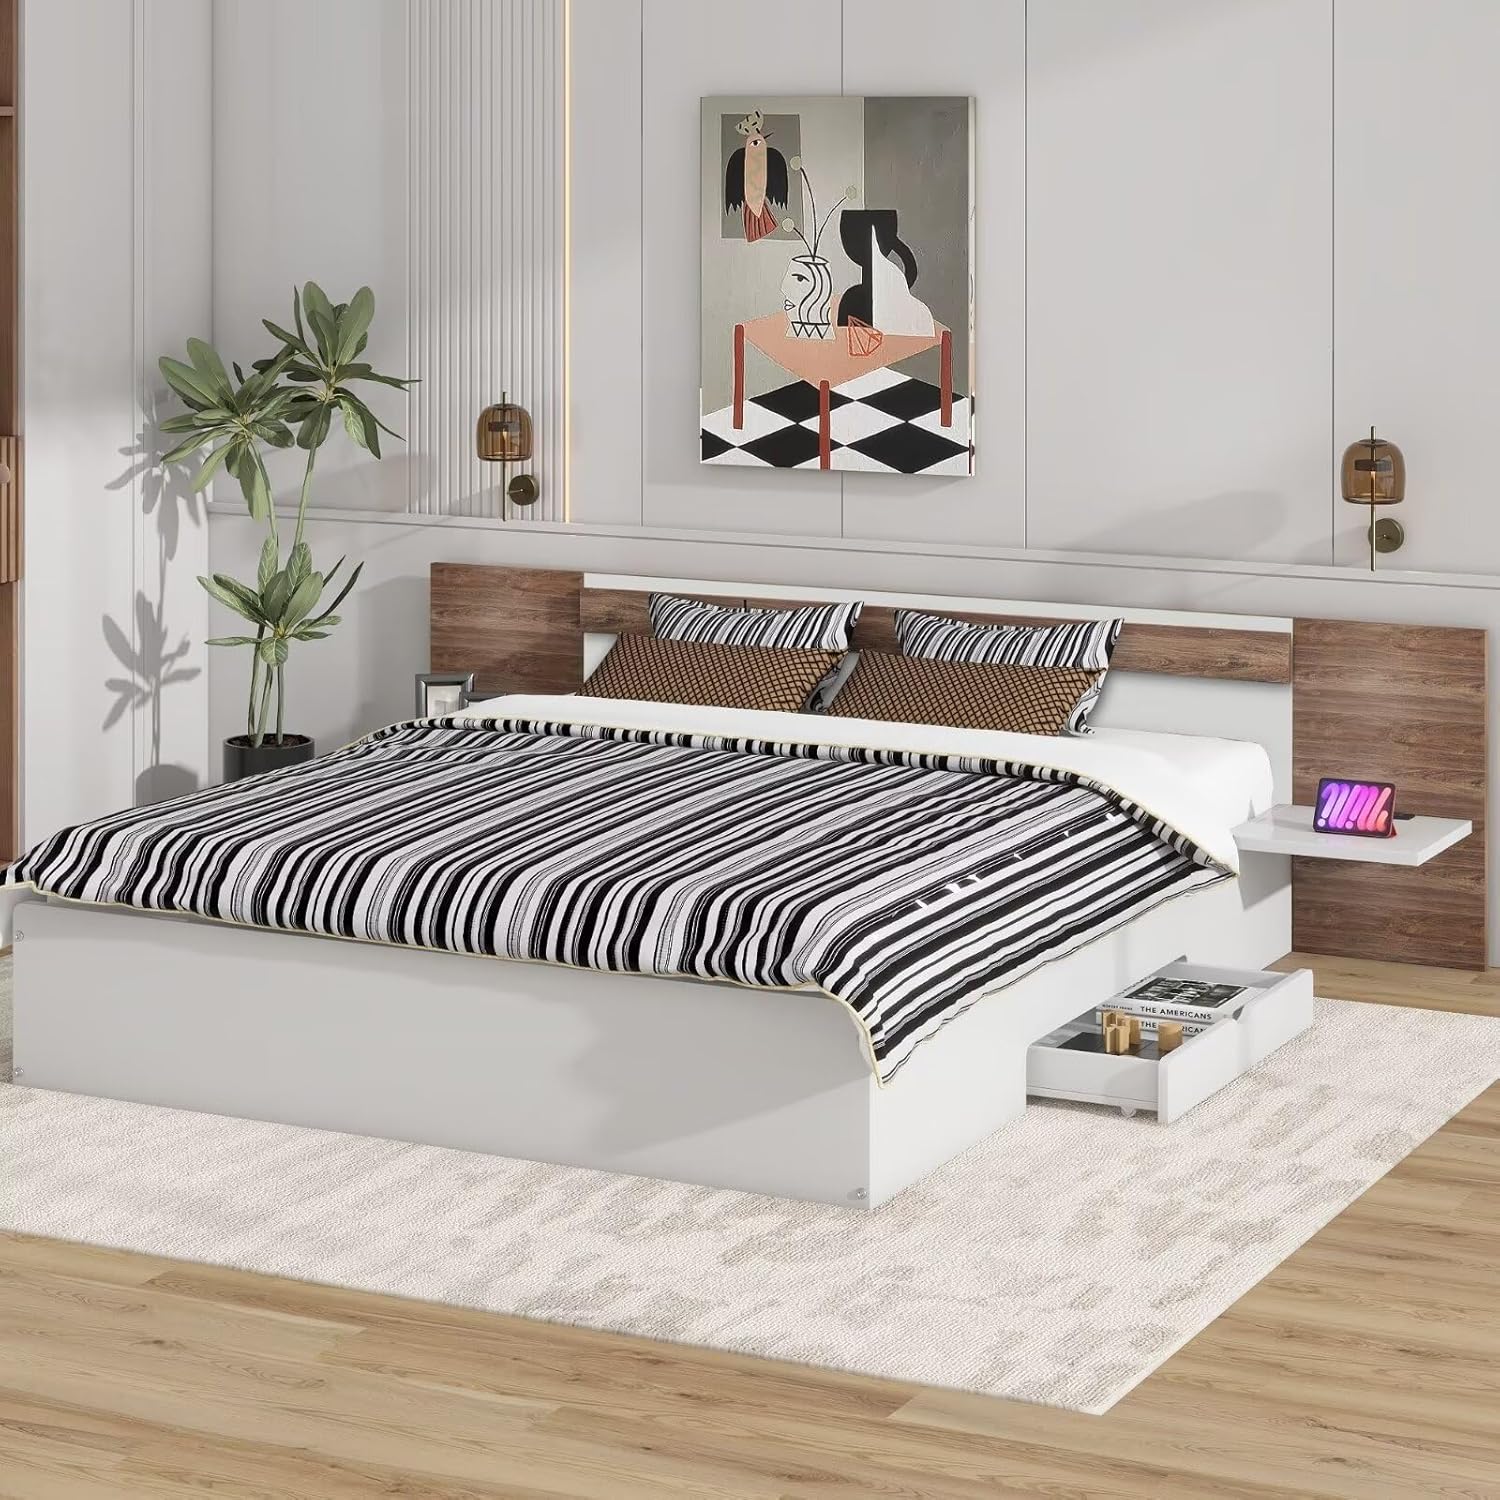
Image 1.1: Fully assembled Merax Queen Bed Frame with headboard, storage drawers, and charging station.
2. Safety Information
WARNING:
- Do not exceed the weight capacity of 800 lbs for the entire bed frame.
- Follow all assembly instructions carefully to ensure stability and prevent injury.
- Keep small parts away from children during assembly to prevent choking hazards.
- Ensure all connections are securely tightened before use. Periodically check and re-tighten fasteners.
- Use only the provided components and hardware. Do not substitute parts.
- This product is intended for indoor use only.
3. Package Contents
Your Merax Queen Bed Frame will arrive in 3 separate packages. Please ensure all packages are received before beginning assembly. Verify all parts against the included parts list in your physical instruction guide.
- Headboard components (with charging station)
- Bed frame side rails and footboard
- Wood slats
- 2 Storage Drawers (with wheels)
- Assembly Hardware (screws, bolts, Allen wrench, etc.)
- Instruction Manual
4. Setup and Assembly
Assembly typically takes approximately 30 minutes with two people. It is recommended to assemble the bed frame in the room where it will be used.
4.1 Required Tools
- Included Allen Wrench
- Phillips Head Screwdriver (not included, for some screws)
4.2 Assembly Steps
Step 1: Unpack and Identify Parts. Carefully unpack all components and lay them out on a clean, soft surface (like a rug or blanket) to prevent scratches. Identify each part according to the parts list in your physical manual.

Image 4.1: Overview of bed frame dimensions and key components.
Step 2: Assemble the Headboard. Attach the side shelves to the main headboard panel. Ensure the charging station component is correctly oriented and secured within the designated slot. Connect any necessary wiring for the charging station as per the detailed instructions in your physical manual.

Image 4.2: Detail of the integrated charging station with AC outlets and USB ports.
Step 3: Assemble the Bed Frame Base. Connect the side rails to the headboard and footboard. Use the provided hardware and tighten all bolts securely. Do not overtighten until all connections are aligned.

Image 4.3: Illustration of the sturdy wooden construction and materials.
Step 4: Install the Wood Slats. Place the wood slats across the bed frame, ensuring they are evenly spaced and secured to the side rails. The slats provide robust support for your mattress and eliminate the need for a box spring.
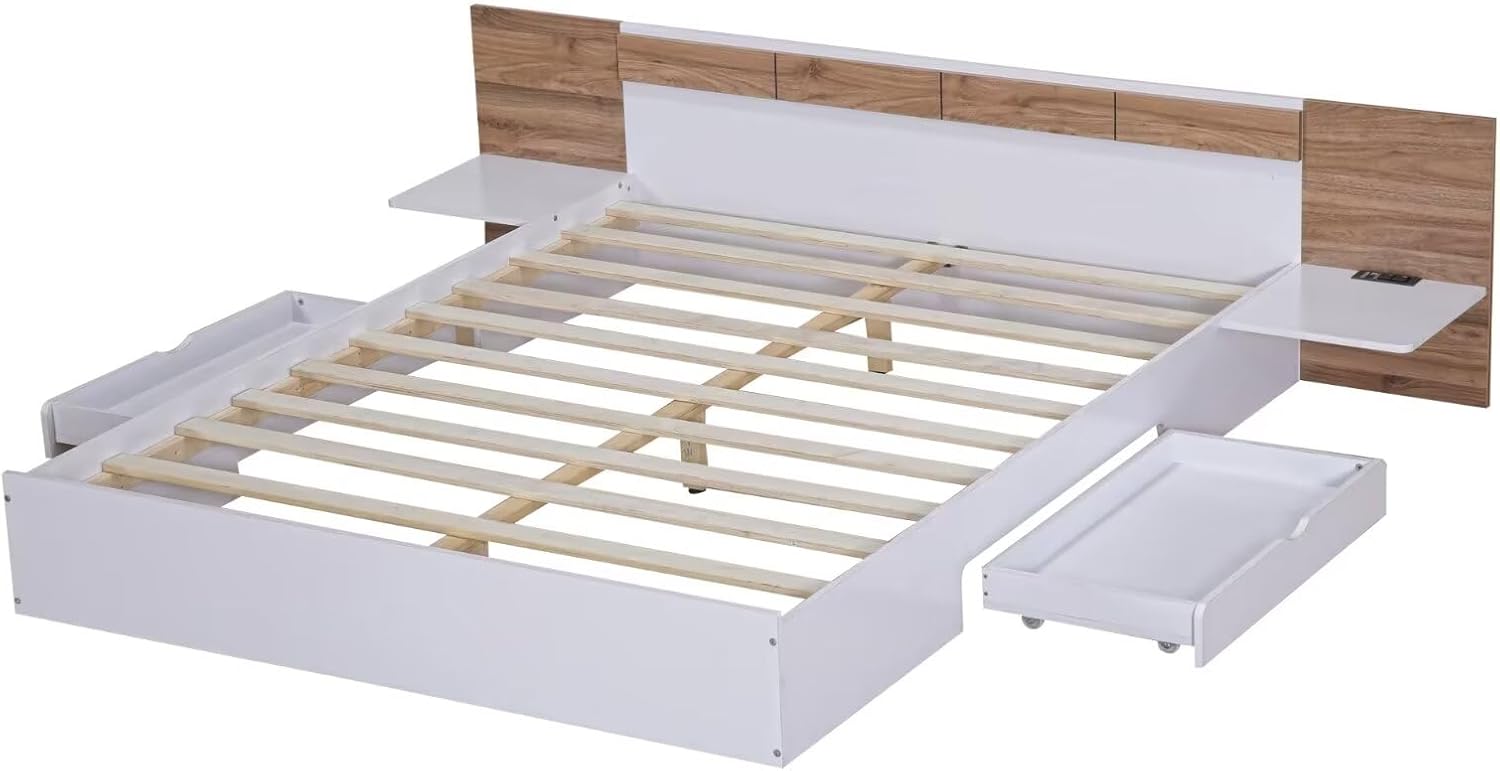
Image 4.4: Bed frame with wood slats and an open storage drawer.
Step 5: Assemble and Insert Storage Drawers. Assemble the two storage drawers according to the instructions, attaching the wheels to the bottom. Once assembled, slide the drawers into the designated spaces under the bed frame. The wheels allow for smooth operation.

Image 4.5: Detail of the functional drawer wheels for easy movement.
Step 6: Final Tightening. Once all components are in place and aligned, go back and securely tighten all bolts and screws. Do not overtighten to avoid damaging the wood. Ensure the bed frame is stable and level.
5. Operating Instructions
5.1 Using the Charging Station
The integrated headboard features 2 standard AC outlets (110V/12A) and 2 USB ports (5V/2A) for convenient charging of electronic devices. Simply plug the bed frame's power cord into a wall outlet. You can then plug in your devices directly to the headboard.

Image 5.1: Built-in charging station for convenient device charging.
5.2 Utilizing Storage Drawers and Shelves
The bed frame includes two large storage drawers located under the bed, ideal for blankets, linens, or other items. These drawers are equipped with wheels for easy access. The headboard also provides two shelves on either side for storing small items like books, glasses, or a tablet.

Image 5.2: Storage solutions including headboard shelves and under-bed drawers.
6. Maintenance
- Cleaning: Wipe the bed frame surfaces with a dry cloth. For stubborn marks, use a slightly damp cloth and mild detergent, then dry immediately. Avoid harsh chemicals or abrasive cleaners.
- Fasteners: Periodically check all bolts and screws to ensure they remain tight. Re-tighten as necessary to maintain stability and prevent squeaking.
- Wood Slats: Inspect wood slats for any signs of damage or wear. Replace any broken slats immediately to ensure proper mattress support.
- Charging Station: Ensure the charging station area remains free of dust and debris. Do not spill liquids on the outlets or USB ports.
7. Troubleshooting
| Problem | Possible Cause | Solution |
|---|---|---|
| Bed frame is wobbly/squeaky. | Loose bolts or screws. Uneven floor. | Check and tighten all assembly hardware. Ensure the bed is on a level surface; use shims if necessary. |
| Charging station not working. | Power cord not plugged in. Outlet issue. Device issue. | Ensure the bed frame's power cord is securely plugged into a functional wall outlet. Test with another device. Check household circuit breaker. |
| Drawers are difficult to open/close. | Obstruction. Wheels dirty or damaged. | Check for items blocking the drawer path. Clean drawer wheels. Ensure drawers are assembled correctly. |
| Missing parts upon delivery. | Packages may arrive separately. | Wait for all 3 packages to arrive. If parts are still missing, contact Merax customer support. |
8. Specifications
| Feature | Detail |
|---|---|
| Size | Queen |
| Product Dimensions (L x W x H) | 81.9" x 91.5" x 22.8" |
| Weight Capacity | 800 lbs |
| Color | White |
| Material | Pine Wood (Furniture Finish), PB and LVL (Product Material) |
| Charging Station | 2 AC Outlets (110V/12A), 2 USB Ports (5V/2A) |
| Storage | 2 Under-bed Drawers, 2 Headboard Shelves |
| Assembly Required | Yes |
| Box Spring Needed | No |
| Number of Packages | 3 |
| UPC | 198573681778 |
9. Warranty and Support
For warranty information or technical support, please refer to the warranty card included with your product or visit the official Merax website. You can also contact Merax customer service directly for assistance with parts, assembly, or product inquiries.
Manufacturer: Merax
Date First Available: July 22, 2024
Contact Information: Please refer to the contact details provided in your product packaging or on the Merax official website (Merax Store on Amazon).
Ask a question about this manual
Ask about setup, troubleshooting, compatibility, parts, safety, or missing instructions. Manuals+ will review the question and use this page’s manual context to help answer it.