Netzu W318B
Netzu Wooden Alarm Clock User Manual
Model: W318B
Introduction
Thank you for purchasing the Netzu Wooden Digital Alarm Clock. This manual provides detailed instructions for setting up, operating, and maintaining your new alarm clock. Please read this manual thoroughly before use to ensure proper function and longevity of the product.
The Netzu Wooden Digital Alarm Clock (Model W318B) combines modern digital display technology with a classic wooden aesthetic, making it a perfect addition to any bedroom or living space. It features adjustable brightness, multiple alarm tones, and a snooze function for a personalized wake-up experience.
Safety Information
- Keep the device away from water and high humidity environments.
- Do not expose the device to direct sunlight or extreme temperatures.
- Avoid dropping or subjecting the device to strong impacts.
- Do not attempt to disassemble or repair the device yourself. Contact qualified service personnel for assistance.
- Use only the specified power source (DC 5V).
- Ensure batteries are inserted with correct polarity.
Package Contents
Please check the package for the following items:
- Netzu Wooden Digital Alarm Clock (Model W318B)
- USB Power Cable
- User Manual
Note: 2*AAA batteries are not included and are required for memory backup during power outages. The clock will not light up without external power, even with batteries installed.
Product Overview
Familiarize yourself with the various parts and controls of your Netzu Wooden Digital Alarm Clock.

Image: Front view of the Netzu Wooden Digital Alarm Clock, showing the large white LED display and the wooden casing.

Image: Rear view of the alarm clock, highlighting the DC 5V USB power input and the battery compartment for 2x AAA batteries (not included). Control buttons for DST, SET, and others are visible on the top panel.
Top Panel Controls:
- DST Button: Long press to turn DST mode on/off (1 hour forward/back). Short press to enable/disable the Alarm.
- SET Button: Short press to switch between 12/24-hour format. Long press to set the time.
- SNOOZE Button: Raised button for easy identification. Press to activate 5-minute snooze.
- Other buttons for alarm settings and volume (implied from images).
Setup
1. Powering On:
- Connect the provided USB power cable to the DC 5V port on the back of the alarm clock.
- Plug the other end of the USB cable into a compatible USB power adapter (not included) or a powered USB port.
- The display will light up, indicating the clock is powered on.
2. Battery Installation (for Memory Backup):
- Locate the battery compartment on the back of the clock.
- Open the battery compartment cover.
- Insert 2 AAA batteries (not included), ensuring correct polarity (+ and -).
- Close the battery compartment cover.
Note: Batteries are for memory backup only. The clock display will not light up and the alarm will not sound without external USB power, even with batteries installed.
Operating Instructions
1. Setting the Time:
- Long press the SET button until the hour digits start flashing.
- Use the UP and DOWN buttons (or similar navigation buttons on top panel, not explicitly named but implied) to adjust the hour.
- Press SET again to move to the minute setting.
- Use the UP and DOWN buttons to adjust the minutes.
- Press SET once more to confirm and exit time setting mode.

Image: Illustration showing the three time display formats: 12-hour (with AM/PM indicator), 24-hour, and DST (Daylight Saving Time) display.
2. Switching 12/24-Hour Format:
- Short press the SET button to toggle between 12-hour and 24-hour display formats.
3. Setting the Alarm:
- Long press the ALARM button (or similar, implied from DST button description) until the alarm hour digits flash.
- Adjust the alarm hour using the UP and DOWN buttons.
- Press ALARM again to set the alarm minutes.
- Adjust the alarm minutes using the UP and DOWN buttons.
- Press ALARM to confirm.
- To enable/disable the alarm, short press the DST button. An alarm icon will appear/disappear on the display.
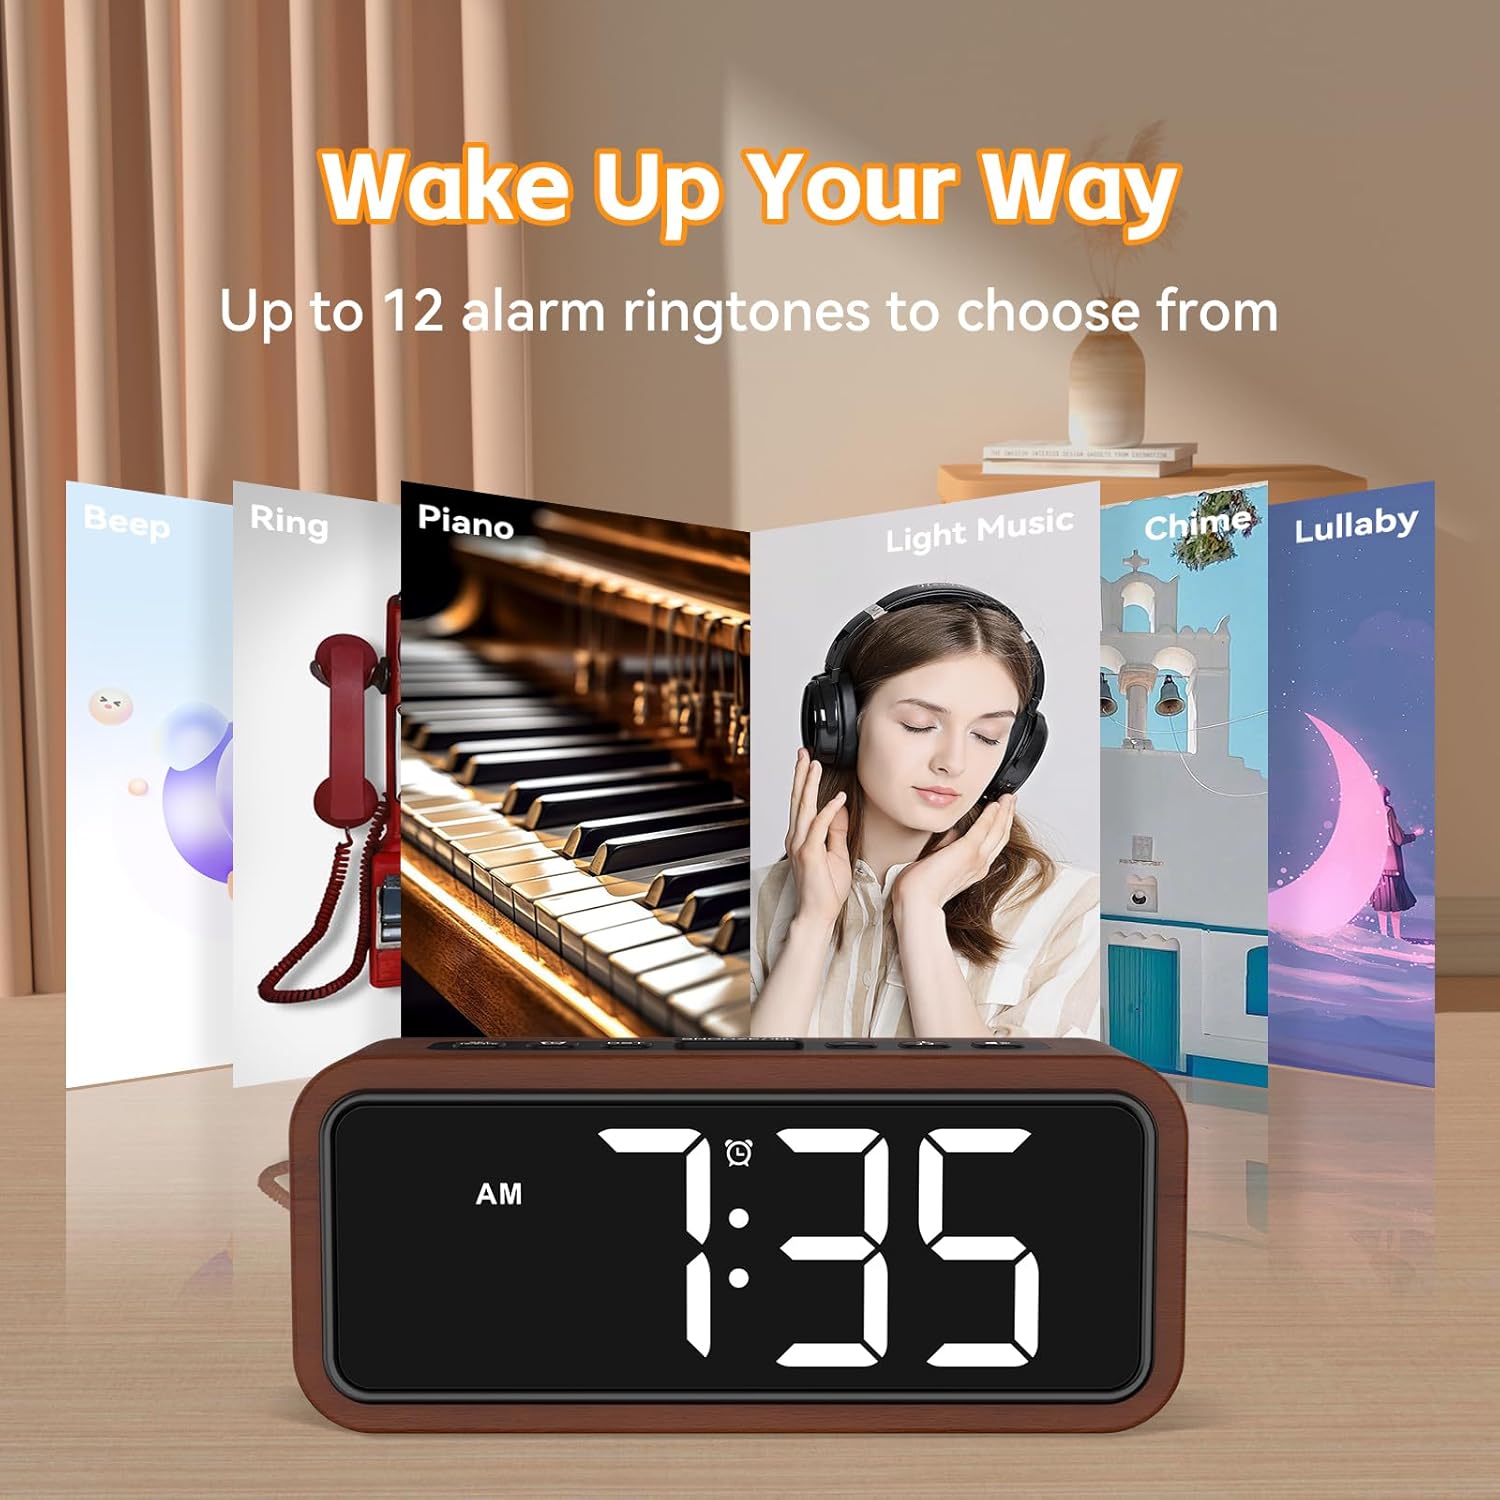
Image: Visual representation of up to 12 alarm ringtones available, such as Beep, Ring, Piano, Light Music, Chime, and Lullaby, allowing users to choose their preferred wake-up sound.
4. Snooze Function:
- When the alarm sounds, press the large SNOOZE button on the top of the clock.
- The alarm will pause for 5 minutes and then sound again.
- You can repeat the snooze function multiple times.
- To turn off the alarm completely, press any other button (e.g., SET or DST).

Image: A hand reaching to press the prominent, raised SNOOZE button on the top of the alarm clock, illustrating the 5-minute snooze feature.
5. Adjusting Display Brightness:
- The clock features 5 brightness levels, including an OFF mode.
- Press the BRIGHTNESS button (or similar, implied from image) repeatedly to cycle through the brightness levels (100%, 75%, 50%, 10%, OFF).

Image: A visual guide demonstrating the five brightness settings of the alarm clock's display, ranging from 100% illumination down to completely off, with corresponding percentages.
6. Adjusting Alarm Volume:
- The alarm offers 5 volume levels, from 80dB to 120dB (Max).
- During alarm setting or when the alarm is sounding, use the VOLUME buttons (or similar, implied from image) to adjust the desired loudness.

Image: An illustration depicting the "Super Loud Alarm" feature, showing five selectable volume levels ranging from 80dB to a maximum of 120dB, designed for reliable awakening.
7. Daylight Saving Time (DST) Mode:
- Long press the DST button to activate or deactivate DST mode. This will adjust the time by one hour forward or backward.
Maintenance
- Cleaning: Wipe the clock surface with a soft, dry cloth. Do not use abrasive cleaners or solvents.
- Storage: If storing for an extended period, remove the AAA batteries to prevent leakage.
- Environment: Keep the clock in a dry place, away from direct sunlight and extreme temperatures.
Troubleshooting
| Problem | Possible Cause | Solution |
|---|---|---|
| Clock display is off. | No power supply; USB cable disconnected; Brightness set to OFF. | Ensure USB cable is securely connected to a power source. Check if the brightness level is not set to OFF. |
| Alarm does not sound. | Alarm not enabled; Alarm volume too low; Incorrect alarm time set; No external power. | Short press the DST button to ensure the alarm icon is displayed. Increase alarm volume. Verify alarm time is correctly set. Ensure the clock is connected to USB power. |
| Time/settings reset after power outage. | No backup batteries installed or batteries are dead. | Install 2 new AAA batteries for memory backup. |
| Buttons are unresponsive. | Temporary software glitch. | Disconnect and reconnect the USB power cable to reset the device. |
Specifications
| Brand | Netzu |
| Model Number | W318B |
| Display Type | Digital LED |
| Material | Wood |
| Color | Wooden |
| Product Dimensions | 16.5W x 7H Centimeters |
| Item Weight | 380 g |
| Power Source | Battery Powered (for backup), Electrical (USB DC 5V for operation) |
| Batteries Required | 2 x AAA (not included, for memory backup only) |
| Special Features | Alarm, Snooze, Adjustable Brightness (5 levels + OFF), Adjustable Volume (5 levels), 12/24-hour format, DST mode, Multiple Ringtones (up to 12) |

Image: A detailed view emphasizing the solid wood construction of the alarm clock, highlighting its eco-friendly material and craftsmanship.
Warranty and Support
For warranty information or technical support, please refer to the contact details provided with your purchase or visit the official Netzu website. Keep your purchase receipt as proof of purchase for warranty claims.
For further assistance, you may contact Netzu customer service through their official channels. Please have your model number (W318B) ready when contacting support.