1. Introduction
This manual provides instructions for the safe and efficient operation of your Generic Portable Tire Inflator Air Compressor. Please read this manual thoroughly before using the device to ensure proper function and to prevent damage or injury. Keep this manual for future reference.
2. Product Overview and Features
The Generic Portable Tire Inflator is an electric air pump designed for quick and convenient inflation of various items, including vehicle tires, motorcycle tires, bicycle tires, sports balls, and inflatable toys. It features a digital display for real-time pressure monitoring and automatic shut-off for precise inflation.
- Digital Display Performance: Provides real-time pressure readings via a smart digital display, ensuring accuracy for your vehicle's needs.
- Safe Inflation Mode: Monitors tire pressure in real time and automatically stops when the preset pressure is reached, preventing overinflation.
- Lighting Function: Equipped with built-in lighting for clear visibility and safe operation in poorly-lit areas. Includes LED work light, flashing warning light, and flashing rescue light.
- Wide Applications: Suitable for trucks, cars, motorcycles, bicycles, and various balls.
- Handy to Carry: Compact, practical, and easy to store in your car for use anywhere.
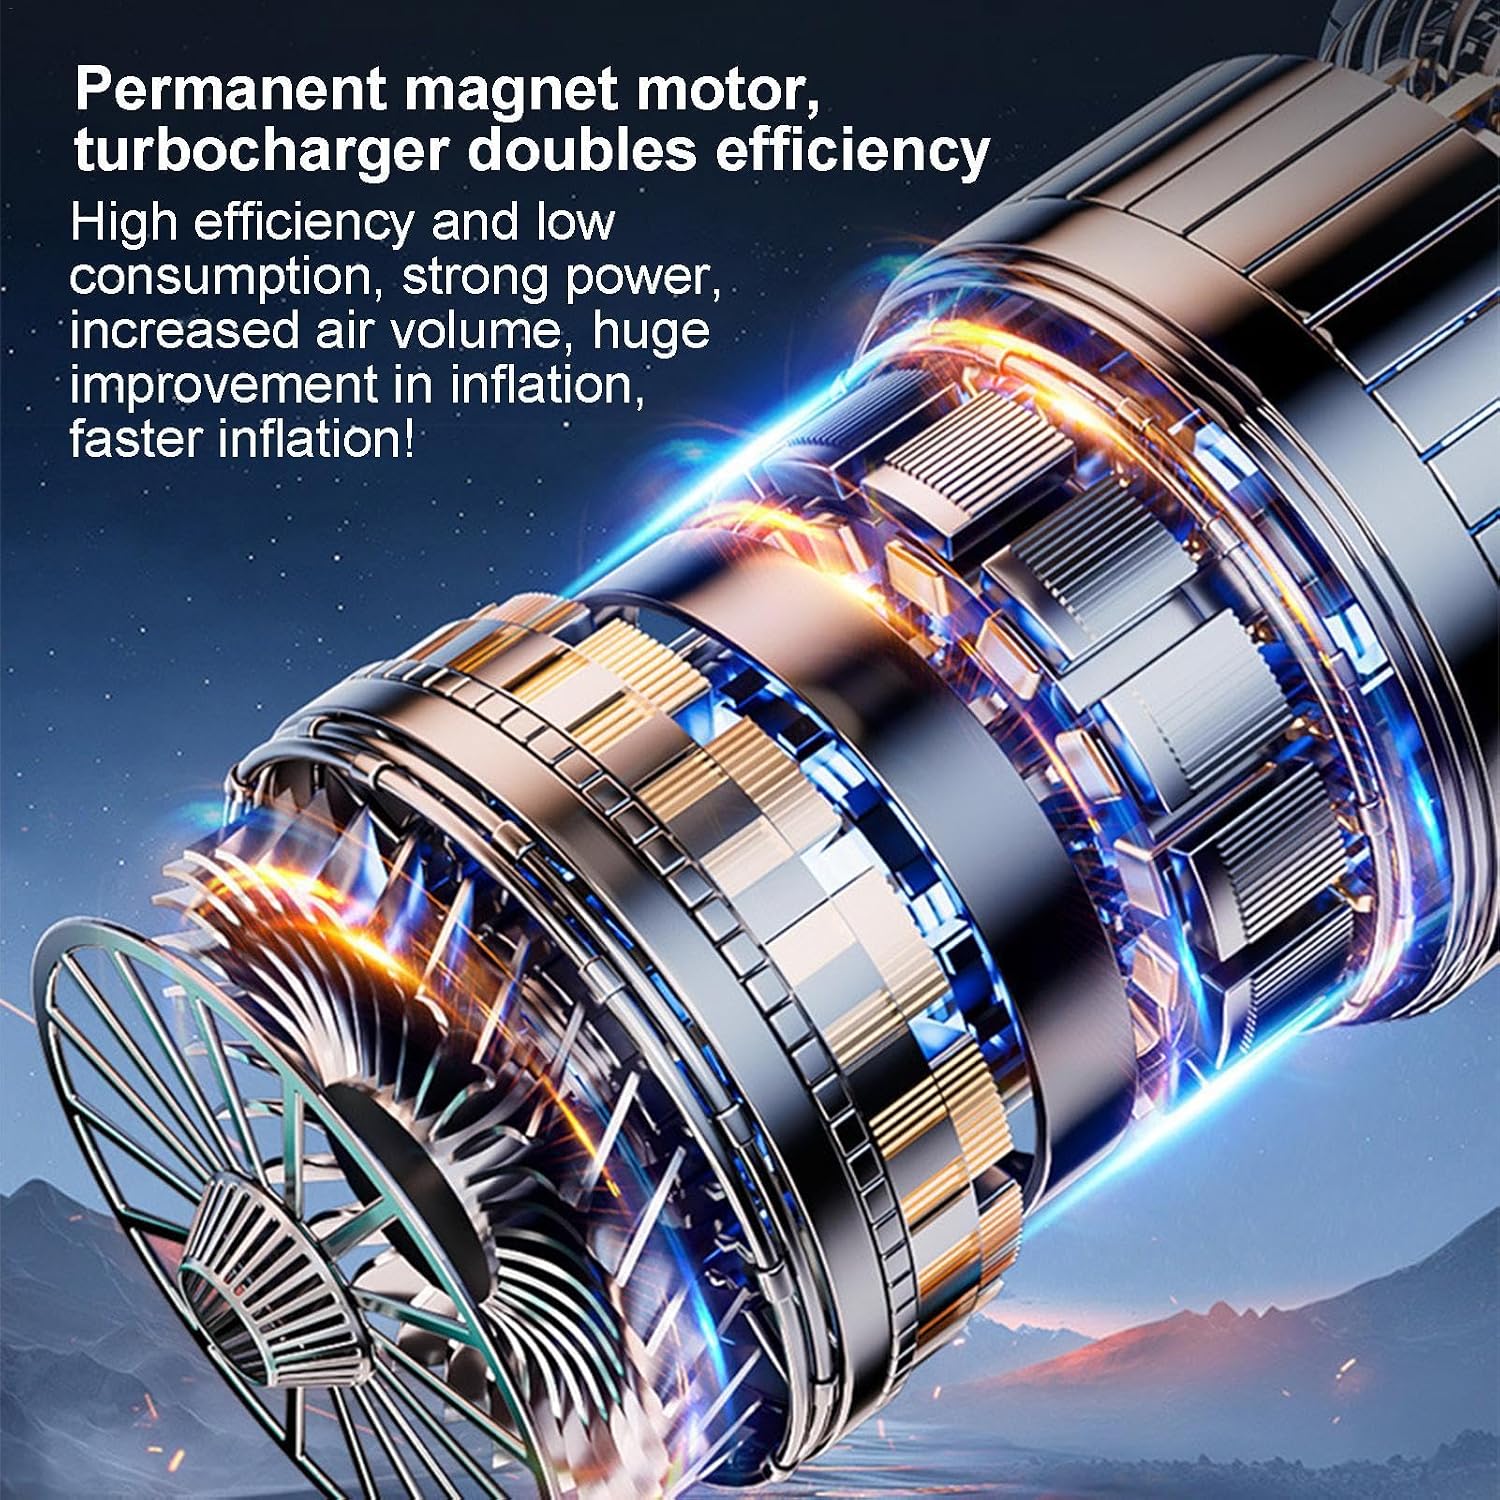
Image: The portable tire inflator displaying its LED emergency lighting functions, including a work light, flashing warning light, and flashing rescue light. This feature enhances safety and usability in low-light conditions.

Image: The tire inflator positioned among various items it can inflate, including a car, motorcycle, bicycle, soccer ball, and inflatable boat, demonstrating its wide range of applications.
3. Package Contents
Please check the package contents upon unboxing. If any items are missing or damaged, contact customer support.
- Portable Tire Inflator Unit
- Inflation Hose
- USB Charging Cable
- Various Nozzle Adapters (e.g., ball needle, bicycle valve adapter, inflatable toy adapter)

Image: The portable tire inflator unit displayed alongside its accessories, including the inflation hose, USB charging cable, and various nozzle adapters for different inflation needs.
4. Specifications
| Specification | Value |
|---|---|
| Brand | Generic |
| Model Number | JH5KE6Q5U0U7P9S1VG |
| Item Weight | 599 g |
| Material | ABS |
| Power Source | Wireless (Battery Operated) |
| Voltage | 7.4V (for 'B Wireless 7.4v' color variant) |

Image: The portable tire inflator displaying its compact dimensions, highlighting its portability and ease of storage.
5. Setup
- Charge the Device: Before first use, fully charge the tire inflator using the provided USB charging cable. Connect the cable to the device's charging port and a compatible USB power adapter (not included). The digital display will indicate charging status.
- Attach the Inflation Hose: Screw the inflation hose securely onto the air outlet port of the inflator.
- Select Appropriate Nozzle: Choose the correct nozzle adapter for the item you intend to inflate (e.g., Schrader valve for car tires, Presta valve adapter for bicycles, ball needle for sports balls). Attach it to the end of the inflation hose.
6. Operating Instructions
6.1 Power On/Off
- Press and hold the Power button (⏻) to turn the device on or off.
- The digital display will illuminate, showing the current pressure and selected mode.
6.2 Selecting Inflation Mode and Pressure Unit
- Press the Mode button (M) to cycle through different inflation modes (e.g., Car, Motorcycle, Bicycle, Ball). Each mode may have a default pressure setting.
- Press the Unit button (PSI/BAR) to switch between pressure units (PSI, BAR, KPA, kg/cm²).
6.3 Setting Target Pressure
- Once a mode is selected, use the '+' and '-' buttons to adjust the target pressure.
- Refer to your vehicle's manual or the item's specifications for recommended pressure values.
- Default Pressure Examples:
- Car/Commercial Vehicle: Default 2.2-2.8 bar
- Motorcycle/Electric Vehicle: Default 1.8-2.8 bar
- Bicycle: Default 30-90 psi
- Balls: Default 7-9 psi
- Swimming Ring: Default 1-150 psi
- Inflatable Boat/Bed: Default 1-2.5 psi

Image: A visual guide illustrating the default pressure settings for different inflation applications, including cars, motorcycles, bicycles, balls, swimming rings, and inflatable boats.
6.4 Starting Inflation
- Connect the inflation hose with the appropriate nozzle to the valve stem of the item to be inflated. Ensure a secure connection to prevent air leakage.
- The digital display will show the current pressure of the item.
- Press the Start/Stop button (▶/■) to begin inflation. The pump will operate, and the display will show the increasing pressure.
- The inflator will automatically stop once the preset target pressure is reached.
- Carefully disconnect the hose from the valve stem.
6.5 Using the LED Light
- Press the Light button (💡) to cycle through the lighting modes:
- Work Light (for general illumination during tire changes or troubleshooting)
- Flashing Warning Light (red flashing for roadside visibility)
- Flashing Rescue Light (SOS signal for emergencies)
- Press the Light button again to turn off the light.
7. Maintenance
- Cleaning: Wipe the device with a soft, damp cloth. Do not use harsh chemicals or abrasive cleaners. Ensure the device is off and disconnected from any power source before cleaning.
- Storage: Store the tire inflator in a cool, dry place, away from direct sunlight and extreme temperatures. Keep it out of reach of children.
- Battery Care: To prolong battery life, charge the device regularly, even if not in frequent use. Avoid fully discharging the battery for extended periods.
- Hose and Nozzles: Inspect the inflation hose and nozzles for any signs of wear or damage before each use. Replace if necessary.
8. Troubleshooting
| Problem | Possible Cause | Solution |
|---|---|---|
| Device does not turn on. | Low battery or no charge. | Charge the device fully using the USB cable. |
| Inflator not pumping air. | Hose not securely attached; Nozzle not properly connected to valve; Target pressure already reached. | Ensure hose and nozzle are tightly connected. Check if the current pressure matches the target pressure. |
| Air leaks during inflation. | Loose connection; Damaged hose/nozzle; Valve stem issue. | Tighten all connections. Inspect hose and nozzles for damage. Check the item's valve stem. |
| Inaccurate pressure reading. | Sensor calibration issue; Extreme temperature. | Ensure the device is used within recommended temperature ranges. If issues persist, contact support. |
9. Warranty and Support
For warranty information or technical support, please refer to the product packaging or contact the retailer where the product was purchased. Keep your proof of purchase for warranty claims.