1. Introduction
Thank you for purchasing the Venture Forward North Shore 8-Person Cabin Tent. This spacious cabin-style tent is designed for comfortable outdoor living, featuring a straight wall design for maximum interior space, a room divider for privacy, and an E-port for convenient electrical access. Its pin-and-ring pole system ensures a straightforward and easy setup. Please read this manual carefully before assembly and use to ensure proper setup and longevity of your tent.
2. Safety Information
- Fire Safety: Keep all flame and heat sources away from this tent fabric. The tent fabric is not fireproof. It will burn if left in continuous contact with any flame source.
- Ventilation: Ensure adequate ventilation to prevent suffocation. Do not use fuel-burning devices inside the tent.
- Weather Conditions: Avoid pitching the tent under trees during thunderstorms or in extremely high winds. Securely stake down all corners and guy lines.
- Site Selection: Choose a level site, clear of sharp objects, and away from potential flood areas.
- Children: Keep children away from the tent during setup and takedown.
3. Package Contents
Before beginning assembly, verify that all parts are present. If any parts are missing or damaged, do not attempt to assemble the tent. Contact customer service for assistance.
- Tent Body
- Rainfly
- Fiberglass Poles
- Steel Poles (for screen porch)
- Tent Stakes
- Guy Ropes
- Room Divider
- Duffel Carry Case
4. Setup Instructions
The North Shore tent utilizes a user-friendly pin-and-ring pole system for quick and easy assembly. It is recommended that two people set up this tent.
4.1. Prepare the Site
- Unpack the tent and spread the tent body on a clean, level area. Ensure the floor is flat and free of debris.
- Orient the tent so the door faces the desired direction.
4.2. Assemble the Poles
- Assemble all fiberglass poles by inserting each section into the next until fully connected.
- Assemble any steel poles for the screen porch or structural support.
4.3. Pitch the Tent Body
- Locate the pole sleeves or clips on the tent body.
- Slide the main fiberglass poles through the corresponding sleeves or attach them to the clips.
- Insert the ends of the poles into the pin-and-ring system located at each corner of the tent. This will raise the tent structure.
- Repeat for all main poles, gradually lifting the tent.
- Secure the tent corners to the ground using stakes.
4.4. Attach the Rainfly
- Drape the rainfly over the tent body, ensuring the doors and windows align.
- Attach the rainfly buckles or hooks to the corresponding points on the tent body or poles.
- Extend and stake out all guy lines from the rainfly to provide stability and proper ventilation. The reflective stake lines enhance visibility.
4.5. Set up the Screen Porch
- Use the designated steel poles to erect the screen porch structure.
- Secure the porch with additional stakes and guy lines as needed.
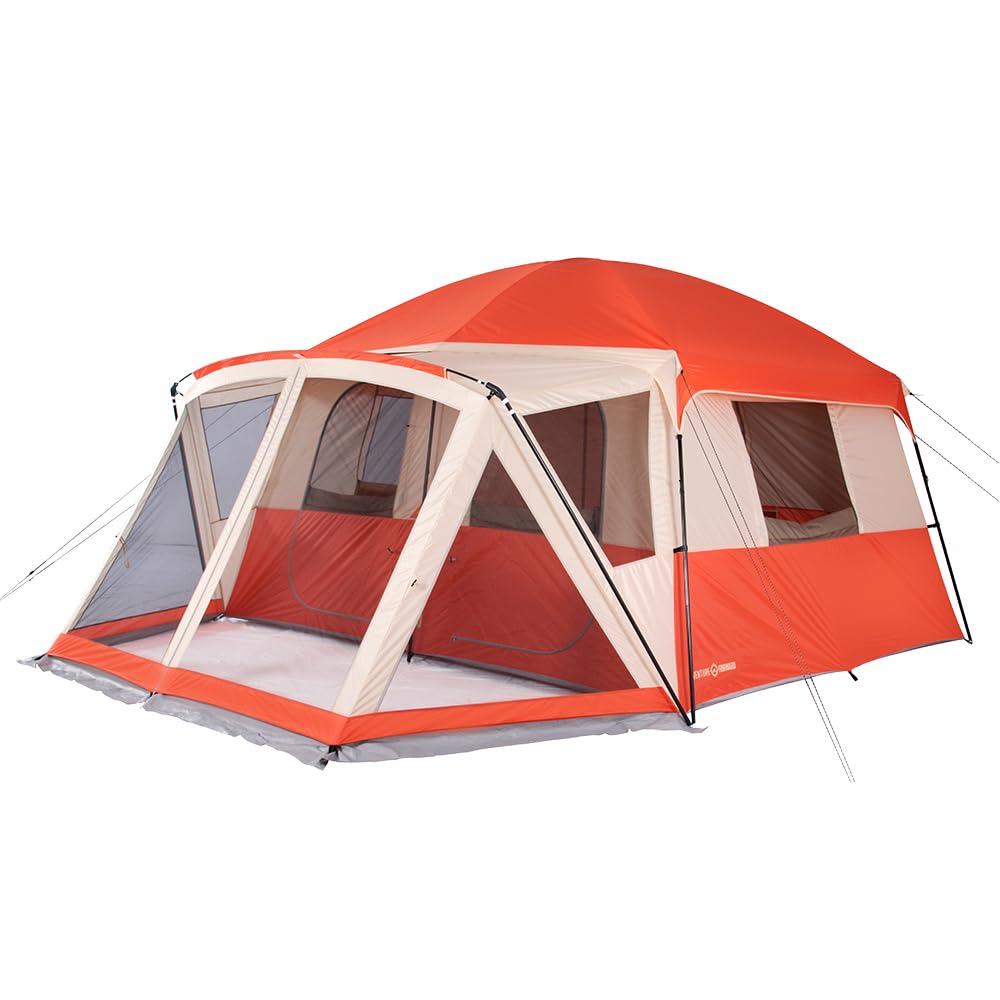
Image 4.1: The Venture Forward North Shore 8-Person Cabin Tent fully set up, showcasing its spacious design and screen porch.
5. Operation
5.1. Doors and Windows
The tent features D-style doors with internal flaps for easy entry and exit. Windows are equipped with mesh screens for ventilation and zippered covers for privacy and weather protection. Always zip doors and windows completely during rain to prevent water entry.
5.2. Room Divider
To create separate sleeping or living areas, attach the included room divider using the toggles or hooks inside the tent. This provides enhanced privacy within the spacious interior.
5.3. E-Port for Electrical Access
Locate the E-port on the tent wall. This zippered opening allows you to safely run an electrical cord into the tent for powering devices, while maintaining weather protection. Ensure the E-port is fully zipped when not in use or during inclement weather.
5.4. Storage Pockets
Utilize the three internal storage pockets to keep small items organized and off the tent floor.
6. Maintenance
6.1. Cleaning
- Clean the tent with a soft sponge, mild soap, and lukewarm water. Do not use harsh detergents, bleach, or stain removers, as these can damage the fabric's waterproof coating.
- Rinse thoroughly to remove all soap residue.
6.2. Drying
Always ensure the tent is completely dry before packing it away. Packing a damp tent can lead to mildew growth, fabric degradation, and unpleasant odors. Air dry the tent in a shaded area, away from direct sunlight, which can degrade fabric over time.
6.3. Storage
Store the clean, dry tent in its duffel carry case in a cool, dry place, away from extreme temperatures and direct sunlight. Avoid storing heavy items on top of the tent.
6.4. Seam Sealing
While the tent features waterproof taped seams, periodic inspection and re-sealing of seams with a suitable seam sealer (available at outdoor retailers) can extend the tent's waterproof performance, especially after prolonged use.
7. Troubleshooting
7.1. Water Leakage
- Check Rainfly: Ensure the rainfly is properly positioned and taut, covering all mesh areas.
- Seams: Inspect seams for damage or wear. Apply seam sealer if necessary.
- Zippers: Ensure all zippers are fully closed.
- Condensation: Distinguish between leaks and condensation. Condensation is normal and can be reduced by improving ventilation (opening windows slightly).
7.2. Tent Not Standing Firmly
- Poles: Verify all poles are fully assembled and correctly inserted into the pin-and-ring system and sleeves/clips.
- Stakes: Ensure all stakes are firmly driven into the ground at an angle.
- Guy Lines: Adjust guy lines to be taut and evenly distributed to provide maximum stability.
7.3. Zipper Issues
- Sticking: Apply a zipper lubricant or a graphite pencil to the teeth.
- Fabric Snag: Gently pull the fabric away from the zipper slider. Avoid forcing the zipper.
8. Specifications
| Feature | Detail |
|---|---|
| Brand: | Venture Forward |
| Model Number: | GO202001 |
| Capacity: | 8 Person |
| Tent Floor Size: | 12 ft x 10 ft (main tent) |
| Screen Porch Floor Size: | 8 ft wide (front) x 12 ft wide (back) x 5 ft deep (50 sq ft) |
| Center Height: | 7 ft 4 inches |
| Canopy/Fly Material: | 185T Coated Polyester Taffeta |
| Floor Material: | Welded Polyethylene |
| Pole System: | Pin-and-Ring, Fiberglass and Steel Poles |
| Key Features: | Straight Wall Design, Room Divider, E-Port, 3 Storage Pockets, Reflective Stake Lines, Waterproof Taped Seams, D-Style Door with Flap |
| Carry Case: | 210D Duffel Carry Case |
| Item Weight: | 31.7 pounds |
| UPC: | 783515478921 |
9. Warranty & Support
For warranty information or customer support regarding your Venture Forward North Shore 8-Person Cabin Tent, please refer to the documentation included with your purchase or visit the official Venture Forward website. Keep your purchase receipt for warranty claims.