1. Introduction
This manual provides comprehensive instructions for the assembly, operation, and maintenance of your Vonia 3-Tier Foldable Drying Rack. Please read this manual carefully before use and retain it for future reference. Proper use and care will ensure the longevity and optimal performance of your drying rack.
The Vonia 3-Tier Foldable Drying Rack is designed to offer a practical and space-saving solution for drying laundry. Its multi-layered structure and foldable design make it suitable for various living spaces.
2. Product Overview
2.1 Features
- 3-Tier Design: Provides ample space for drying a large volume of laundry.
- Foldable: Easily collapses for convenient storage, saving space when not in use.
- Portable: Equipped with 360-degree rotating wheels for easy movement.
- Durable Construction: Made from sturdy aluminum and plastic components for stability.
- Integrated Hanger Extensions: Allows for hanging clothes on hangers, expanding drying capacity.
2.2 Components
Before assembly, ensure all components are present and undamaged. The package typically includes:
- Vertical support poles
- Horizontal drying rods (for 3 tiers)
- Connecting joints and fasteners
- Base supports
- Wheels (typically 4, with 2 lockable)
- Hanger extension arms

Image 2.1: The Vonia drying rack showcasing its key features: space-saving, portability, and foldable design. This image illustrates the convenience of the product for modern living spaces.
3. Assembly Instructions
Assembly of the Vonia 3-Tier Foldable Drying Rack is designed to be straightforward. Follow these steps carefully:
- Unpack Components: Carefully remove all parts from the packaging. Lay them out and identify each component using the provided parts list (if included).
- Attach Wheels to Base: Insert the wheels into the designated slots on the base supports. Ensure that the two lockable wheels are placed on the same side for easier control.
- Assemble Vertical Poles: Connect the vertical support poles using the provided joints. Pay attention to the length of the poles to ensure correct tier height.
- Install Drying Tiers: Attach the horizontal drying rods to the vertical poles at each of the three tiers. Ensure they are securely fastened to prevent them from coming loose during use.
- Attach Hanger Extensions: Secure the hanger extension arms to the top tier of the rack, if desired. These provide additional hanging space for garments on hangers.
- Final Check: Once assembled, gently shake the rack to ensure all connections are secure and the structure is stable.
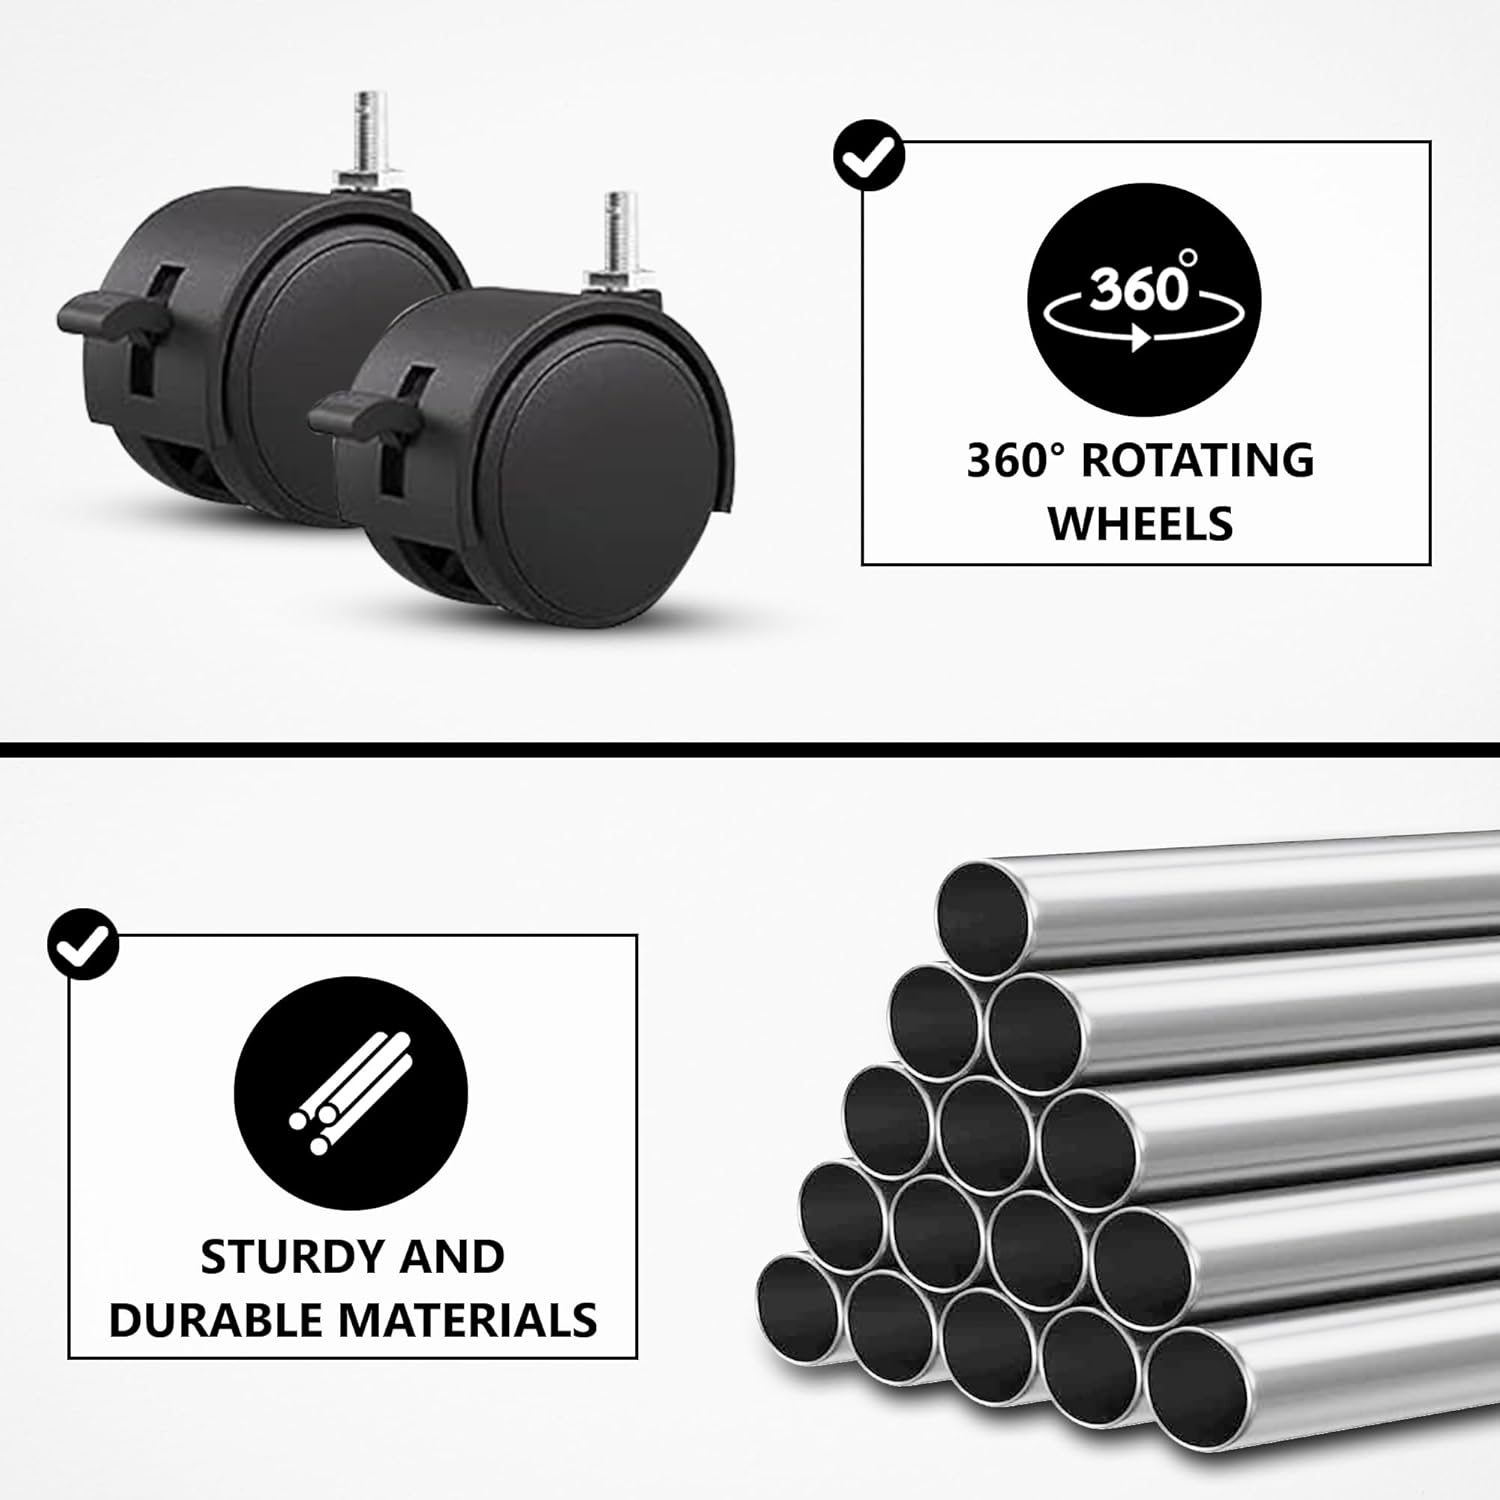
Image 3.1: Detail view of the 360-degree rotating wheels and the sturdy, durable materials (aluminum pipes) used in the construction of the Vonia drying rack, highlighting its mobility and robust design.
4. Operating Instructions
4.1 Unfolding and Folding
- To Unfold: Gently pull the side panels outwards until they lock into their open position. Ensure all tiers are extended and stable.
- To Fold: Release the locking mechanisms (if present) on the side panels and push them inwards until the rack is compact.
4.2 Loading Laundry
- Distribute laundry evenly across all three tiers to maintain balance and prevent tipping.
- Utilize the hanger extensions for shirts, dresses, or other items that benefit from hanging.
- For optimal drying, allow sufficient airflow between garments. Avoid overcrowding the rack.
- The rack is designed to accommodate a full washing machine load.
4.3 Mobility
- Use the 360-degree rotating wheels to easily move the rack to desired locations, such as near a window for faster drying.
- Engage the wheel brakes to secure the rack in place and prevent unwanted movement.

Image 4.1: The Vonia drying rack in use, showcasing its three tiers filled with different types of clothing, from jeans to delicate items, illustrating its practical capacity for a household's laundry needs.
5. Maintenance and Care
Regular maintenance ensures the longevity and hygiene of your drying rack.
- Cleaning: Wipe down the drying rods and frame with a damp cloth and mild detergent as needed. Avoid abrasive cleaners that could damage the finish.
- Inspection: Periodically check all connections, screws, and joints to ensure they are tight and secure. Tighten any loose parts to maintain stability.
- Storage: When not in use, fold the drying rack and store it in a dry place to prevent rust or damage.
- Wheel Care: Keep the wheels free of lint and debris to ensure smooth movement.
6. Troubleshooting
If you encounter any issues with your Vonia drying rack, refer to the following common problems and solutions:
- Rack is Unstable:
- Ensure all assembly connections are fully tightened.
- Verify that laundry is distributed evenly to prevent imbalance.
- Check if the rack is on a flat, level surface.
- Drying Rods Come Loose:
- Re-insert the rods firmly into their designated slots.
- Ensure no excessive weight is placed on a single rod.
- Wheels Not Rolling Smoothly or Brakes Not Working:
- Clean any debris (lint, hair) from the wheel axles.
- Check if the brake mechanism is fully engaged or disengaged. If a brake is faulty, contact customer support.
- Difficulty Folding/Unfolding:
- Ensure no clothing or obstructions are preventing the mechanism from moving freely.
- Apply gentle, even pressure when folding or unfolding.
7. Specifications
| Attribute | Detail |
|---|---|
| Model Number | 8721008300665 |
| Dimensions (L x W x H) | 72 x 50 x 172 cm |
| Material | Aluminum |
| Color | White |
| Mounting Type | Floor Mount |
| Special Features | Foldable |
| Recommended Use | Clothing |
| Manufacturer | Dennepark B.V |
8. Warranty and Support
For warranty information or technical support, please contact Dennepark B.V., the manufacturer of your Vonia drying rack. Retain your proof of purchase for any warranty claims.
Contact details can typically be found on the product packaging or the retailer's website where the product was purchased.