1. Introduction
Thank you for choosing the Ganeed Frozen Crystal Branch 5-Light Ceiling Chandelier. This modern fixture features a chrome finish frame adorned with K9 crystals, designed to enhance the ambiance of various indoor spaces. This manual provides essential information for safe installation, operation, and maintenance of your new chandelier.
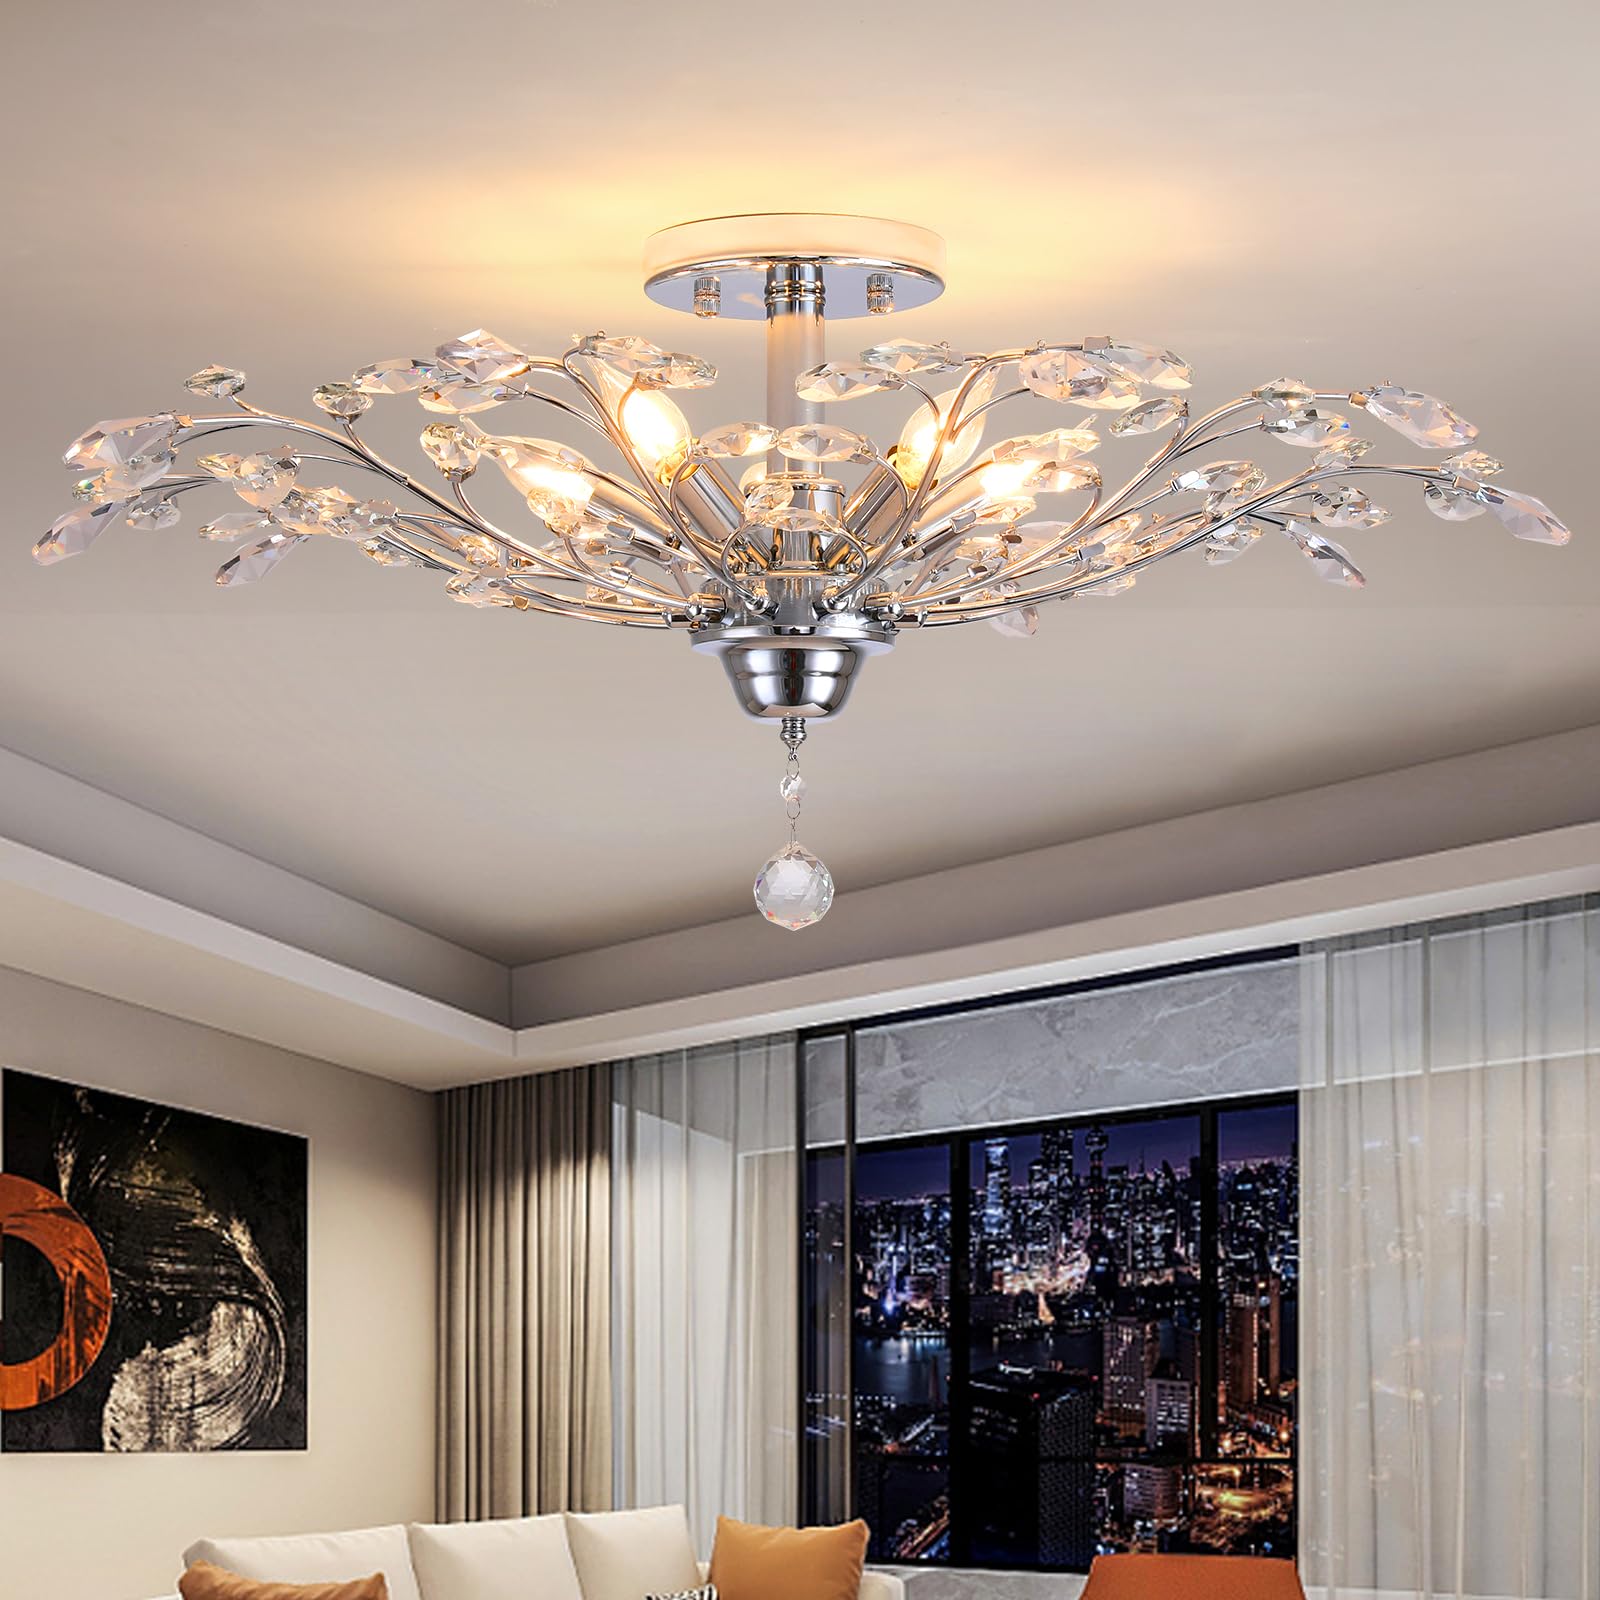
Image 1: Ganeed Frozen Crystal Branch 5-Light Ceiling Chandelier in a living room setting.
2. Safety Information
Please read and understand all instructions before beginning installation. Failure to do so may result in electric shock, fire, or other injuries that could be fatal or cause serious damage.
- Always turn off the power at the main circuit breaker before installing or servicing the fixture.
- Consult a qualified electrician if you are unsure about the installation process.
- Use only E12 base bulbs, with a maximum wattage of 25W per bulb. Do not exceed the recommended wattage.
- Handle crystal components with care to prevent breakage or injury.
- Ensure all electrical connections are secure and comply with local electrical codes.
- This fixture is designed for indoor use only.
3. Package Contents
Verify that all components are present and undamaged before proceeding with installation.
- Chandelier Frame (with lamp holders and wiring)
- Crystal Branches
- Mounting Hardware (crossbar, screws, wire nuts)
- Instruction Manual

Image 2: Detailed view of chandelier components including the anti-rust metal ceiling cup, K9 crystals, stainless steel lamp body, and E12 bulb sockets.
4. Specifications
| Feature | Specification |
|---|---|
| Brand | Ganeed |
| Model Number | 1004-5C |
| Color | Chrome/5-light |
| Material | Crystal + Iron |
| Style | Modern & Vintage & Luxury |
| Light Fixture Form | Close to Ceiling |
| Product Dimensions | 30.7" (Dia) x 11.8" (H) inches |
| Ceiling Cap Diameter | 6.3 inches |
| Bulb Base | E12 |
| Number of Light Sources | 5 |
| Max Wattage per Bulb | 25W |
| Power Source | Corded Electric |
| Installation Type | Flush Mount |
| Special Feature | Anti-Rust, Fully dimmable (with compatible dimmer switch and bulbs, not included) |
| Item Weight | 10.69 pounds |

Image 3: Product dimensions and bulb specifications.
5. Setup and Installation
Assembly and installation are required. It is recommended to have two people for installation due to the weight and complexity of attaching components. Refer to the detailed video below for visual guidance.
5.1. Pre-Installation Steps
- Turn off Power: Before starting, ensure the power to the circuit is turned off at the main breaker.
- Unpack and Inspect: Carefully unpack all components and inspect for any damage or missing parts.
- Prepare Tools: Gather necessary tools (screwdriver, wire strippers, wrench, ladder, safety glasses).
5.2. Assembly and Wiring
- Assemble Branches: Attach the crystal branches to the main lamp body. Ensure they are securely fastened.
- Connect Internal Wiring: Connect all white (or blue) wires from the lamp holders to the main white (or blue) wire. Connect all black (or brown) wires from the lamp holders to the main black (or brown) wire. Use wire nuts to secure connections.
- Mount Crossbar: Secure the mounting crossbar to your ceiling junction box using the provided screws.
- Connect Main Wires: Connect the main black (or brown) wire from the fixture to the fire wire (L) from the ceiling. Connect the main white (or blue) wire from the fixture to the neutral wire (N) from the ceiling. Connect the ground wire from the fixture to the ground wire from the ceiling.
- Secure Fixture: Carefully lift the fixture and attach it to the mounting crossbar, securing it with the decorative nuts.
- Install Bulbs: Screw in 5 E12 base bulbs (not included) into the lamp holders.
- Attach Crystals: Hang the individual crystal strings and the main crystal ball to the designated points on the fixture.
5.3. Installation Video
For a visual guide on the assembly and installation process, please watch the official Ganeed installation video:
Video 1: Easy Installation of Ganeed Crystal Chandeliers. This video demonstrates the step-by-step assembly and wiring process for the chandelier.
6. Operating Instructions
Once installed, operate your chandelier using a standard wall switch. This fixture is fully dimmable when used with compatible dimmer switches and dimmable E12 bulbs (not included).
6.1. Turning On/Off
Use your wall switch to turn the chandelier on or off.

Image 4: Chandelier in 'Turn Off' and 'Turn On' states.
6.2. Dimming Functionality
To utilize the dimming feature, ensure you have installed dimmable E12 bulbs and a compatible dimmer switch (both sold separately). Adjust the dimmer switch to achieve your desired light intensity.

Image 5: Chandelier demonstrating various color temperature effects (3000K, 4000K, 6000K) when used with dimmable bulbs.
7. Maintenance
Regular maintenance will help preserve the appearance and functionality of your chandelier.
- Cleaning: Turn off the power before cleaning. Use a soft, dry, or slightly damp cloth to wipe the metal frame. For crystals, use a soft, lint-free cloth and a mild glass cleaner. Avoid abrasive cleaners or solvents that may damage the finish or crystals.
- Bulb Replacement: Ensure the power is off and bulbs have cooled before replacing. Unscrew old bulbs and screw in new E12 bulbs (max 25W).
- Connection Check: Periodically check all electrical connections and mounting hardware to ensure they remain secure.
8. Troubleshooting
If you encounter issues with your chandelier, refer to the following common problems and solutions:
| Problem | Possible Cause | Solution |
|---|---|---|
| Light does not turn on | No power, loose wiring, faulty bulb | Check circuit breaker. Ensure all wires are securely connected. Replace bulbs. |
| Lights flicker | Loose bulb, incompatible dimmer, faulty wiring | Tighten bulbs. Ensure dimmer and bulbs are compatible. Check wiring connections. |
| Crystals appear dull | Dust or residue buildup | Clean crystals with a soft, lint-free cloth and mild glass cleaner. |
9. Warranty and Support
Ganeed provides a 1-year limited warranty for your purchase, covering any broken or missing parts. For warranty claims, technical assistance, or any product-related inquiries, please contact the seller directly.
Seller: Ganeed Lighting Store
Please retain your proof of purchase for warranty purposes.