
1. Introduction
Thank you for choosing the XIBANY I-Walk KS1 Series Left Brake Lever. This manual provides essential information for the proper installation, operation, and maintenance of your new electric scooter brake handle. Please read this manual thoroughly before installation and retain it for future reference.
2. Safety Information
- Always ensure the scooter is powered off and disconnected from any power source before attempting installation or maintenance.
- Wear appropriate safety gear, such as gloves and eye protection, during installation.
- If you are unsure about any step of the installation process, consult a qualified technician.
- After installation, test the brake lever thoroughly in a safe, open area before regular use.
- Regularly inspect the brake lever and associated cables for wear, damage, or loose connections.
3. Package Contents
Verify that all items are present in your package:
- 1 x XIBANY I-Walk KS1 Series Left Brake Lever (Model: XIBANY001)
4. Product Overview
The XIBANY I-Walk KS1 Series Left Brake Lever is designed as a replacement or accessory for electric scooters, specifically the I-Walk KS1 series. It features a durable construction and an integrated wiring system for electronic brake activation.
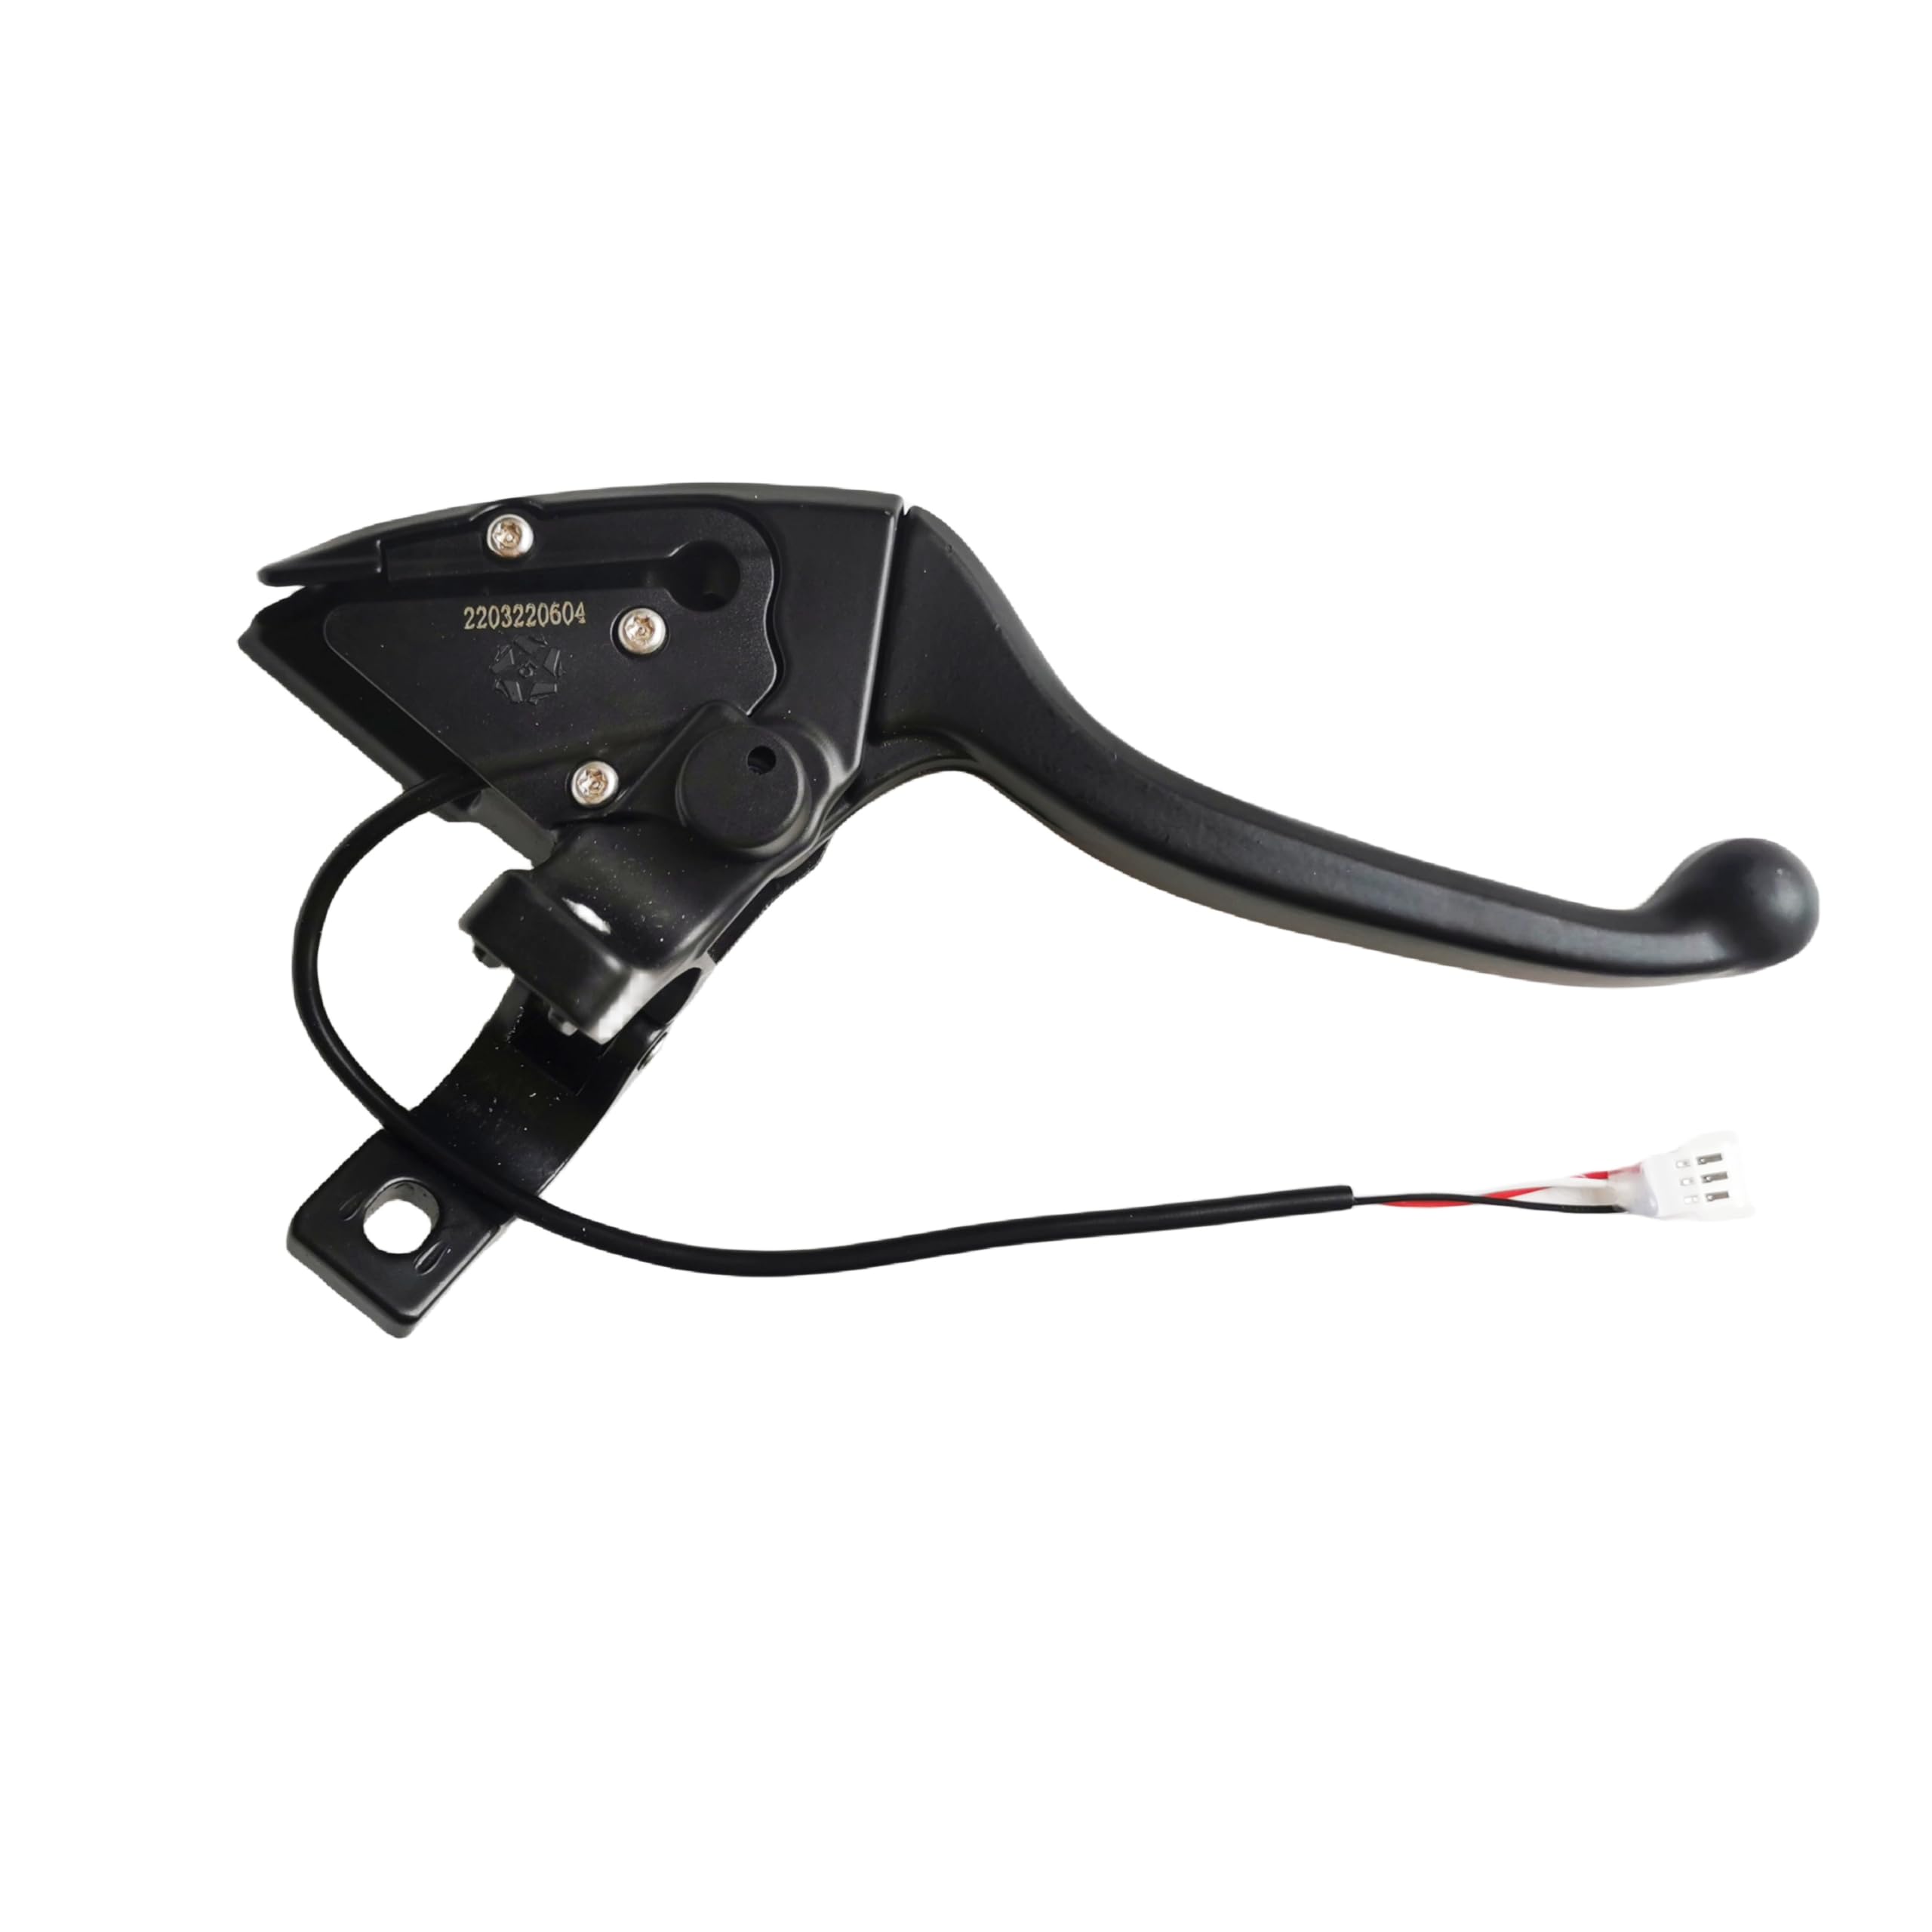
Figure 4.1: Front view of the XIBANY I-Walk KS1 Series Left Brake Lever. This image shows the main lever and the mounting clamp with the attached wiring.
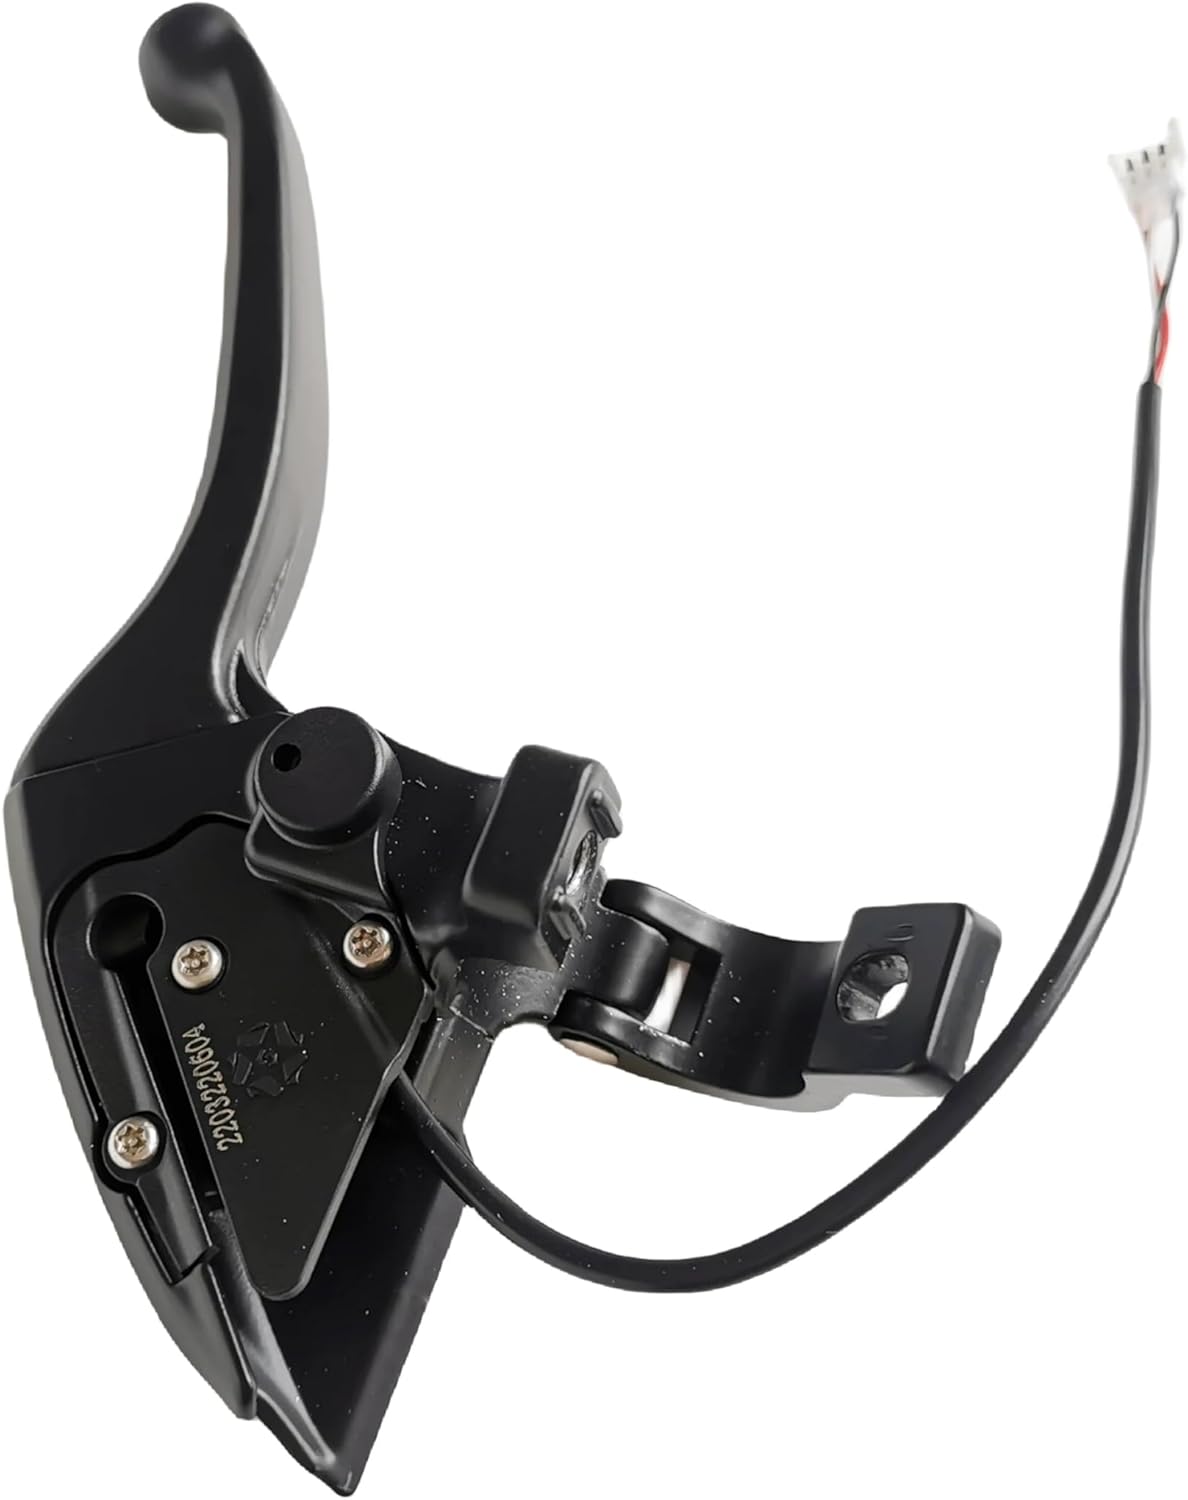
Figure 4.2: Bottom view of the brake lever, highlighting the wiring connection point. This perspective details the cable entry and the connector type.
5. Setup and Installation
Follow these steps to install the left brake lever on your electric scooter:
- Prepare the Scooter: Ensure the scooter is turned off and the battery is disconnected. If replacing an existing lever, carefully remove the old brake lever and disconnect its wiring.
- Position the Lever: Slide the new XIBANY brake lever onto the left side of the handlebar. Position it comfortably for easy reach.
- Secure the Clamp: Use an appropriate tool (not included) to tighten the clamp screws on the brake lever until it is firmly secured to the handlebar. Do not overtighten.
- Connect Wiring: Locate the corresponding brake wiring harness on your scooter. Connect the wiring from the new brake lever to the scooter's harness. Ensure the connection is secure and properly seated.
- Route Cables: Carefully route the brake cable and electrical wiring along the scooter's frame, securing them with cable ties (not included) to prevent interference with moving parts or snagging.
- Test Functionality: Reconnect the scooter battery and power on the scooter. Squeeze the brake lever to ensure proper brake engagement and electronic signal activation. Test at low speed in a safe environment.
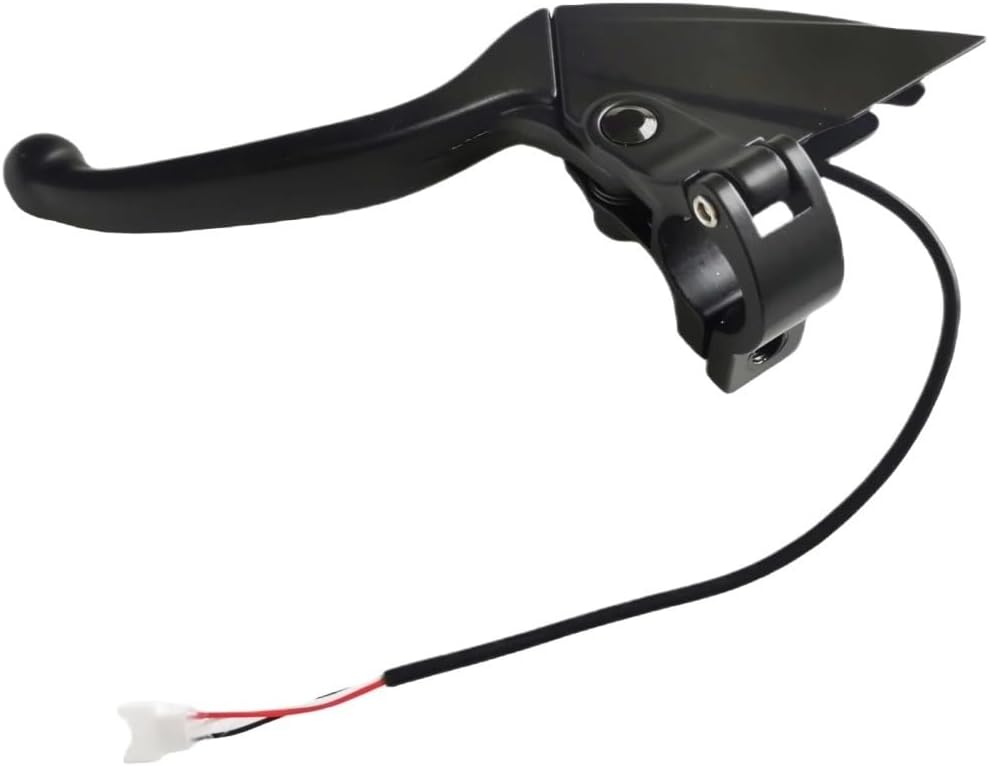
Figure 5.1: Side view of the brake lever, illustrating the mounting clamp and lever arm. This view is helpful for understanding how the lever attaches to the handlebar.
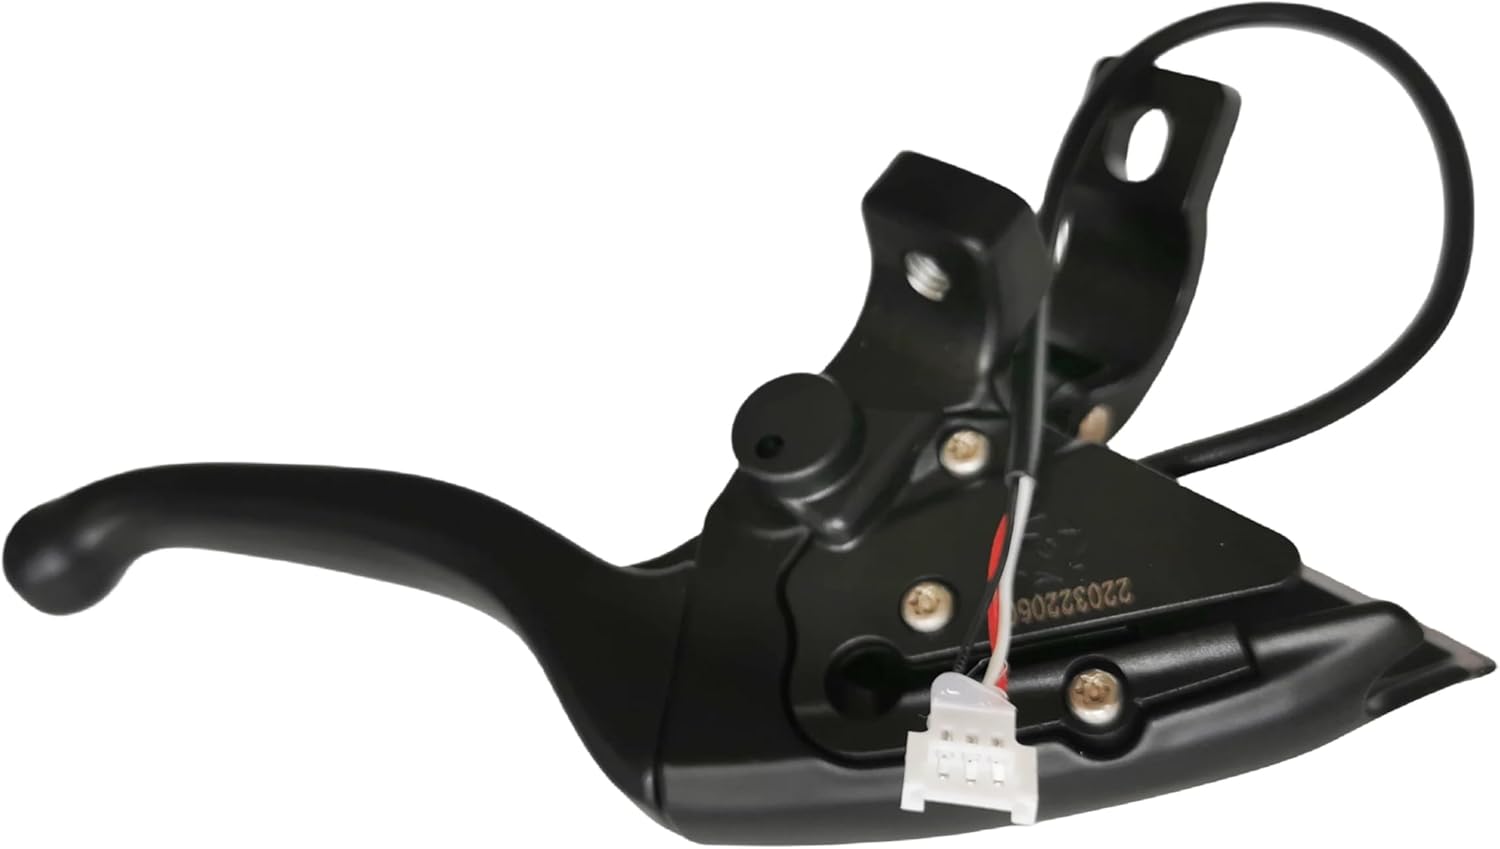
Figure 5.2: Angled view showing the brake lever and its integrated wiring. This image helps in identifying the electrical connector for installation.
6. Operating Instructions
The XIBANY I-Walk KS1 Series Left Brake Lever operates like a standard scooter brake lever. Squeeze the lever towards the handlebar to engage the brake mechanism. The integrated electronic switch will simultaneously send a signal to the scooter's control system, activating the electronic braking and potentially the brake light, depending on your scooter's configuration.
- Apply brake pressure smoothly and gradually to avoid sudden stops.
- Familiarize yourself with the braking response of your scooter after installation.
7. Maintenance
To ensure the longevity and optimal performance of your brake lever, follow these maintenance guidelines:
- Regular Inspection: Periodically check the brake lever for any signs of damage, cracks, or excessive wear. Ensure all screws are tight and the lever operates smoothly without excessive play.
- Cleaning: Wipe the brake lever with a soft, damp cloth to remove dirt and grime. Avoid using harsh chemicals or abrasive cleaners.
- Cable Check: Inspect the electrical wiring for any fraying, cuts, or loose connections. Ensure the cable is not pinched or rubbing against other parts of the scooter.
- Lubrication: If the lever action feels stiff, a small amount of silicone-based lubricant can be applied to the pivot point.
8. Troubleshooting
If you encounter issues with your brake lever, refer to the following common problems and solutions:
| Problem | Possible Cause | Solution |
|---|---|---|
| Brake lever feels loose or wobbly. | Mounting clamp screws are loose. | Tighten the clamp screws securely. |
| Brake not engaging or weak braking. | Incorrect installation; wiring issue; scooter's brake system fault. | Recheck installation steps. Ensure wiring is connected properly. Consult scooter's manual for brake system troubleshooting. |
| Lever is stiff or squeaky. | Lack of lubrication; dirt accumulation. | Clean the lever and apply a small amount of silicone lubricant to the pivot point. |
| Electronic brake signal not working. | Wiring disconnected or damaged. | Inspect wiring connections for security and damage. Reconnect or replace if necessary. |
9. Specifications
- Model Number: XIBANY001
- Brand: XIBANY
- Compatibility: I-Walk KS1 Series Electric Scooters (Left side)
- Material: High-quality durable material (as per product description)
- Color: One Color
- Item Weight: Approximately 50 g
- Parcel Dimensions: Approximately 3 x 2 x 1 cm
- Country of Origin: China
10. Warranty and Support
This product is manufactured to high-quality standards. For any warranty claims or technical support, please refer to the retailer or manufacturer's official support channels. Keep your purchase receipt as proof of purchase.