Safety Information
WARNING: This product can expose you to chemicals including lead, which is known to the State of California to cause cancer and birth defects or other reproductive harm. For more information go to www.P65Warnings.ca.gov.
Product Overview
The ARIEL 49 inch Bathroom Vanity Top features a 1.5 inch thick miter edge white quartz top, designed for durability and aesthetic appeal. It includes a rectangular single porcelain sink, pre-drilled for 8-inch widespread faucets, and a 4-inch matching backsplash. The quartz surface is double-polished and sealed to prevent discoloration and fading, ensuring long-lasting beauty.
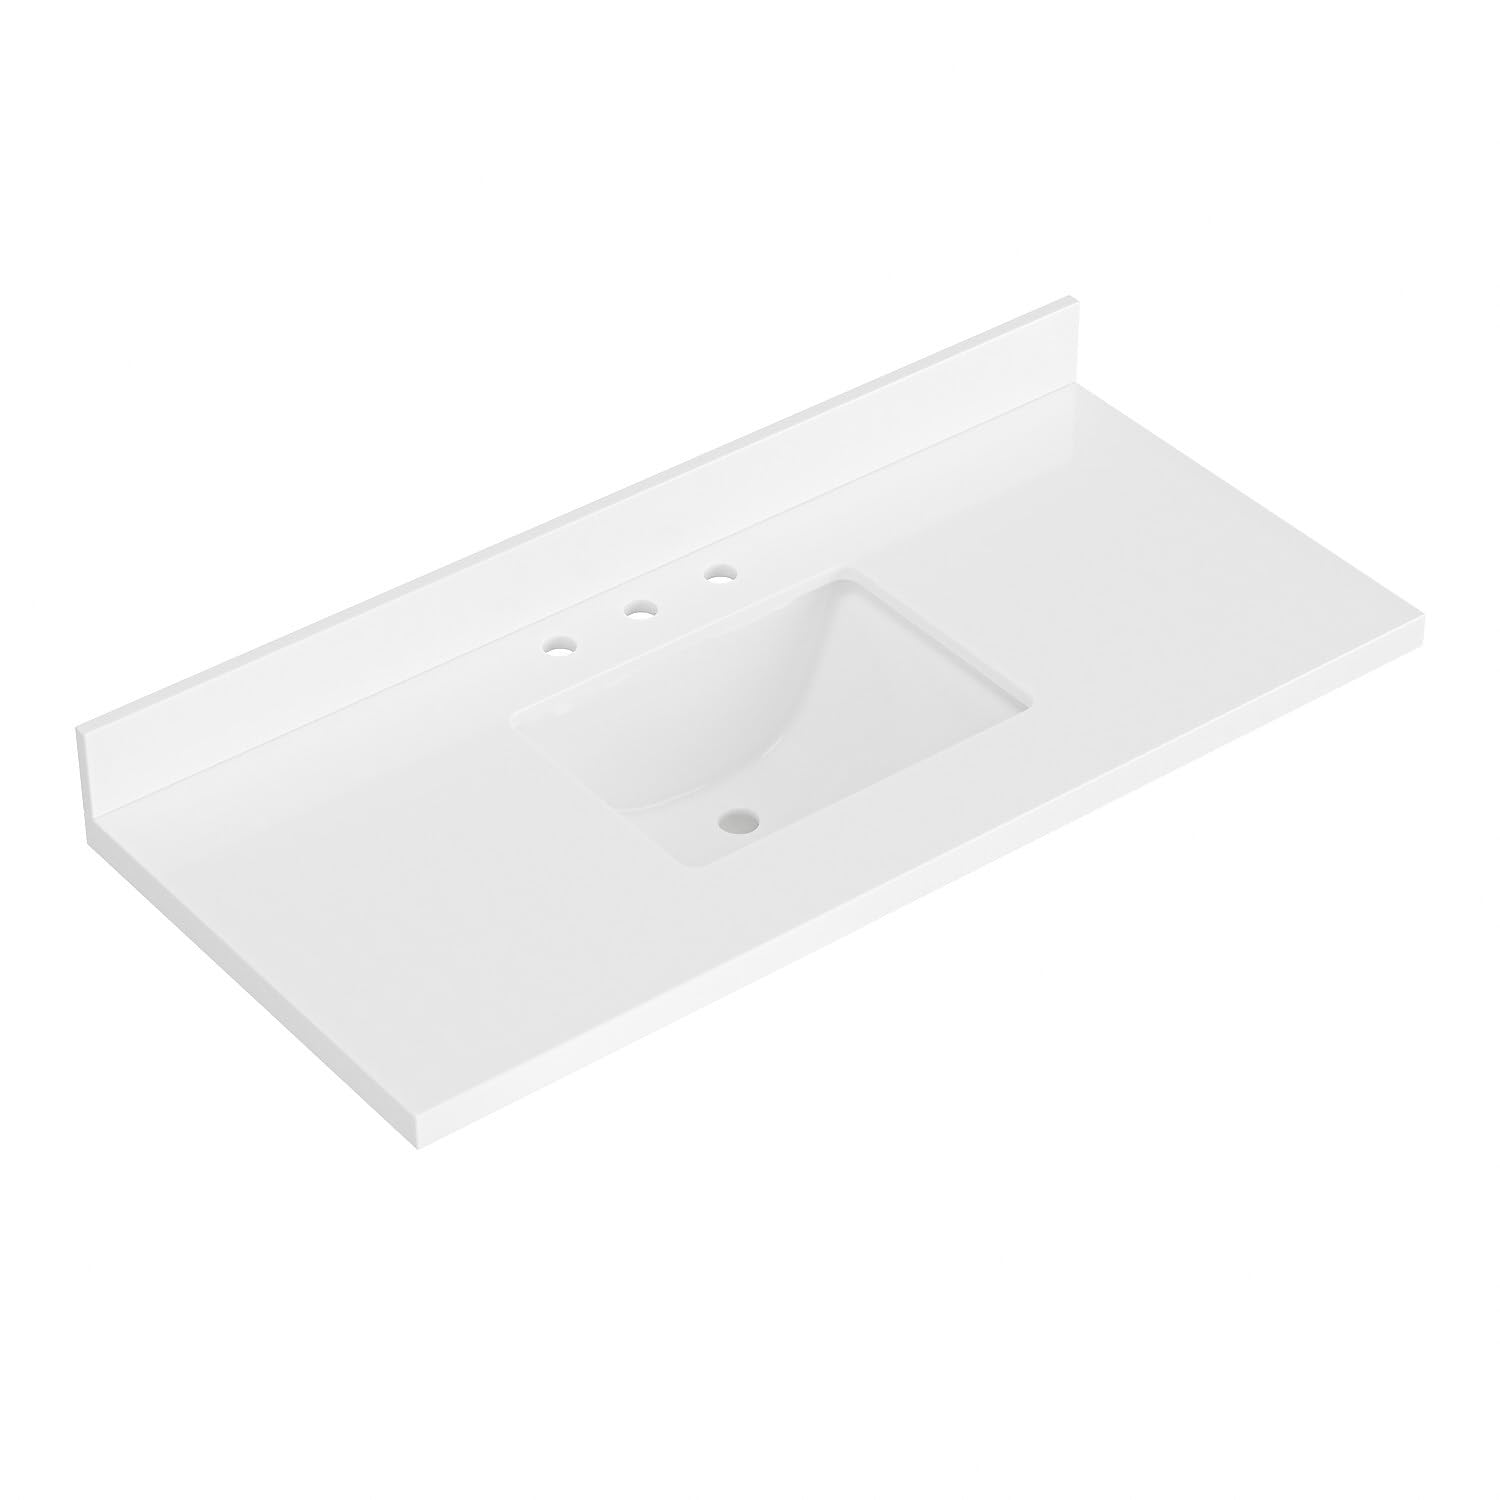
Figure 1: Overall view of the ARIEL 49 inch Bathroom Vanity Top with Sink.

Figure 2: Close-up view highlighting the 1.5 inch thick miter edge, 4 inch backsplash, and porcelain sink.
Specifications
| Feature | Detail |
|---|---|
| Brand | ARIEL |
| Model Number | ARL1-WQ-49-CT-RS |
| UPC | 840318386812 |
| Size | 49 inch |
| Color | White |
| Material | Polished Quartz |
| Product Dimensions (D x W x H) | 22"D x 49"W x 12.2"H |
| Item Weight | 130 Pounds |
| Sink Type | Rectangle Single Porcelain |
| Faucet Holes | 3 (for 8-inch widespread faucets) |
| Drain Type | Pop-Up |
| Backsplash Included | Yes, 4 inch matching |

Figure 3: Dimensional diagram of the 49 inch vanity top.
Installation Instructions
The vanity top and sink are not pre-attached and require installation. Please follow the steps below and refer to the accompanying video for a visual guide.
Tools Required:
- Pencil
- Towel
- Silicone Gun
Step-by-Step Guide:
- Place the basin: Position the basin on the bottom side of the countertop, ensuring it aligns with the sink opening.
- Mark the position: Use a pencil to carefully mark the outline of the basin's position on the countertop.
- Apply silicone: Apply a continuous bead of silicone sealant along the top edge of the basin.
- Attach the basin: Flip the basin and carefully place it onto the marked position on the countertop. Press firmly to ensure good adhesion. Allow 12 to 24 hours for the silicone to dry and cure.
- Secure with clips: Attach the provided undermount clips to further secure the basin to the countertop.
- Set countertop in place: With assistance, carefully lift and set the assembled countertop with the attached sink onto your vanity cabinet.
- Clean excess silicone: Wipe away any excess silicone sealant from around the sink and countertop edges using a clean towel.
Video 1: This video demonstrates the process of installing the sink to the vanity top. It covers marking the basin position, applying silicone, attaching the basin, securing with clips, and setting the countertop.

Figure 4: Example of the ARIEL vanity top installed on a light-colored cabinet.
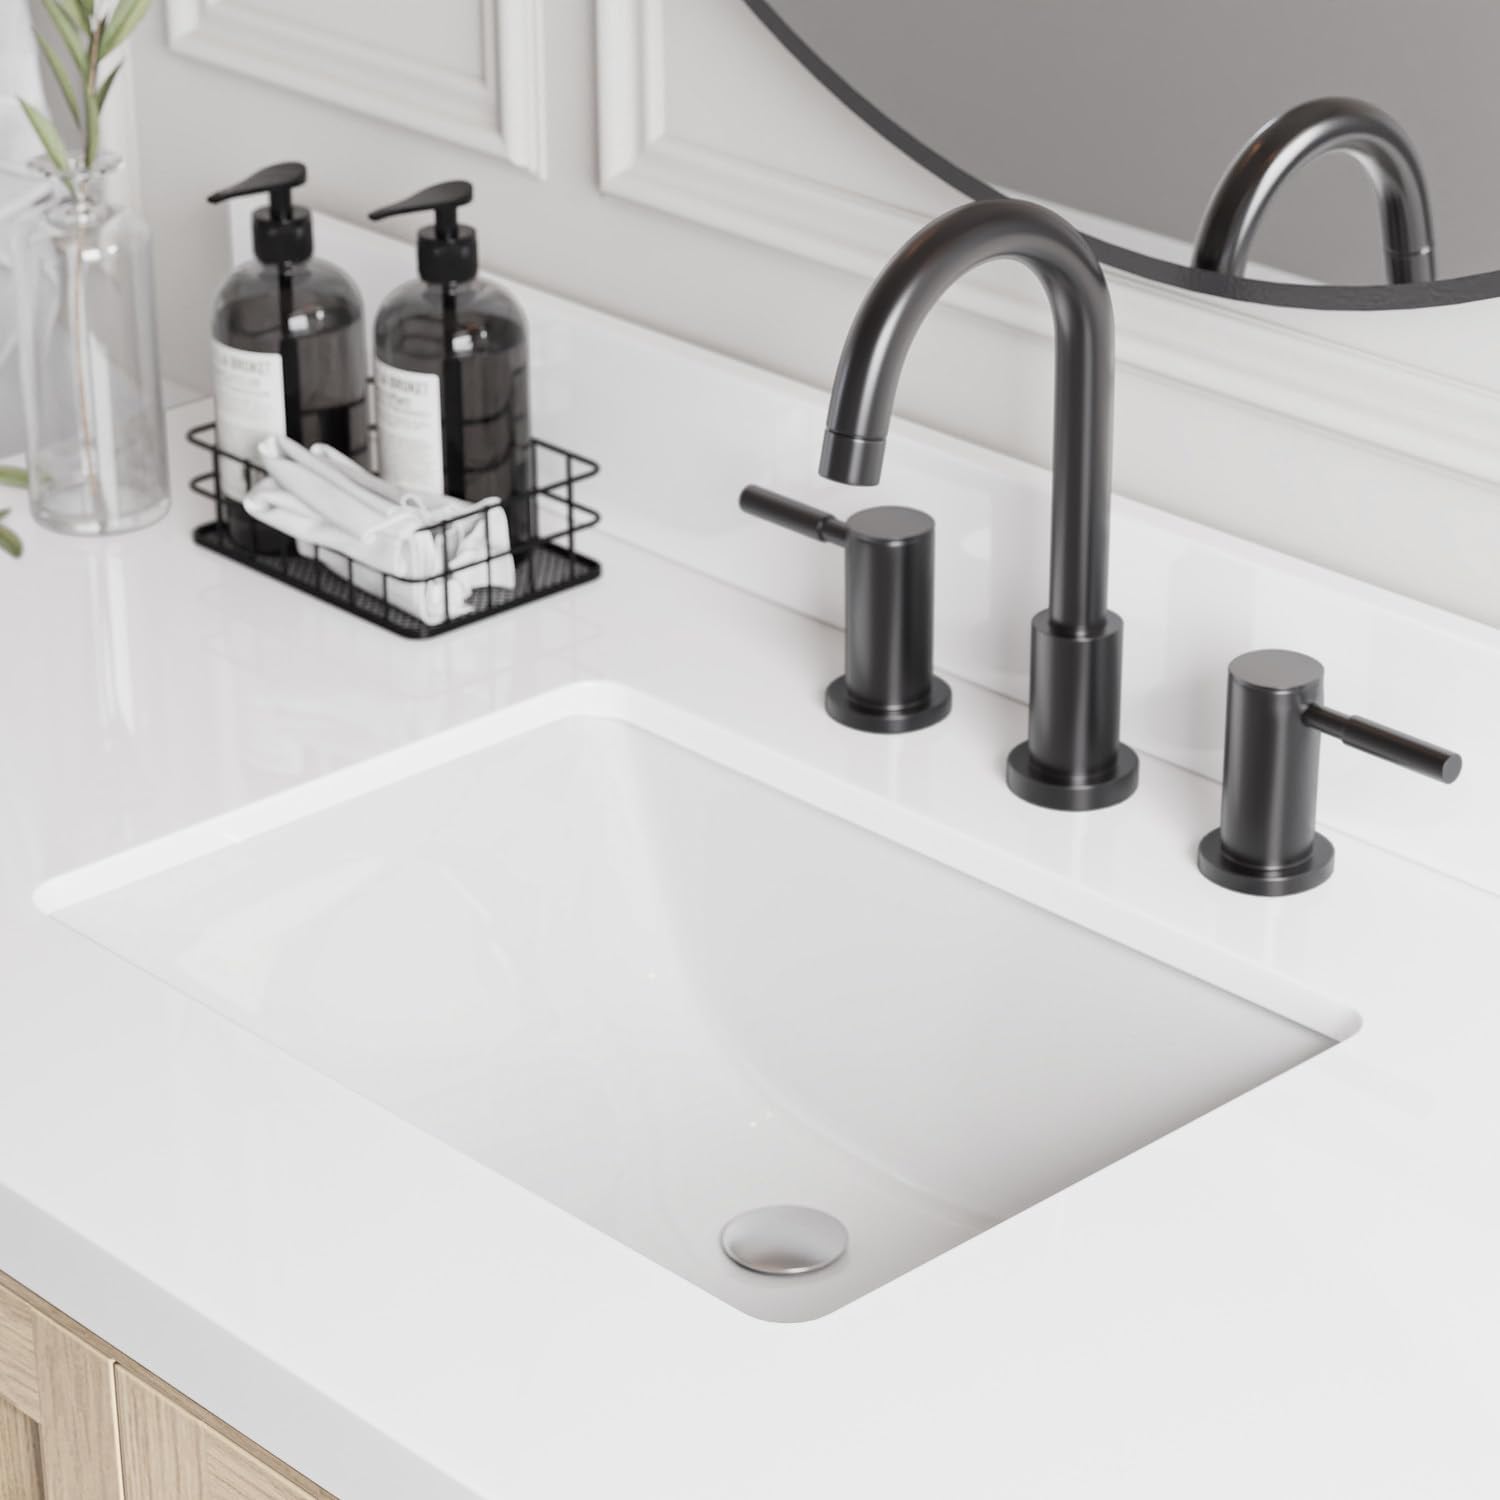
Figure 5: Example of the ARIEL vanity top installed on a dark blue cabinet.
Care and Maintenance
To maintain the pristine appearance of your ARIEL vanity top, wipe surfaces regularly with a soft, dry cloth. The double-polished and sealed quartz is designed for longevity and resistance to discoloration and fading. Avoid using harsh abrasive cleaners, acidic solutions, or strong chemical agents, as these can damage the finish. Promptly clean any spills to prevent staining.

Figure 6: Material comparison highlighting the benefits of Quartz Stone, including high hardness, stain resistance, and color stability.
Troubleshooting
Should you encounter any issues during installation or use, please refer to the installation video or contact customer support. For problems not covered in this manual, professional assistance may be required.
Warranty Information
For detailed warranty information regarding your ARIEL vanity top, please contact the manufacturer directly. The manufacturer's warranty description is '1.', indicating a standard warranty period. Please retain your proof of purchase for any warranty claims.
Customer Support
For any questions, technical assistance, or support, our dedicated customer service team is available. You can reach out to Decorative Kitchen and Bath, the seller, for prompt assistance.