1. Introduction
This manual provides essential instructions for the installation, operation, and maintenance of your PLANTKA Original Dust Box, designed for seamless compatibility with the Dreame L10s Pro Gen2 robot vacuum cleaner. Proper use and maintenance will ensure optimal performance and longevity of your vacuum cleaner's dust collection system.
2. Package Contents
Please verify that all items are present in your package:
- 1 x PLANTKA Original Dust Box (White)
- 1 x Pre-installed Filter
3. Product Overview
The dust box is a crucial component of your robot vacuum, responsible for collecting dust, dirt, and debris during cleaning cycles. It features a removable filter that traps fine particles, preventing them from re-entering the air.
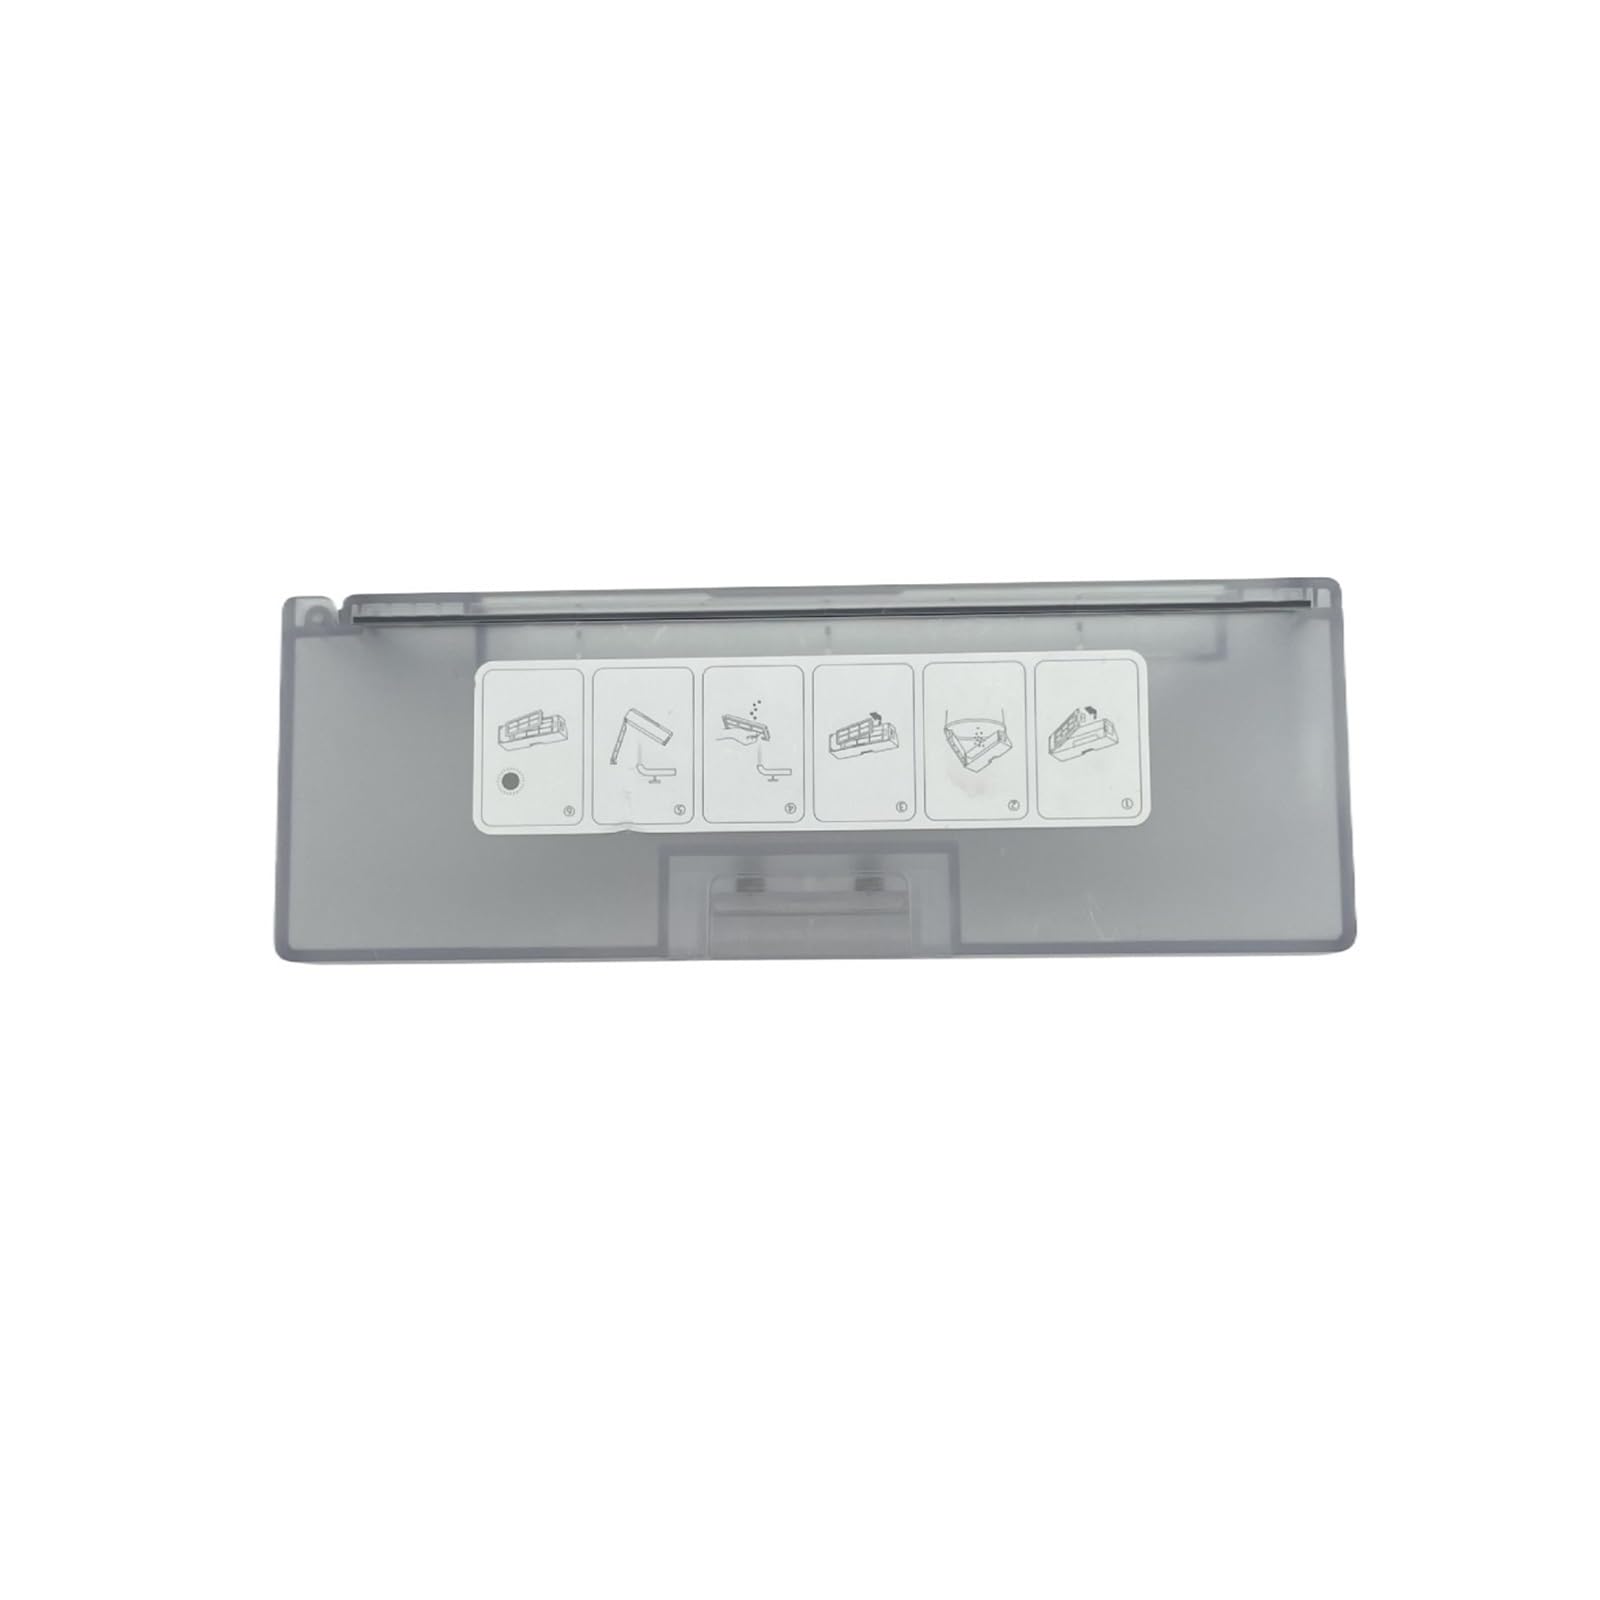
Figure 1: PLANTKA Original Dust Box (White)
This image displays the main component, the dust box, which integrates seamlessly into your Dreame L10s Pro Gen2 robot vacuum cleaner.
4. Installation
Follow these steps to install the dust box into your Dreame L10s Pro Gen2 robot vacuum cleaner:
- Power Off: Ensure your robot vacuum cleaner is powered off and disconnected from its charging base before proceeding.
- Remove Old Dust Box: Locate the dust box compartment on your robot vacuum. Typically, there is a release button or latch. Press it and carefully pull out the old dust box.
- Insert New Dust Box: Align the new PLANTKA Original Dust Box with the compartment opening. Gently push it in until you hear a click, indicating it is securely in place.
- Verify Installation: Ensure the dust box is flush with the vacuum's body and does not wobble.
5. Operation
Once installed, the dust box operates automatically with your Dreame L10s Pro Gen2 robot vacuum cleaner. During cleaning cycles, the vacuum's suction mechanism draws air and debris into the dust box, where the filter separates dust particles from the air. The collected debris remains within the dust box until it is emptied.
6. Maintenance
Regular maintenance of the dust box and filter is essential for maintaining your robot vacuum's cleaning efficiency and prolonging its lifespan. It is recommended to empty the dust box after each cleaning cycle and clean the filter regularly.
6.1. Emptying the Dust Box
- Remove Dust Box: Power off the vacuum and remove the dust box as described in the Installation section.
- Open Dust Box: Locate the latch or opening mechanism on the dust box and open it over a trash bin.
- Empty Contents: Shake out all collected dust and debris into the trash bin.
- Close and Reinstall: Close the dust box securely and reinstall it into the vacuum cleaner.
6.2. Cleaning the Filter
The filter inside the dust box should be cleaned regularly to prevent clogging and maintain suction power. The following images illustrate the process:
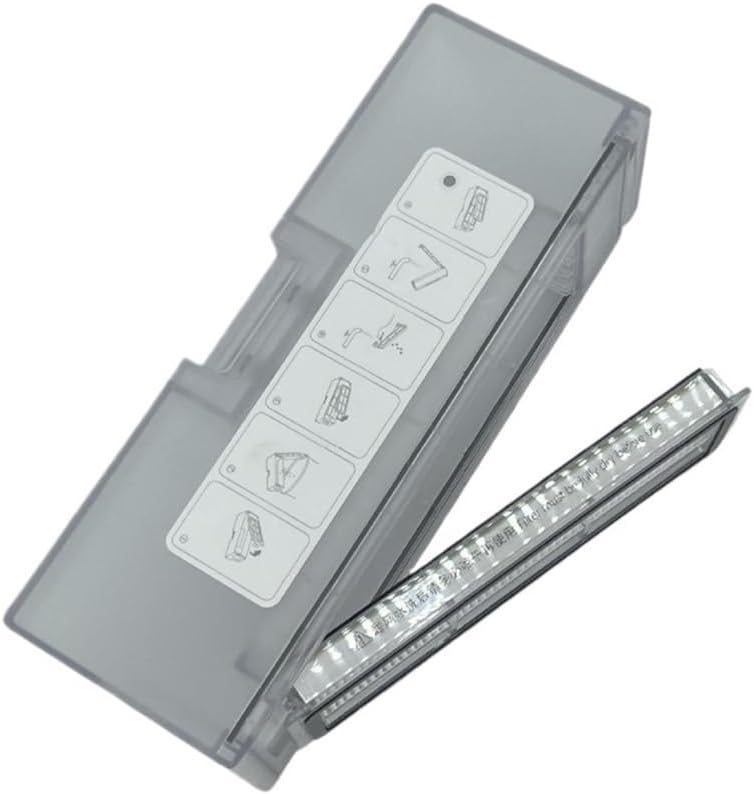
Figure 2: Filter Removal and Cleaning Steps
This image provides a visual guide for the filter maintenance process, showing how to detach the filter from the dust box for cleaning.
- Remove Dust Box: Follow step 1 from 'Emptying the Dust Box'.
- Remove Filter: Gently pull the filter out from its designated slot within the dust box. Refer to Figure 2 for visual guidance.
- Clean Filter: Tap the filter gently over a trash bin to remove loose dust. For a more thorough cleaning, you may use a soft brush or a small vacuum cleaner attachment to remove embedded dust. Do not wash the filter with water unless explicitly stated by the vacuum cleaner's manual, as this can damage it.
- Reinstall Filter: Once clean, carefully place the filter back into the dust box, ensuring it is seated correctly.
- Reinstall Dust Box: Reinstall the dust box into the vacuum cleaner.
6.3. Filter Replacement
For best results and to maintain optimal air filtration, the filter should be replaced every 2 to 3 months, depending on usage frequency and environment. Using a clogged or worn-out filter can significantly reduce suction power and cleaning effectiveness.

Figure 3: Dust Box with Filter
This image shows the dust box with the filter in place, highlighting the component that requires periodic cleaning and replacement.
7. Troubleshooting
If your robot vacuum cleaner experiences reduced suction or ineffective cleaning after installing the new dust box, consider the following:
- Dust Box Full: Check if the dust box is full and needs to be emptied.
- Clogged Filter: Inspect the filter for excessive dust or debris. Clean or replace it if necessary.
- Improper Installation: Ensure the dust box is correctly and securely installed in the vacuum cleaner. Remove and reinsert it to confirm.
- Other Vacuum Issues: If the problem persists, refer to your Dreame L10s Pro Gen2 robot vacuum cleaner's main user manual for further troubleshooting steps related to the vacuum unit itself.
8. Specifications
| Feature | Detail |
|---|---|
| Product Dimensions | 1.18 x 0.79 x 0.39 inches |
| Item Weight | 2.2 pounds |
| Number of Pieces | 1 (Dust Box with pre-installed filter) |
| Compatibility | Dreame L10s Pro Gen2 Robot Vacuum Cleaner |
| Color | White |
9. Support
For any questions, concerns, or technical assistance regarding your PLANTKA Original Dust Box, please contact your retailer or the manufacturer directly. Please have your product model information (Dreame L10s Pro Gen2 Dust Box) and purchase details ready when contacting support.