1. Product Overview
The Funhang EB-S1 is a versatile electric mountain bike designed for various terrains, offering powerful performance and enhanced safety features. It combines a robust frame with advanced electrical components to provide an efficient and enjoyable riding experience.

Figure 1: Funhang EB-S1 Electric Bike (Blue variant)
Key Features:
- 1000W Peak Brushless Motor for powerful acceleration and climbing.
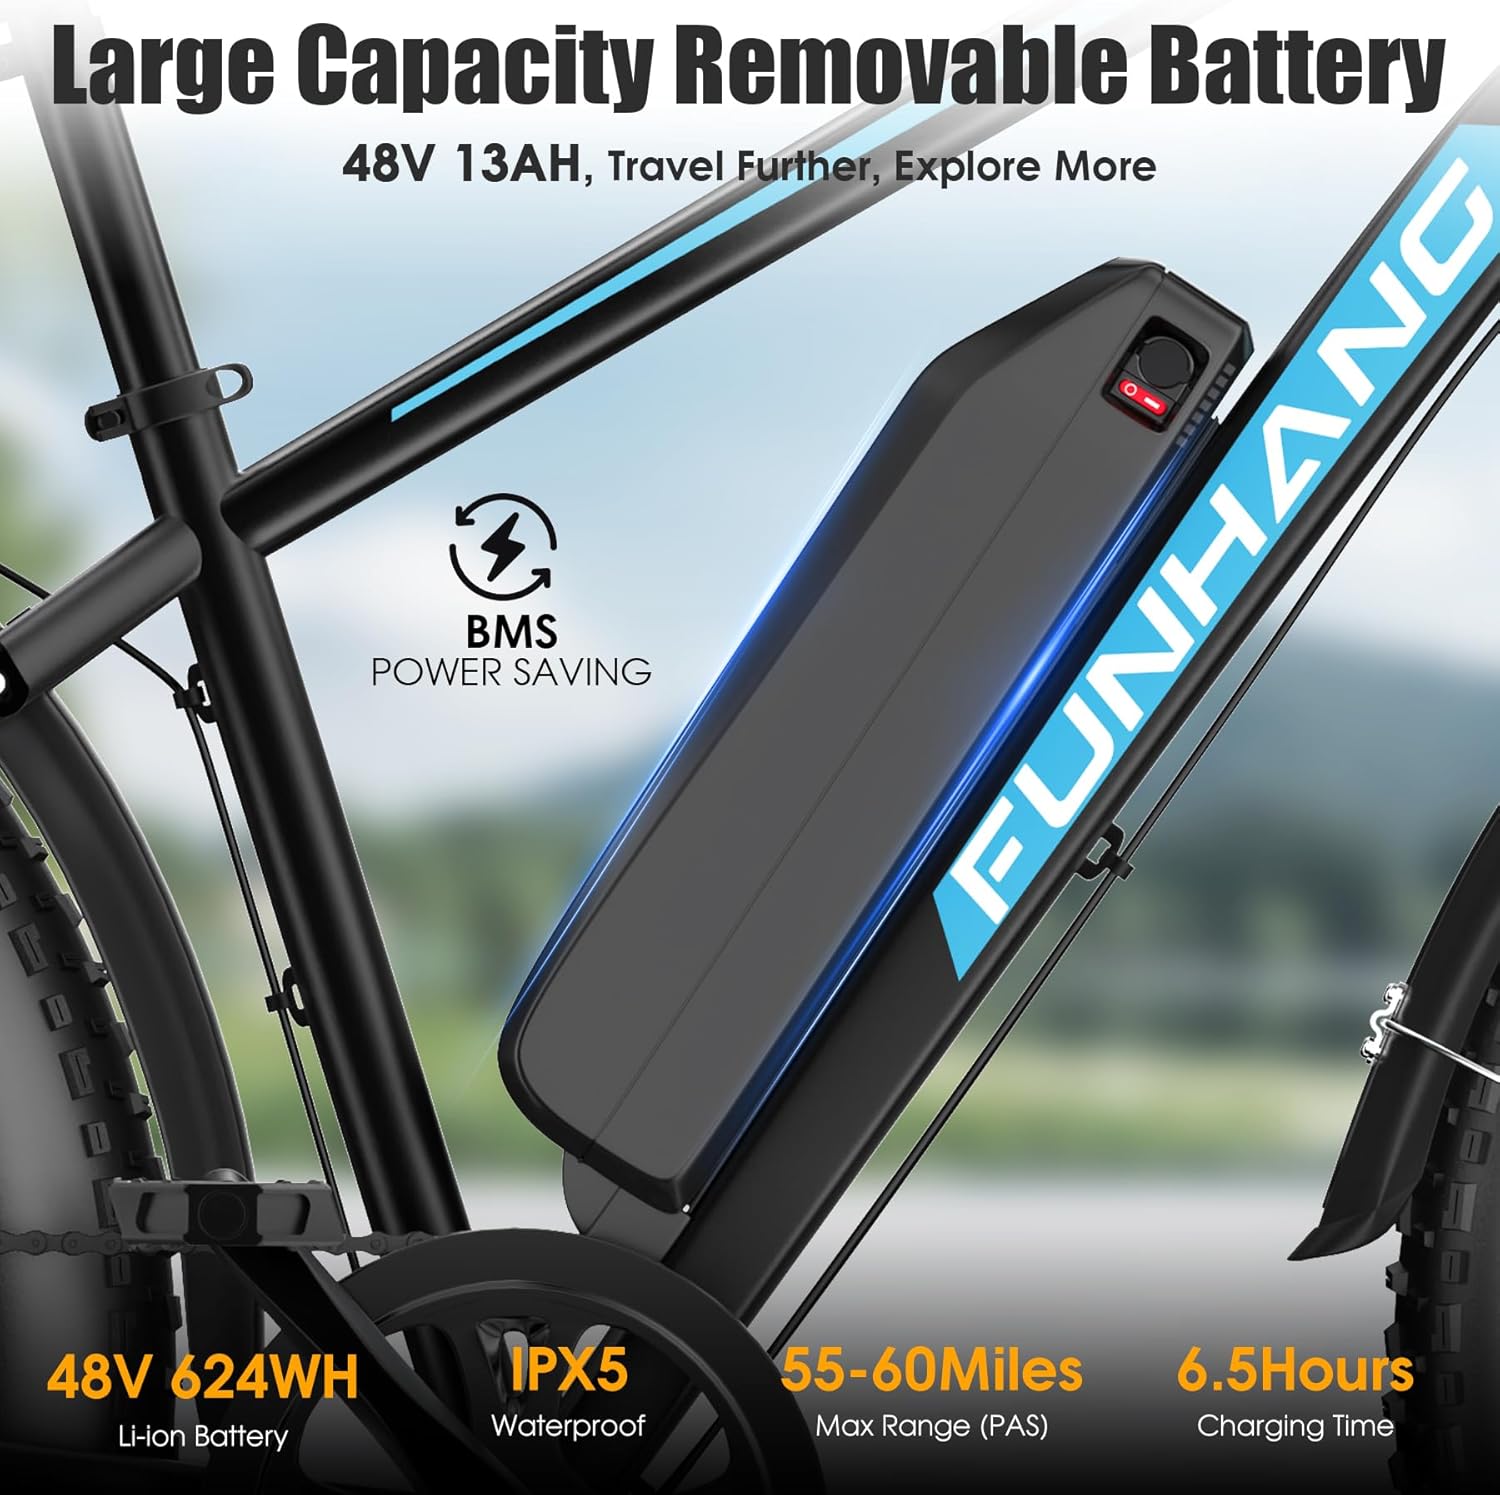
- 48V 13AH IPX5 waterproof Li-ion removable battery for extended range.
- 26" x 4.0" puncture-resistant fat tires suitable for all terrains.
- 7-speed Shimano gear system for adaptable riding.
- Front suspension fork for a smooth ride.
- Integrated headlight, taillight, and unique turn signals for safety.
- Smart LCD display showing essential riding data.
- Sturdy rear rack with 330 lbs (150kg) max load capacity.
2. Setup and Assembly
Your Funhang EB-S1 electric bike comes 85% pre-assembled. Follow these steps to complete the assembly and prepare for your first ride.
2.1 Unboxing and Initial Inspection
Carefully remove the bike and all components from the packaging. Inspect for any visible damage during transit. Ensure all parts listed in the user manual are present.

Figure 2: Unboxed components of the electric bike.
2.2 Tighten Kickstand Bolts
Locate the kickstand and ensure its bolts are securely tightened using the provided tool. This ensures stability when the bike is parked.
2.3 Install the Front Wheel
Remove the fixing rod, safety washers, and spacers from the front fork. Align the front fork with the axle in the center of the front wheel. Attach the safety washer and spacer on both sides, then tighten the screws to secure the wheel.

Figure 3: Front wheel assembly showing disc brake and axle.
2.4 Adjust Stem and Install Handlebar
Loosen the 3 bolts on the ebike stem and turn it forward. Loose the four screws from the ebike stem. Place the handlebar in place, ensuring it is level. Tighten the four screws to fix the handlebar securely.
2.5 Install Front Fender and Headlight
Loose the screw on the front fork with the included tool. Attach the headlight and front fender in place. Tighten the bolts and secure the fender support to both sides of the front fork.
2.6 Adjust the Saddle
Adjust the saddle to a proper height for comfortable riding. Ensure it is securely fastened after adjustment.
2.7 Install the Pedals
The left pedal has an